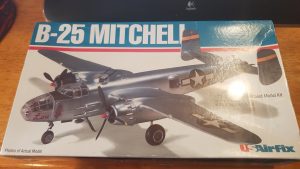
US AirFix 1/72 B-25J Mitchell
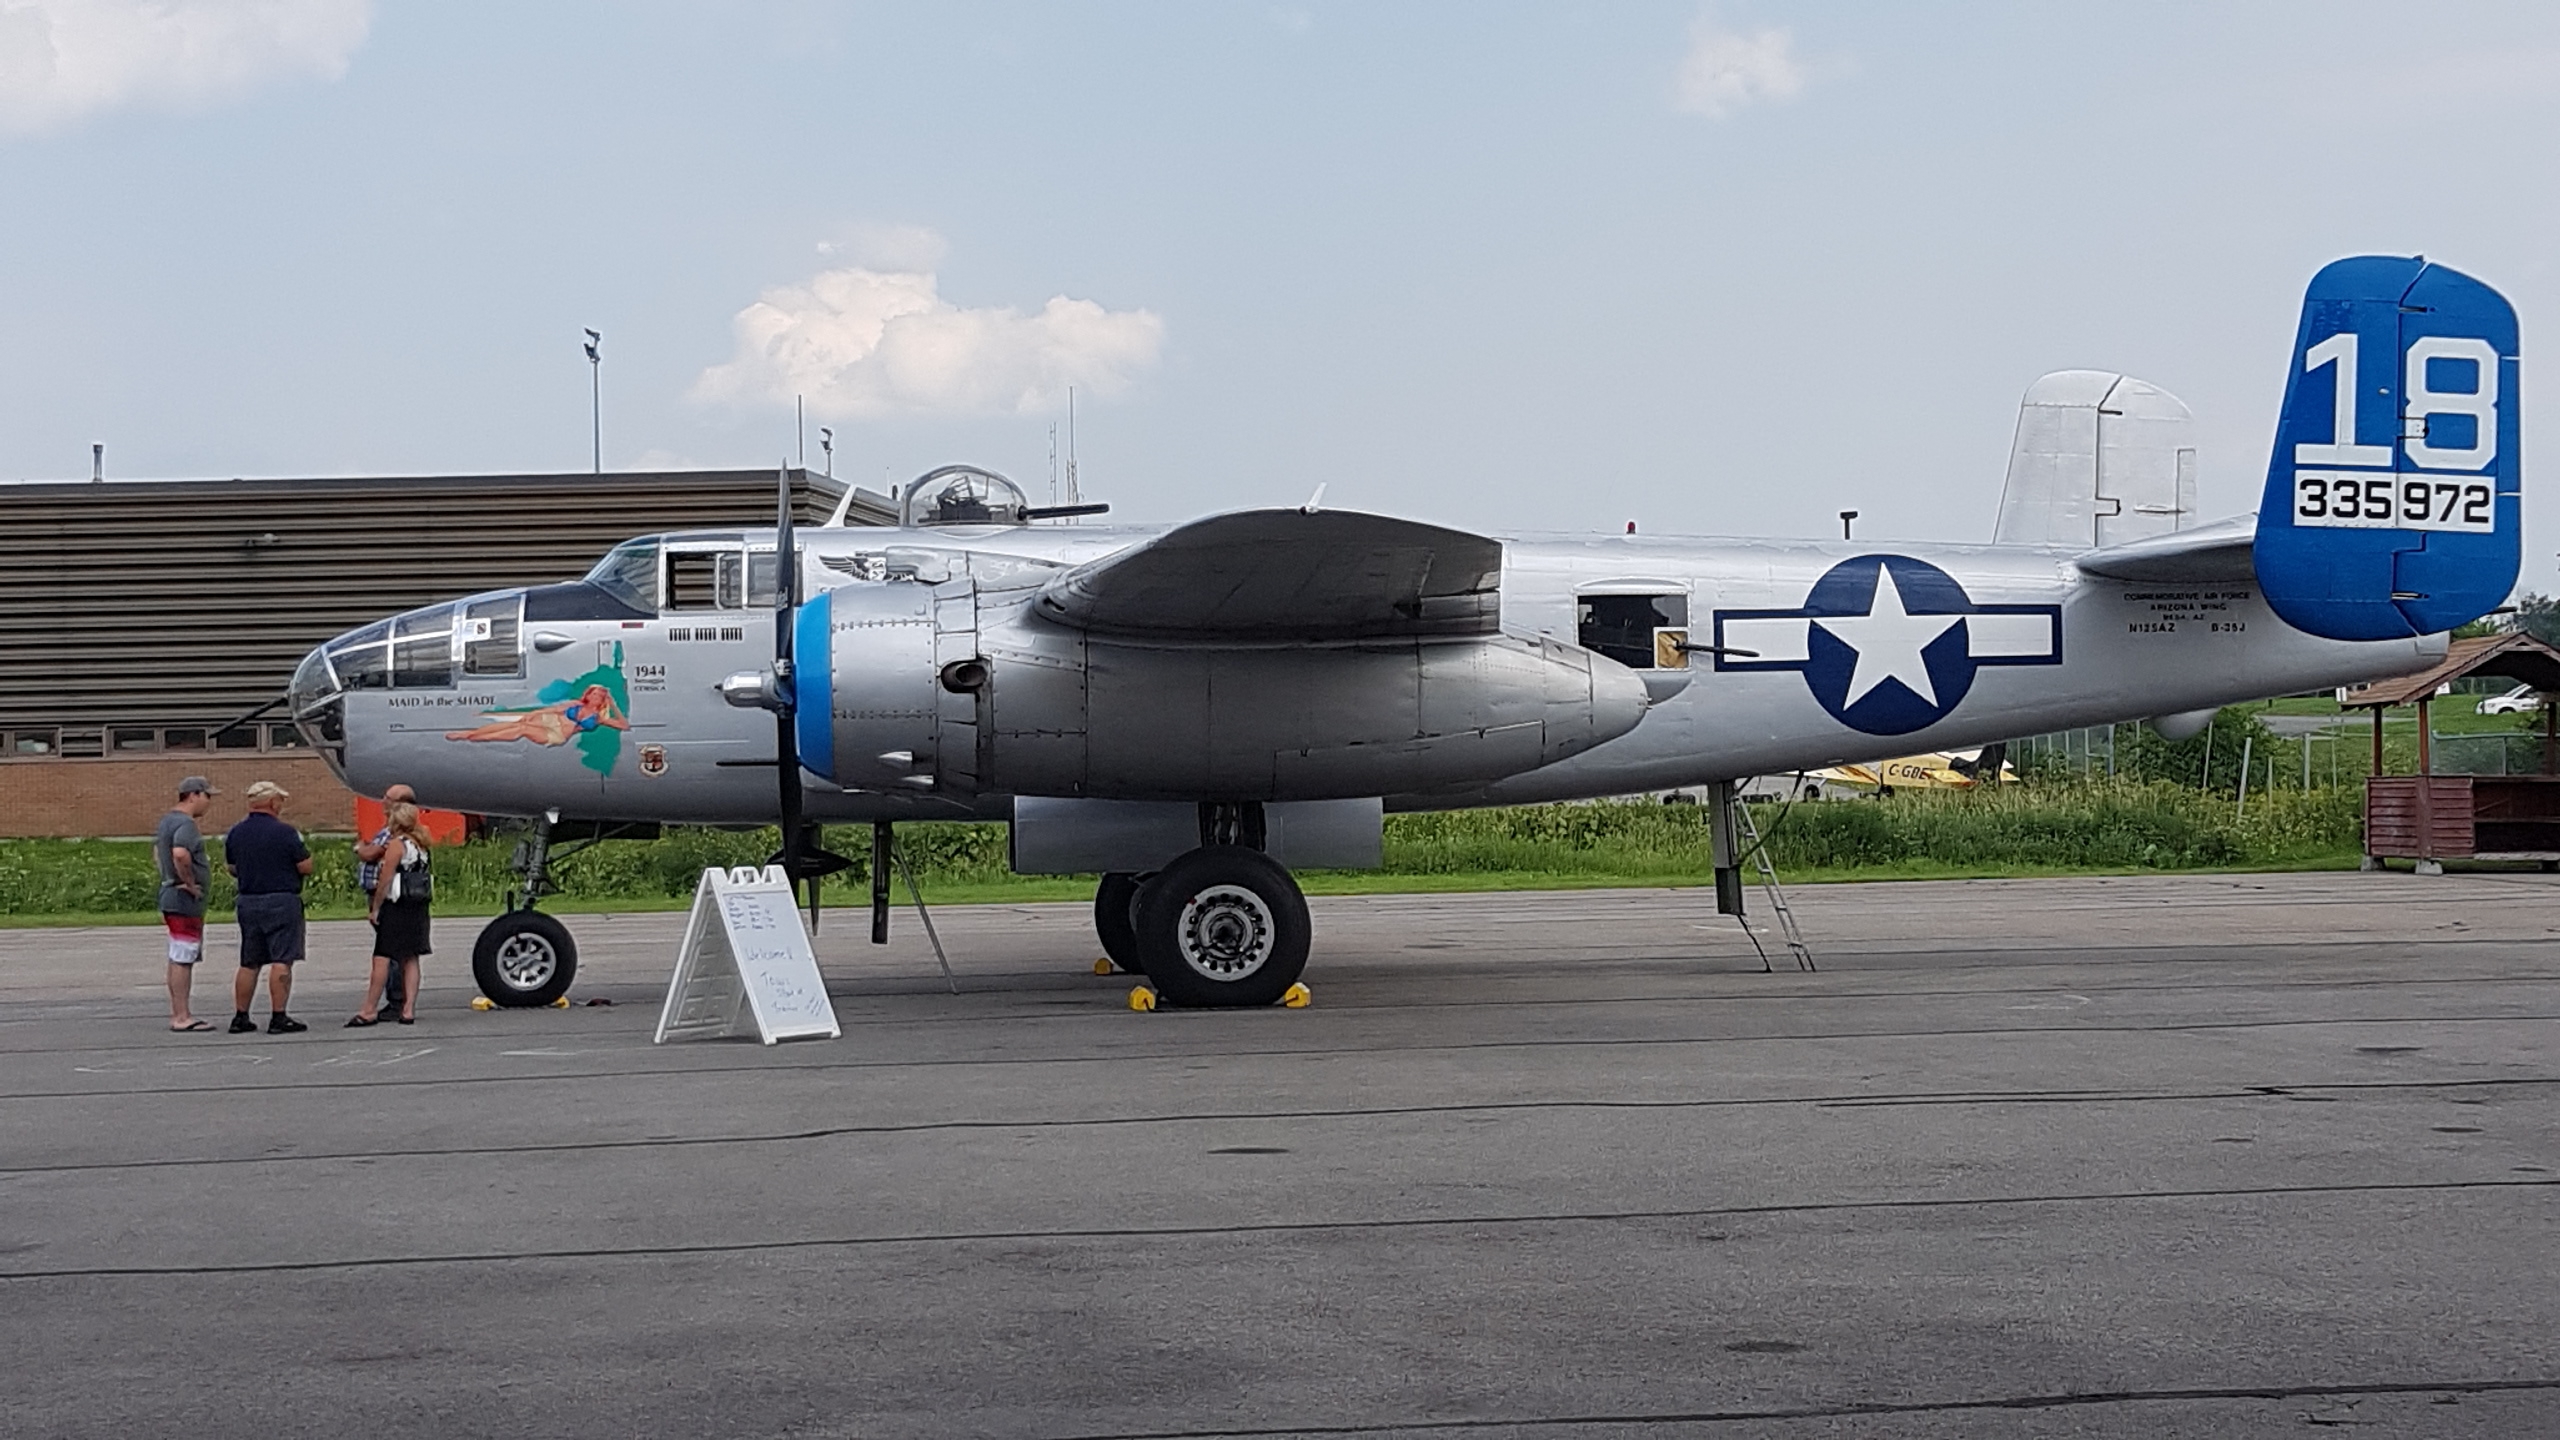
The B-25, legendary for the Doolittle Raid in 1942, became a mainstay of the U.S. Army Air Force in all theatres of the war. This kit represents a later model version, the B-25J. I decided to try and build the kit with the markings of the B-25 that we saw last summer at the Gatineau Airport, “Made in the Shade”.

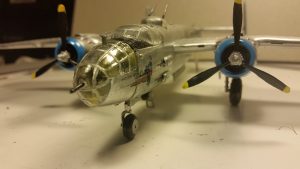
Here is the cockpit — the figures provided were not great, so I didn’t bother. I planned to build it with the gear down, so it would be feasible that there wasn’t anyone in the aircraft.
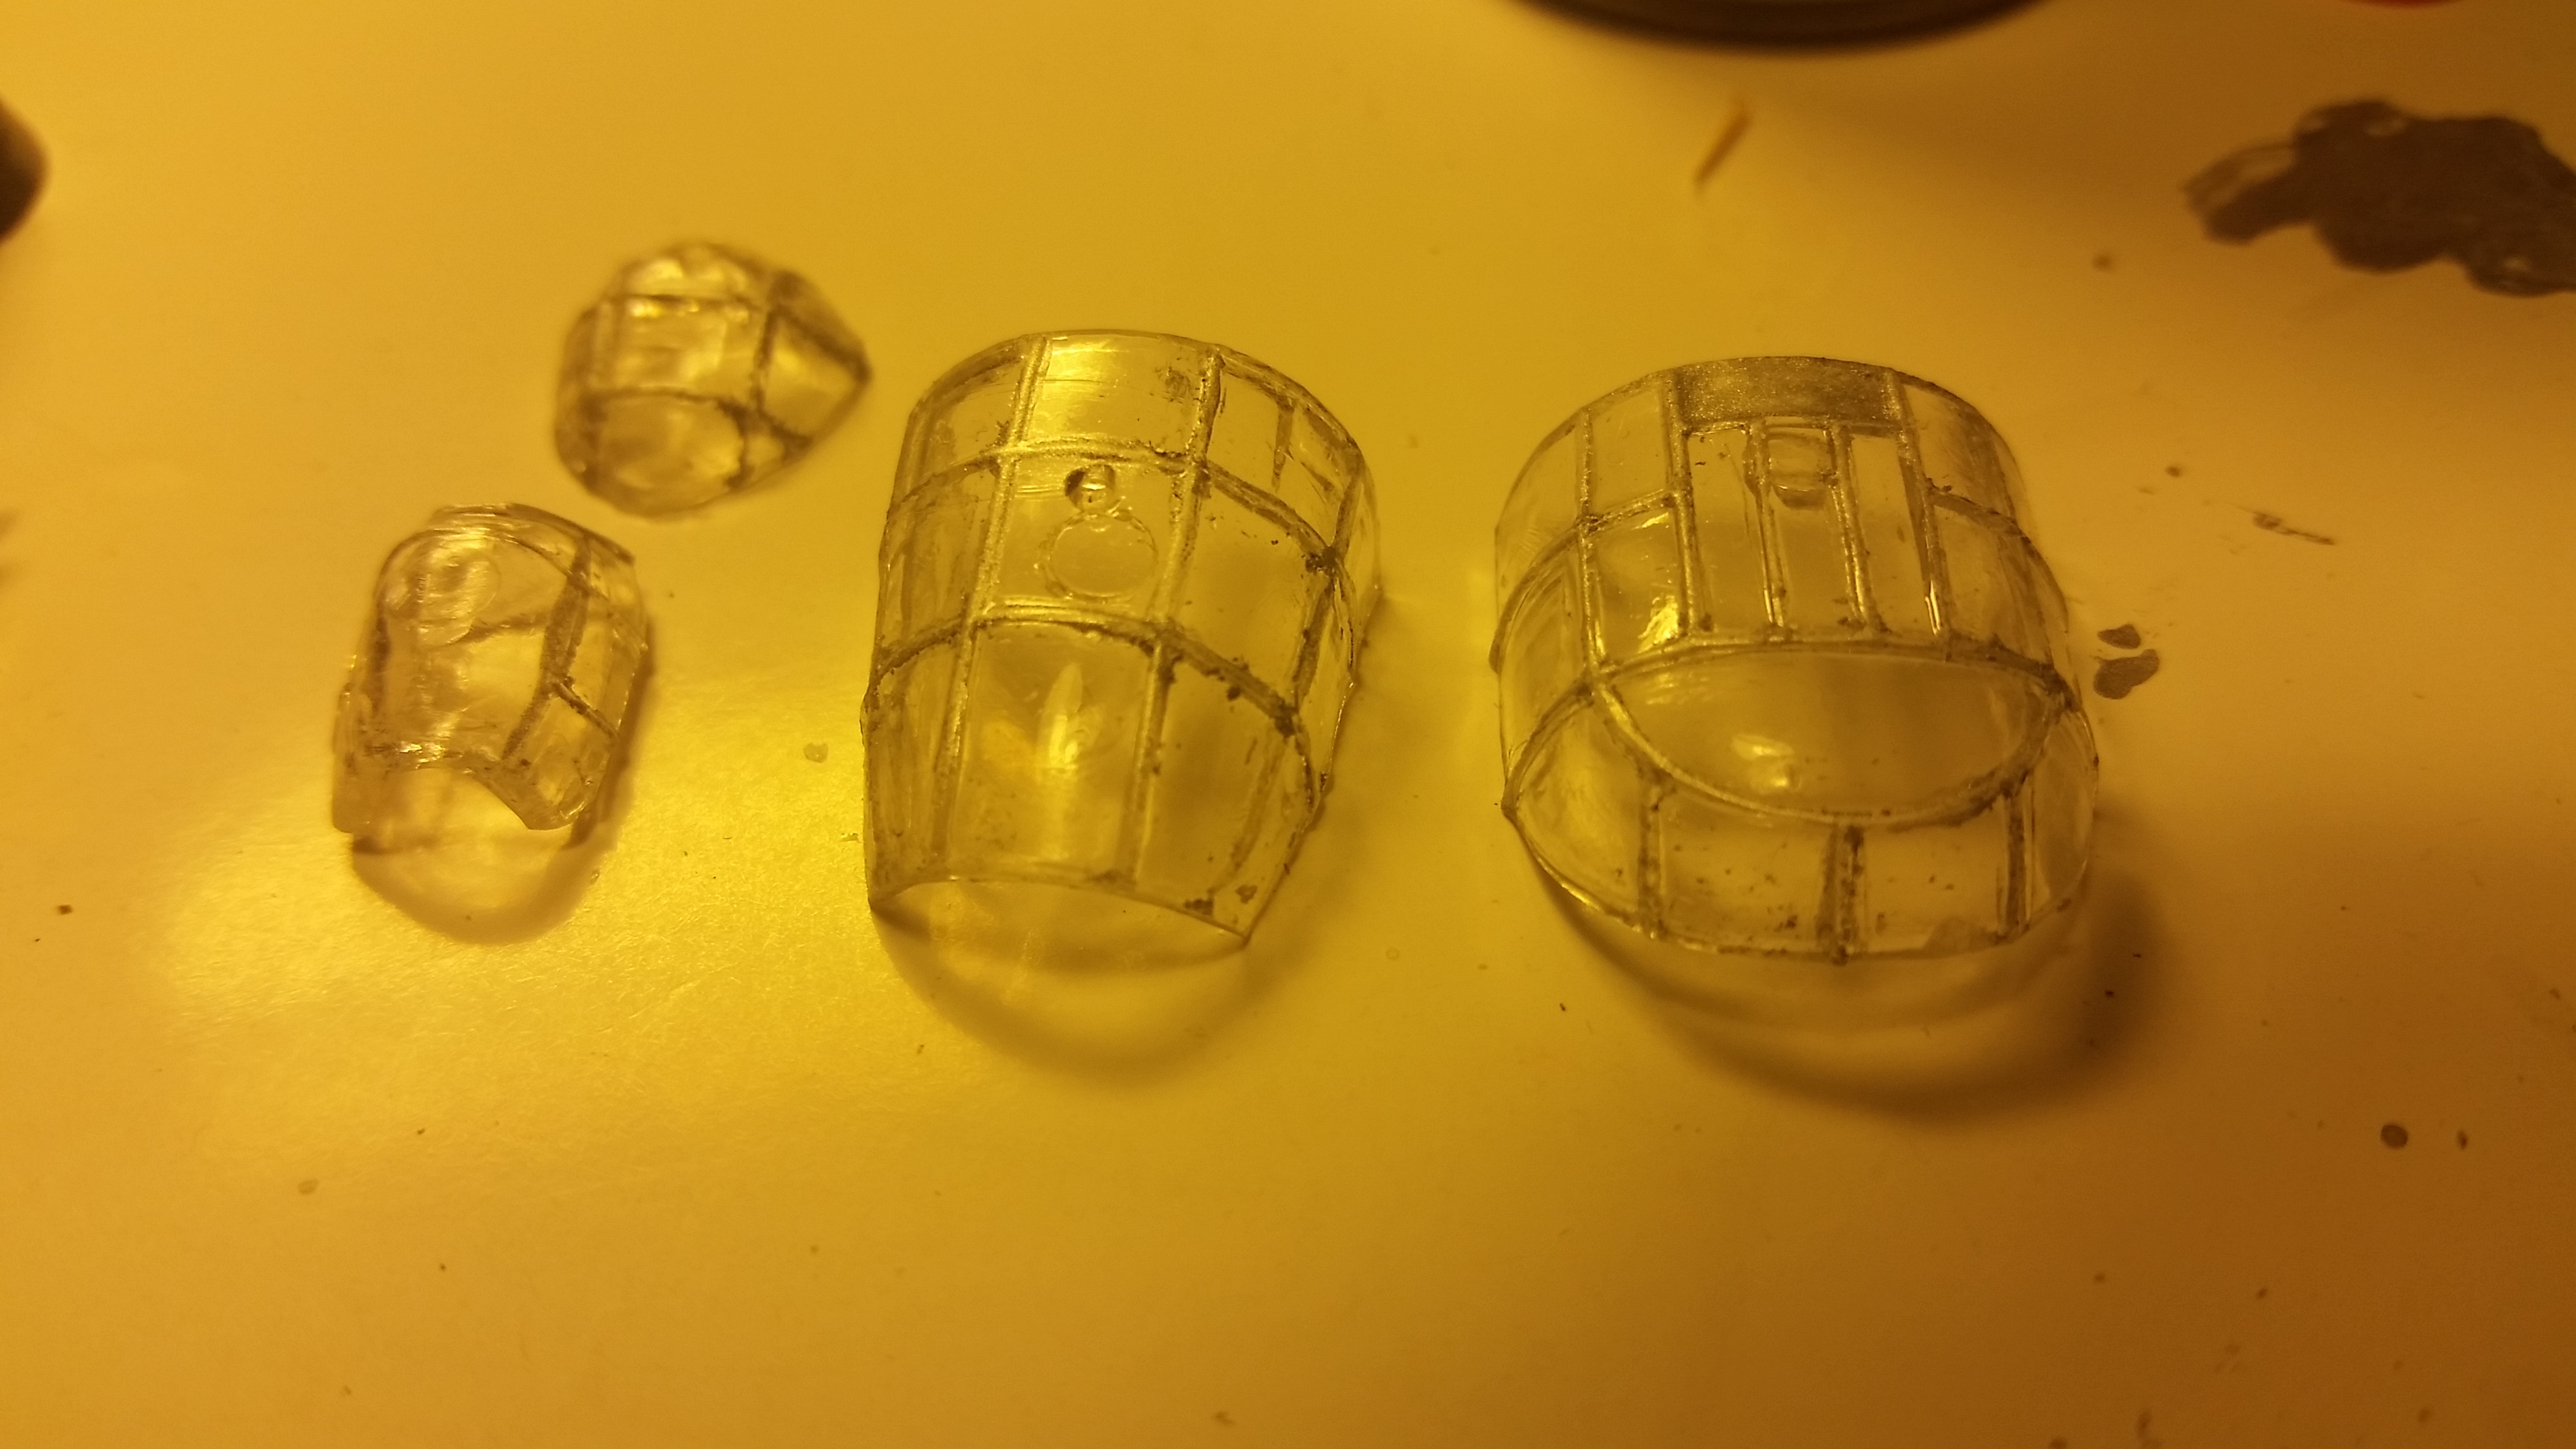
I tried the trick of painting the canopies roughly by hand with acrylic paint and then using a toothpick to sharpen up the messy bits. This met with limited success.

Here is the workbench in mid-build. The kit fit fairly well, but it was designed in a manner that made it necessary to super glue many of the landing gear opening panels and other parts because there was no way to have them fit in a manner that they would set properly with plastic cement.

I primed the plane with gloss black Tamiya acrylic in preparation for the bare aluminum finish.

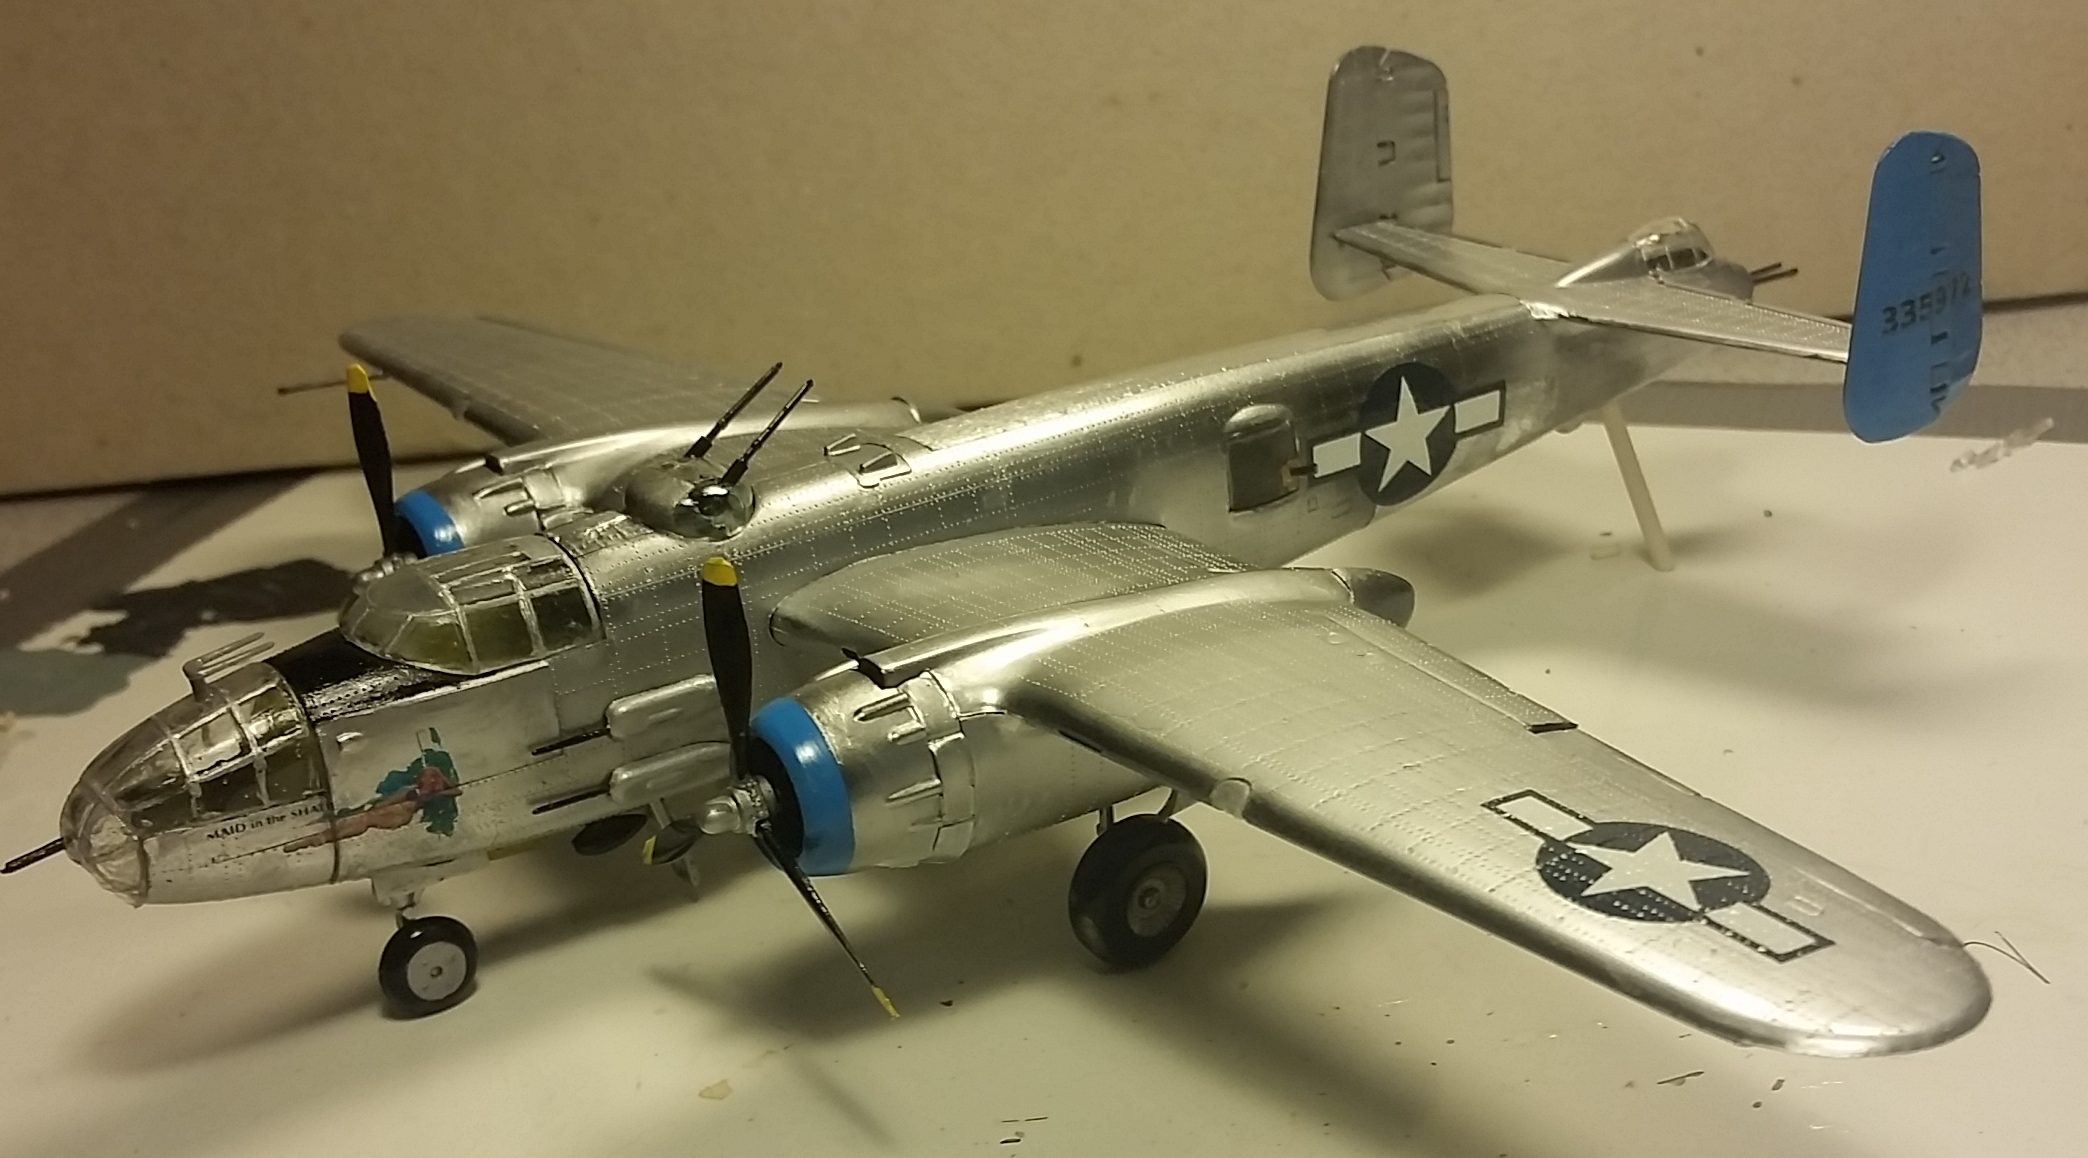
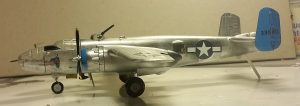
Here we are after airbrushing on the Vallejo aluminum finish. I also added some actual aluminum foil glued on with white glue, especially along the top seam of the fuselage. Because the kit had raised panel lines and rivets, any filling and sanding destroyed the detail. I was able to restore some of detail by pressing the foil against the wing to create rivet bumps, then gluing that piece to the top of the fuselage.
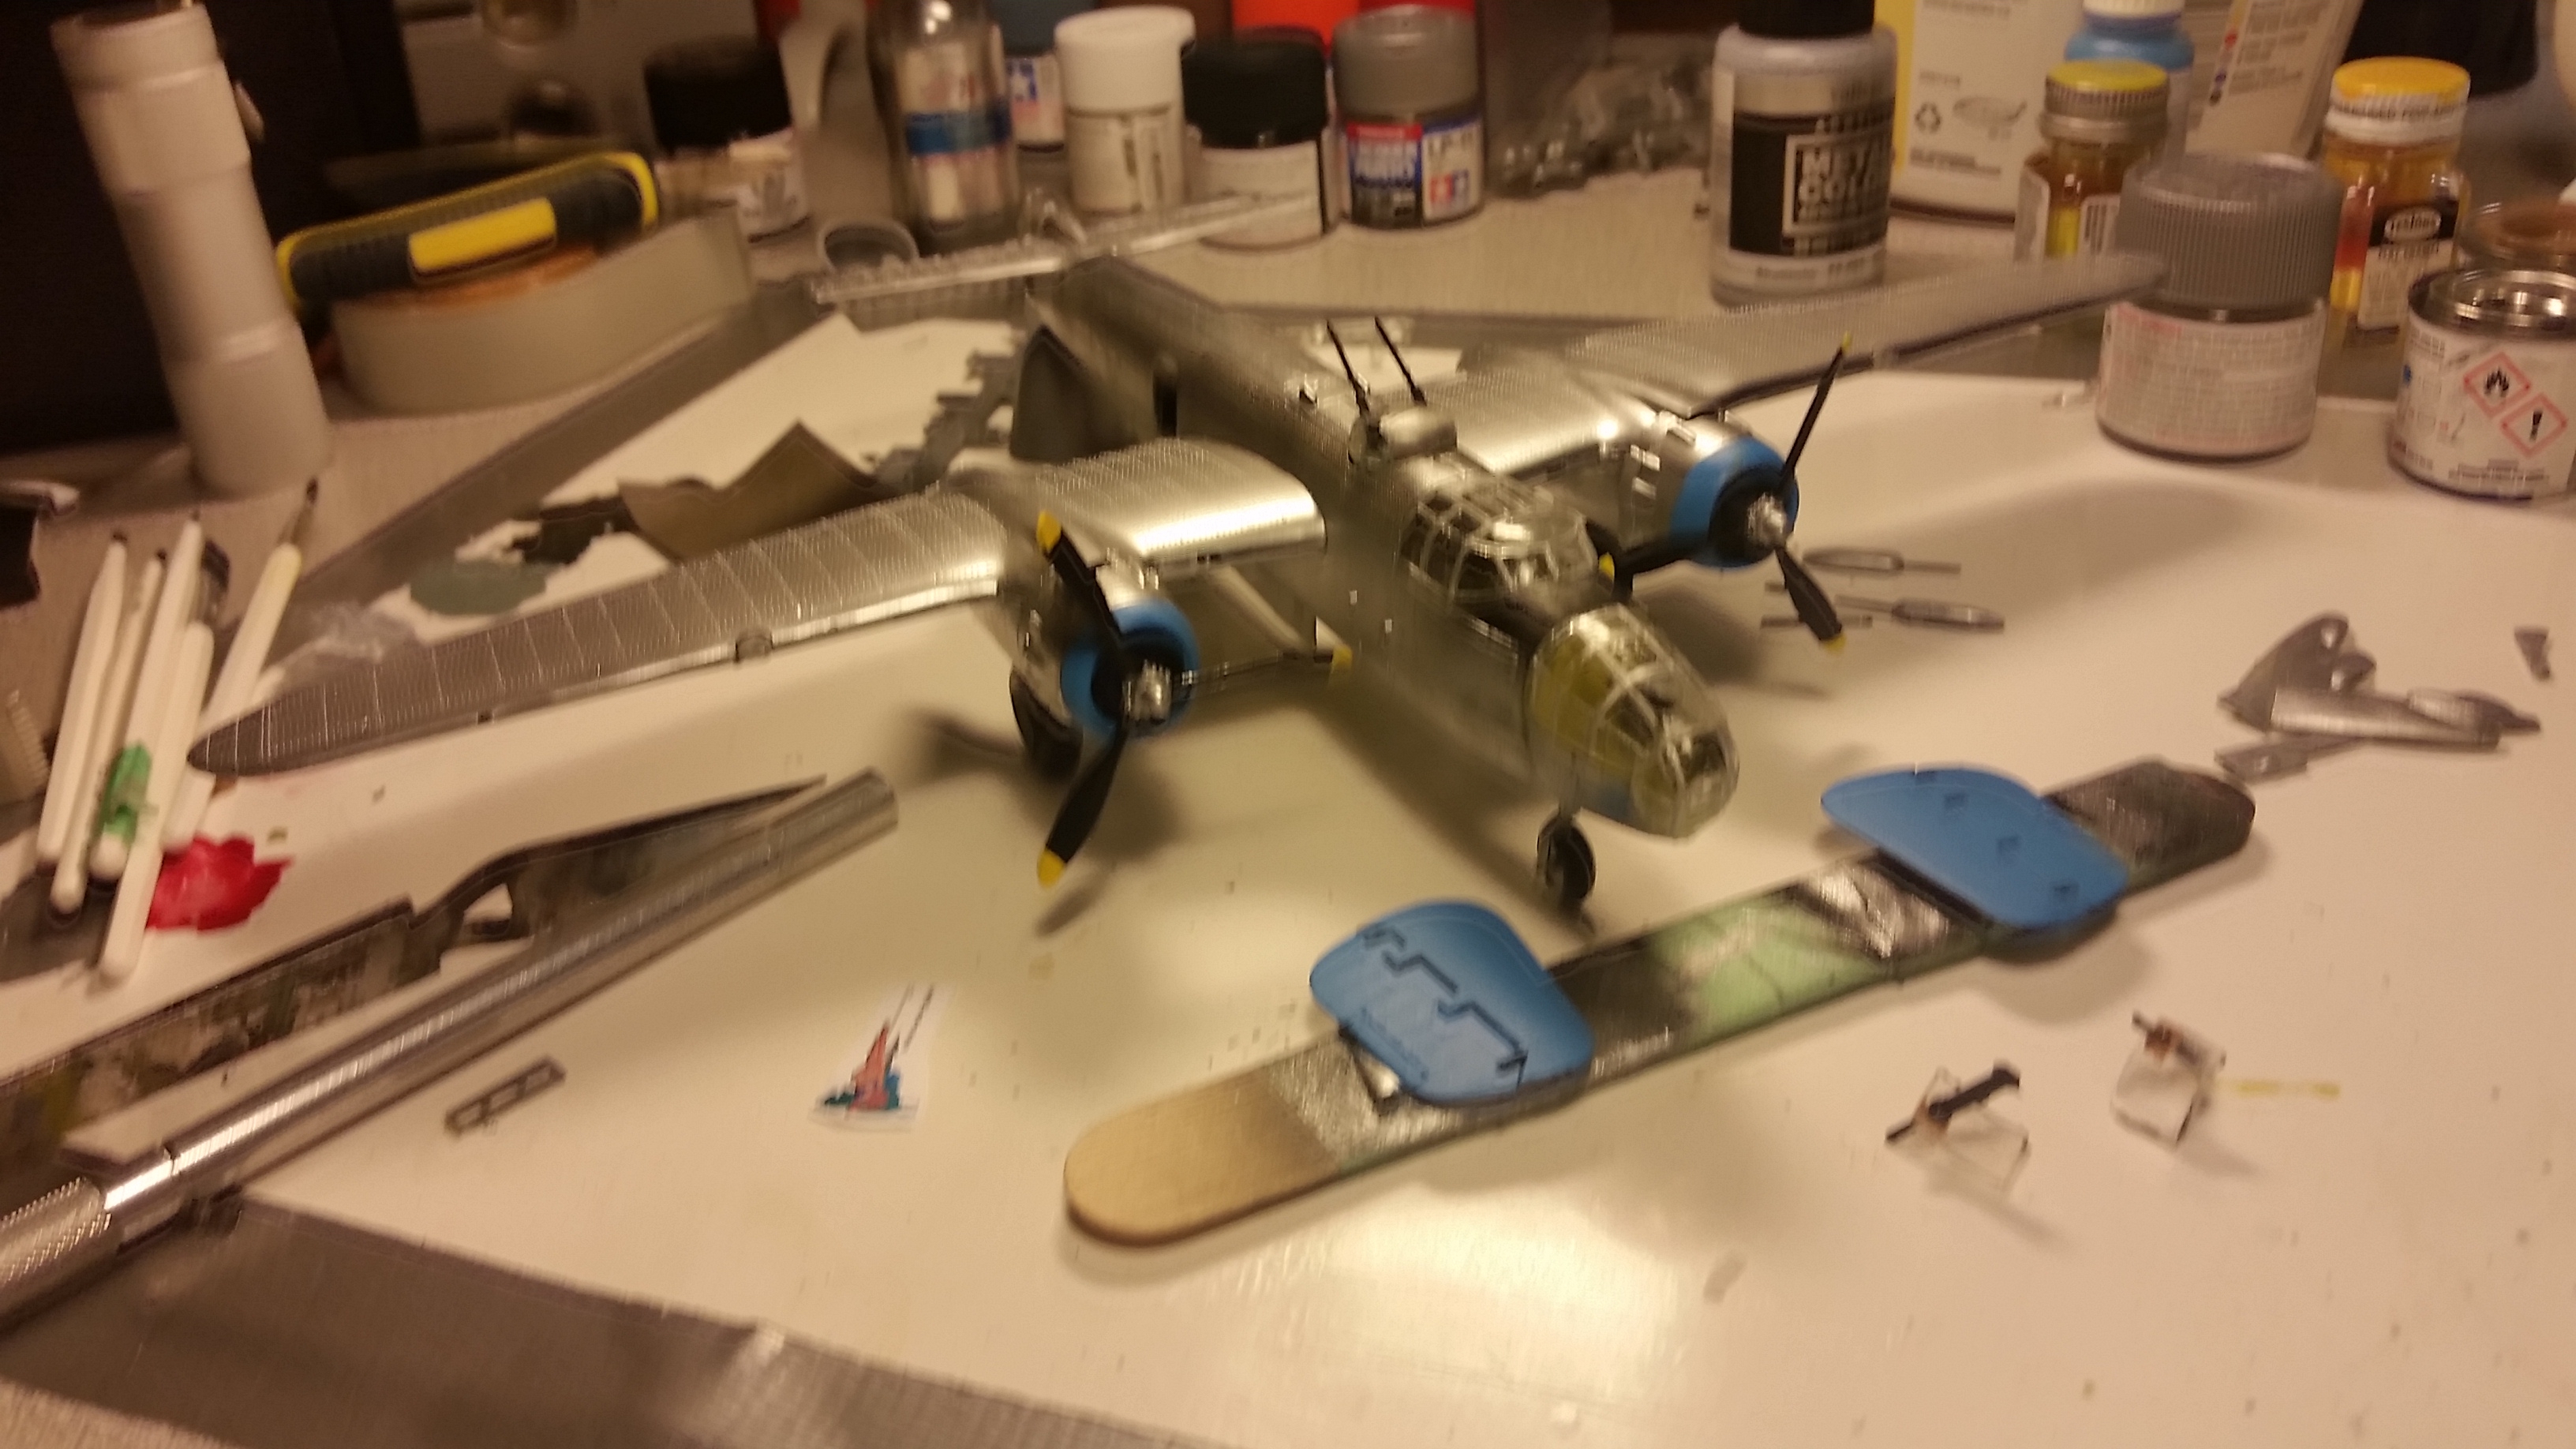
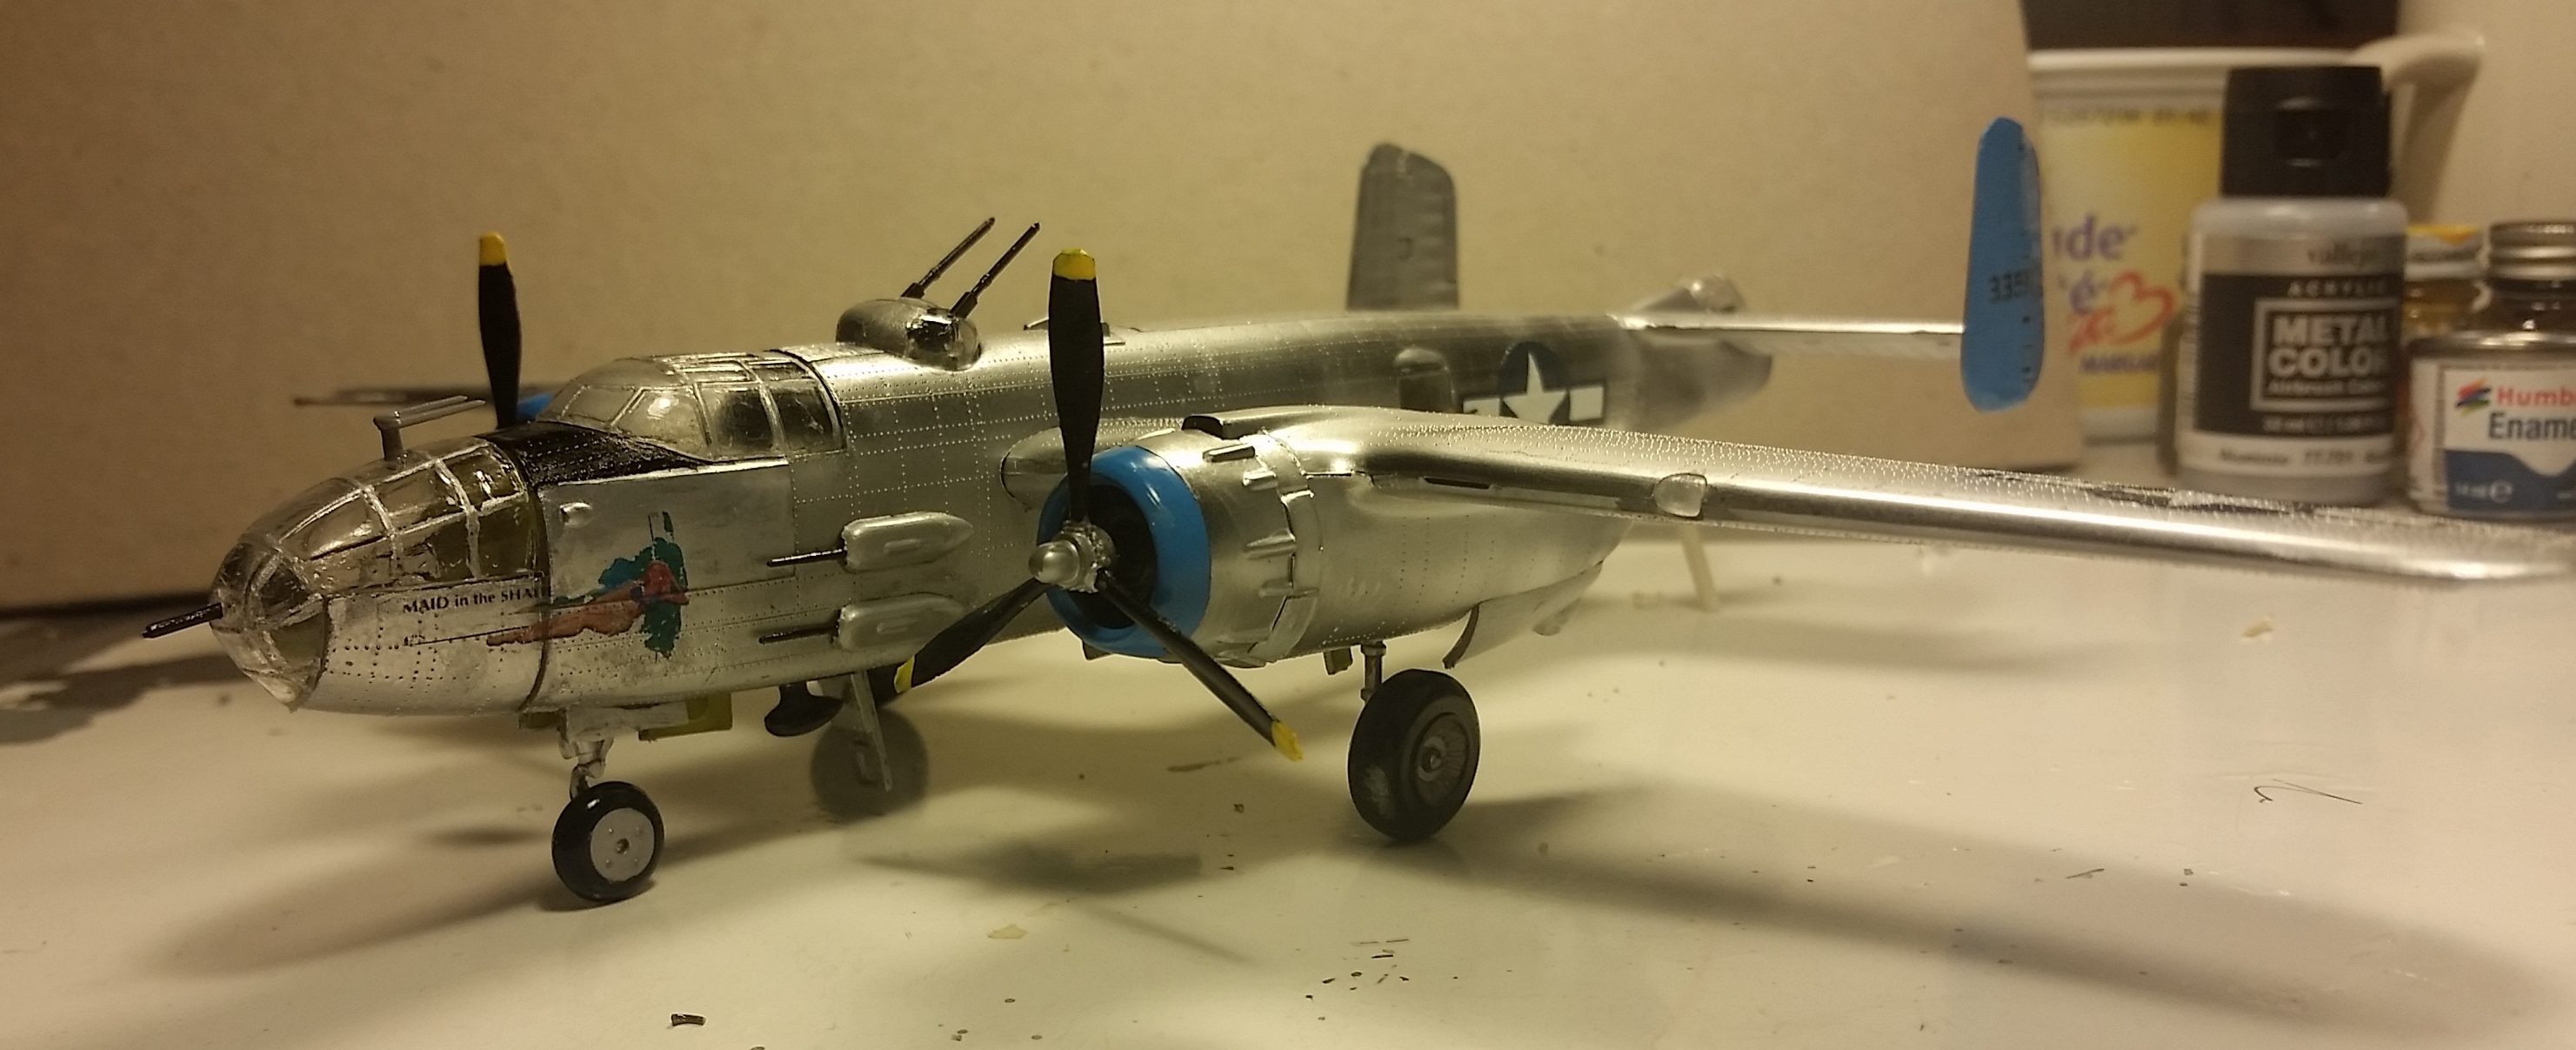
I used Vallejo Andrea Blue for the cowlings and rudder accents. Sadly, the nose didn’t fit great after being assembled with the canopy and there wasn’t much I could do about it.
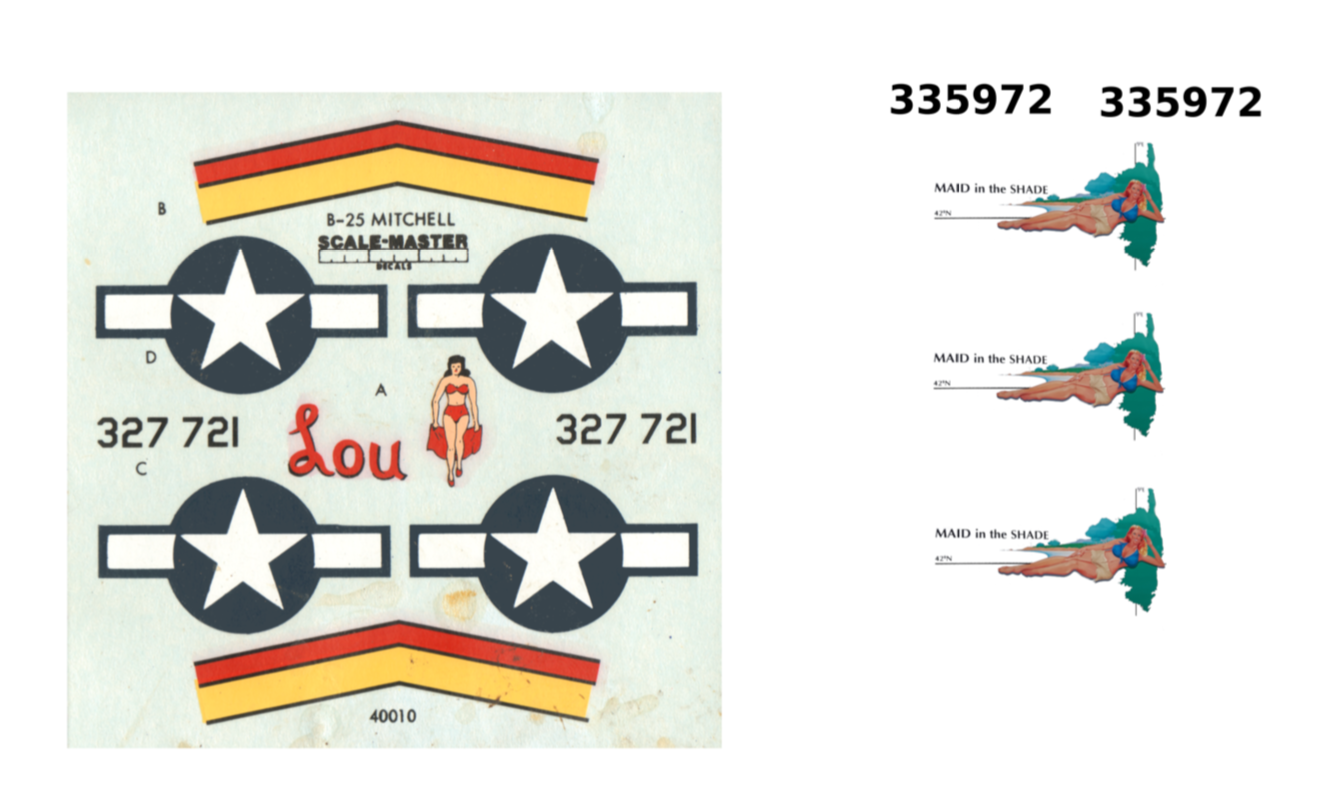
Now here is where things get interesting. I purchased some laserjet decal paper and tried to make my own decals for “Made in the Shade”. I took a photograph of the actual aircraft and edited the image on the computer. I then printed it on decal paper and used that with the original decal sheet to mark the plane. I couldn’t do the large “18” on the tail or the white rectangle over the registry number because you can’t print white on a laser printer (or any printer), the decal paper is clear. You can get white decal paper, and perhaps a combination of the two would allow for perfecting these markings.
Plane of the Day, Bell P-59 Airacomet