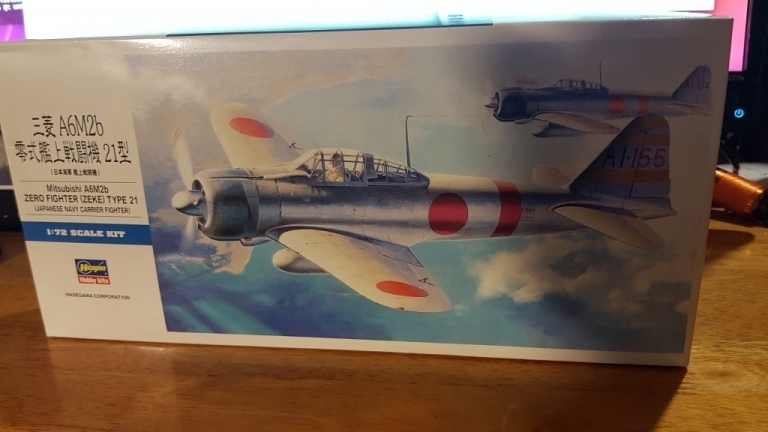
Hasegawa 1/72 Mitsubishi A6M2b Zero
The Mitsubishi A6M Zero (codenamed “Zeke” to the Allies”) was designed to be a carrier-borne fighter for the Imperial Japanese Navy. In the early years of the war, the Zero terrorized the skies over the Pacific, being able to outrun and outmaneuver its U.S. Navy counterpart, the Grumman F4F Wildcat. The Zero was able to accomplish this because it was light — there was no armor plating to protect the pilot nor did it have self-sealing gas tanks. Armed with 2 .303 machine guns in the engine cowling and 2 20mm cannon in the wings, the Zero was a formidable opponent.
When a Zero crashed in the Aleutians during the Battle of Midway, the Americans restored it to flying condition and analyzed it to devise an aircraft that could out-perform the Japanese fighter. The result was the Grumman F6F Hellcat.
Towards the end of the war, the Zero was outclassed by the Hellcat, the F4U Corsair, the P-51 Mustang and other Allied aircraft, but it remained in service until the Japanese surrender.
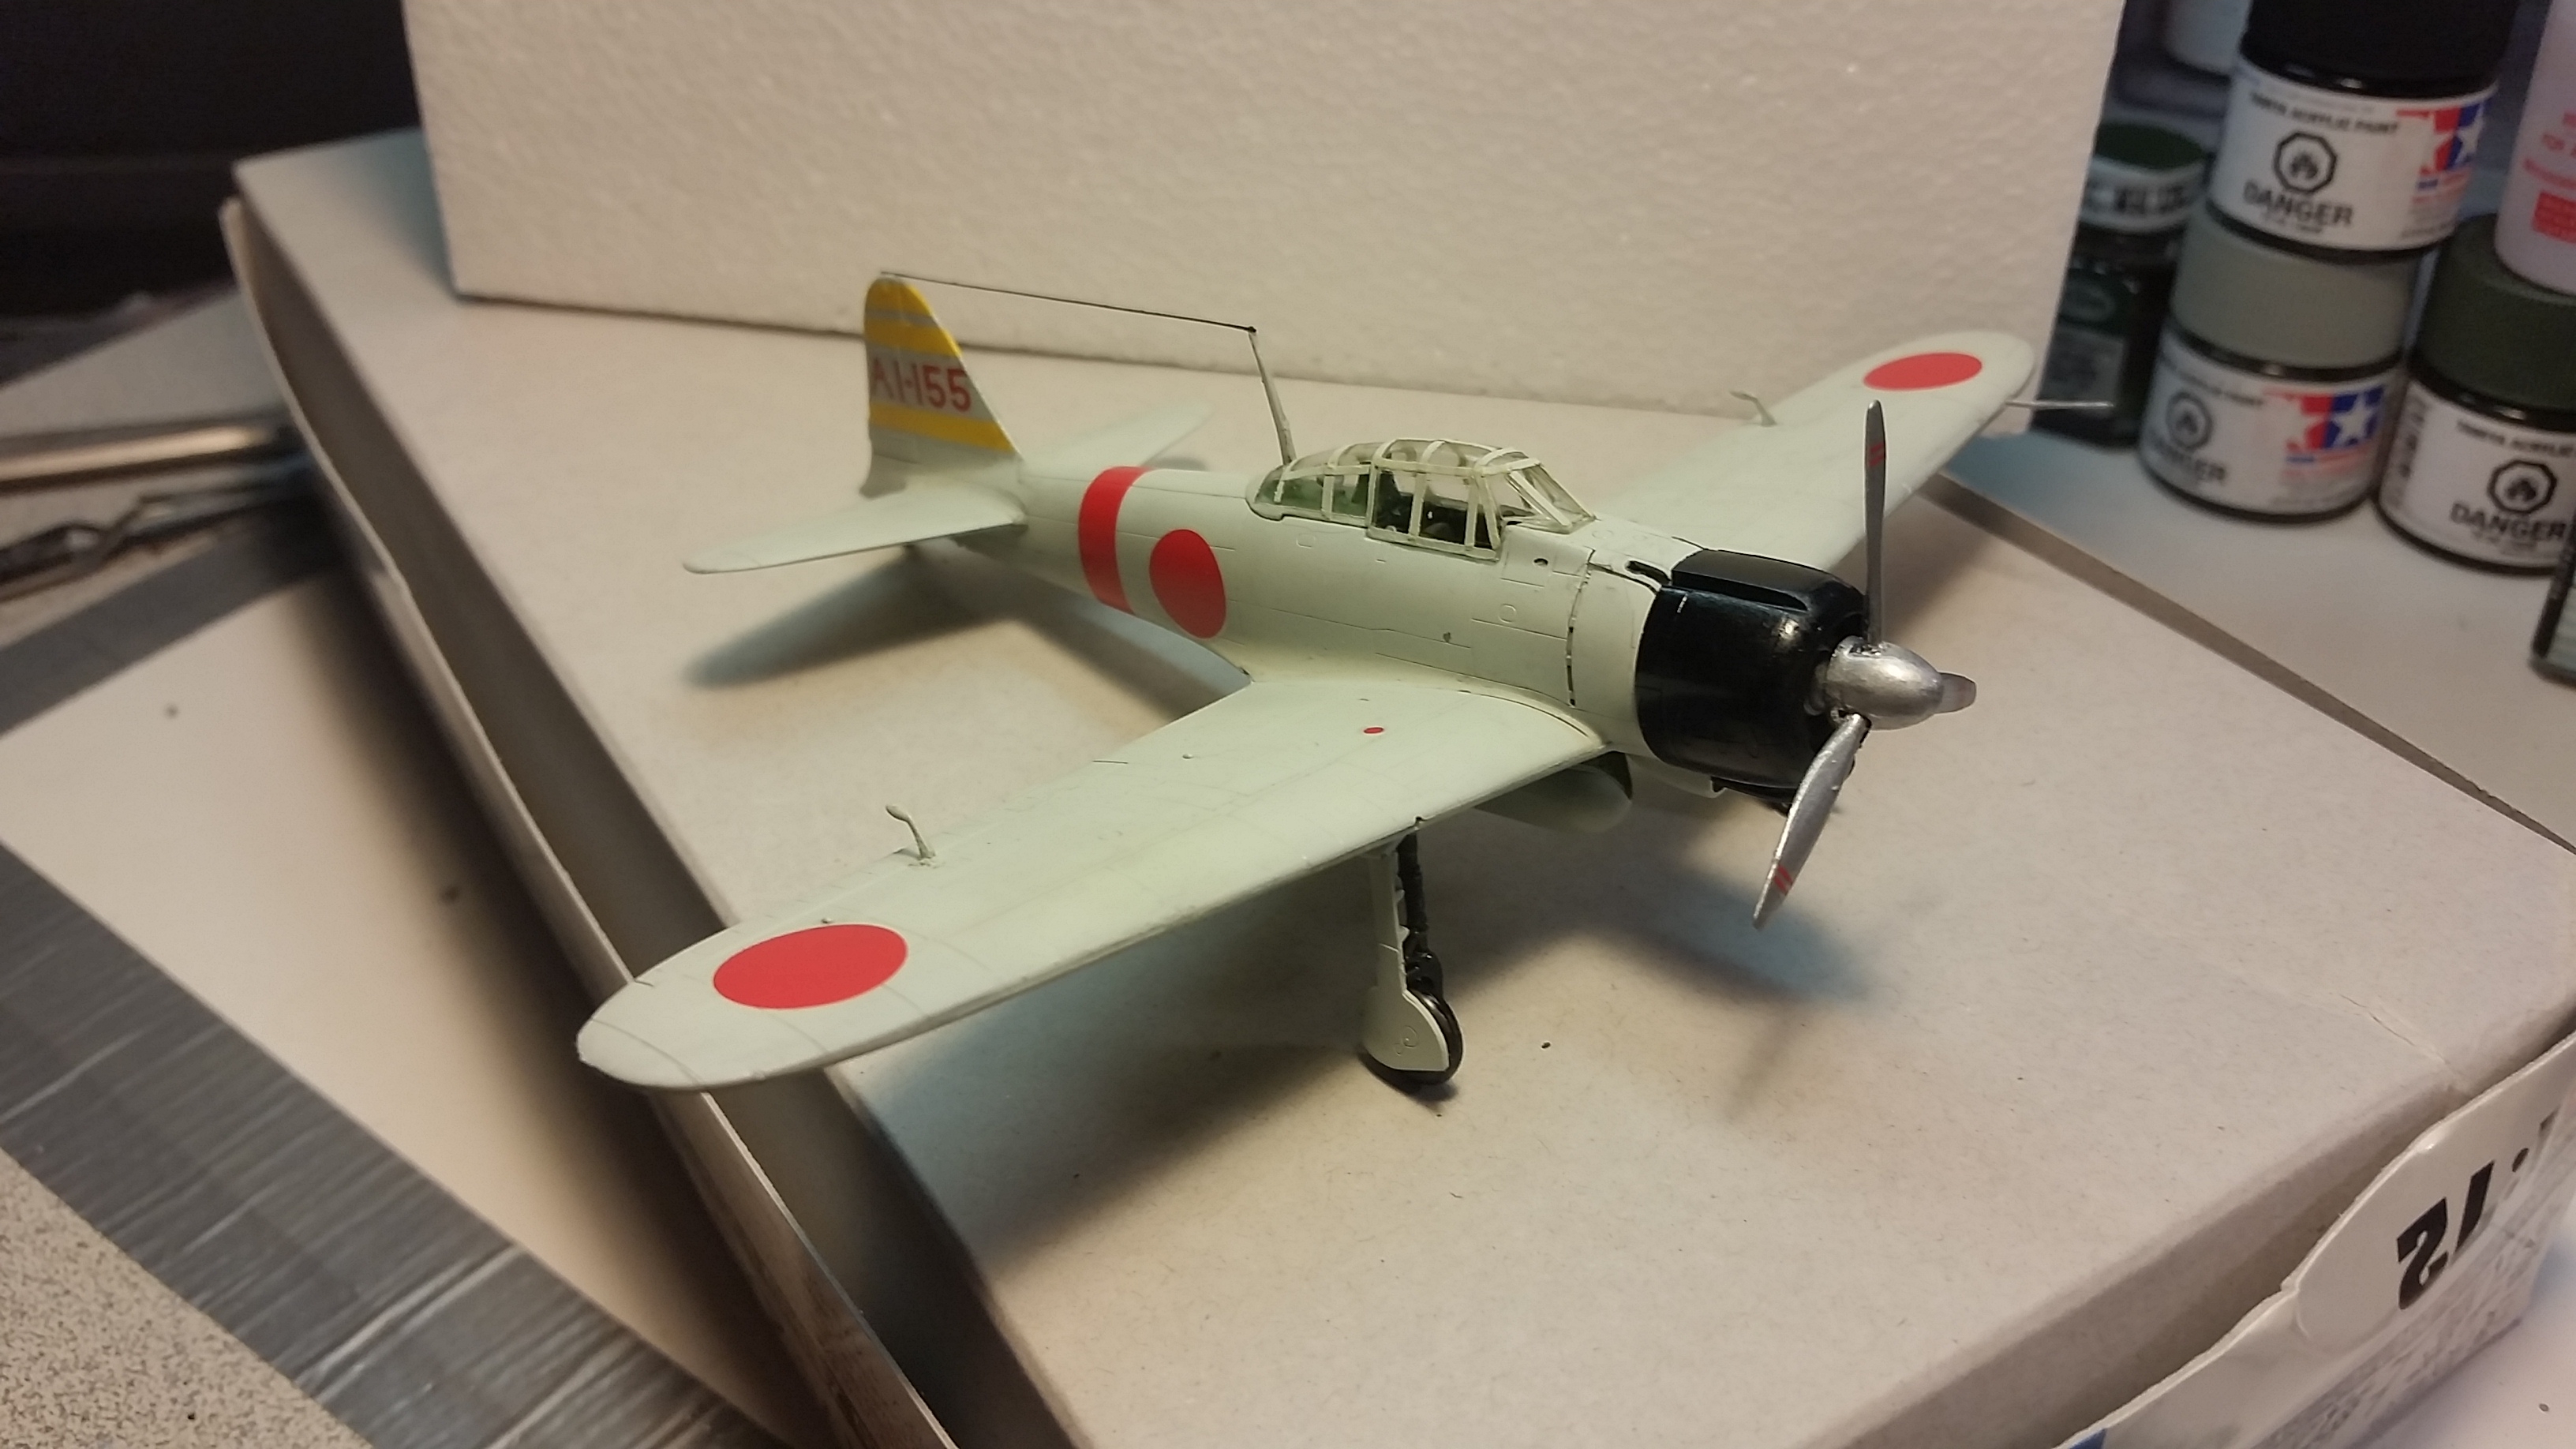
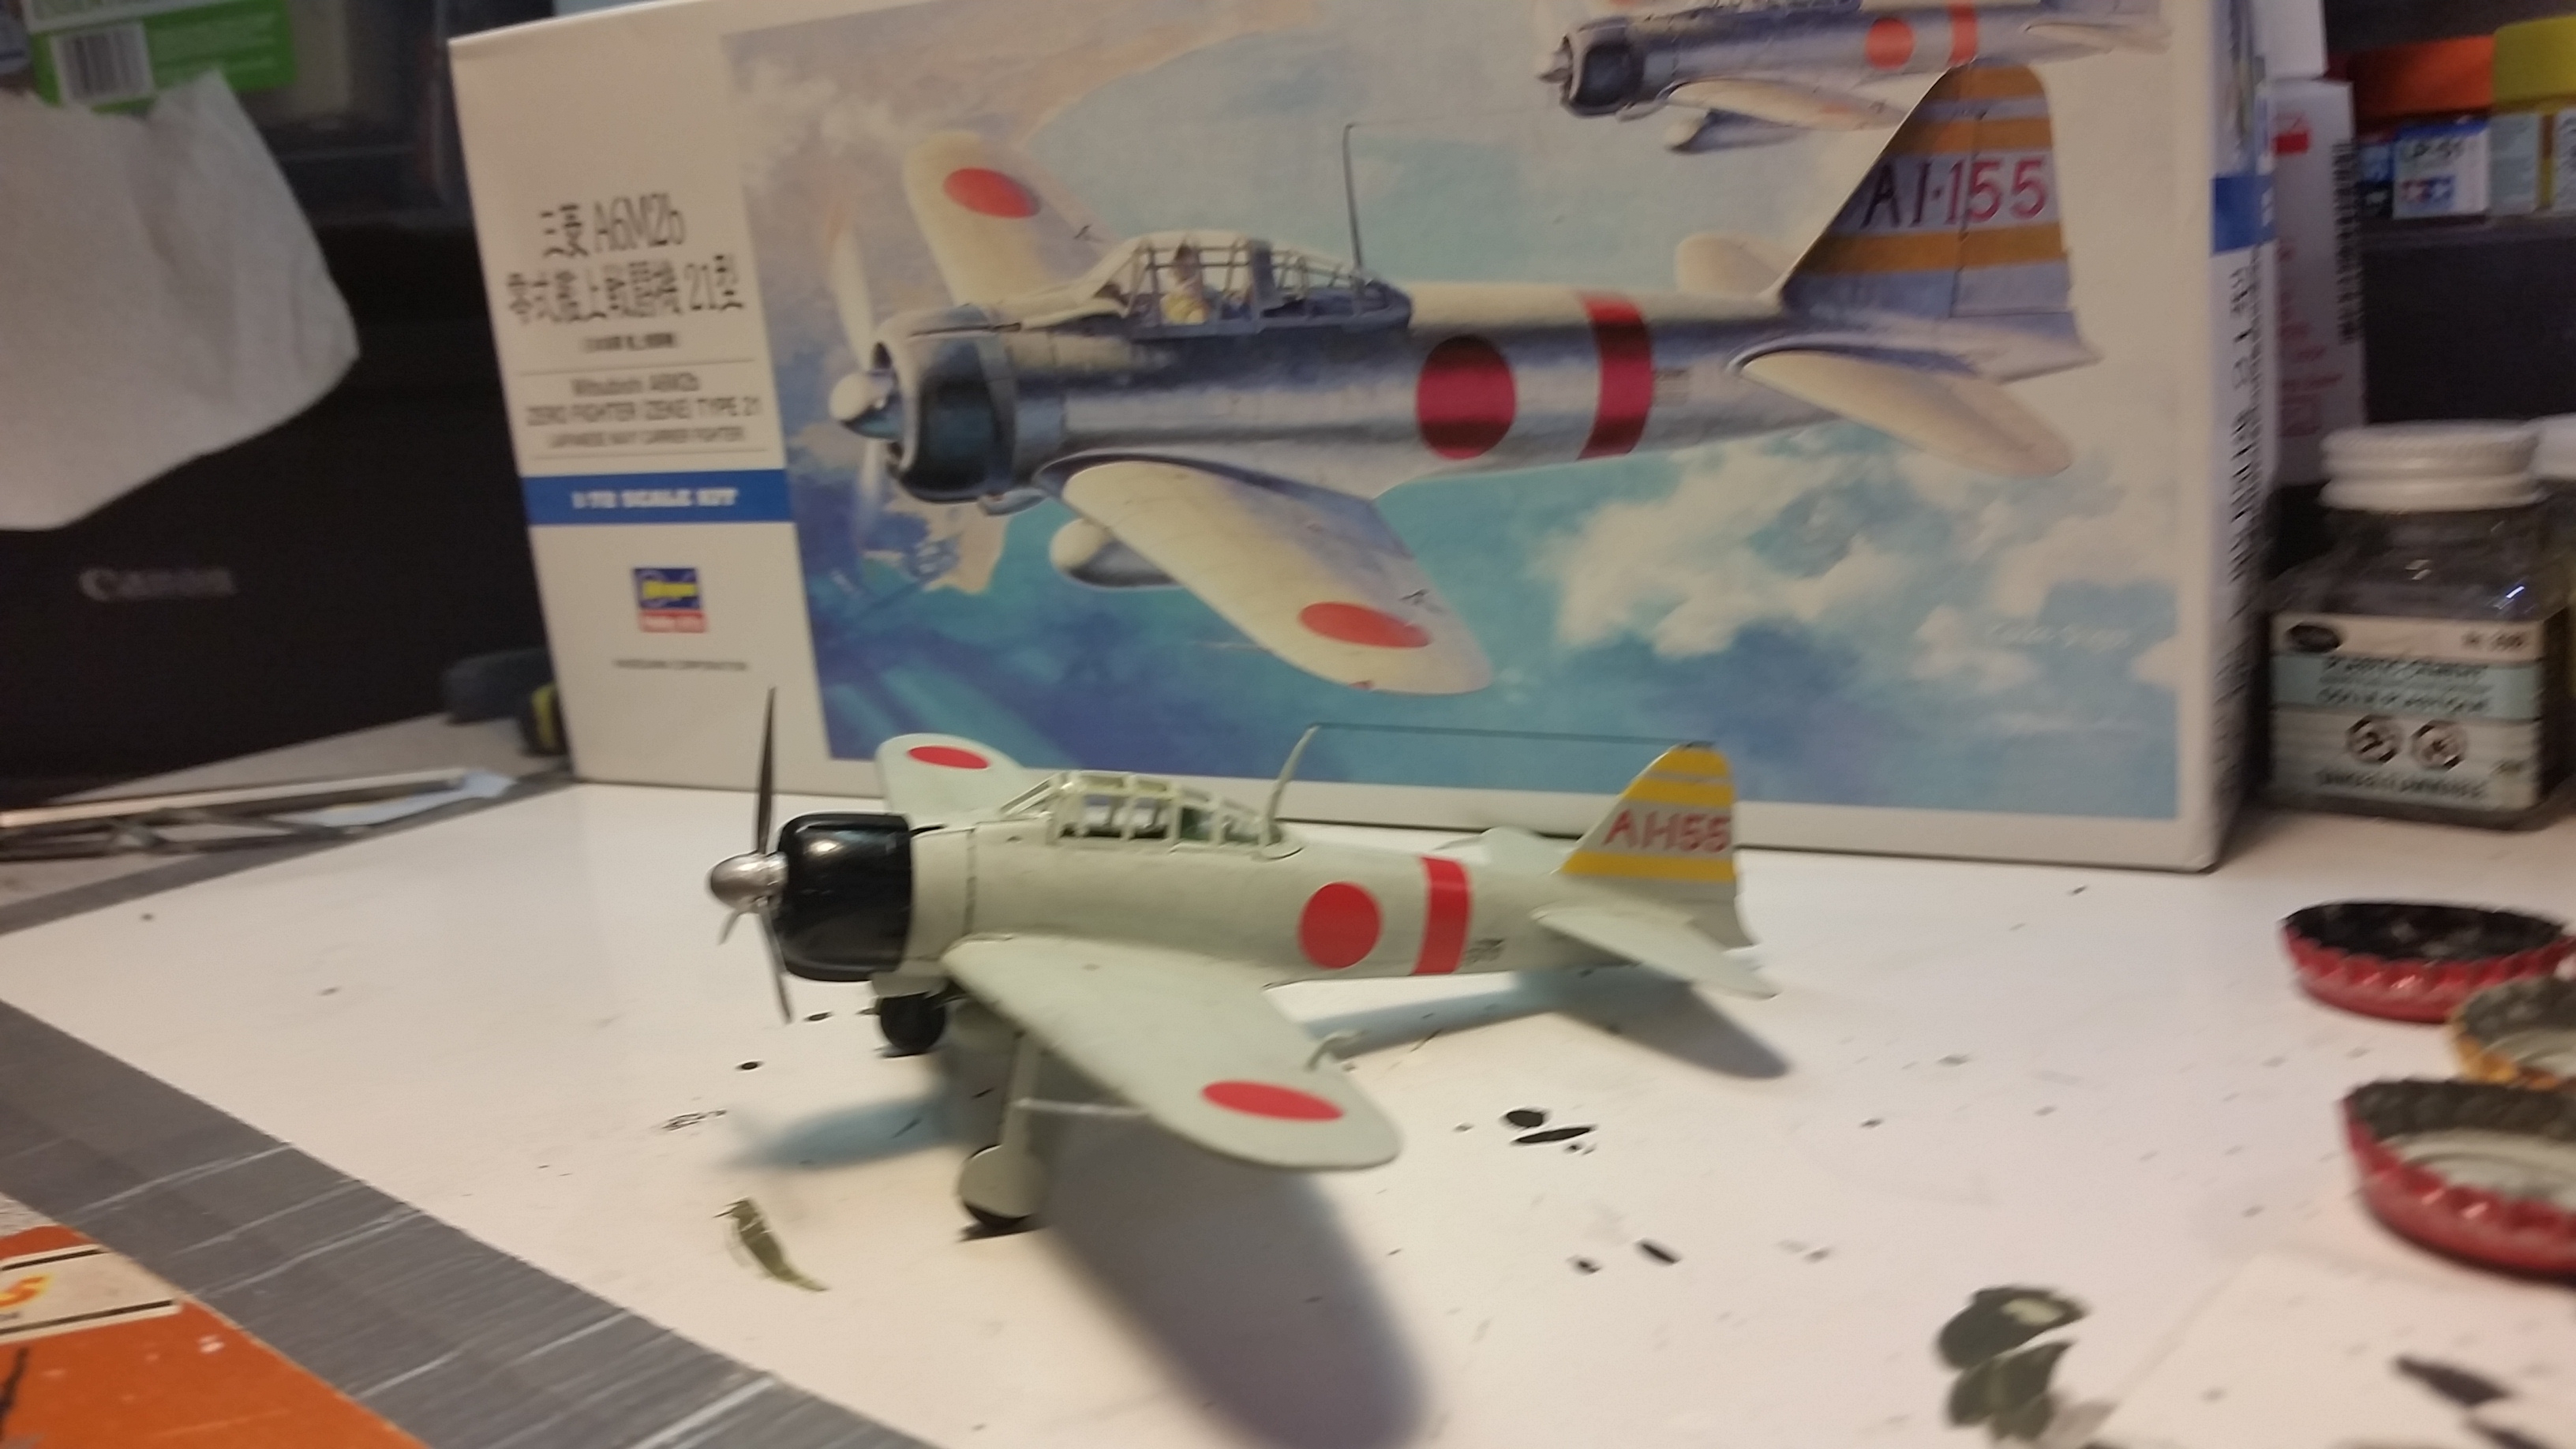
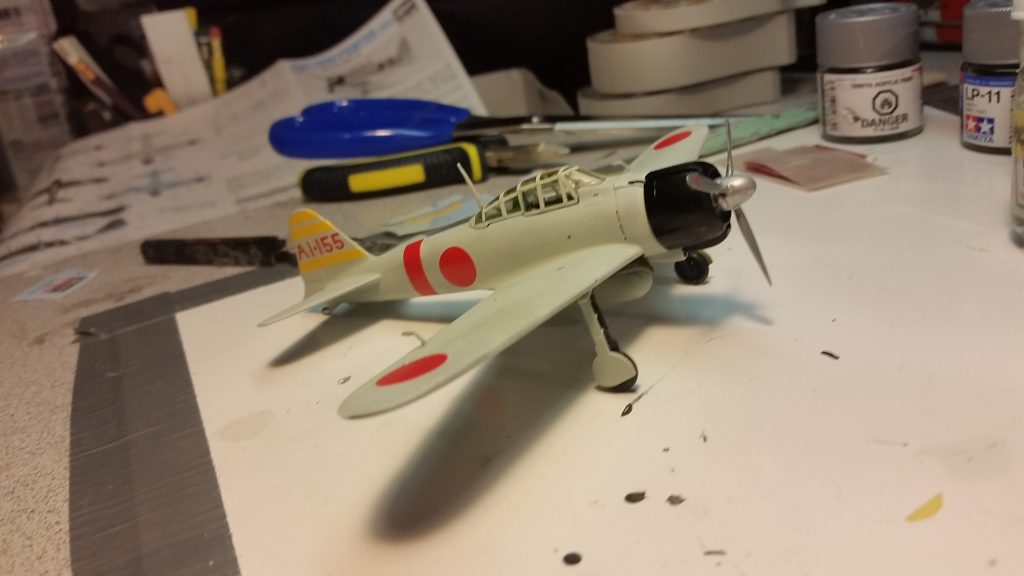
This kit is the Hasegawa 1/72 A6Mb2 Zero flown by Shigeru Itaya off the Akagi during the attack on Pearl Harbor on December 7, 1941.
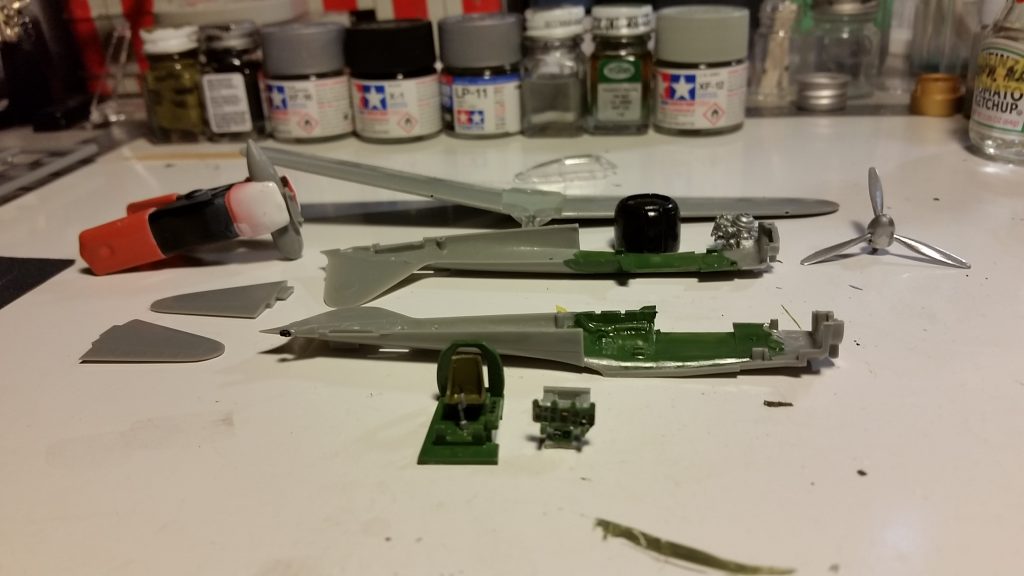
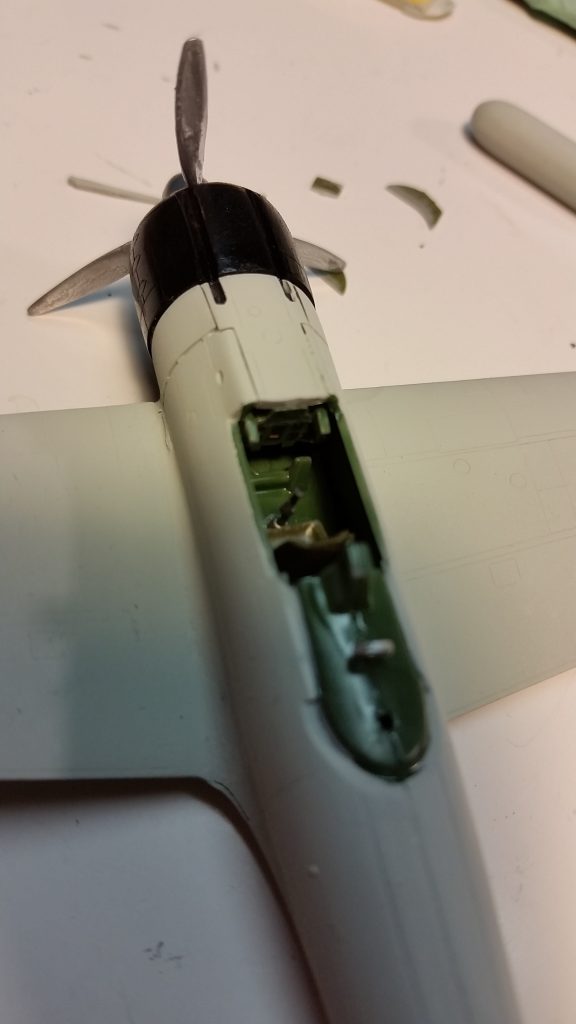
Cockpit is moderately detailed. There is no pilot. The instrument panel is augmented with decals to provide the appearance of gauges. I painted the interior, cockpit tub, seat, and bays various shades of flat green Testors enamel matt paint.

The propellor is painted Testors enamel silver and the cowling Tamiya acrylic gloss black. In these photos, you can see the paints used accumulating in the background on the workbench.
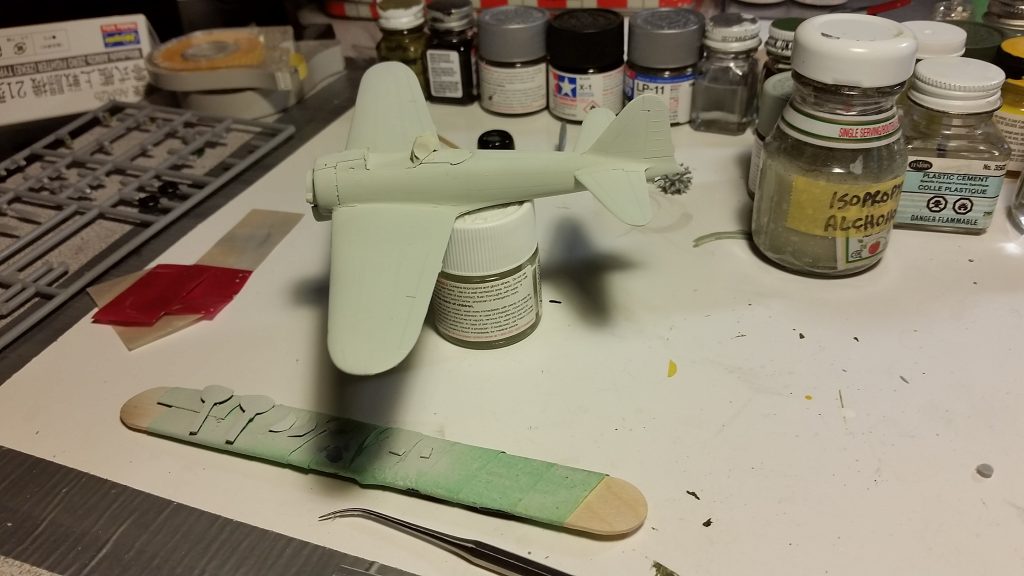
I mixed a combination of Tamiya Imperial Japanese Grey with Tamiya flat white acrylic for the fuselage color. The IJN Grey (Tamiya XF-12) is a little too green for my tastes. My mixture was applied using an airbrush.
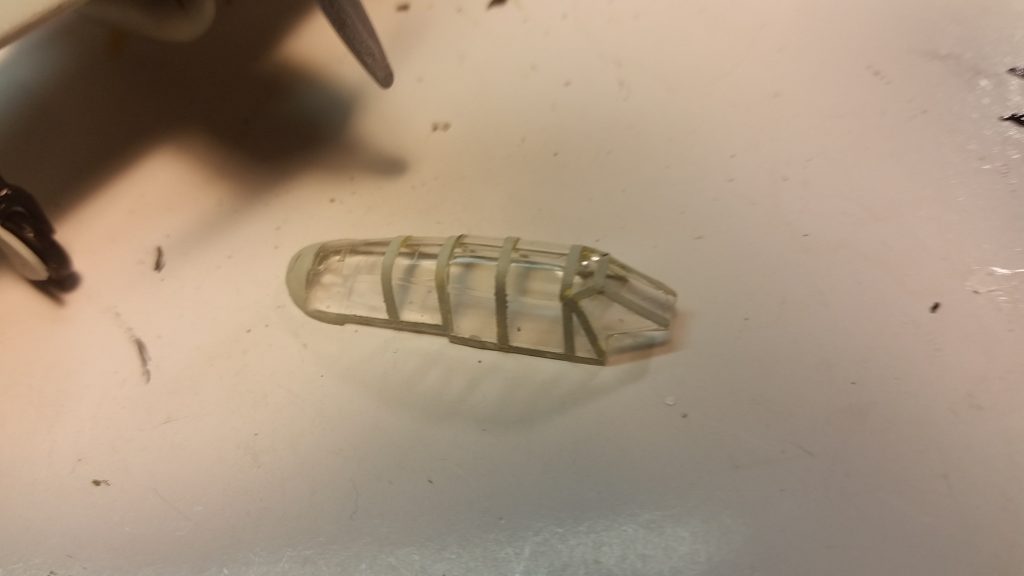
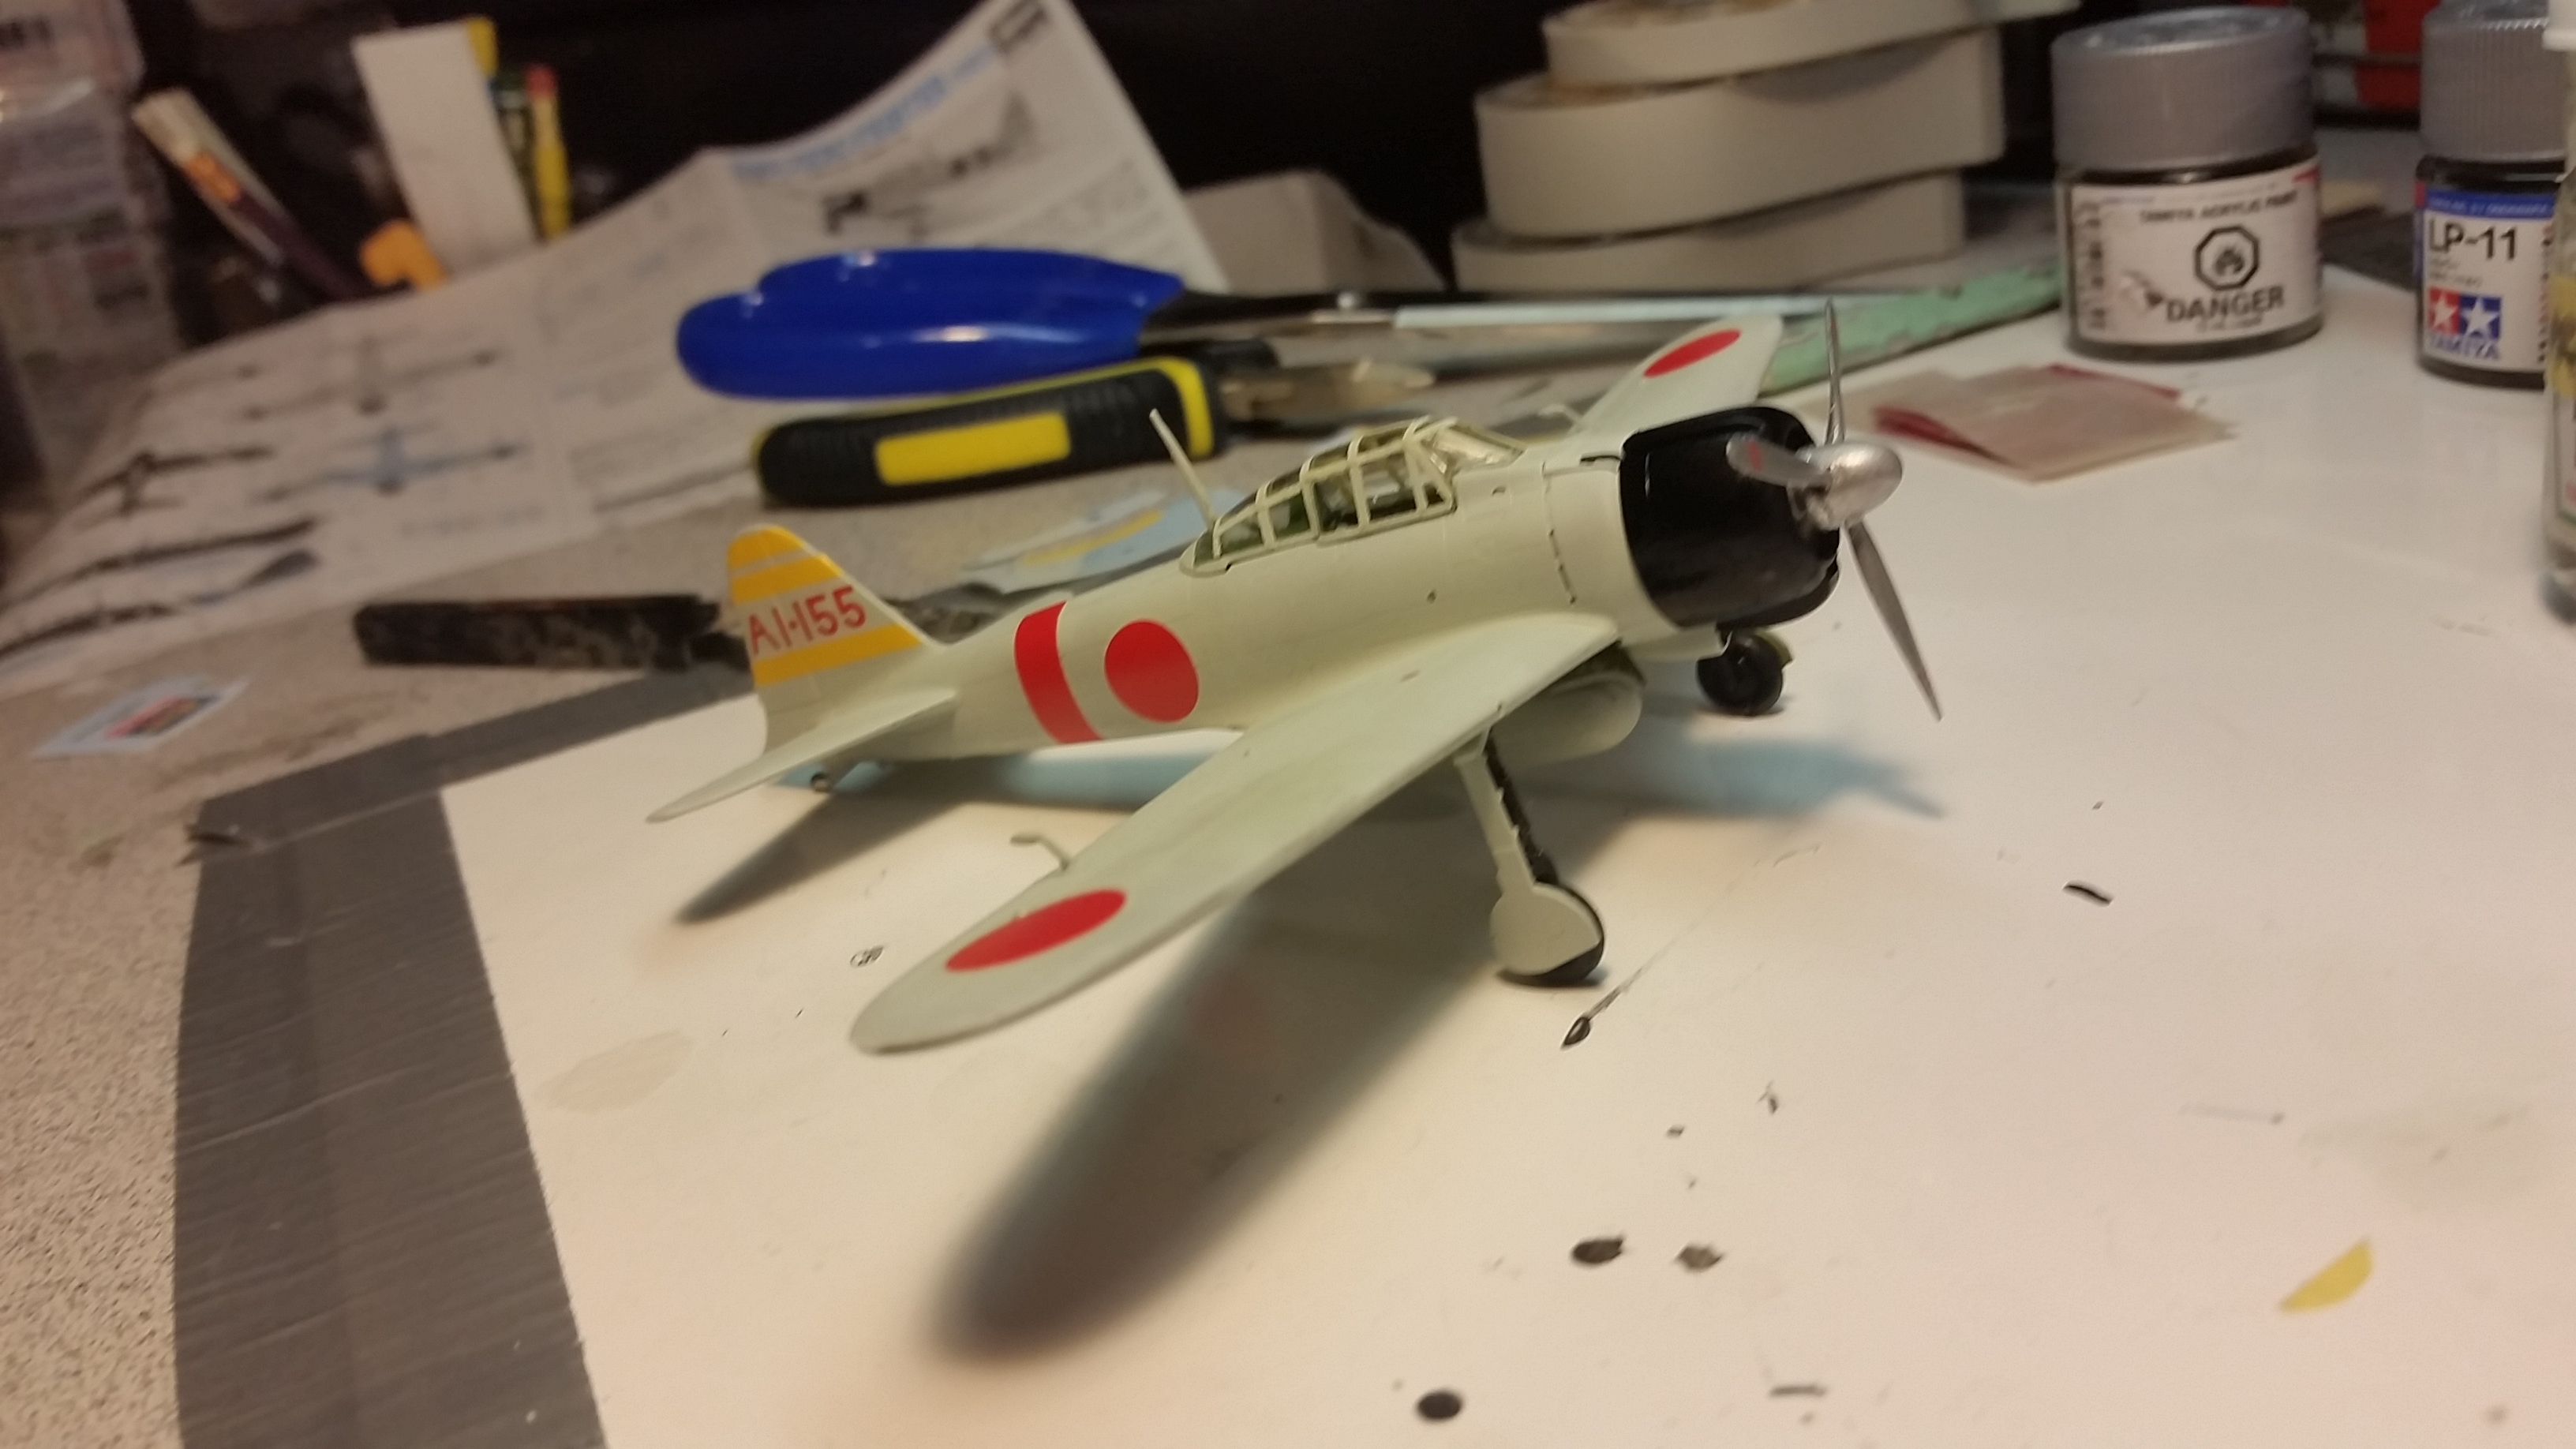
For the canopy, I decided to try the masking tape technique — I painted a length of Tamiya masking tape IJN grey, then cut it into thin strips that were then applied where the canopy frame is. The base of the canopy was masked and painted directly.
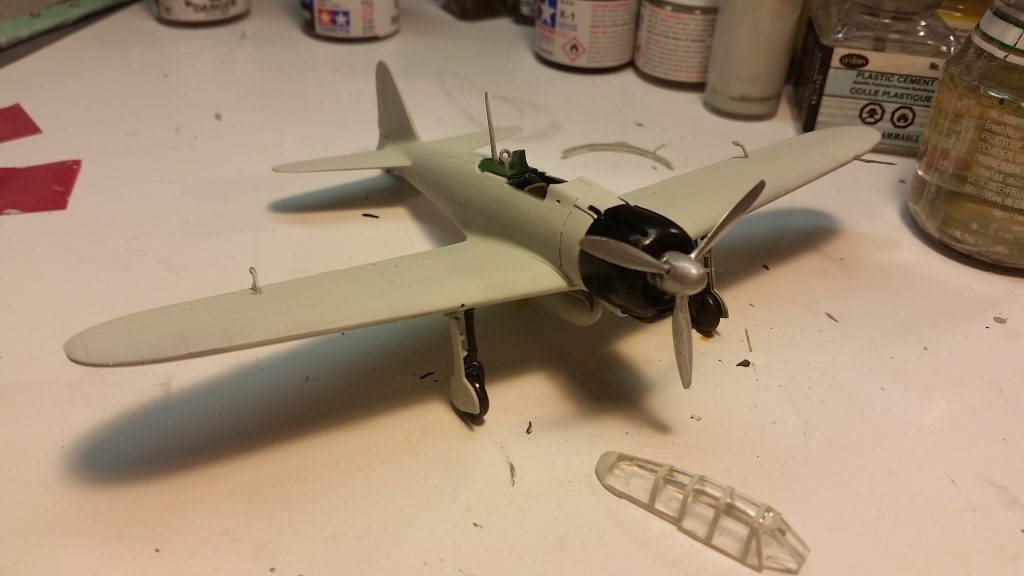
Here is the (mostly) assembled aircraft prior to decal application. I applied a coat of Future before applying the decals.
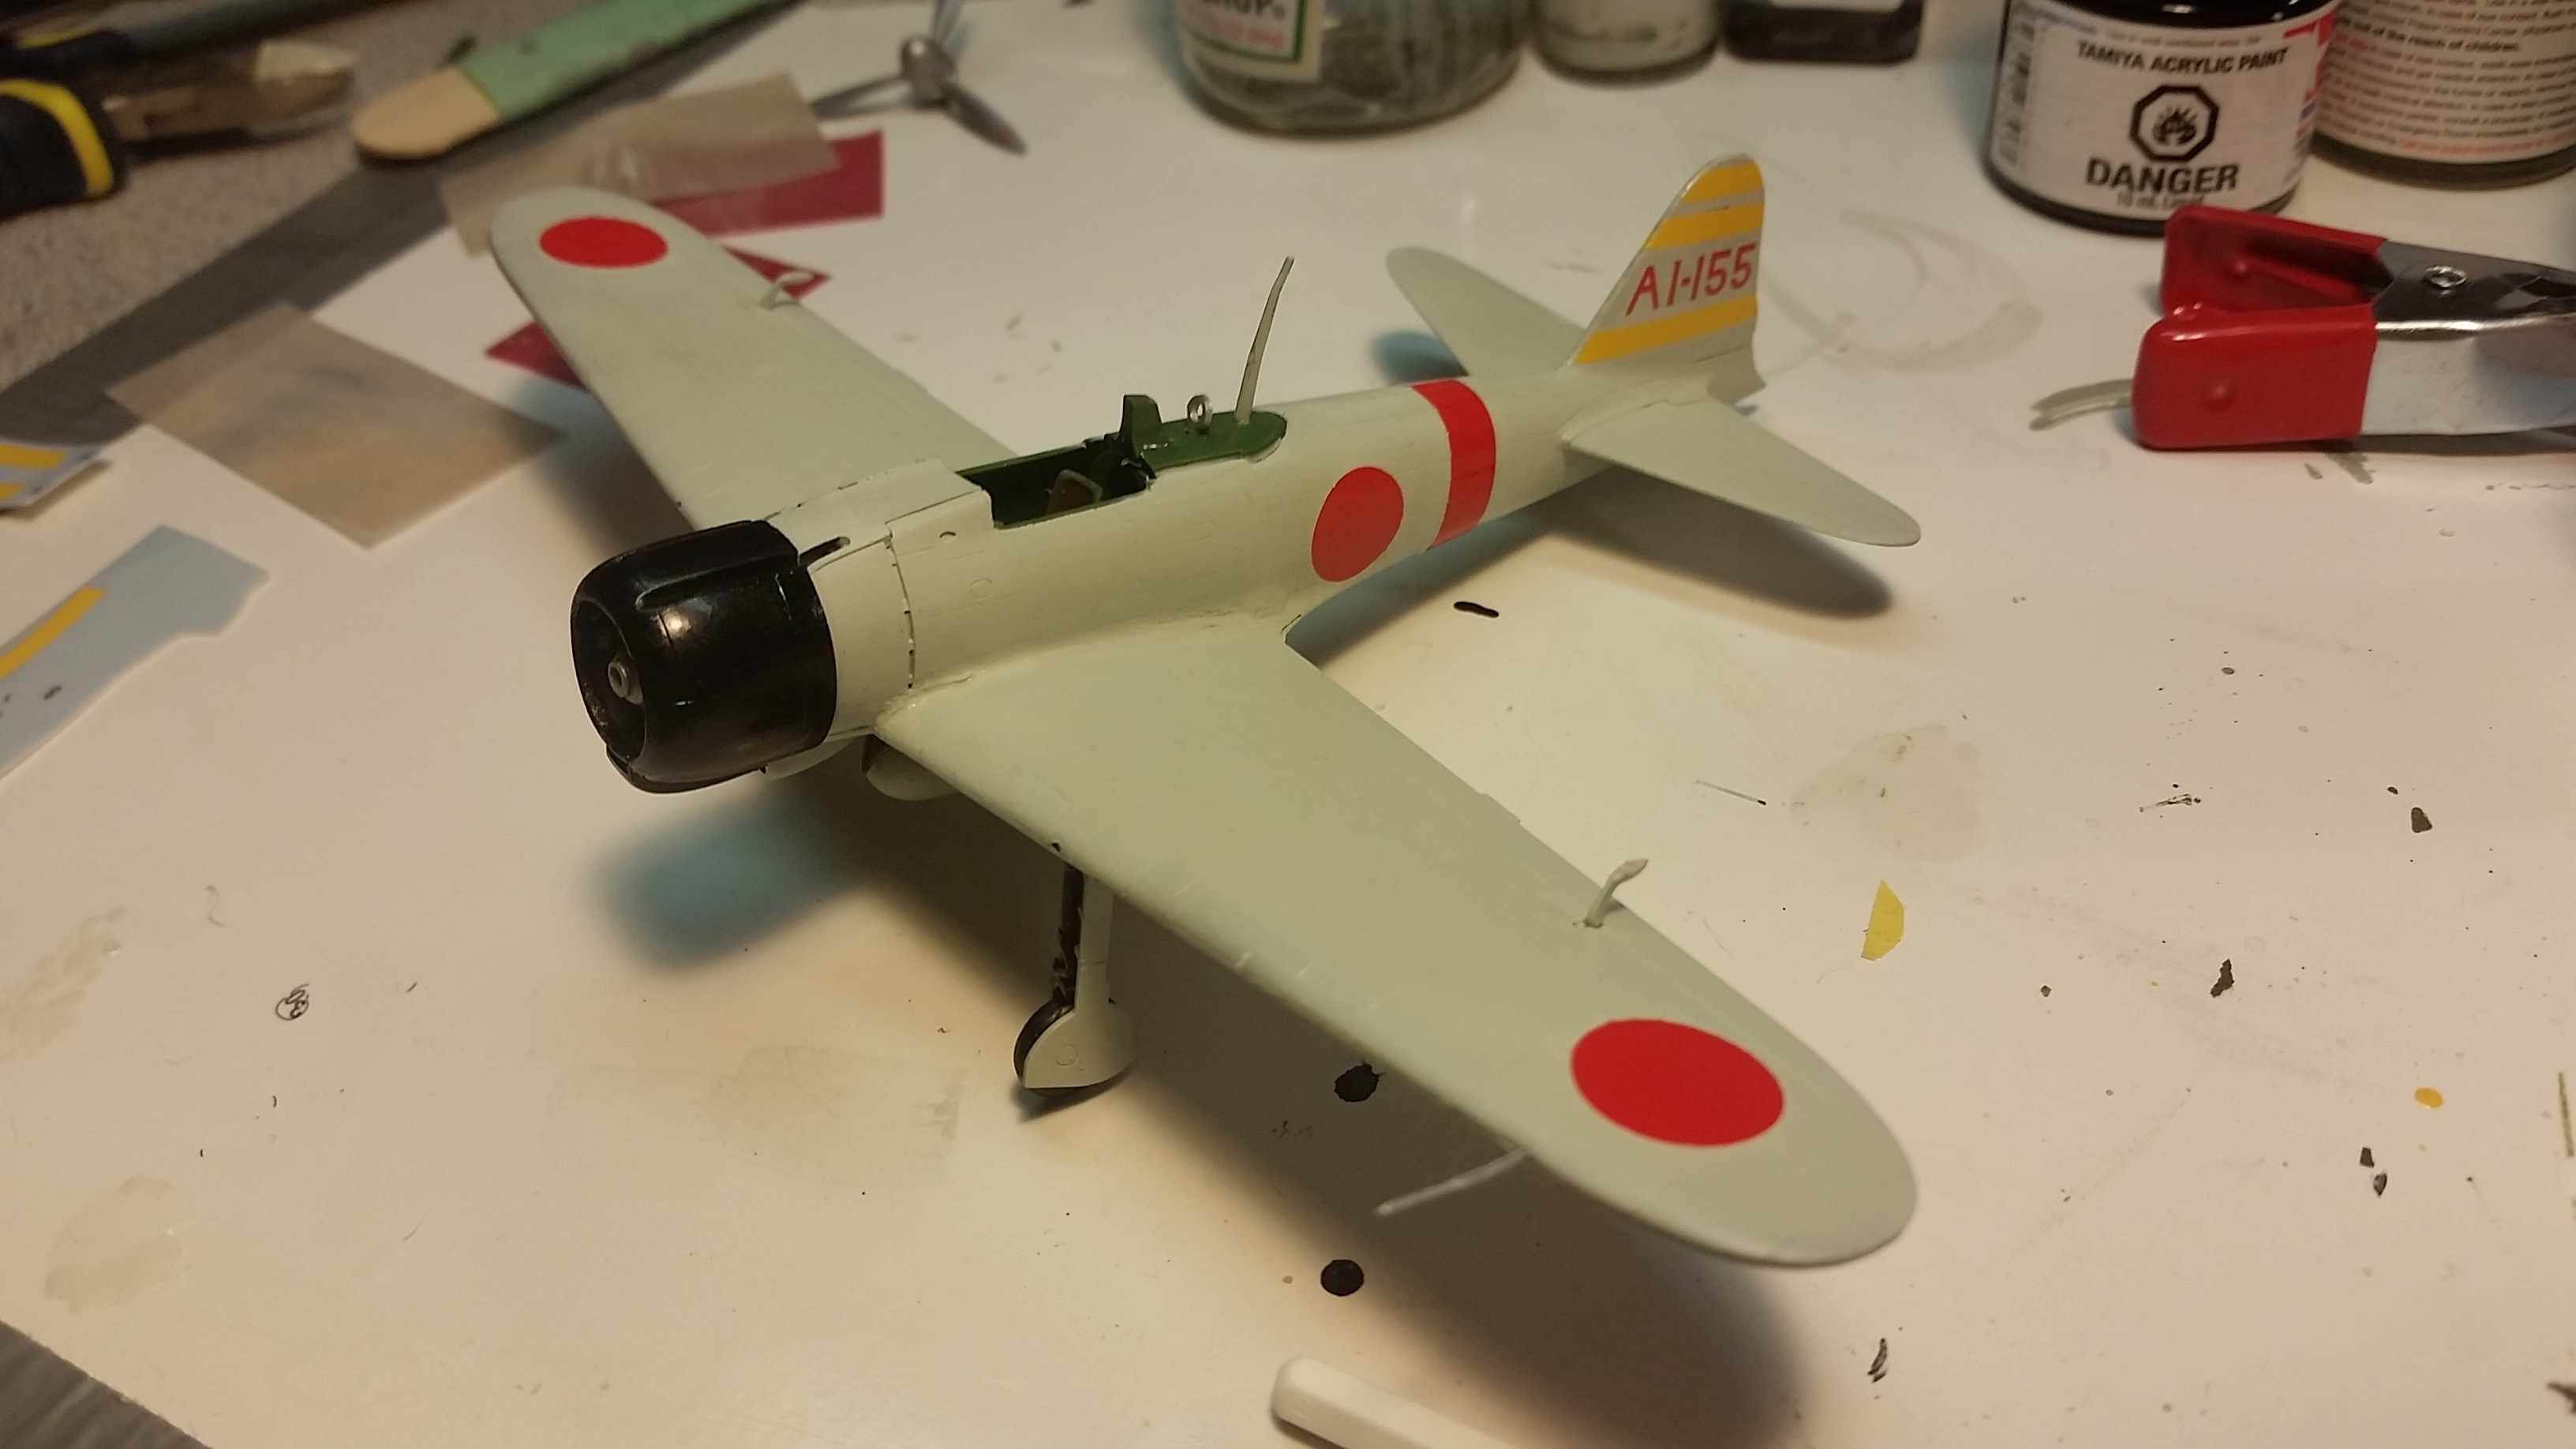
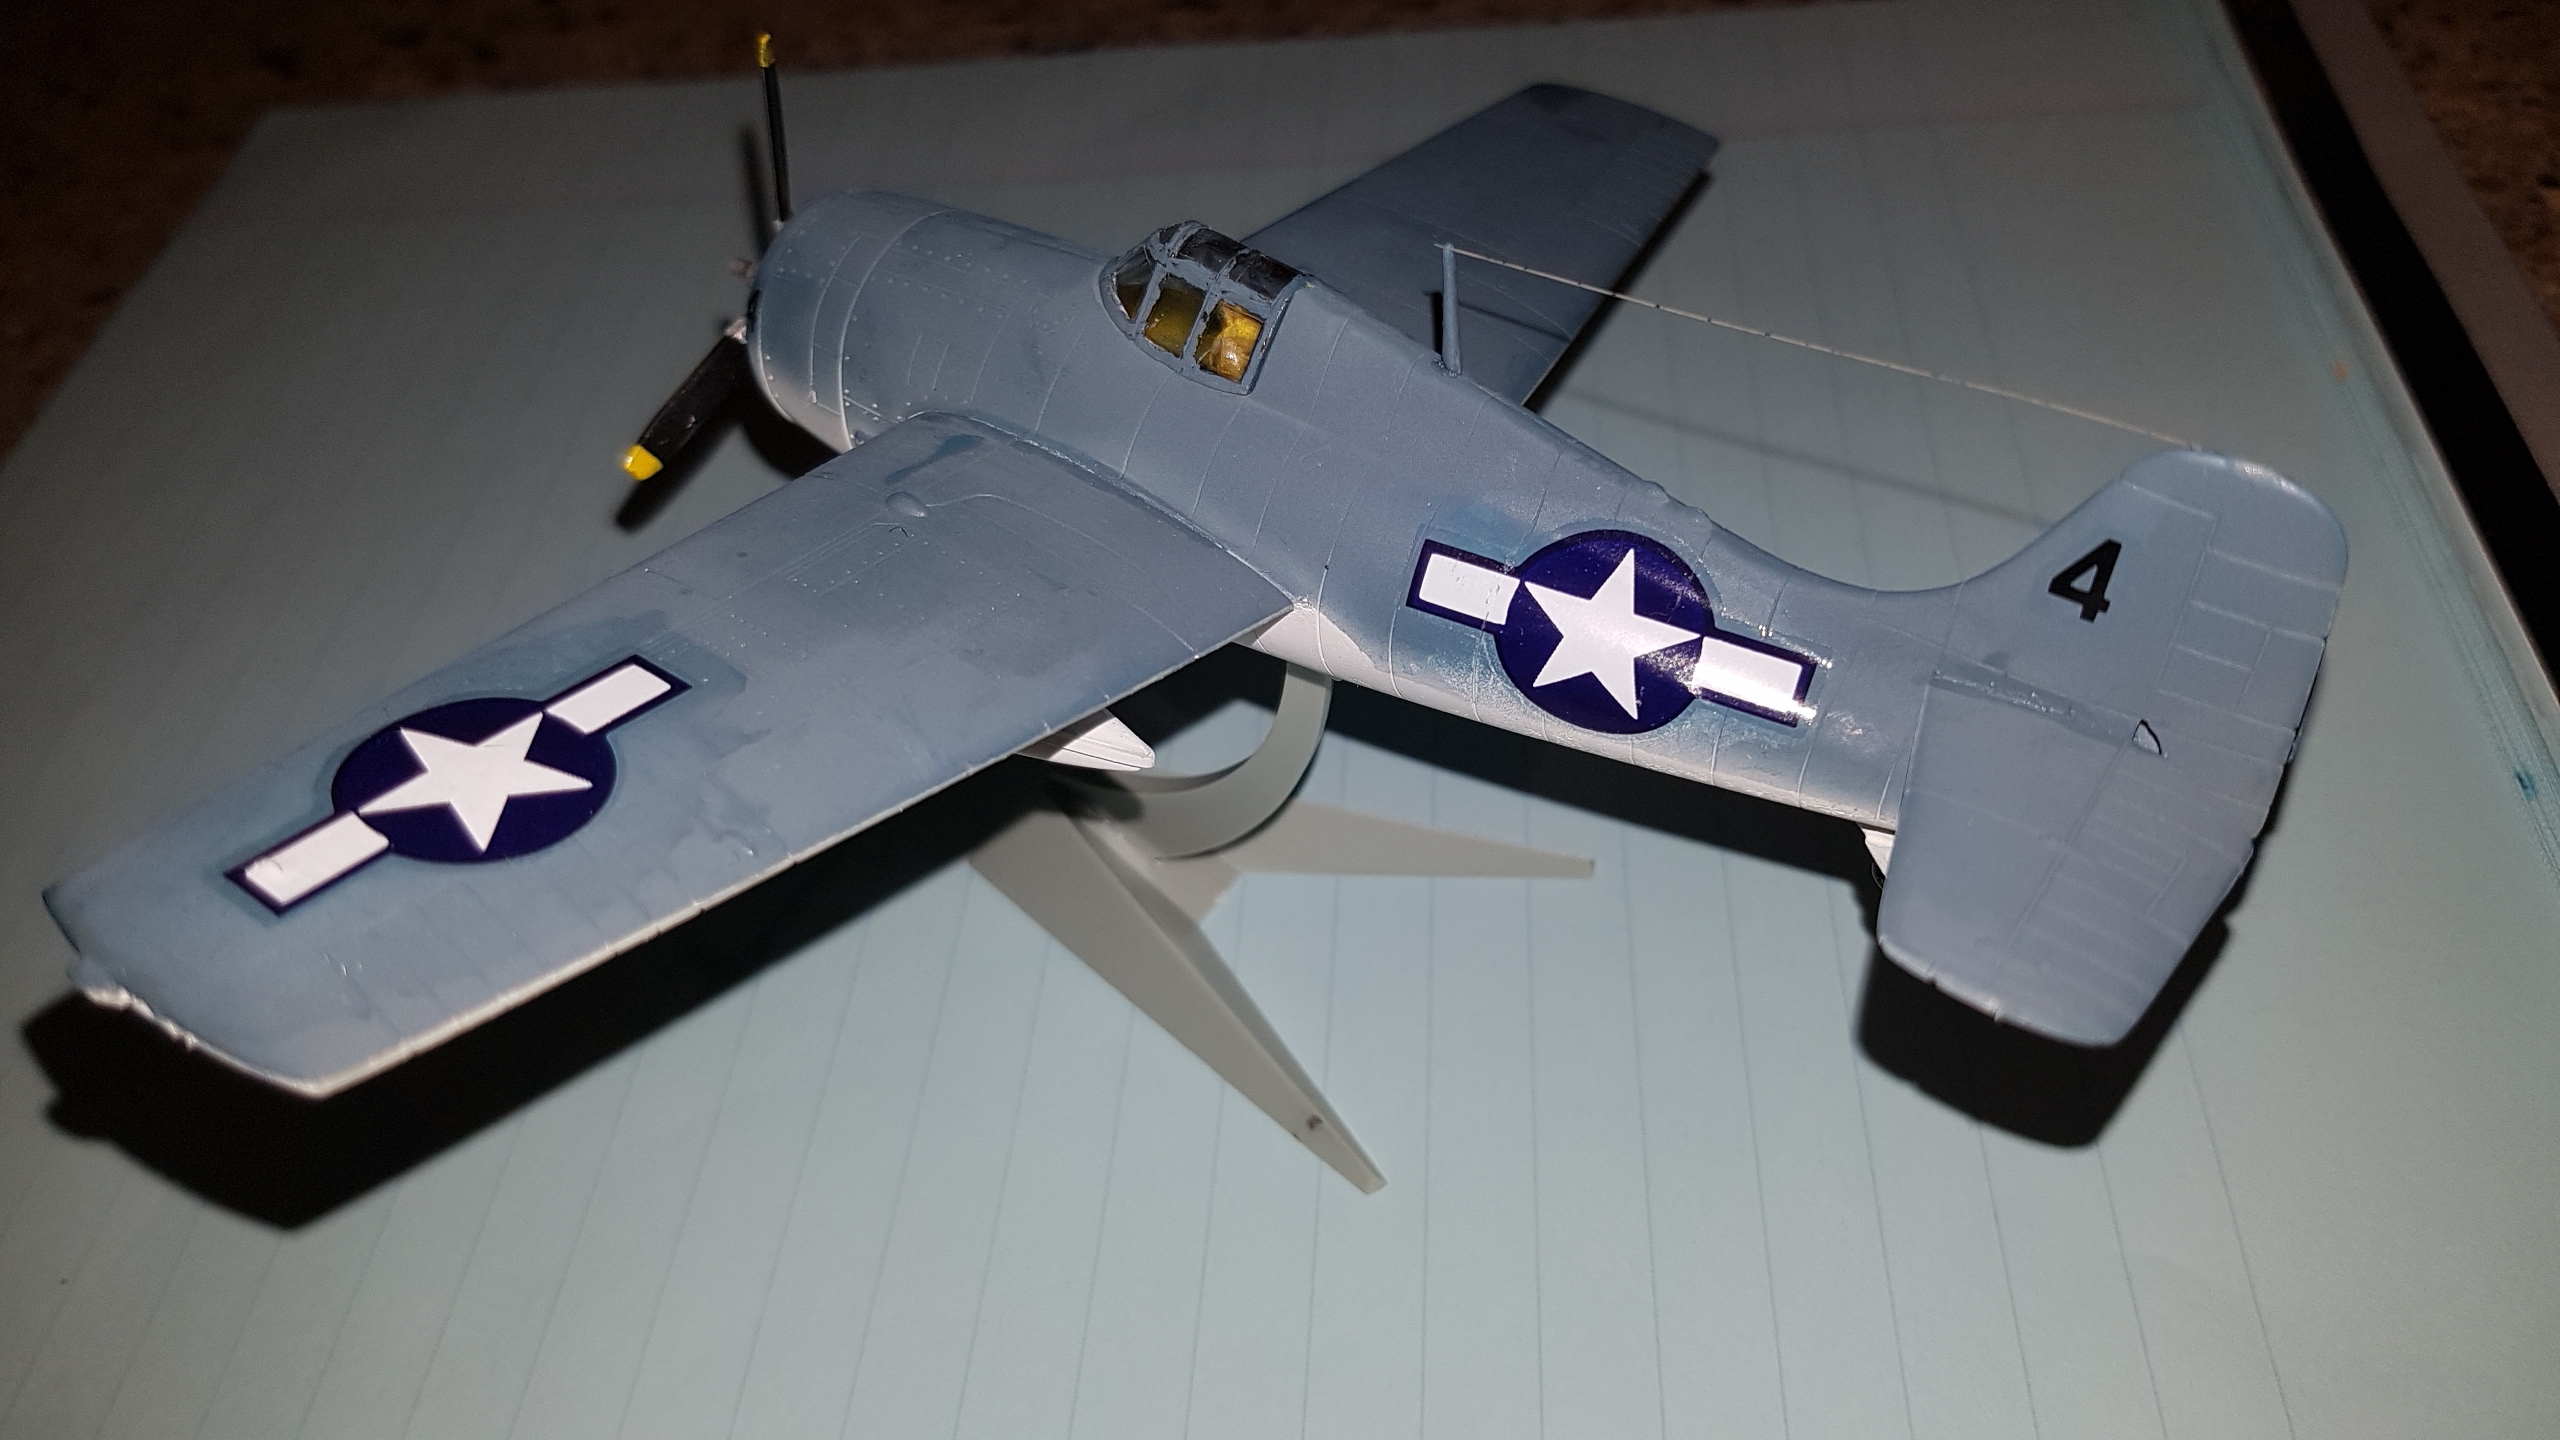
The instructions implied that this kit was manufactured in 1994 but there were no problems with the decals. The tail decals were a little tricky because the clear matting around the decals made them difficult to ‘wrap’ around the rudder. Appying Micro-Sol decal solvent help the decals adhere to the contours.
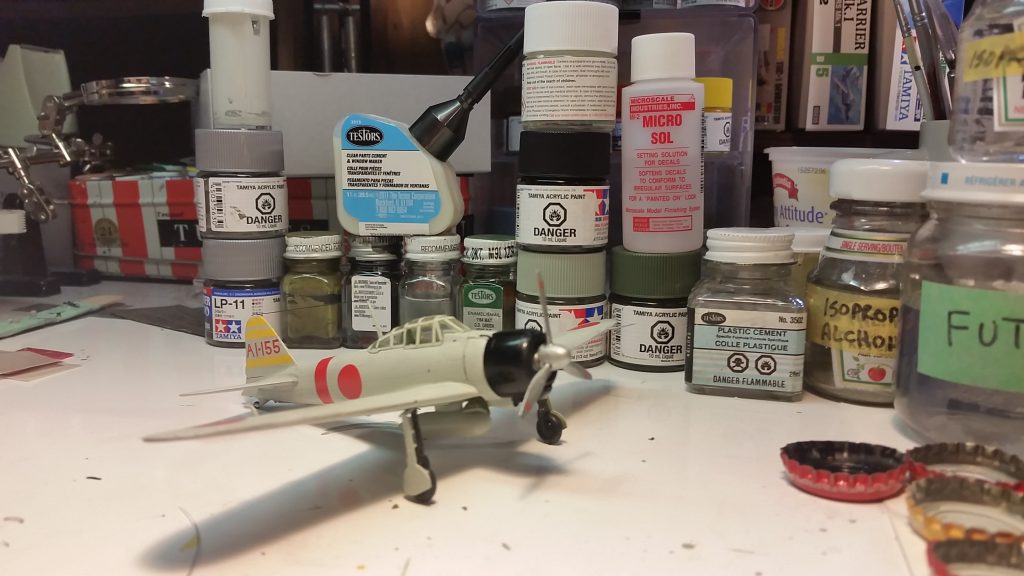
Here is the fully decaled aircraft in front of (most) of the materials used to construct it (super glue not shown). I used fishing line painted black for the antenna wire and glued it in place with superglue.
I did little bit of weathering by using thinned black watercolor paint to try and accent the panel lines. Once again, moderate success in this area. I think using acrylic or enamel panel line accent color would have stained the light grey color too easily which is why I opted for water color, which washes off easily. Perhaps too easily.
Academy 1/72 Grumman F4F-4 Wildcat
1/72 Eduard F6F-3 Hellcat