Airfix 1/72 Bristol Bleinheim/Fairchild Bolingbroke
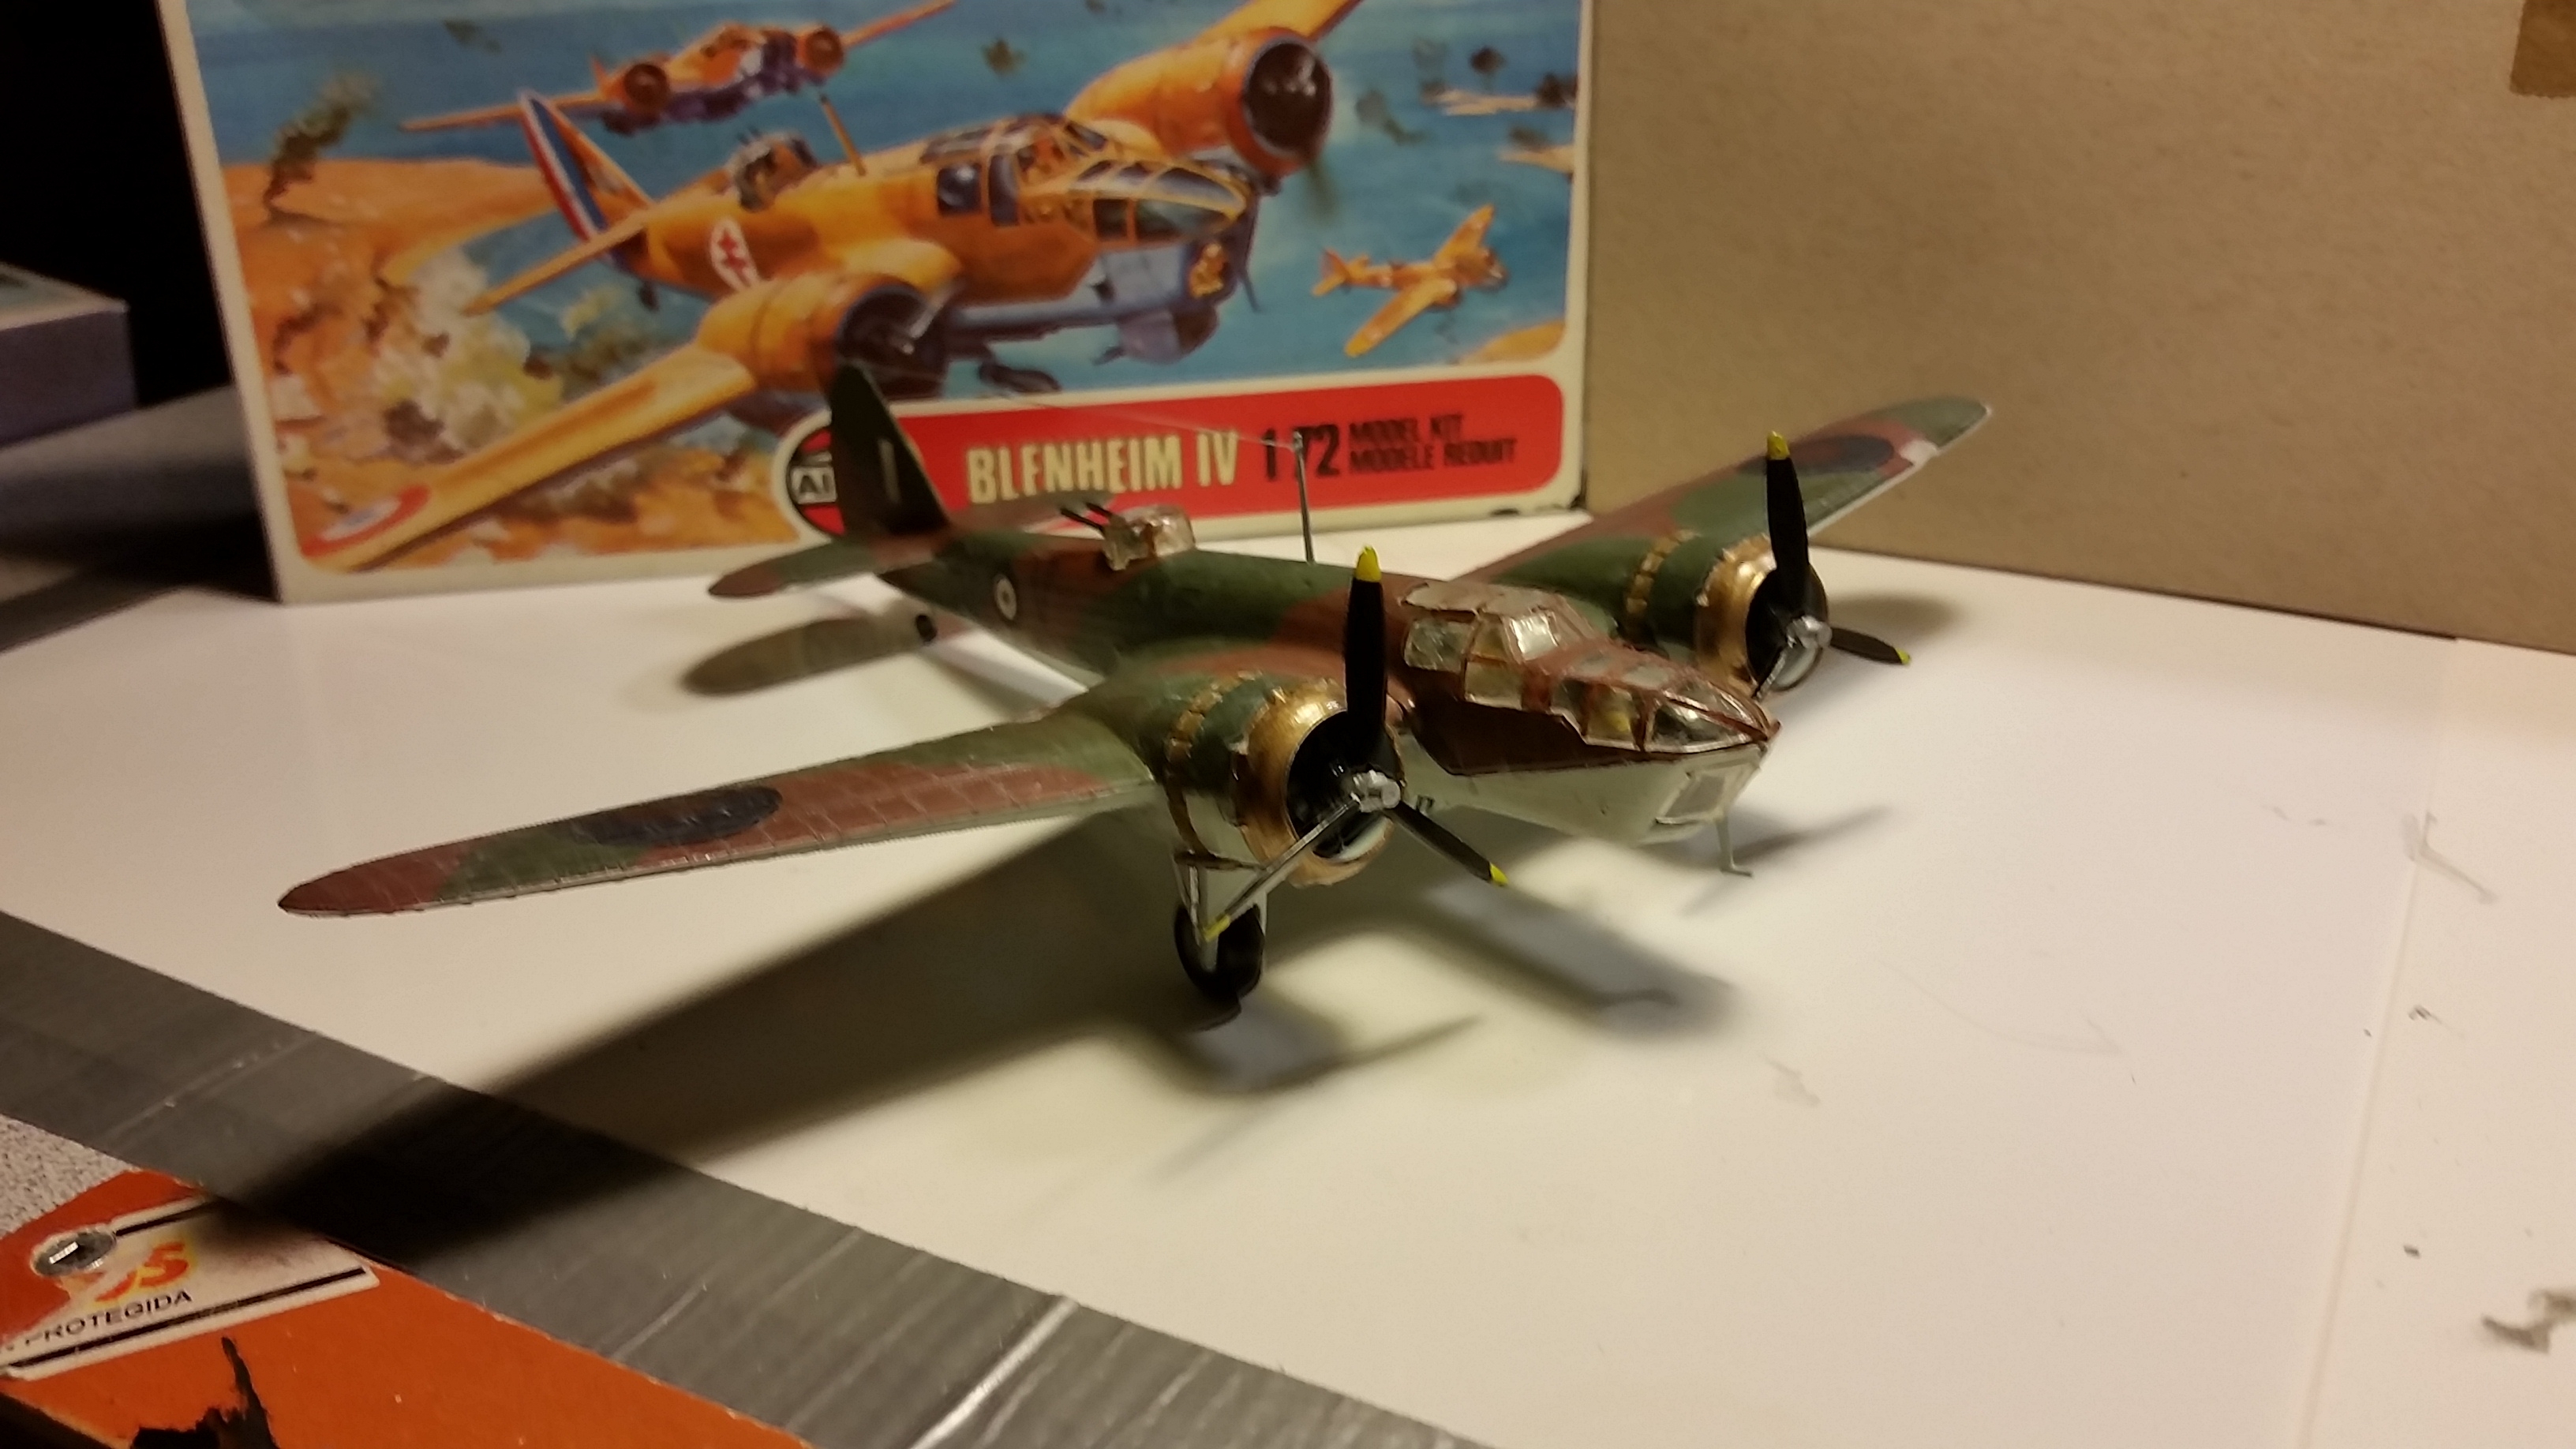
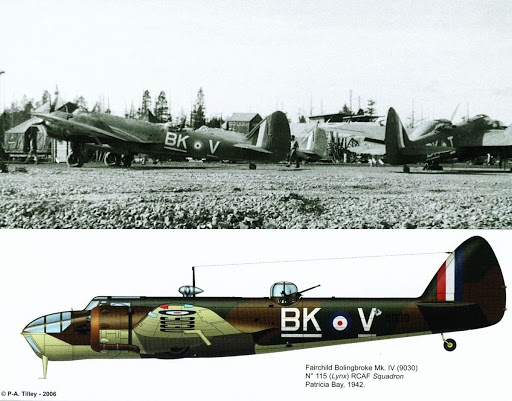
This plane has a personal meaning for me. My father was the wireless operator on the Royal Canadian Air Force version of the Bristol Blenheim, the Fairchild Bolingbroke. He would have sat in the turret. I tried to build this old Airfix kit as a Bolingbroke and created my own decals to represent RCAF Squadron 115 that was one of the two squadrons my father might have belonged to (the disappearance of his log book has made it difficult to figure out some of his service details).

Here is the Airfix kit, which I think dates from the 70’s. The Blenheim IV was the basis for the Bolingbroke. It had a bit of a whacky asymmetrical canopy where there is a trough on the pilot side for improved visibility. I tried a new technique — I cut thin strips of masking tape and painted them the color of the fuselage and put them carefully where the canopy frame would be. They made for a very convincing canopy frame. And…no masking!!!
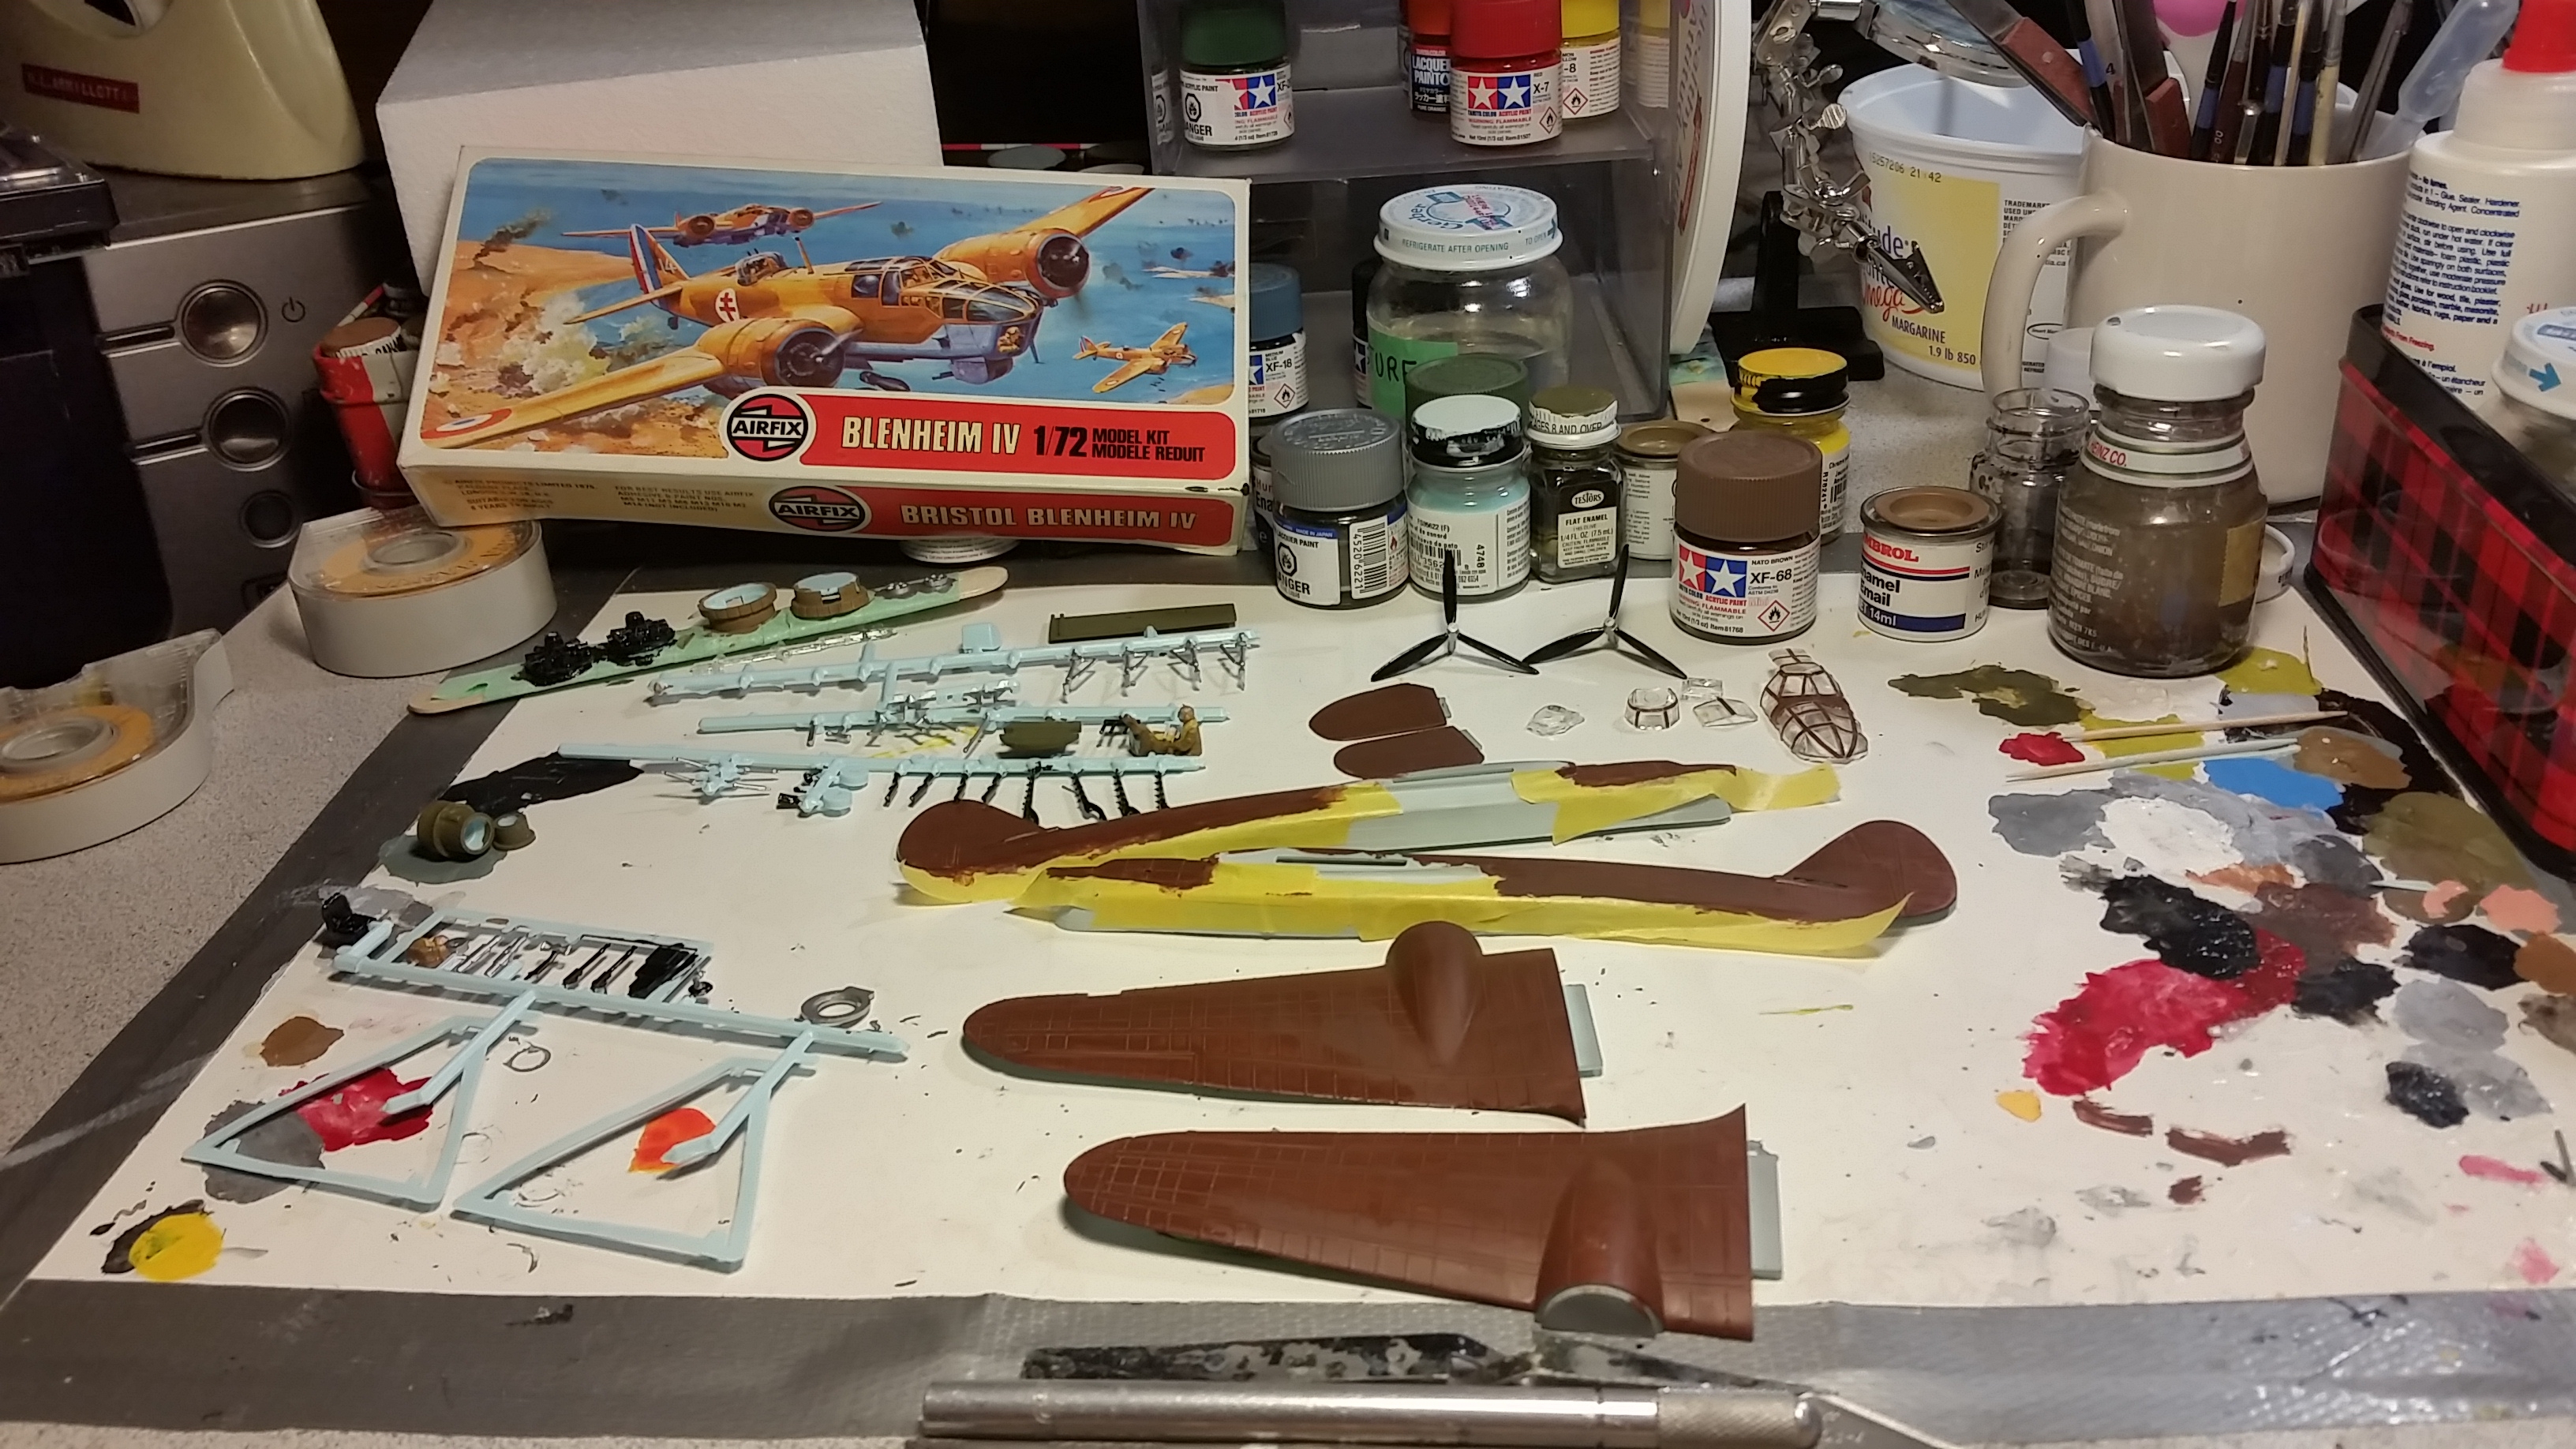
Here we go — I sprayed the sprues with Tamiya primer from a rattle can (smelly stuff). I then sprayed a custom mixture of Testors acrylic light blue and gray. The camouflage upper part of the aircraft was painted with NATO Brown (a flat brown) and NATO Green (a flat green). I had lots of issues with the paint seeping through the masking tape — I am going to try a thinner Tamiya masking
Here are the markings for one of the squadrons that patrolled the West Coast and Alaska during WWII.
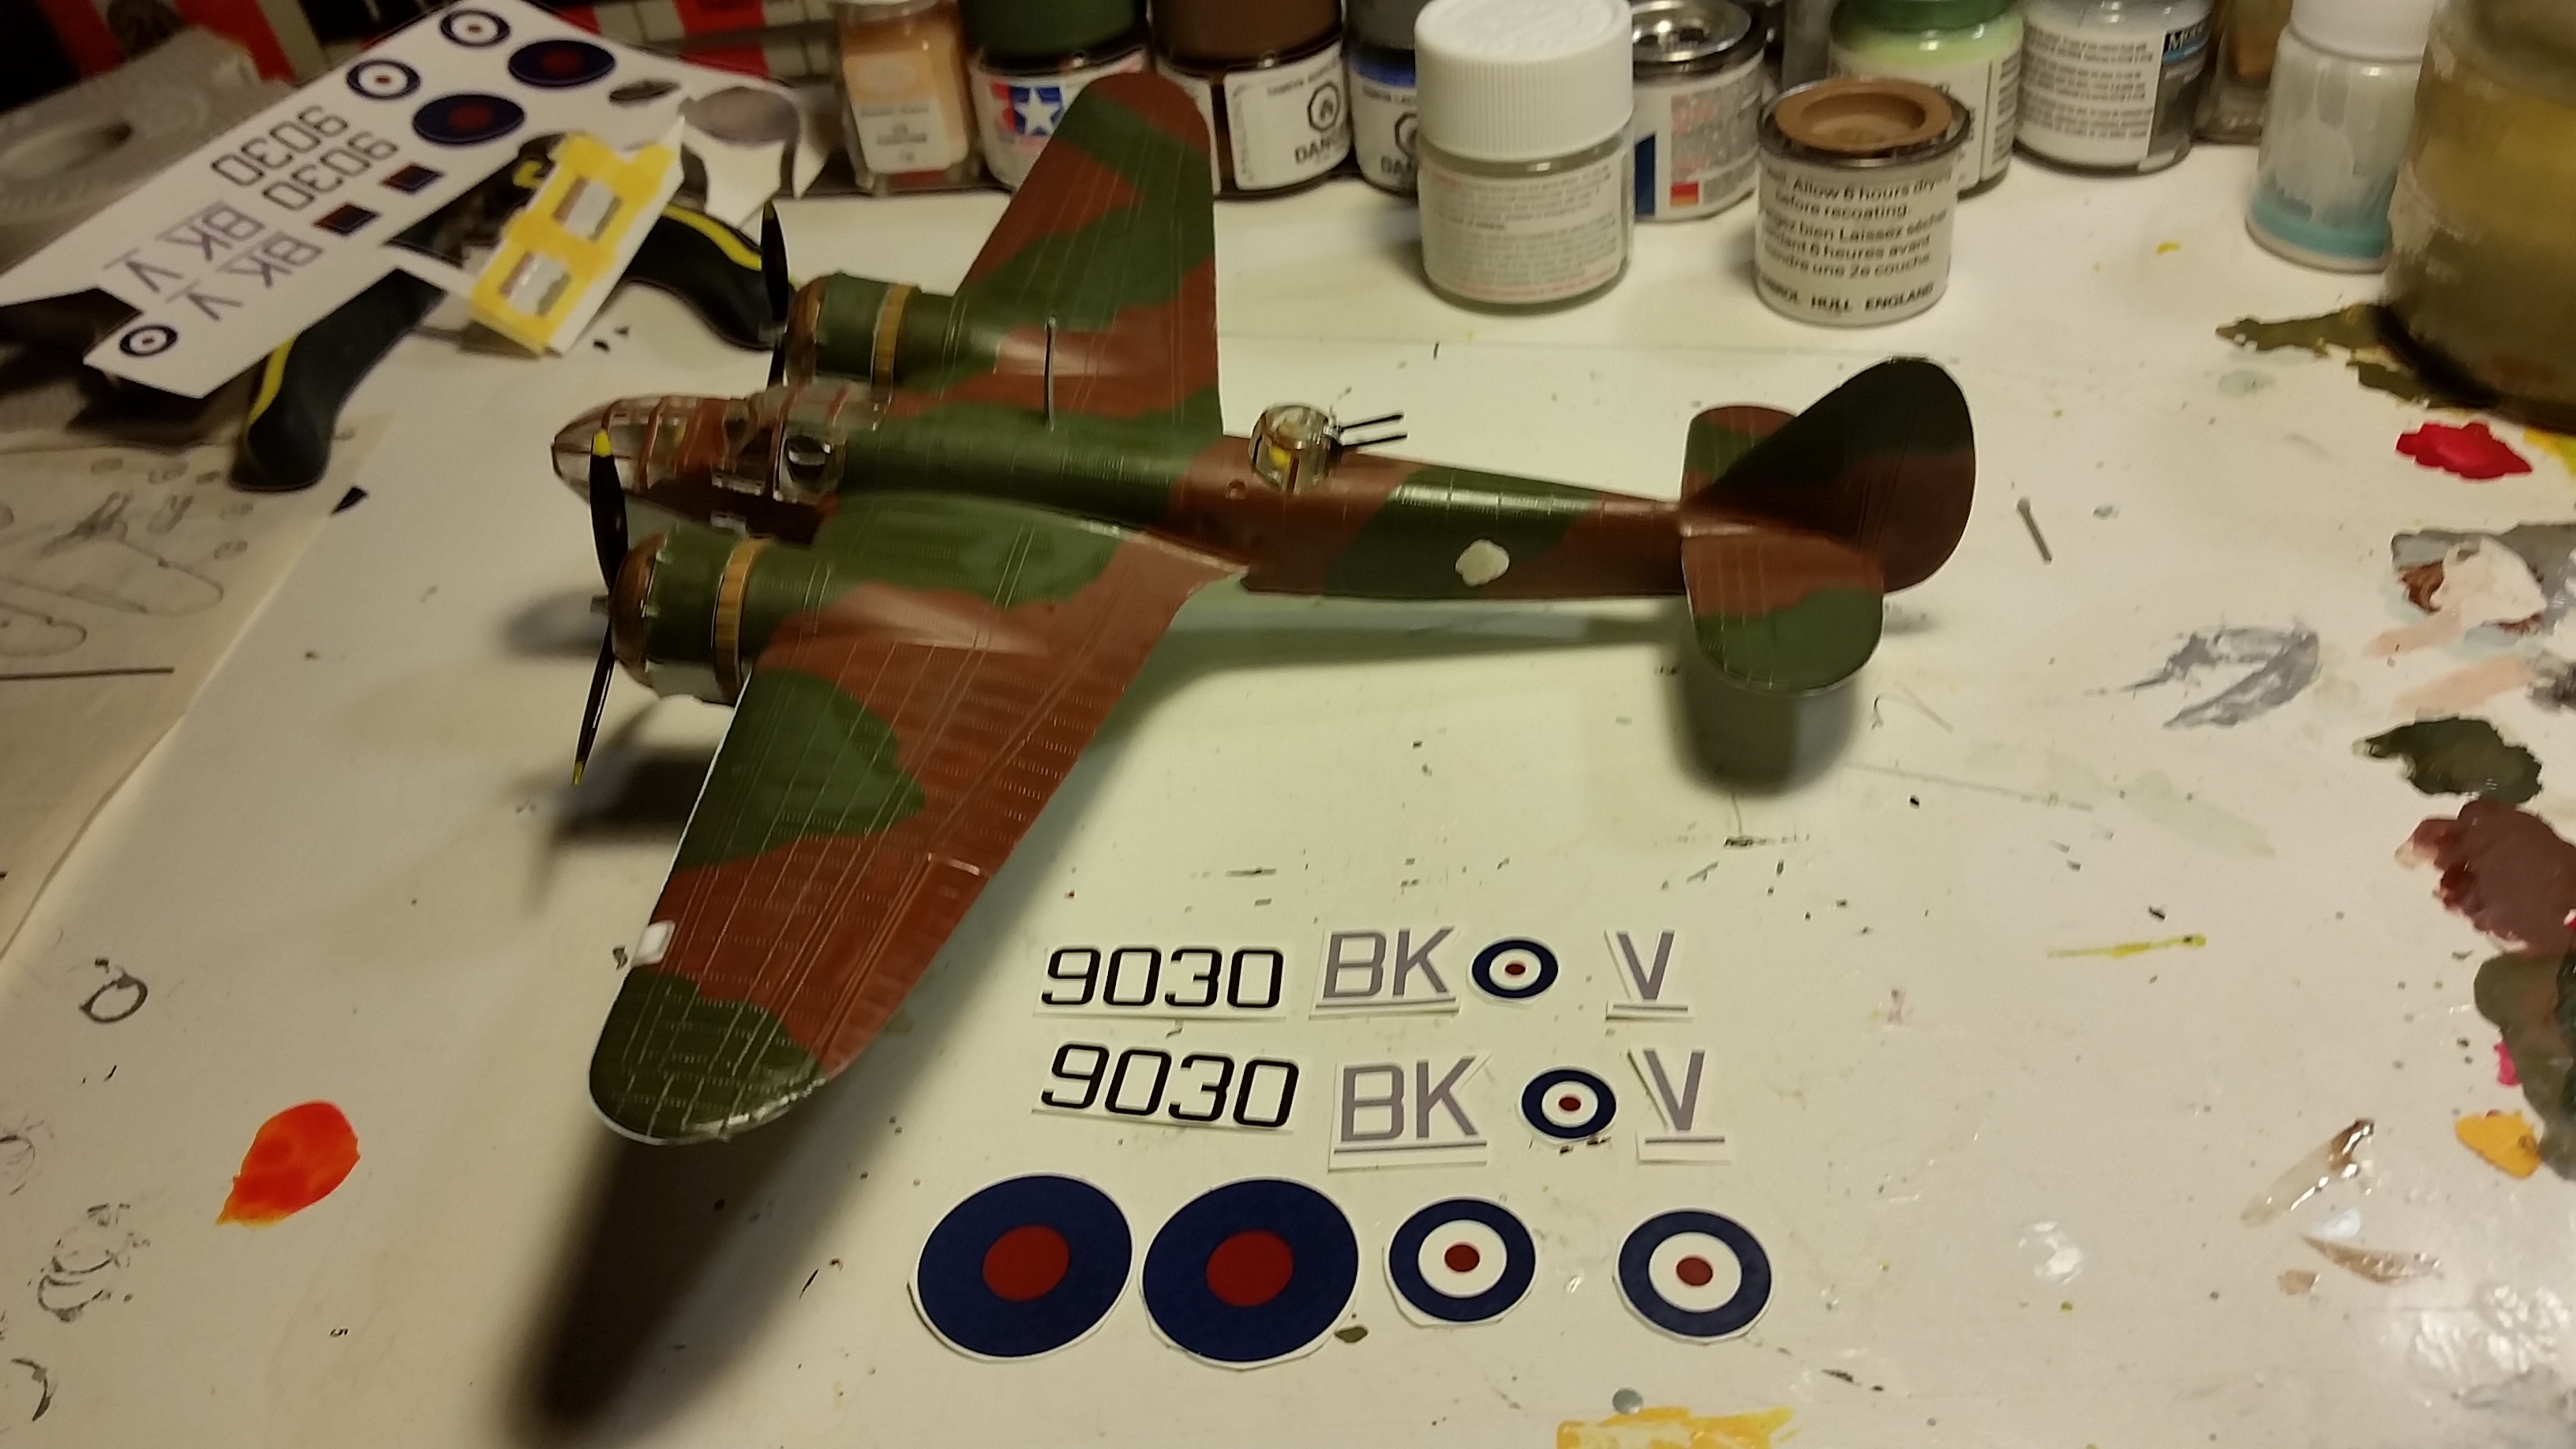
Above you can see the decal sheet I made using gimp on Linux. I found some RAF fonts on the internet and copied the decal proportions from the kit’s decal sheet. You can’t print “white” on decal sheets that are transparent, so you can see the dab of white on the side of the plan where the white part of the roundel will go. I also printed the squadron letters in light gray even though they are white, but they are kind of translucent (the printer expects the paper to be white), so they get very dark when applied to the model.
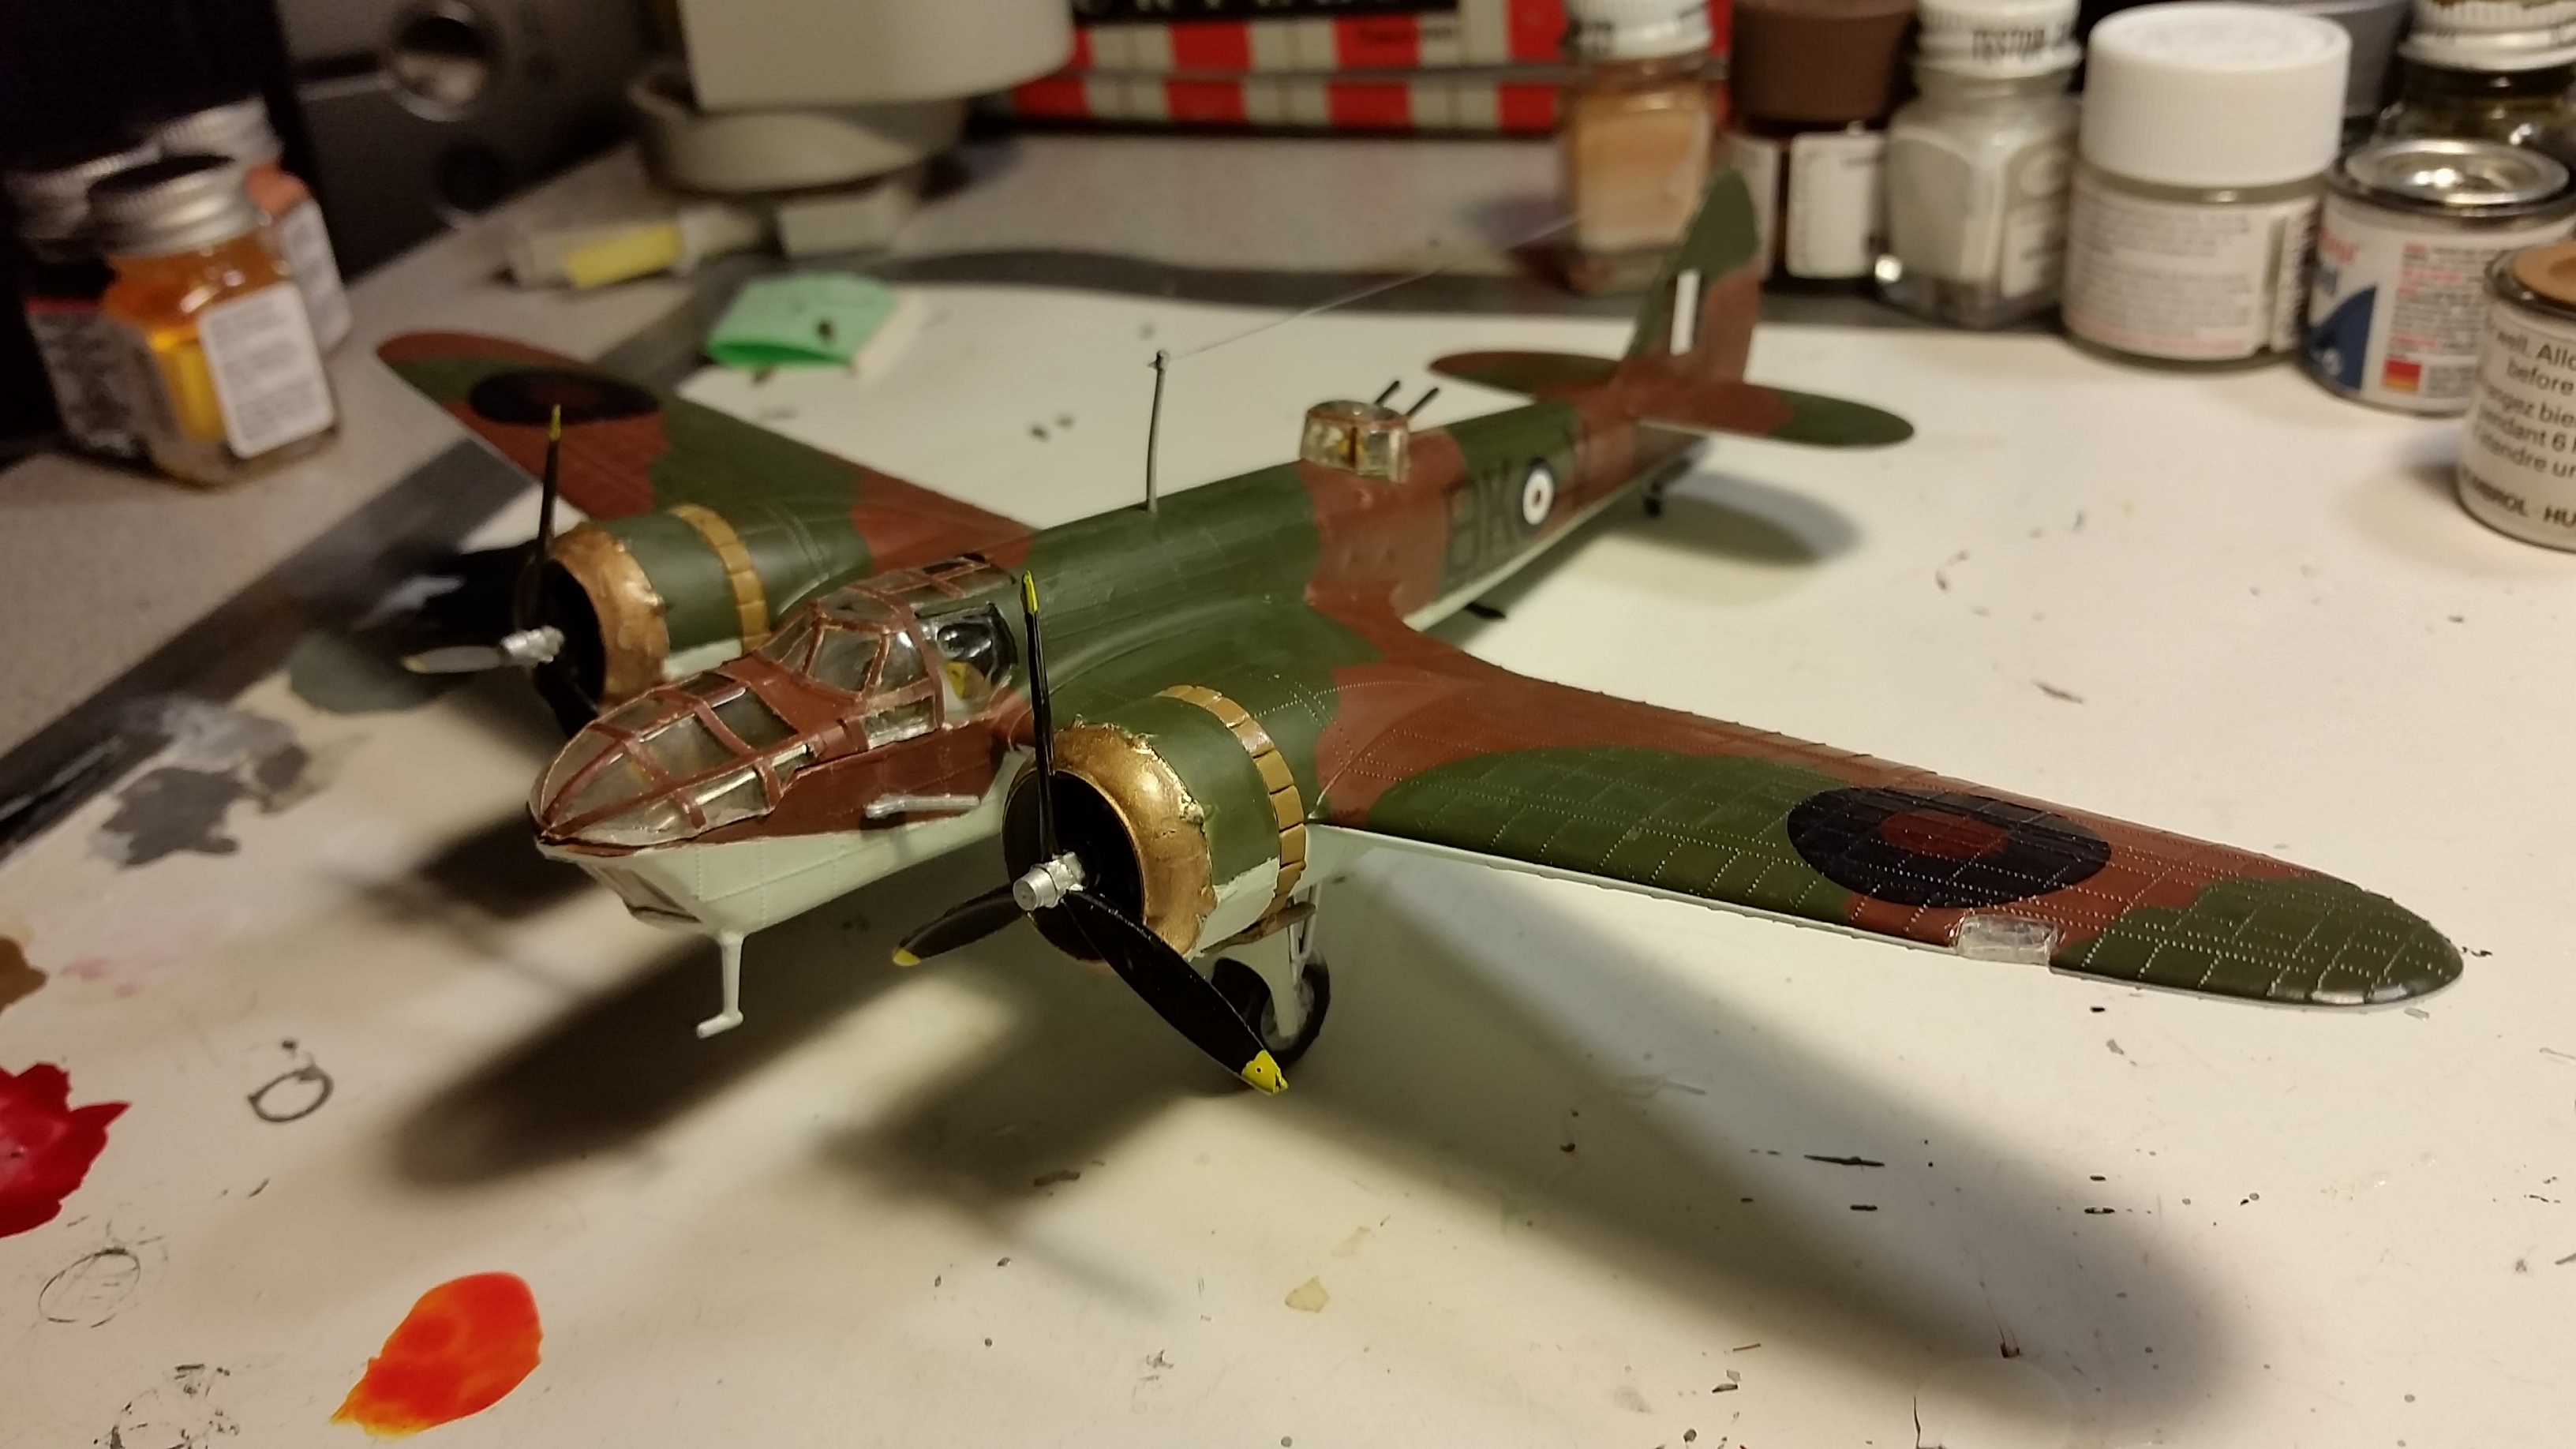
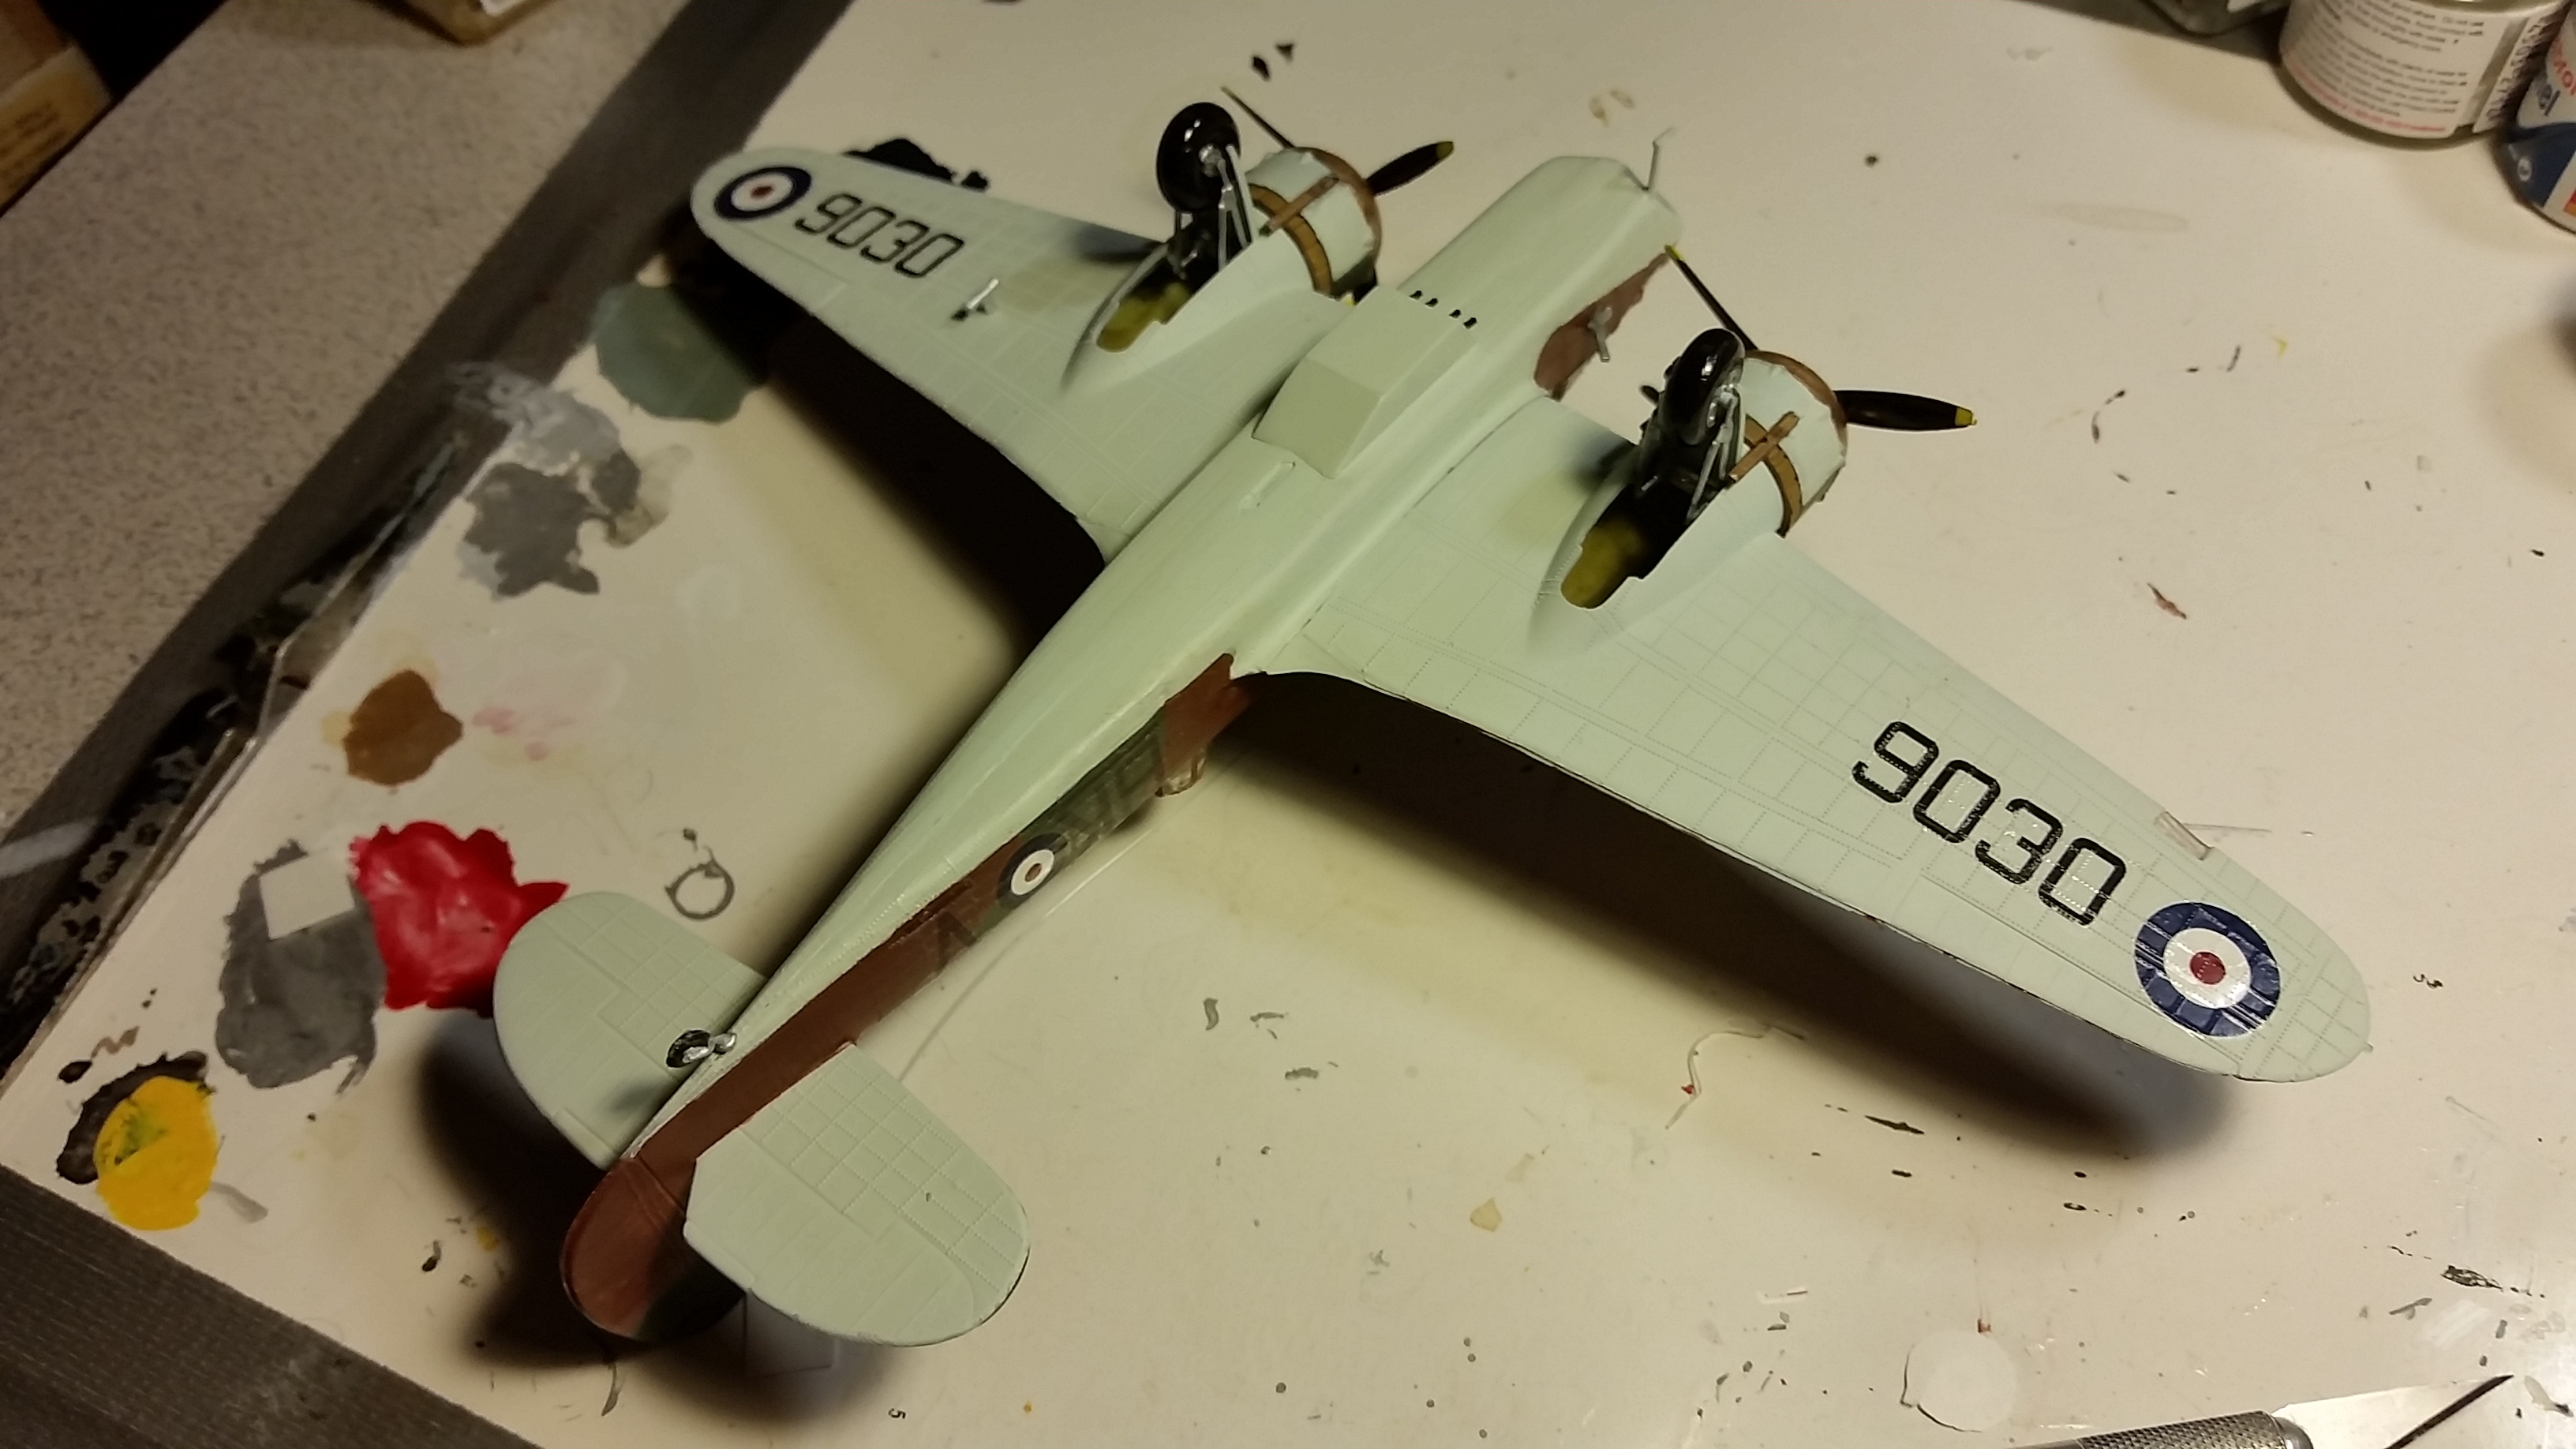
After the application of the decals, the model was painted with Future floor polish. I then tried adding some panel line detail with Tamiya Panel Accent Black, but with mixed success. Using Tamiya matt clear coat did not really turn the finish back to flat colors, so upon the recommendation of John Munster, who I fortuitously ran into at Bill’s Hobby Shop, I used a Vallejo matt coat that worked a lot better.
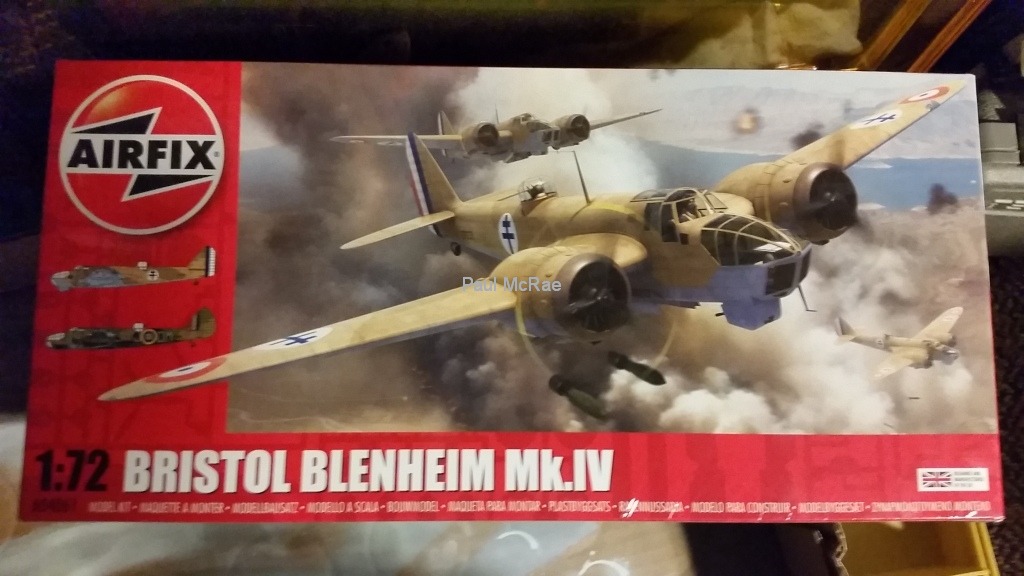
Spoiler Alert! The new Airfix version of this kit is now in the stash! Hopefully, an improved version of this aircraft will be assembled in the near future! Therefore I am keeping an eye out for 1/72 decals for either Squadron 115 or Squadron 8 Bolingbrokes of the RCAF from 1941-1944.
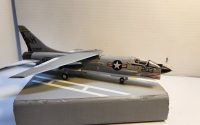
1/72 Hasegawa Vought F-8E Crusader
Plane of the Day, Curtiss P-40 Warhawk