1/72 Hasegawa Vought F-8E Crusader
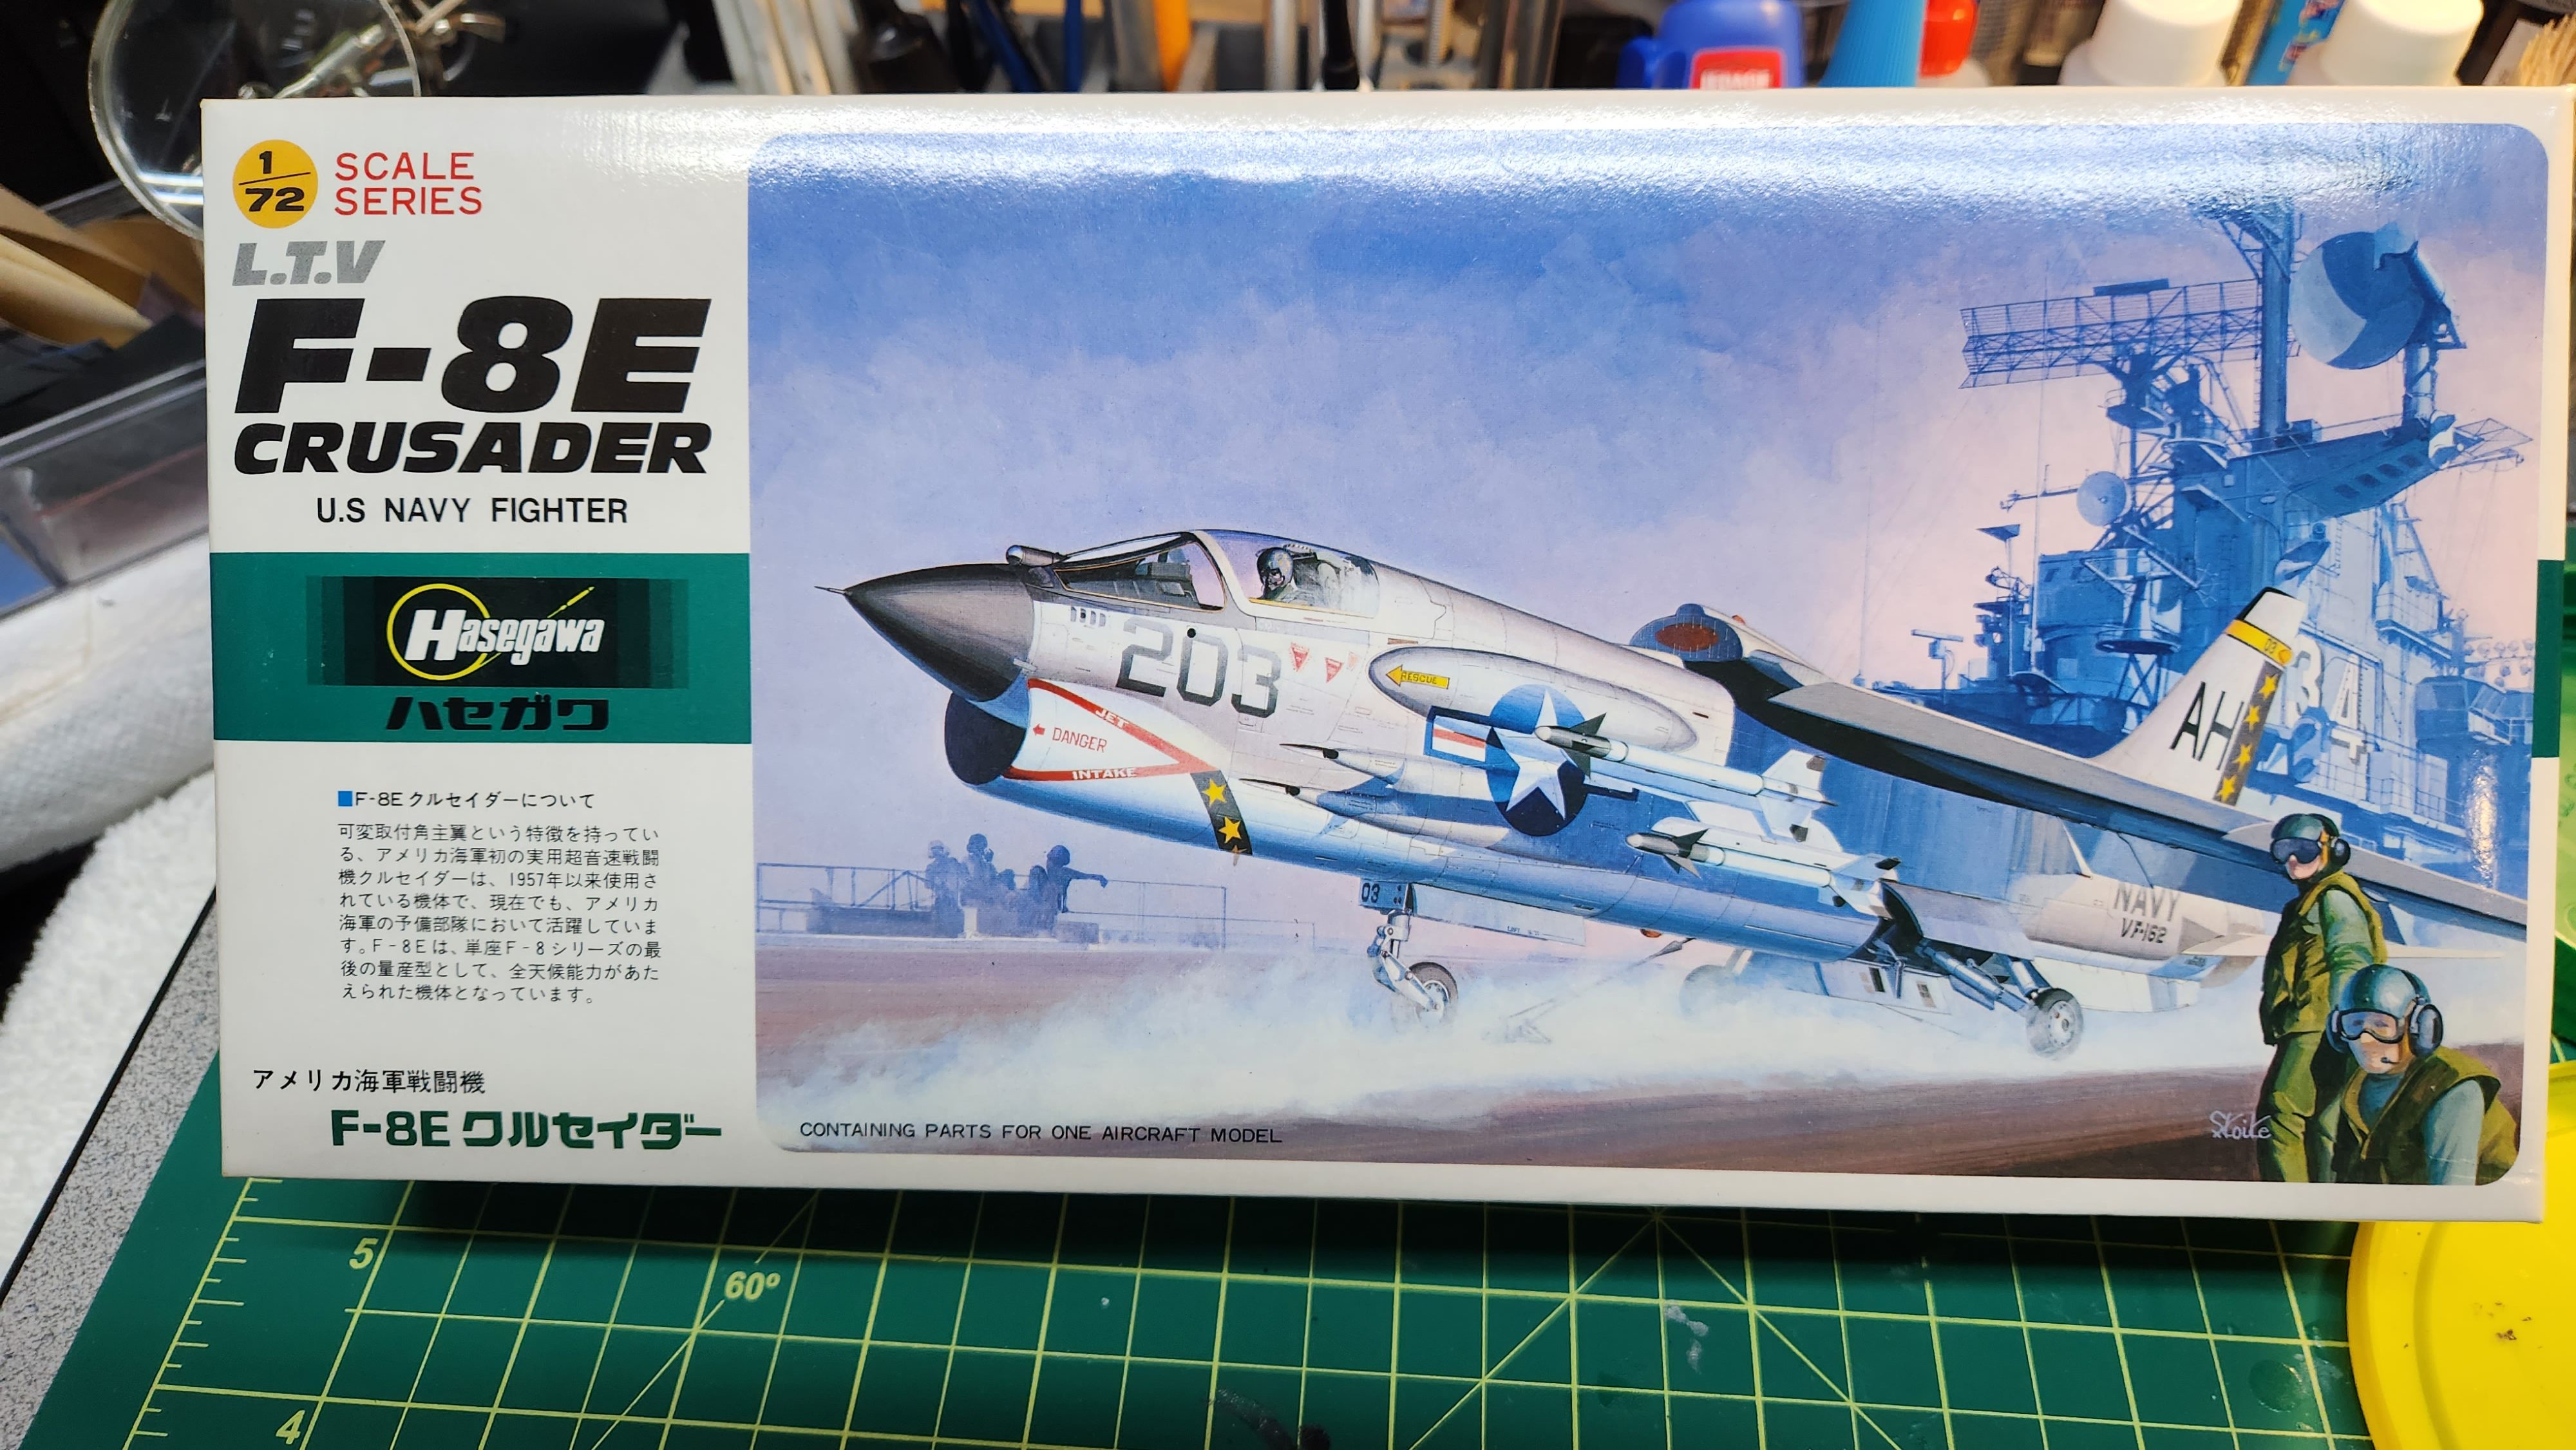
This kit is from…wait for it….1979. Forty-four years old! I was a little worried about the decals — they had yellowed quite a bit. Going to build this as part of the Ottawa IPMS Chapter Easter Blitz Build! You can start on Thursday at 6PM and have to be finished by Monday at midnight!
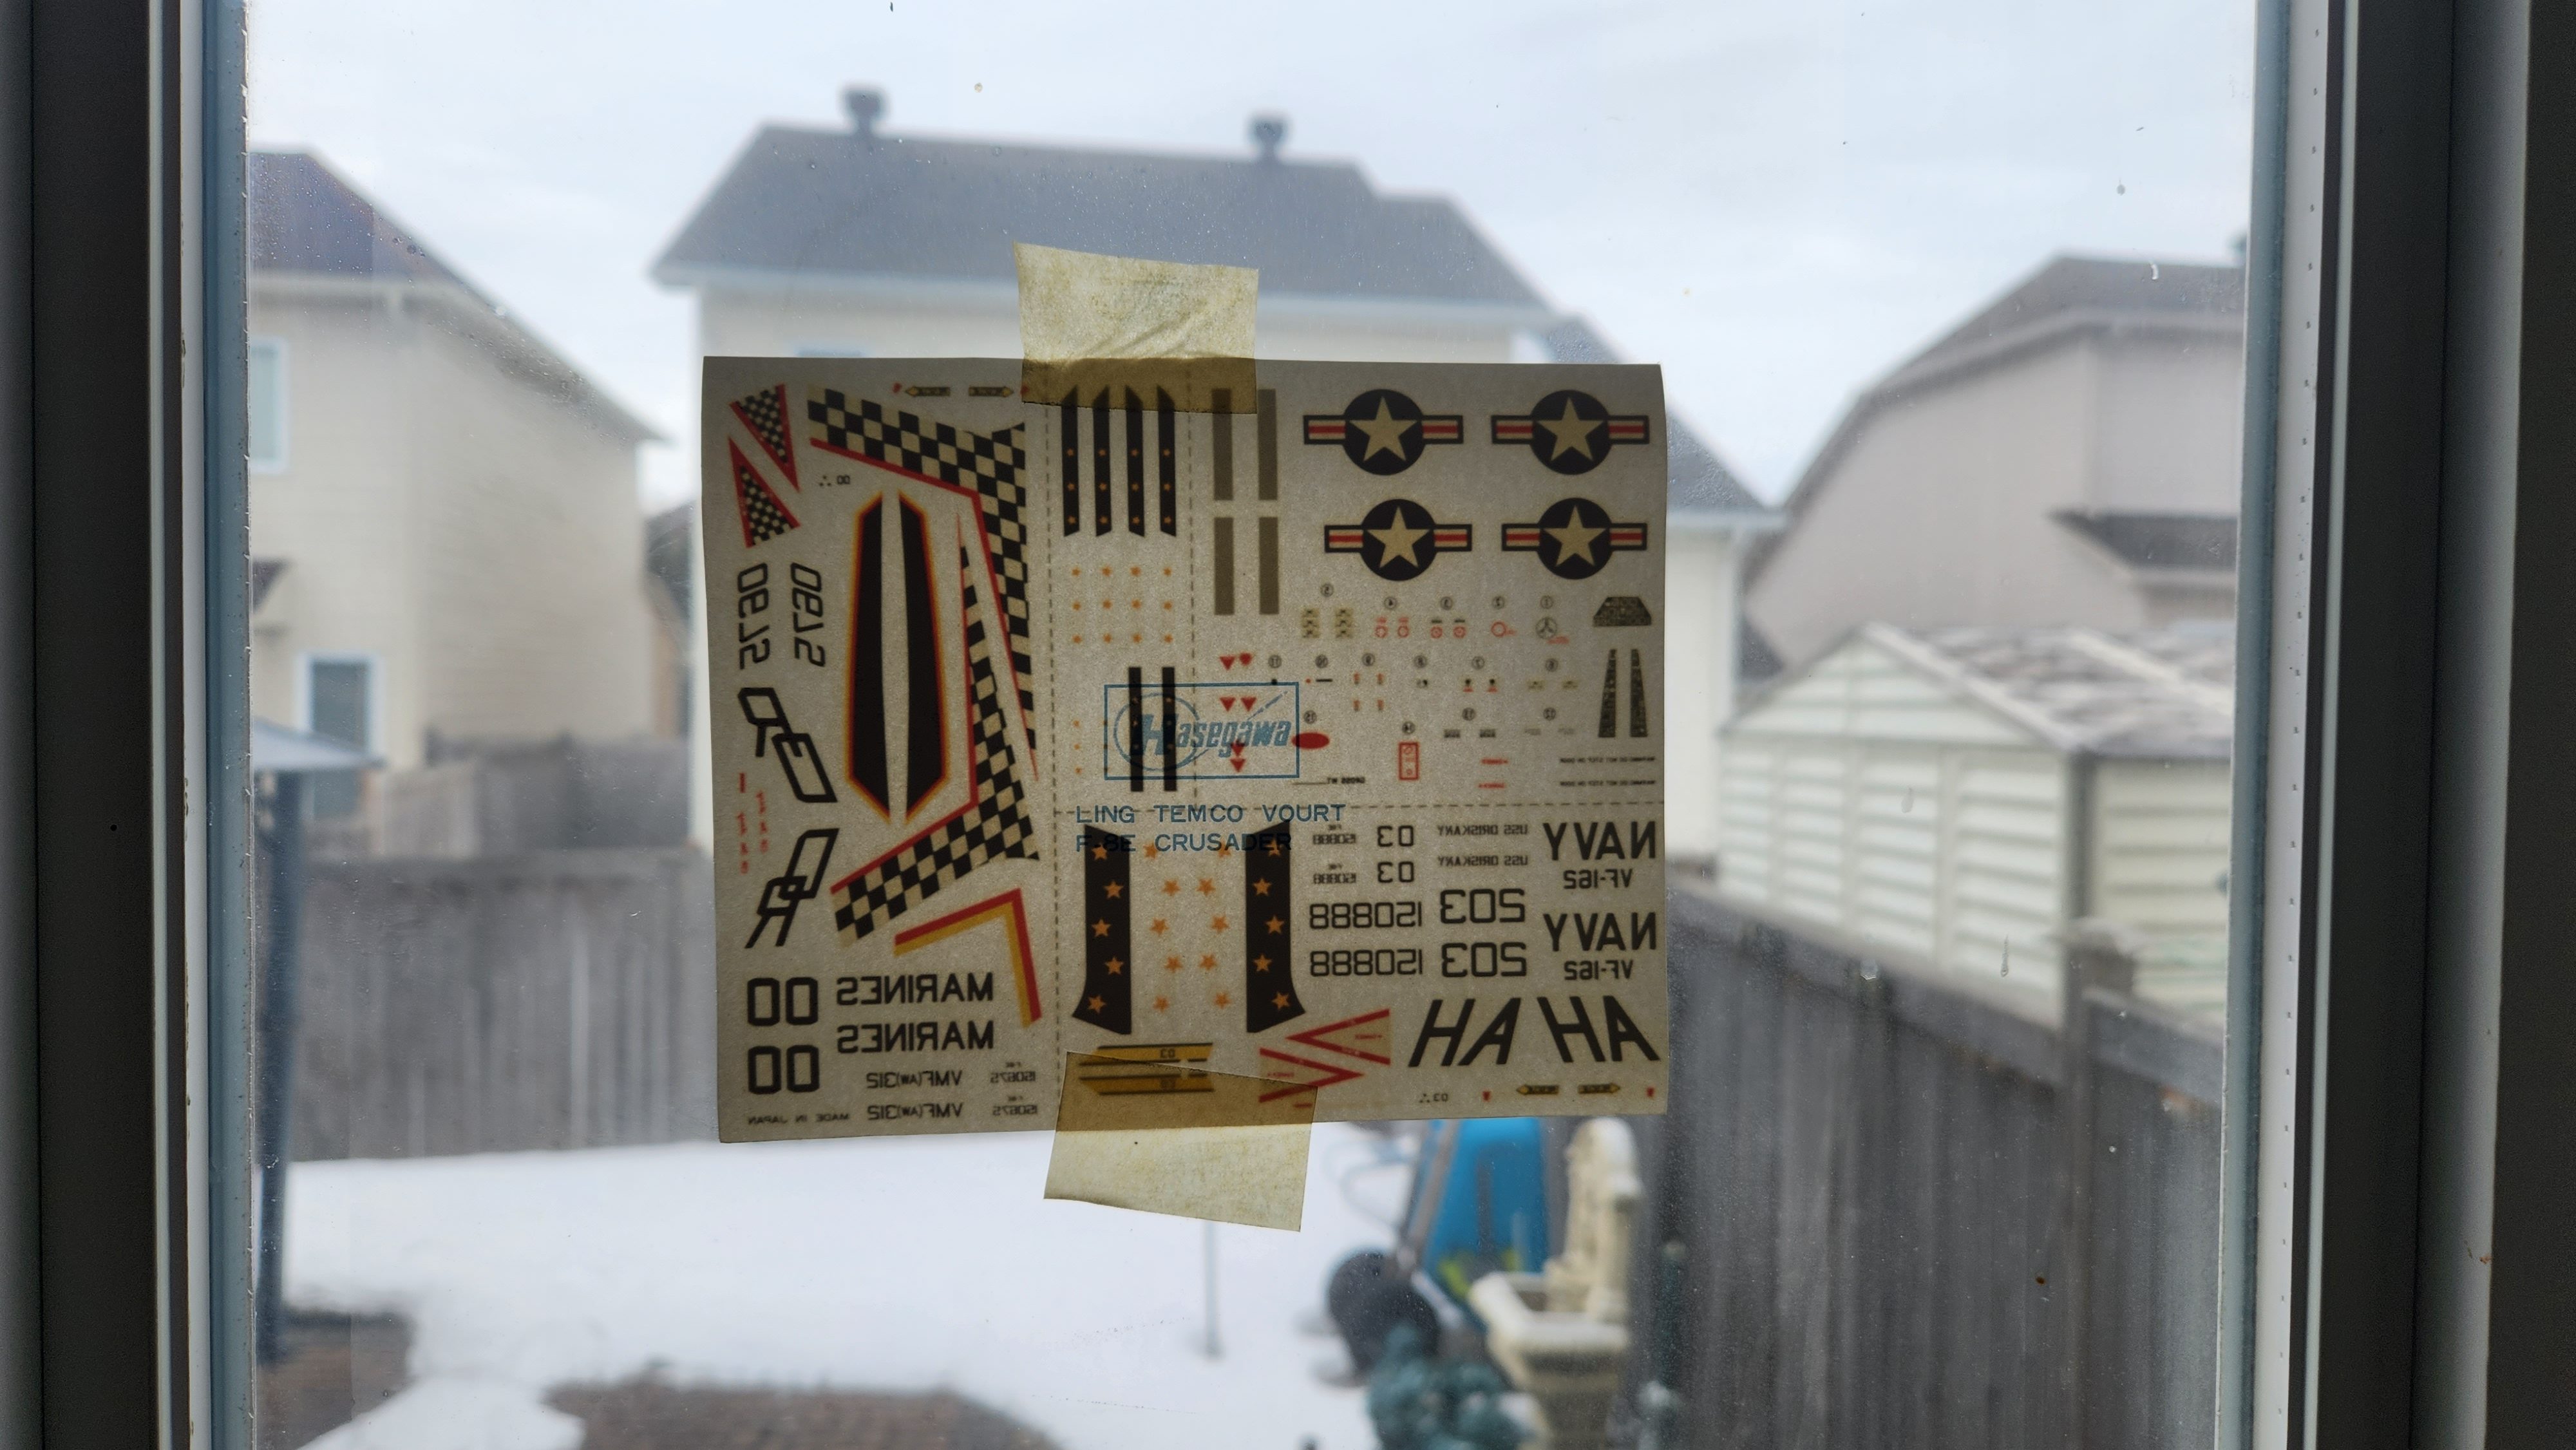
I put the decals in the window so the sunlight could bleach out the yellow. I’ve done this in the past and it really works.
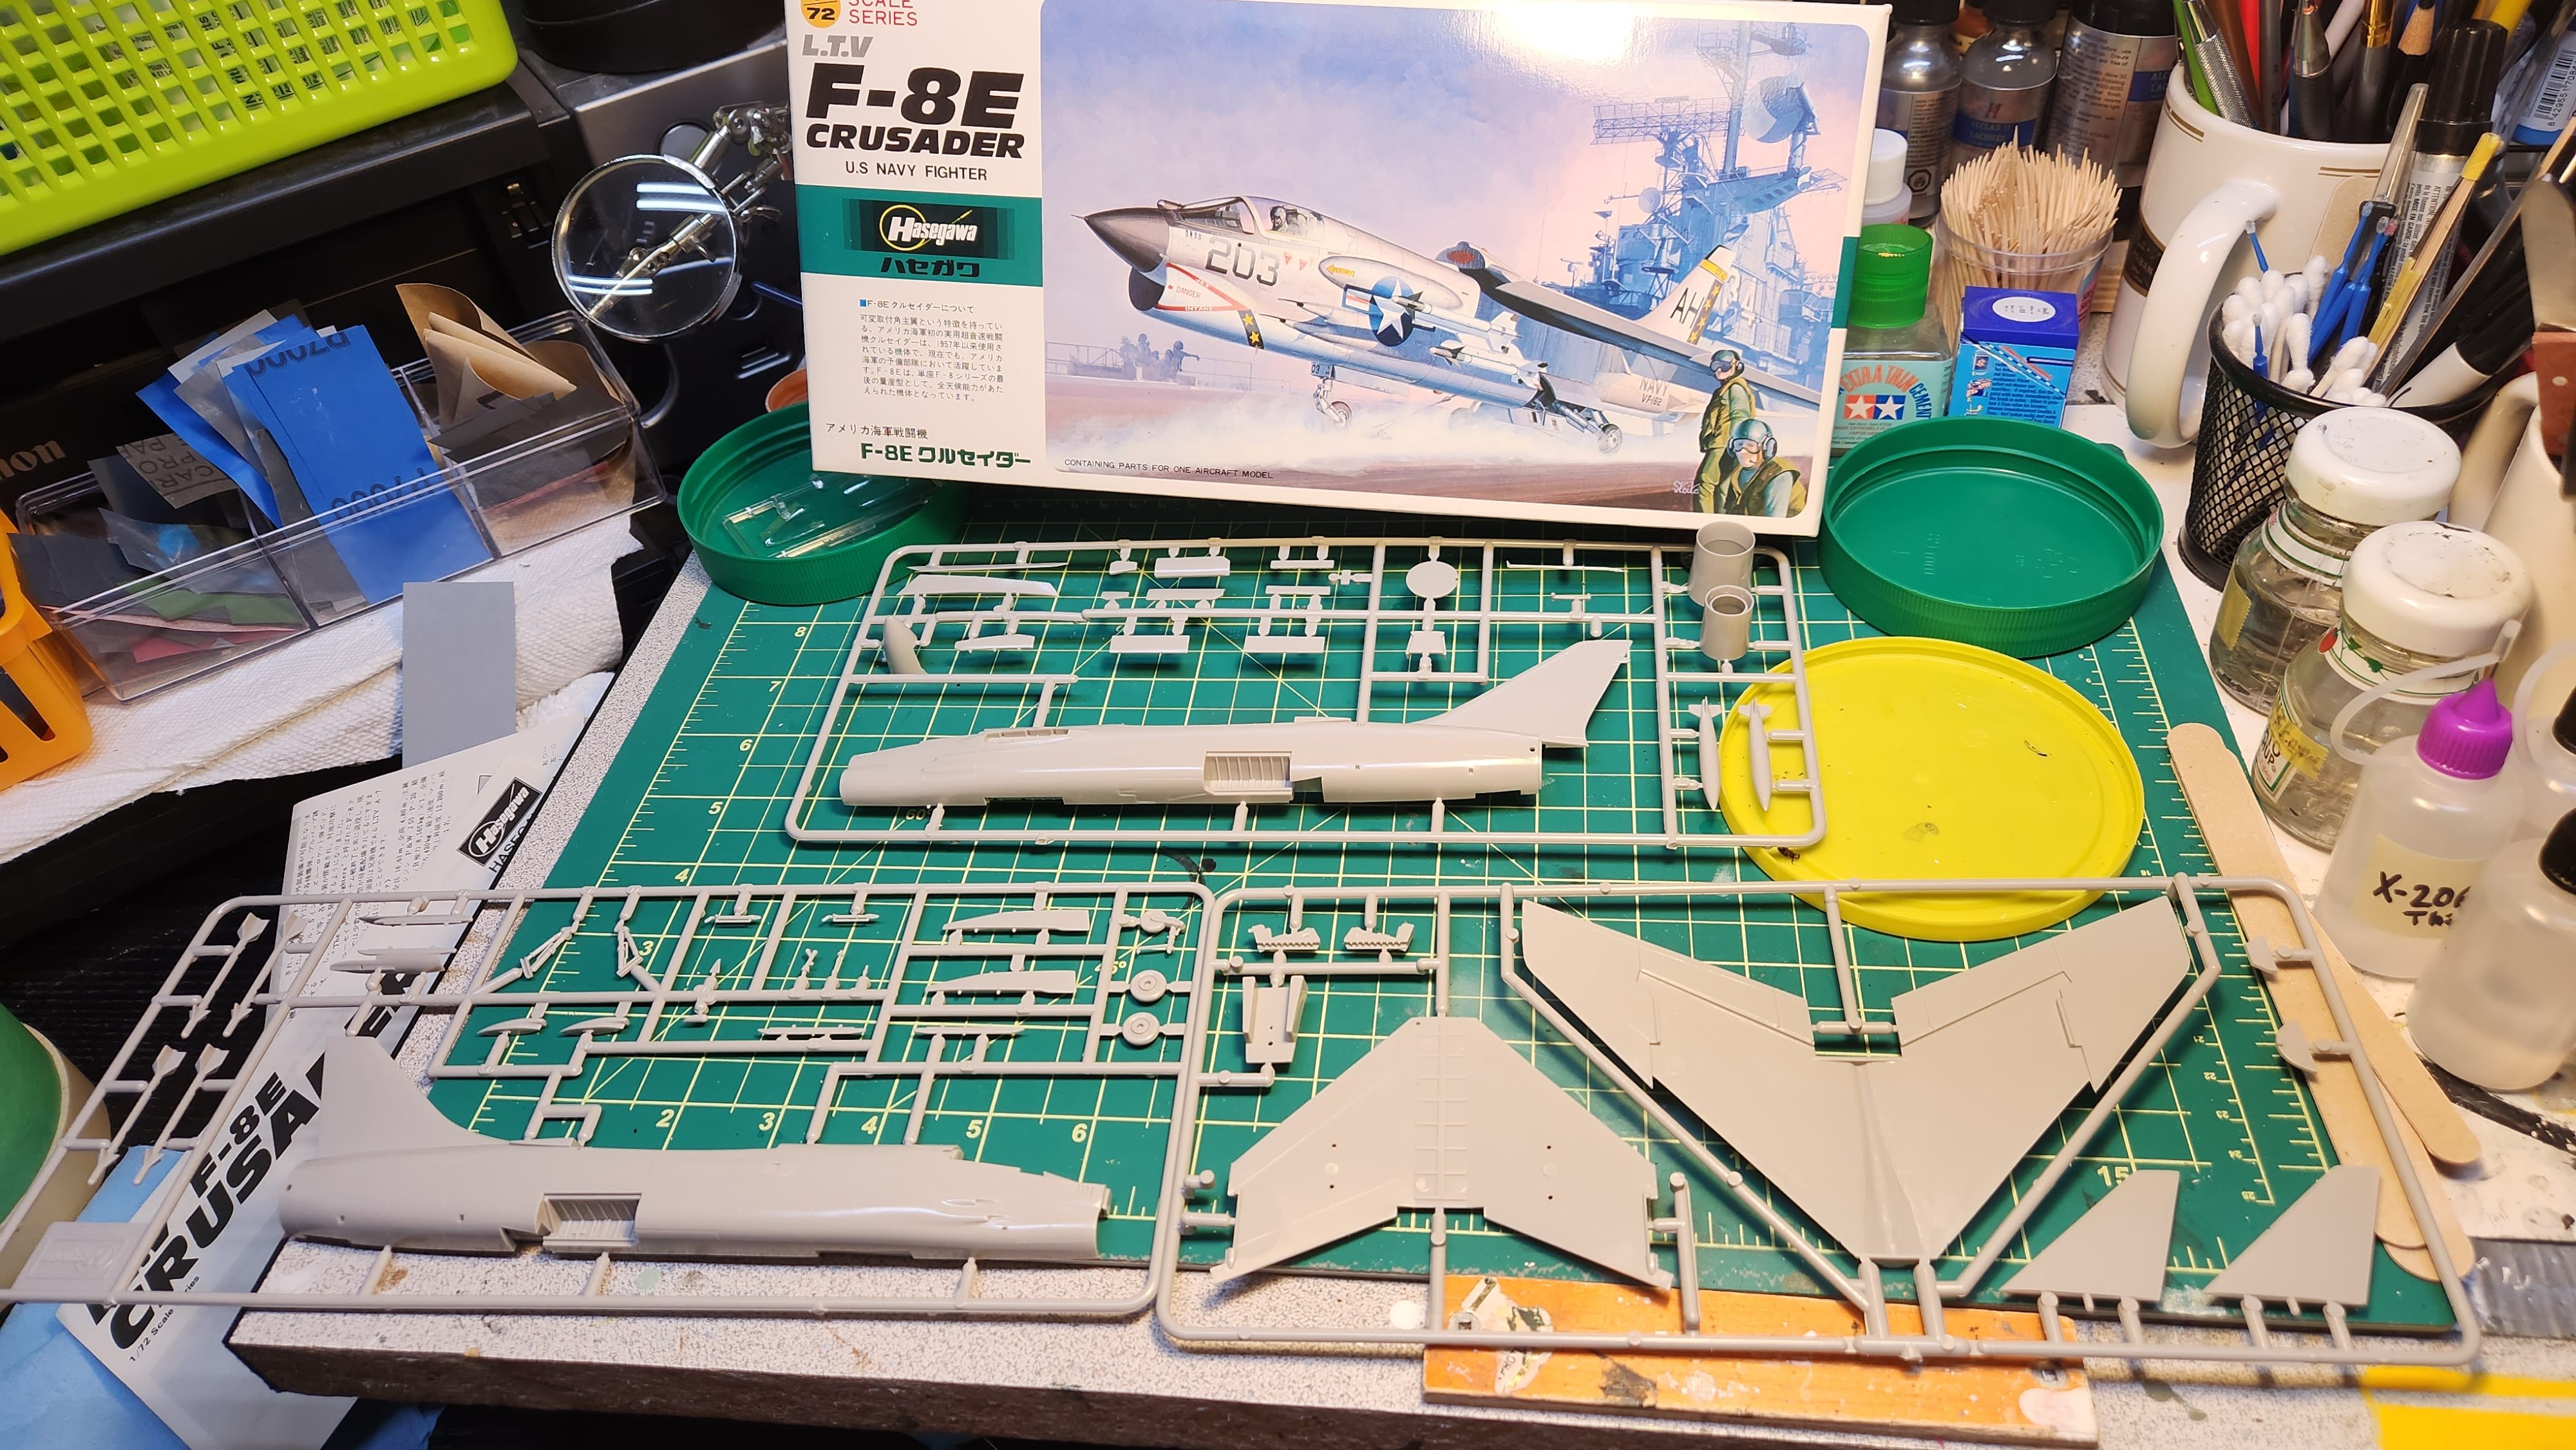
Here are the sprues — not too complicated.
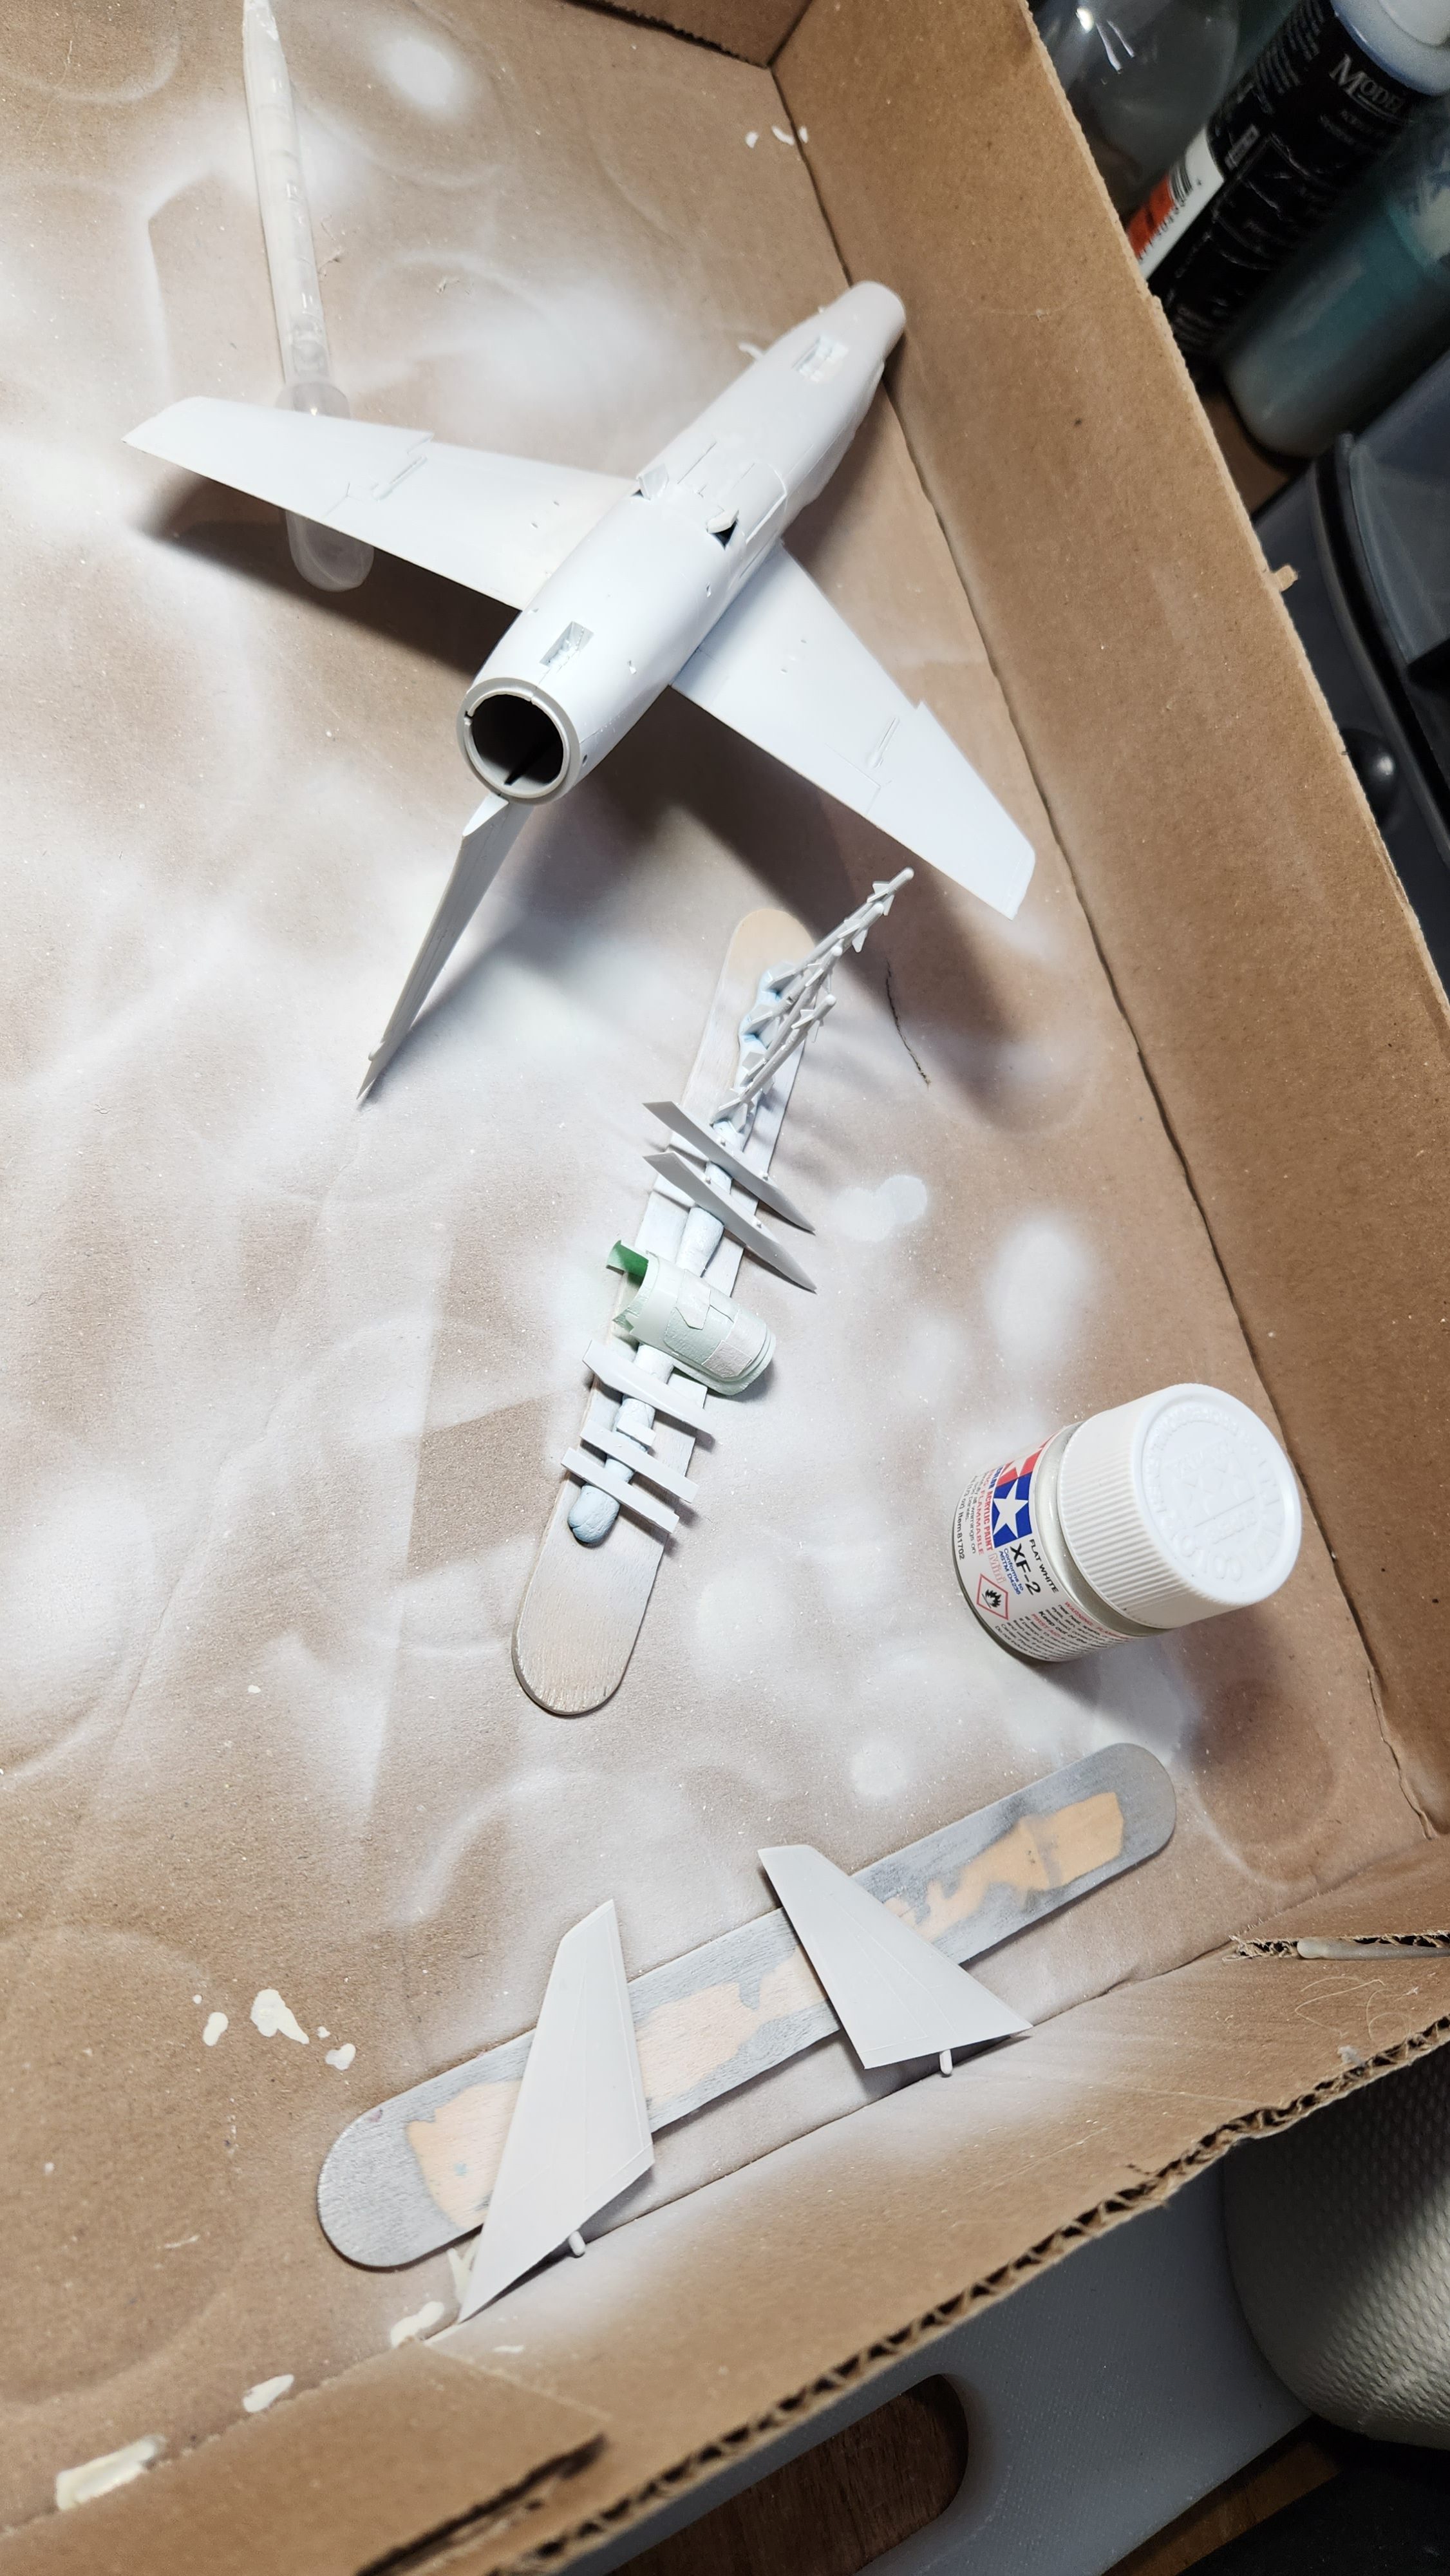
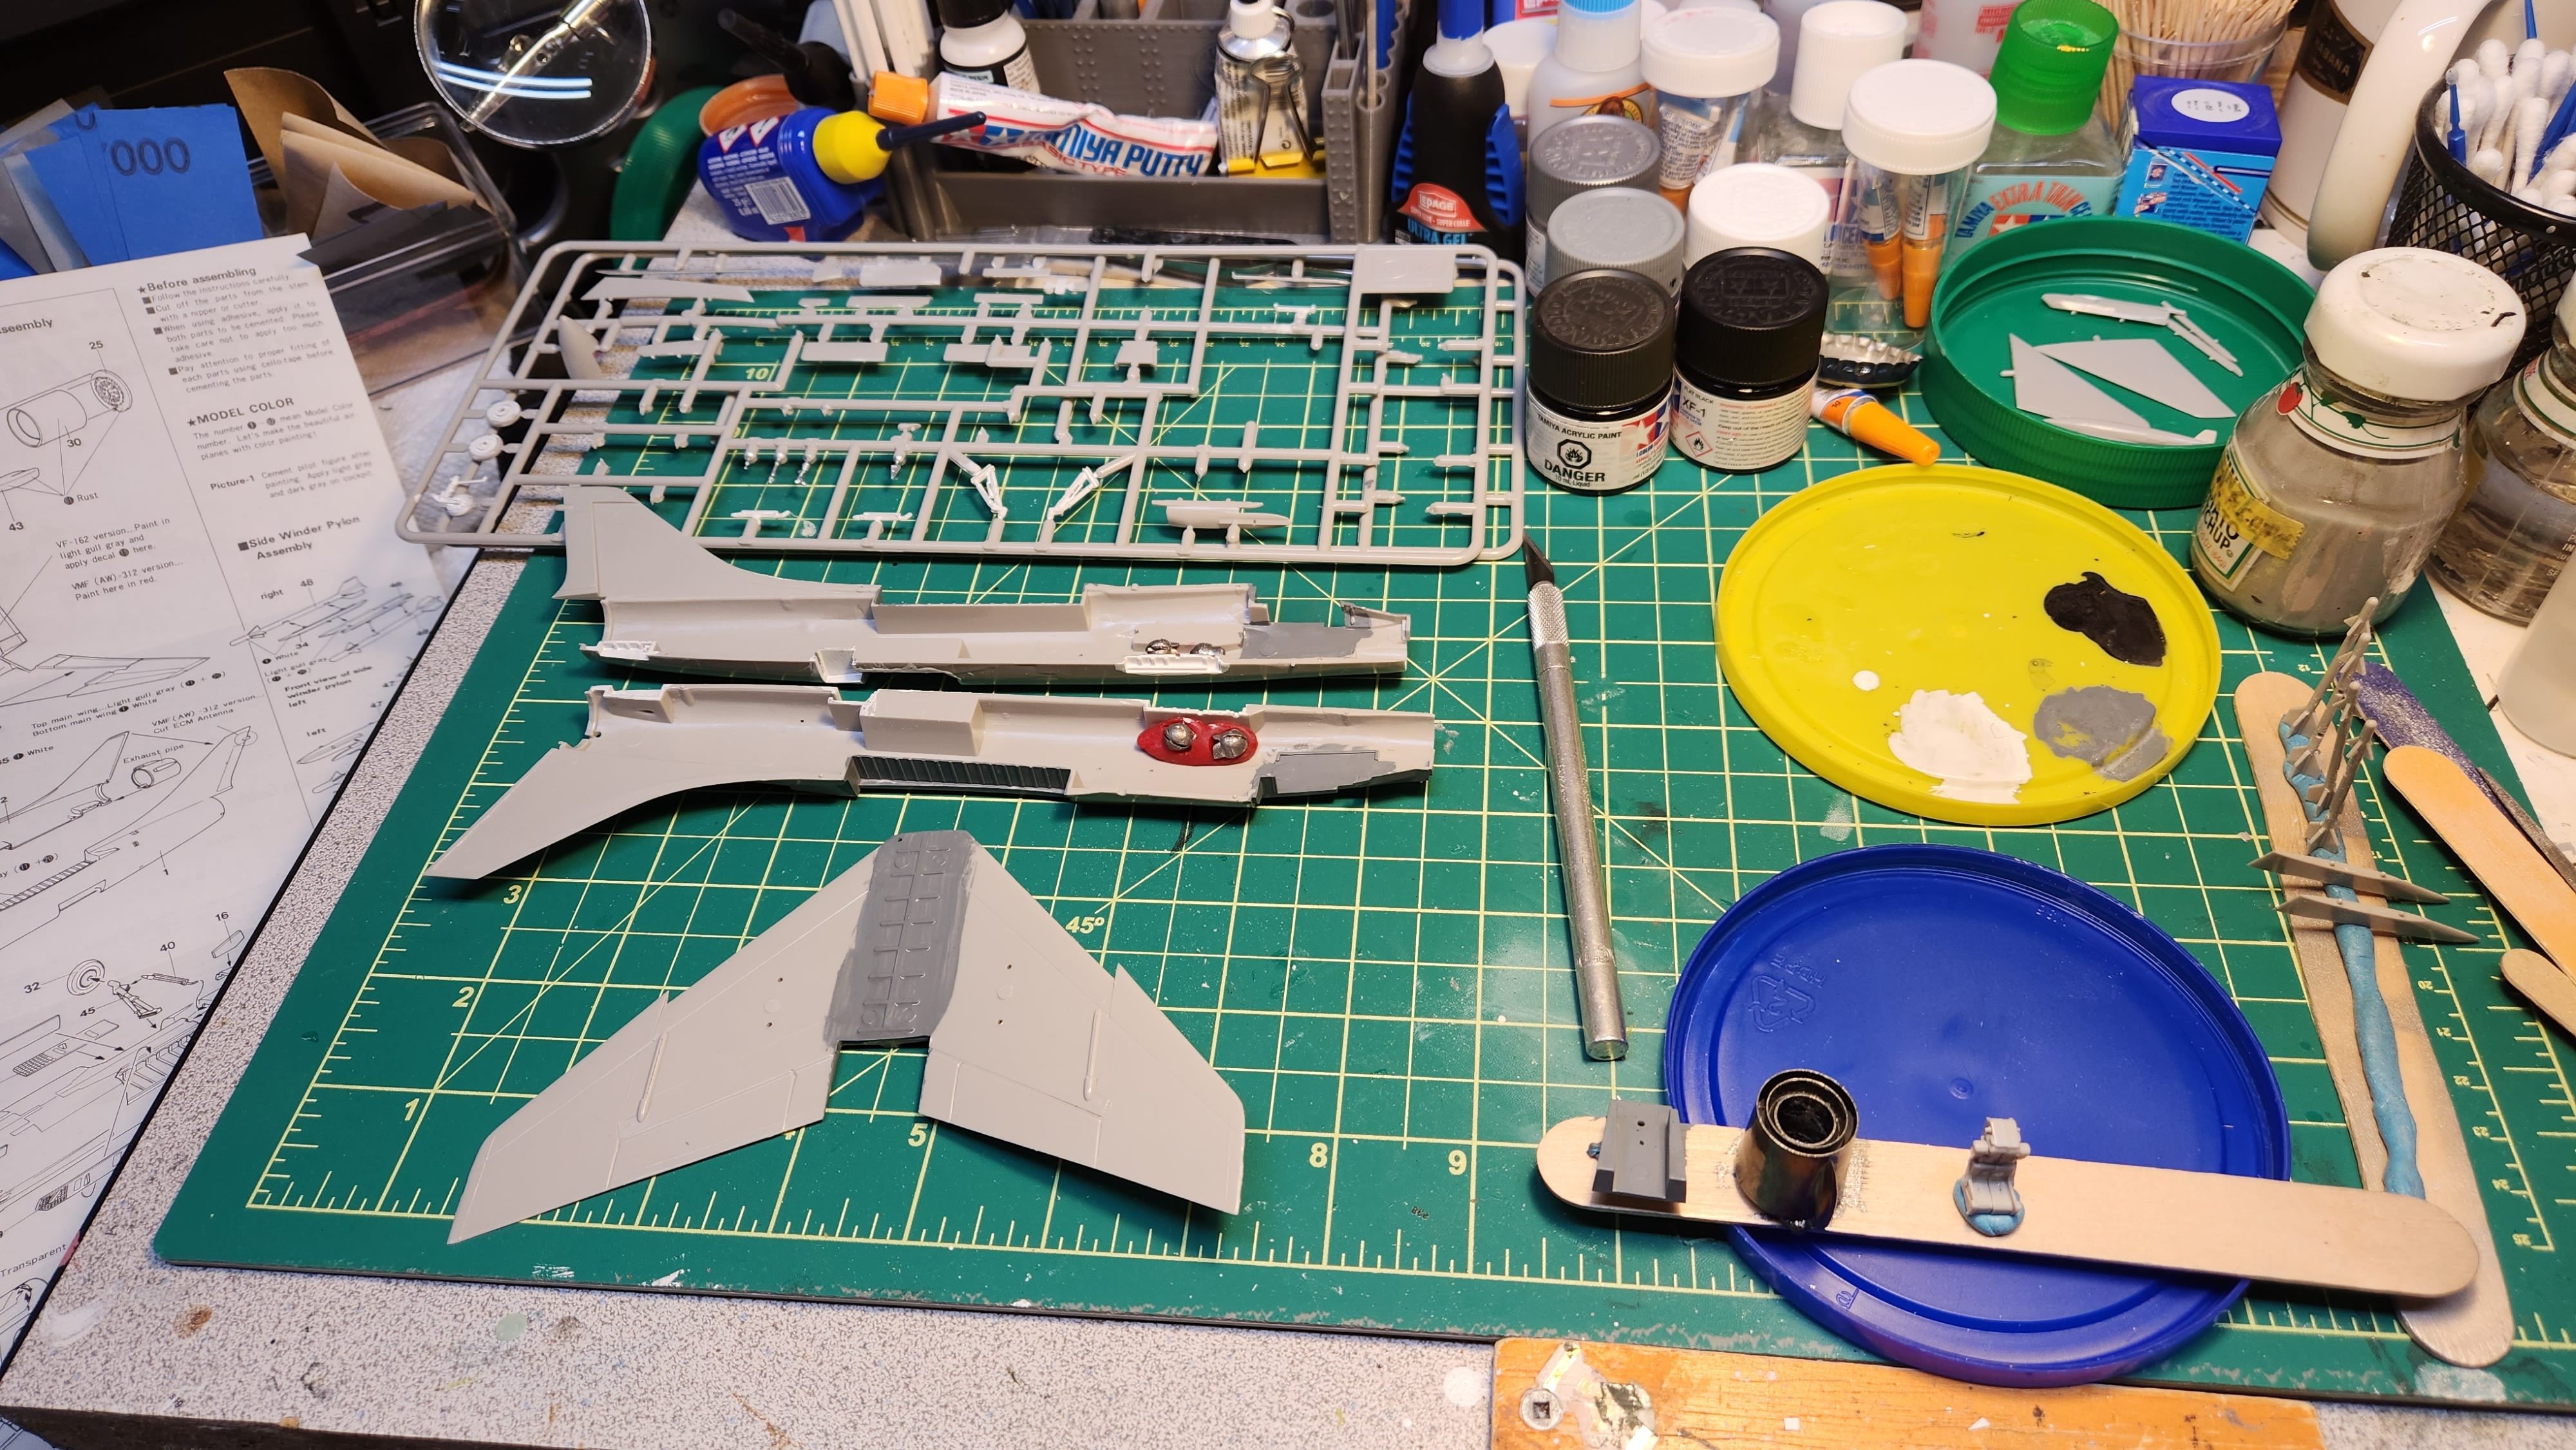 Painted the cockpit tub, interior fuselage and wing wells XF-66 Light Grey (which is actually pretty dark as grey goes). Assembled and painted the exhaust nozzle X-10 Gun Metal. Added some weight to the nose to prevent the model from being a tail dragger.
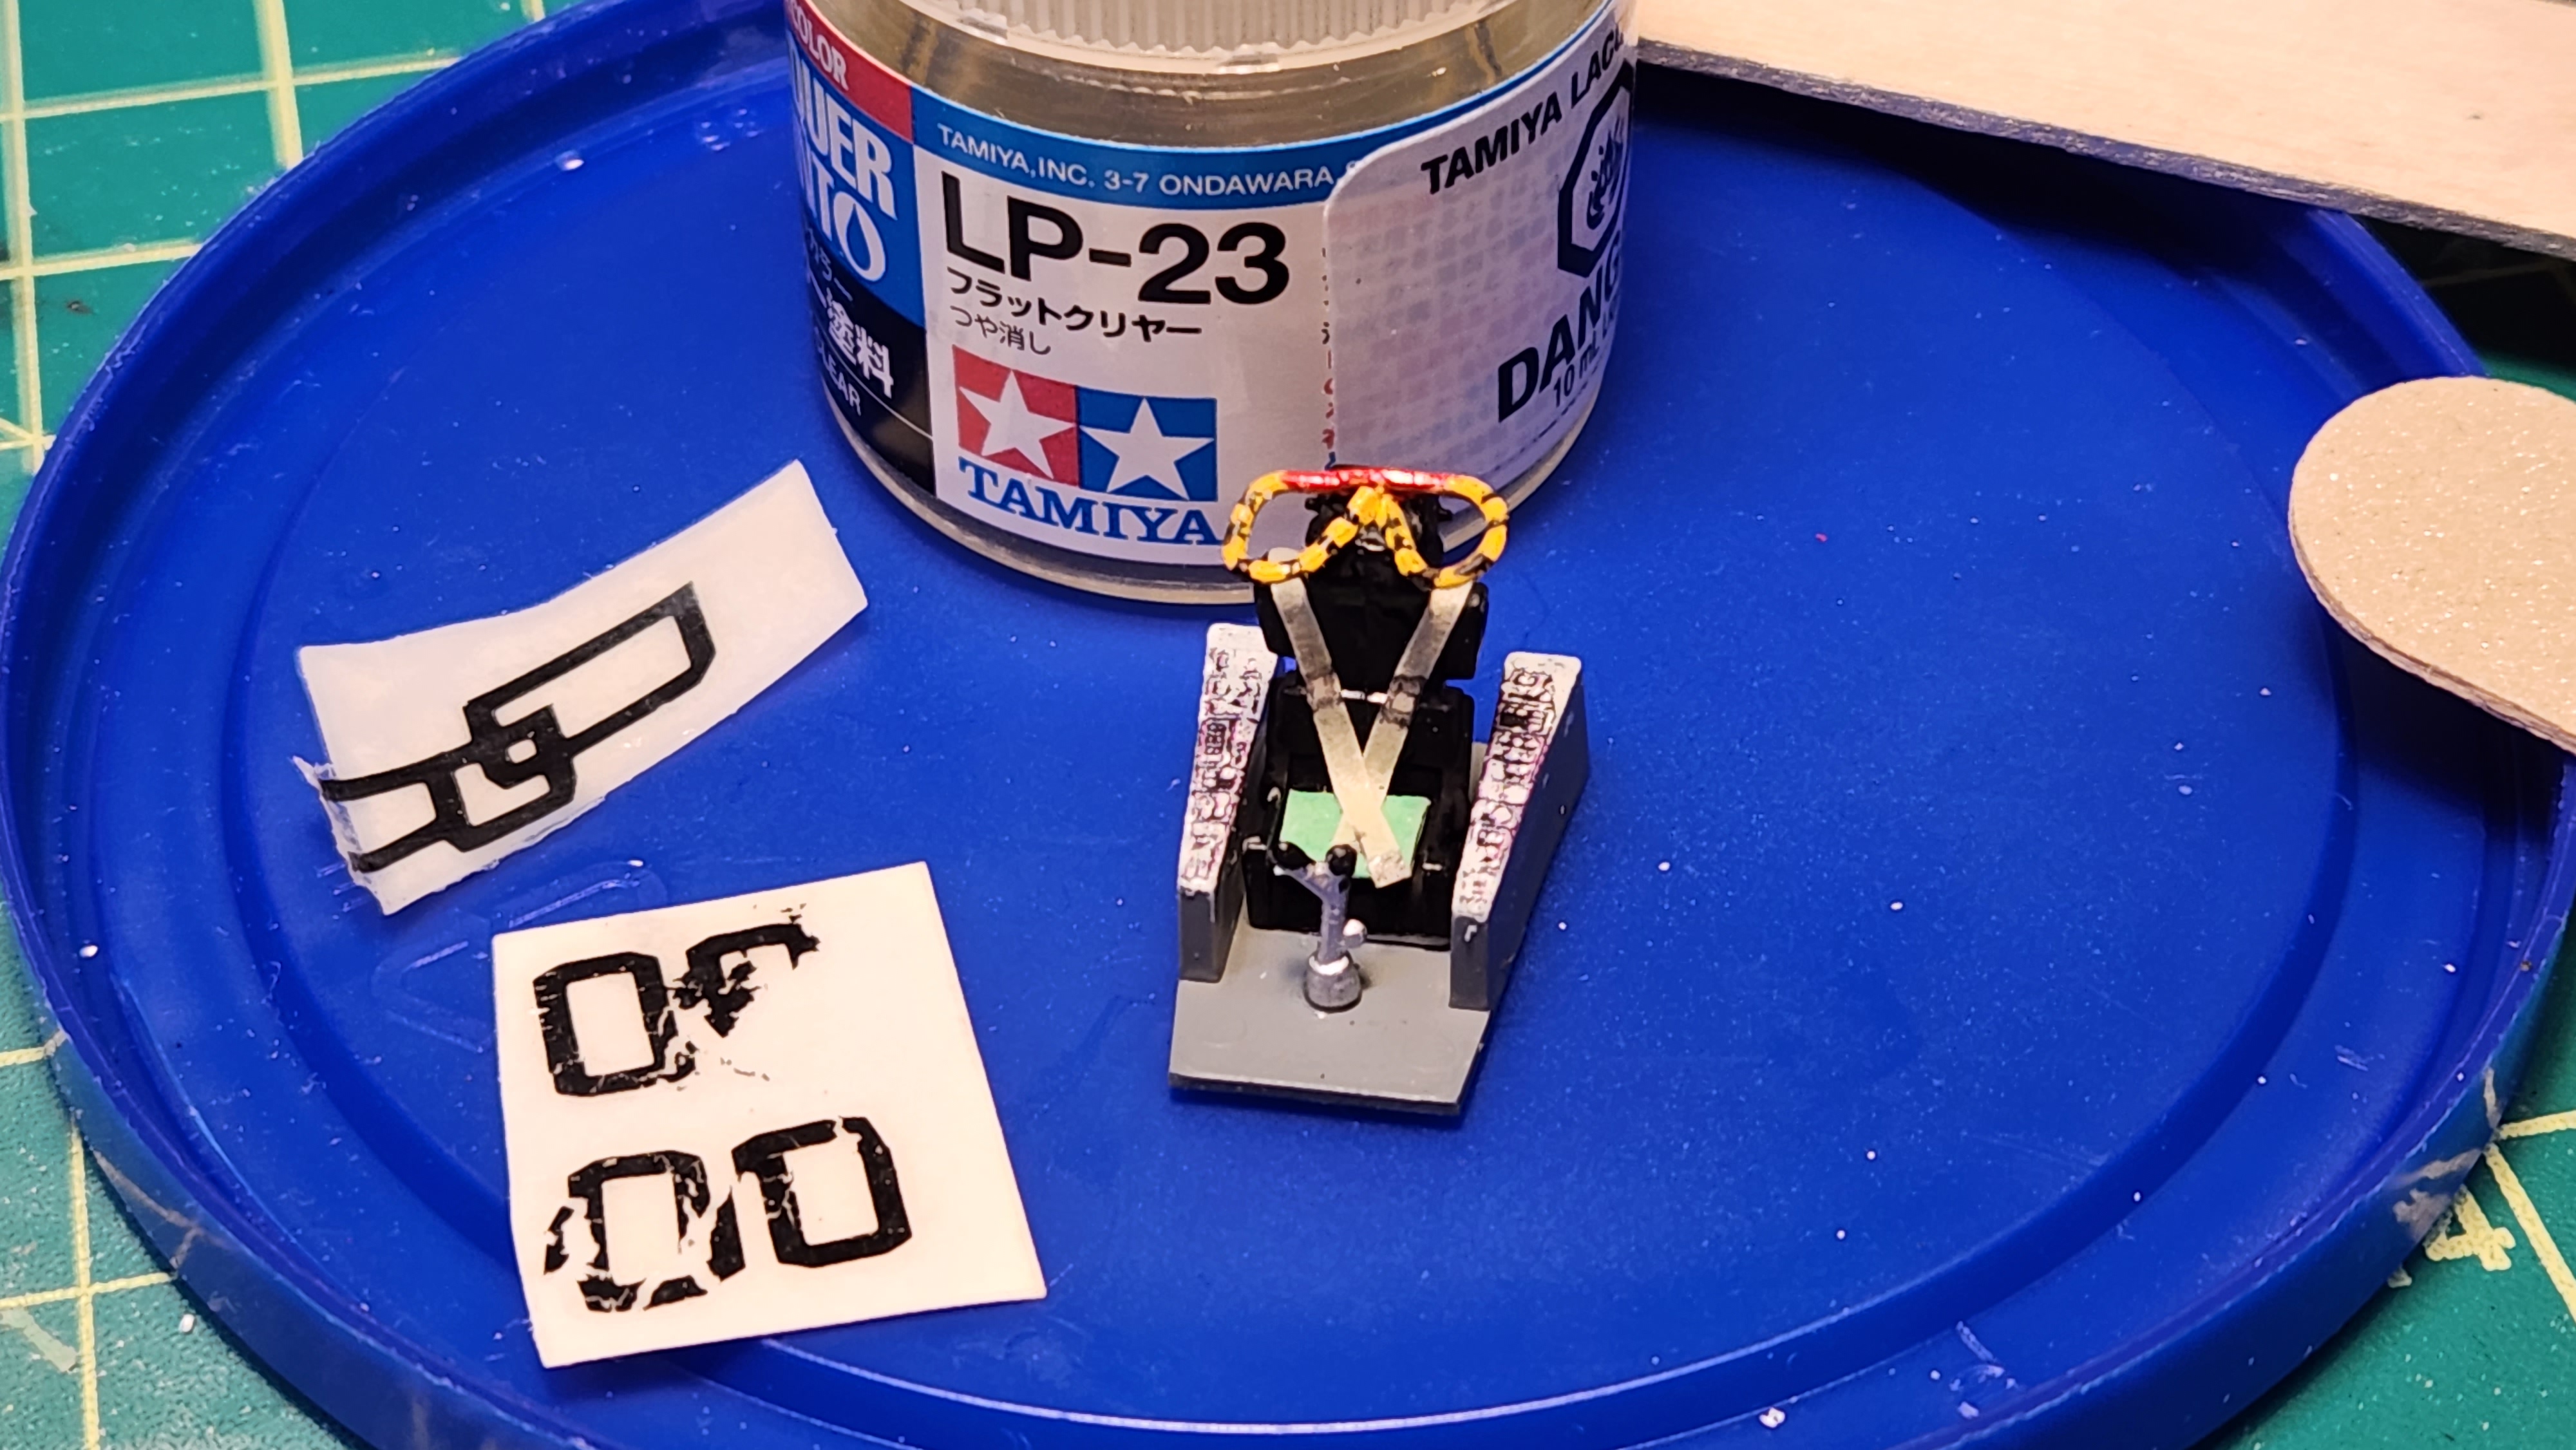 As predicted, the decals disintegrated when I tried to use them (I tested on some decals from the variant I was not building). I printed out another set, but the decal paper does not have areas that are colored white, those areas just come through as clear. I painted the instrument panel area of the cockpit tub white and used my home made decals. I also added some seat belts and a cushion using masking tape and made ejection handles from a piece of thin wire.
To revive the decals, I watched this video and used the LP-23 Clear Lacquer — you can see it seemed to work, the treated decal in the background came off OK. Hoping for the best when it counts.
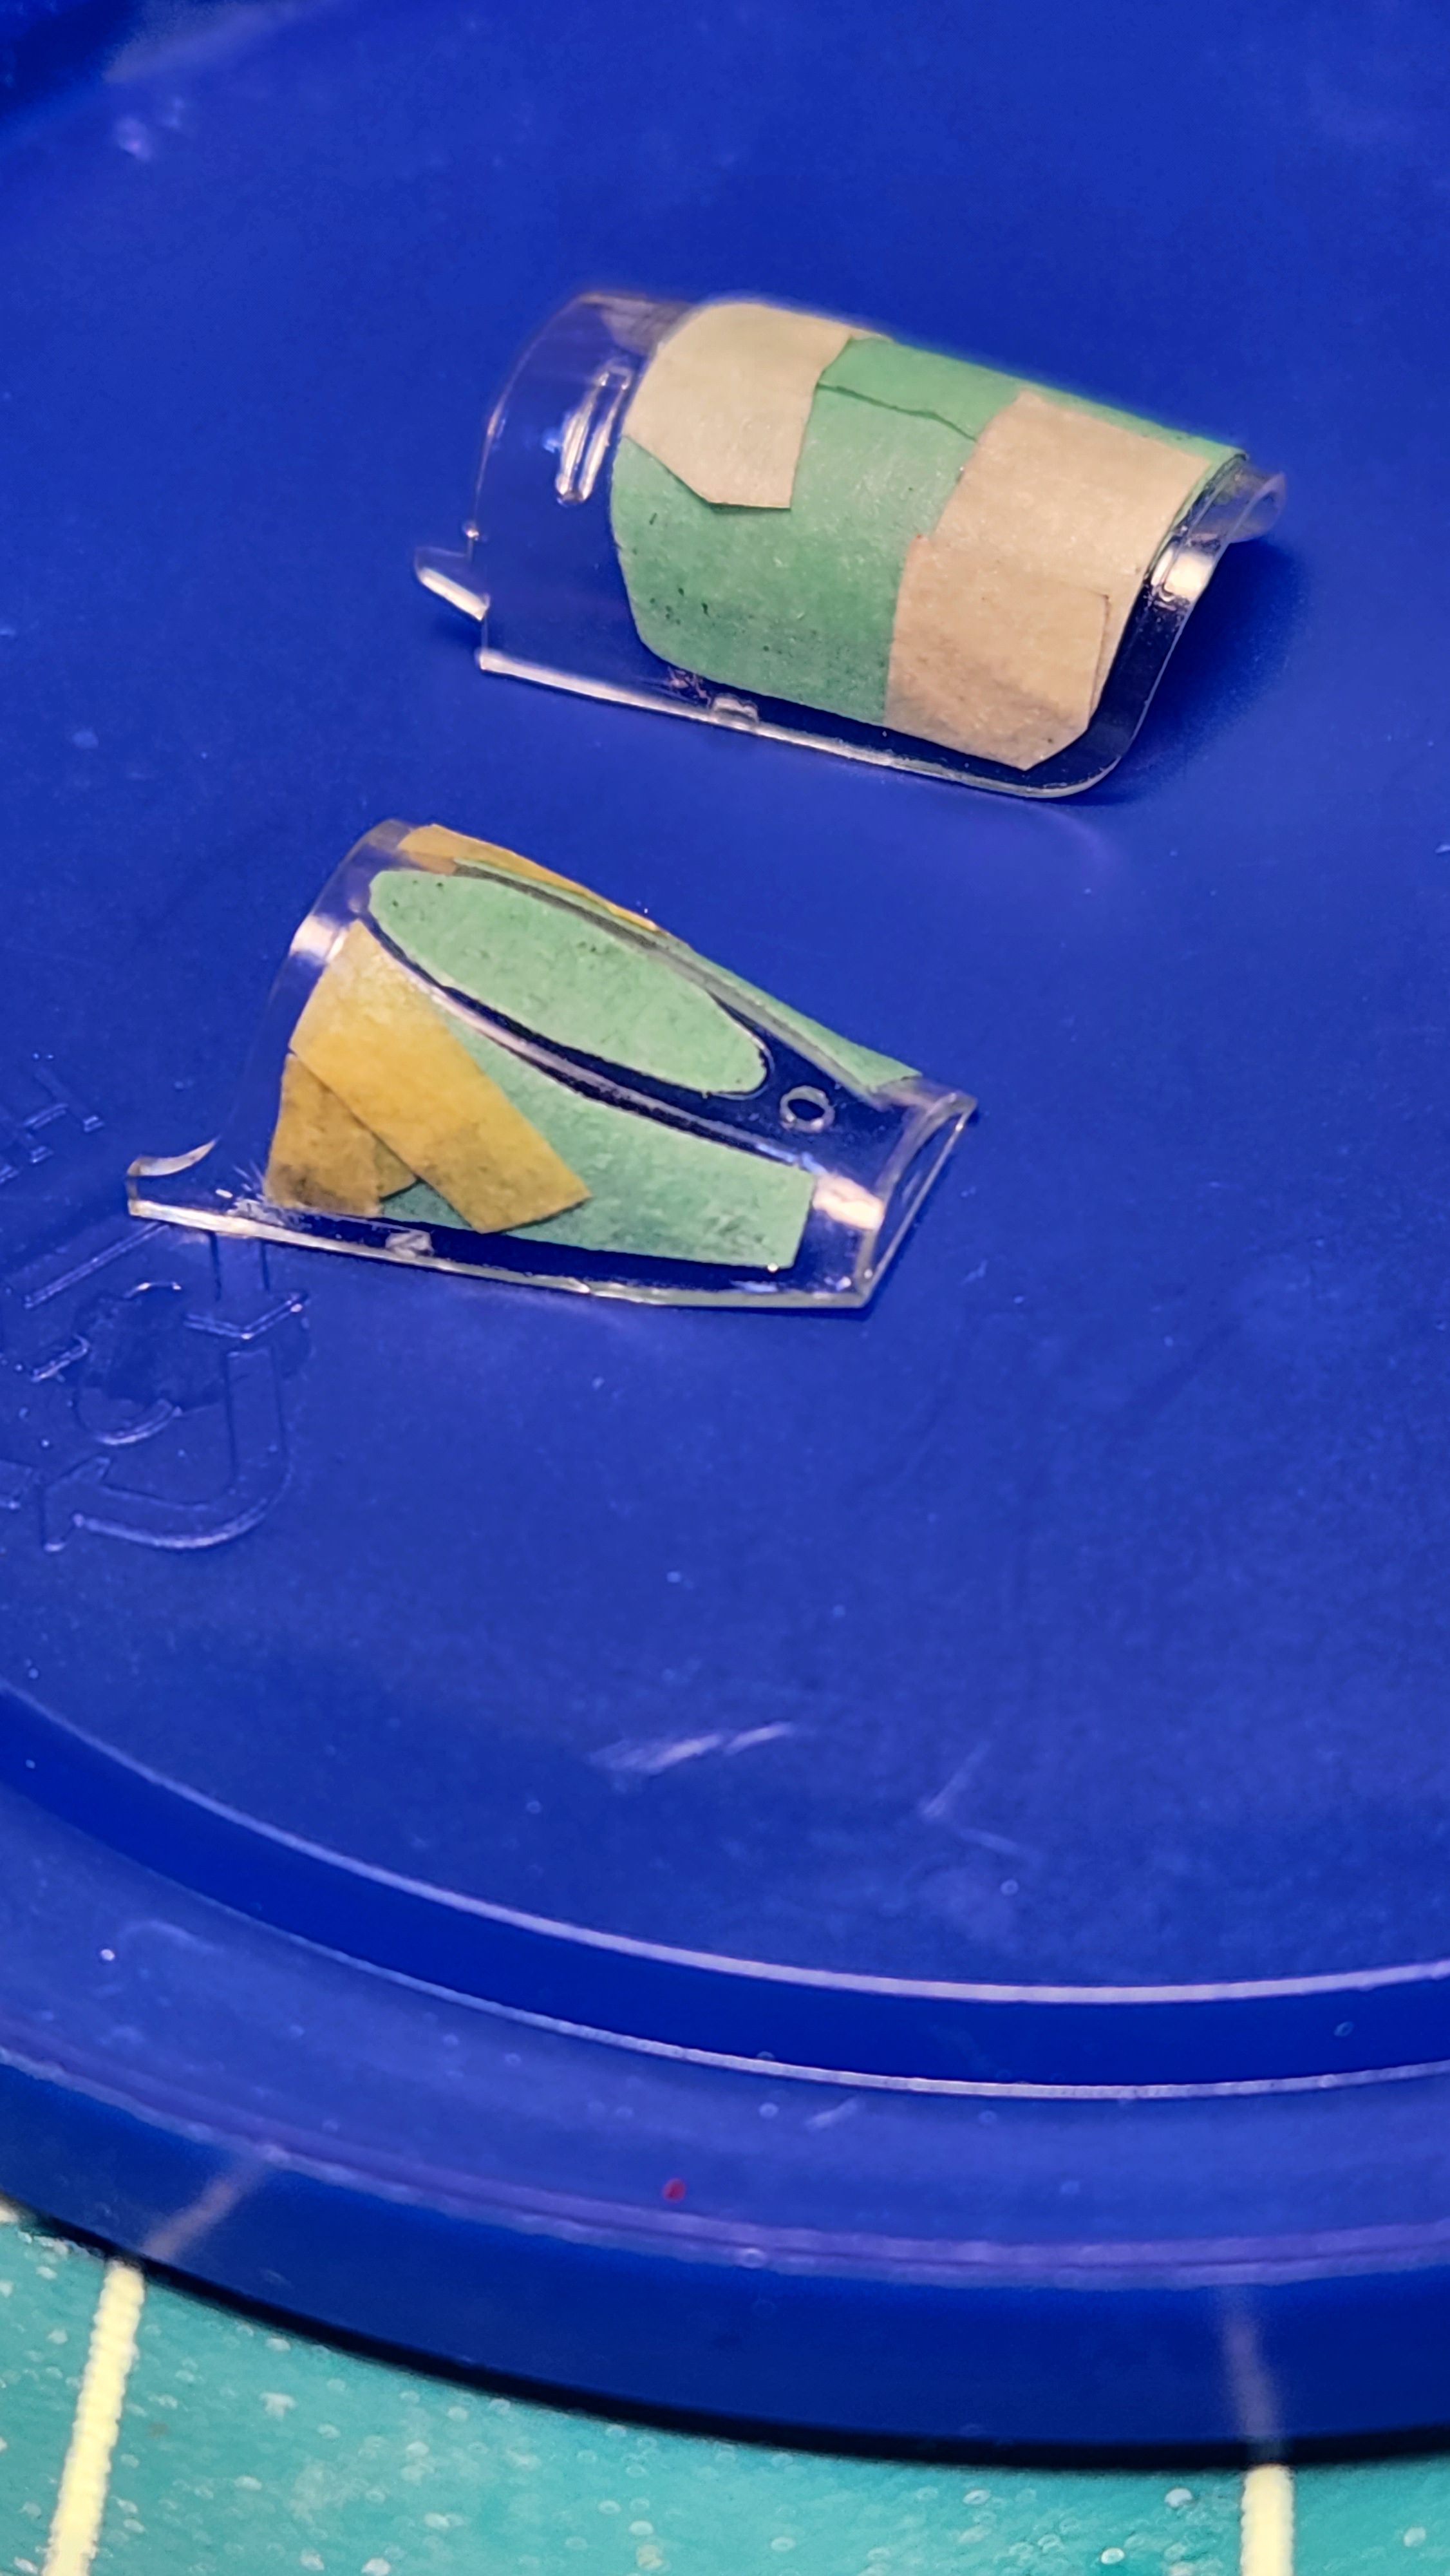
My least favorite activity — masking the canopy. Recently, I’ve been doing it with lots of little pieces of masking tape instead of trying to cut pieces to cover a large area.
 Assembled the fuselage and did a bit of filling and sanding.
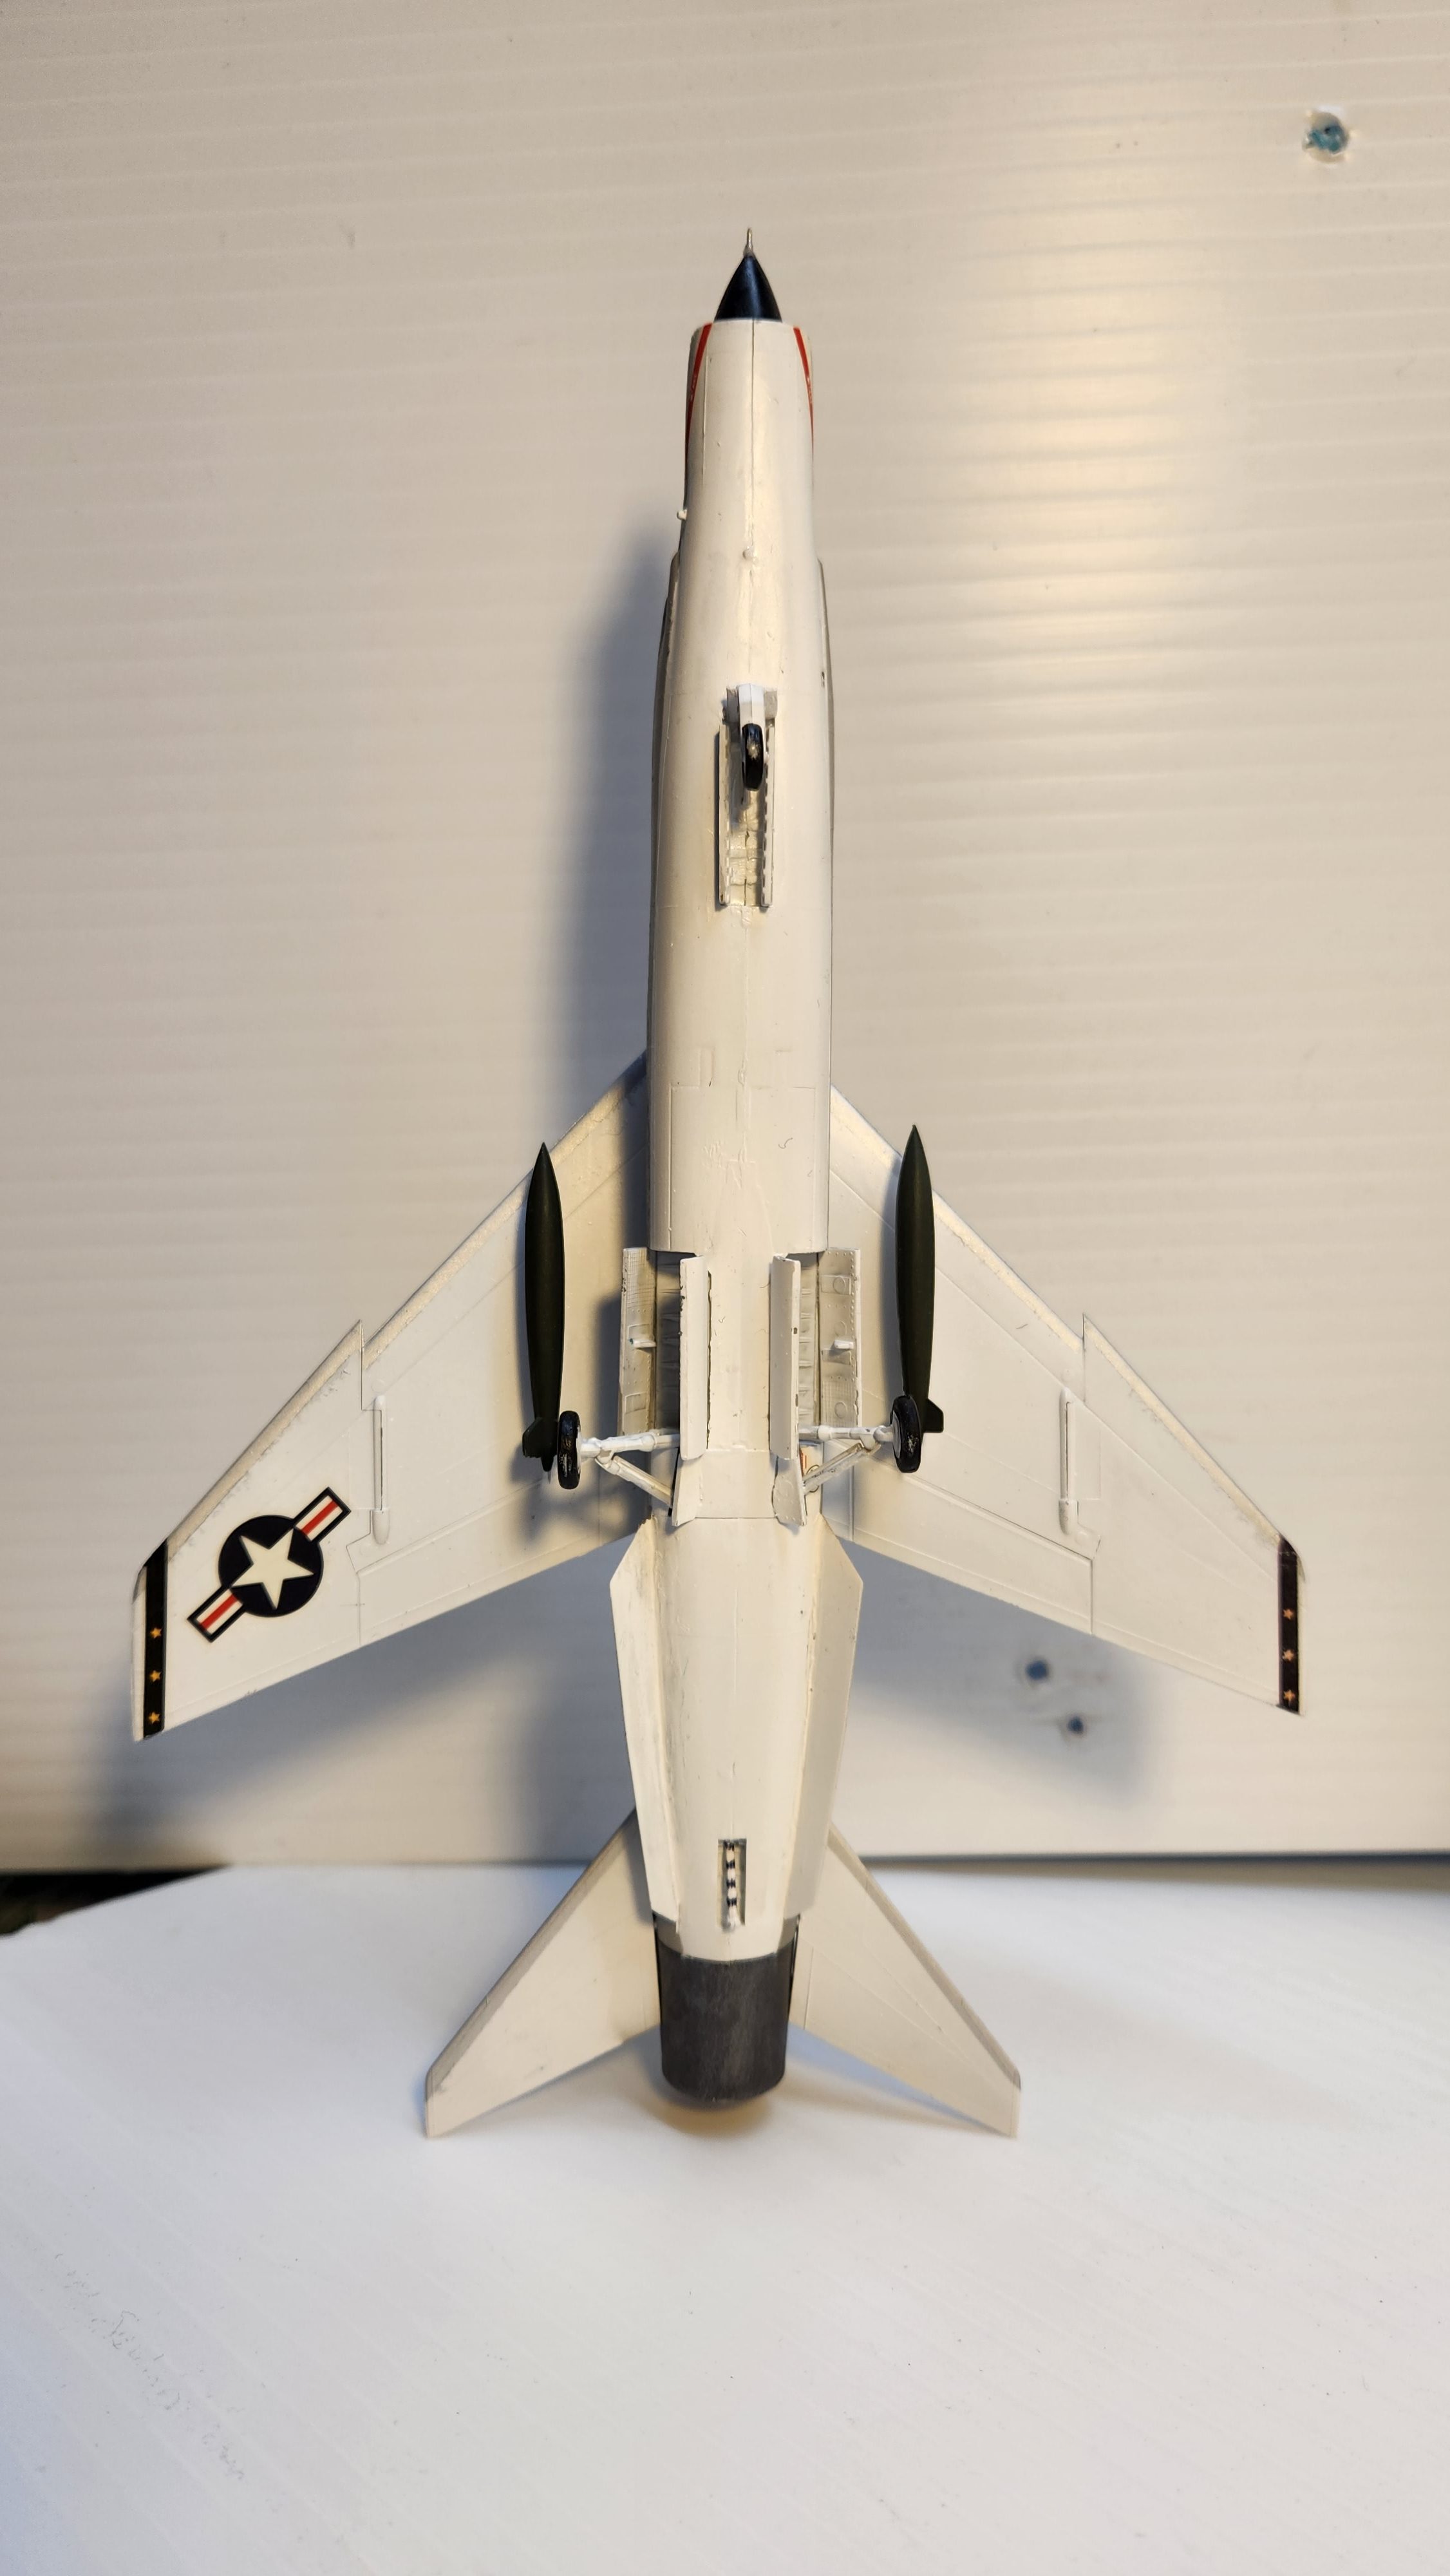
 Airbrushed the underside XF-2 Flat White.
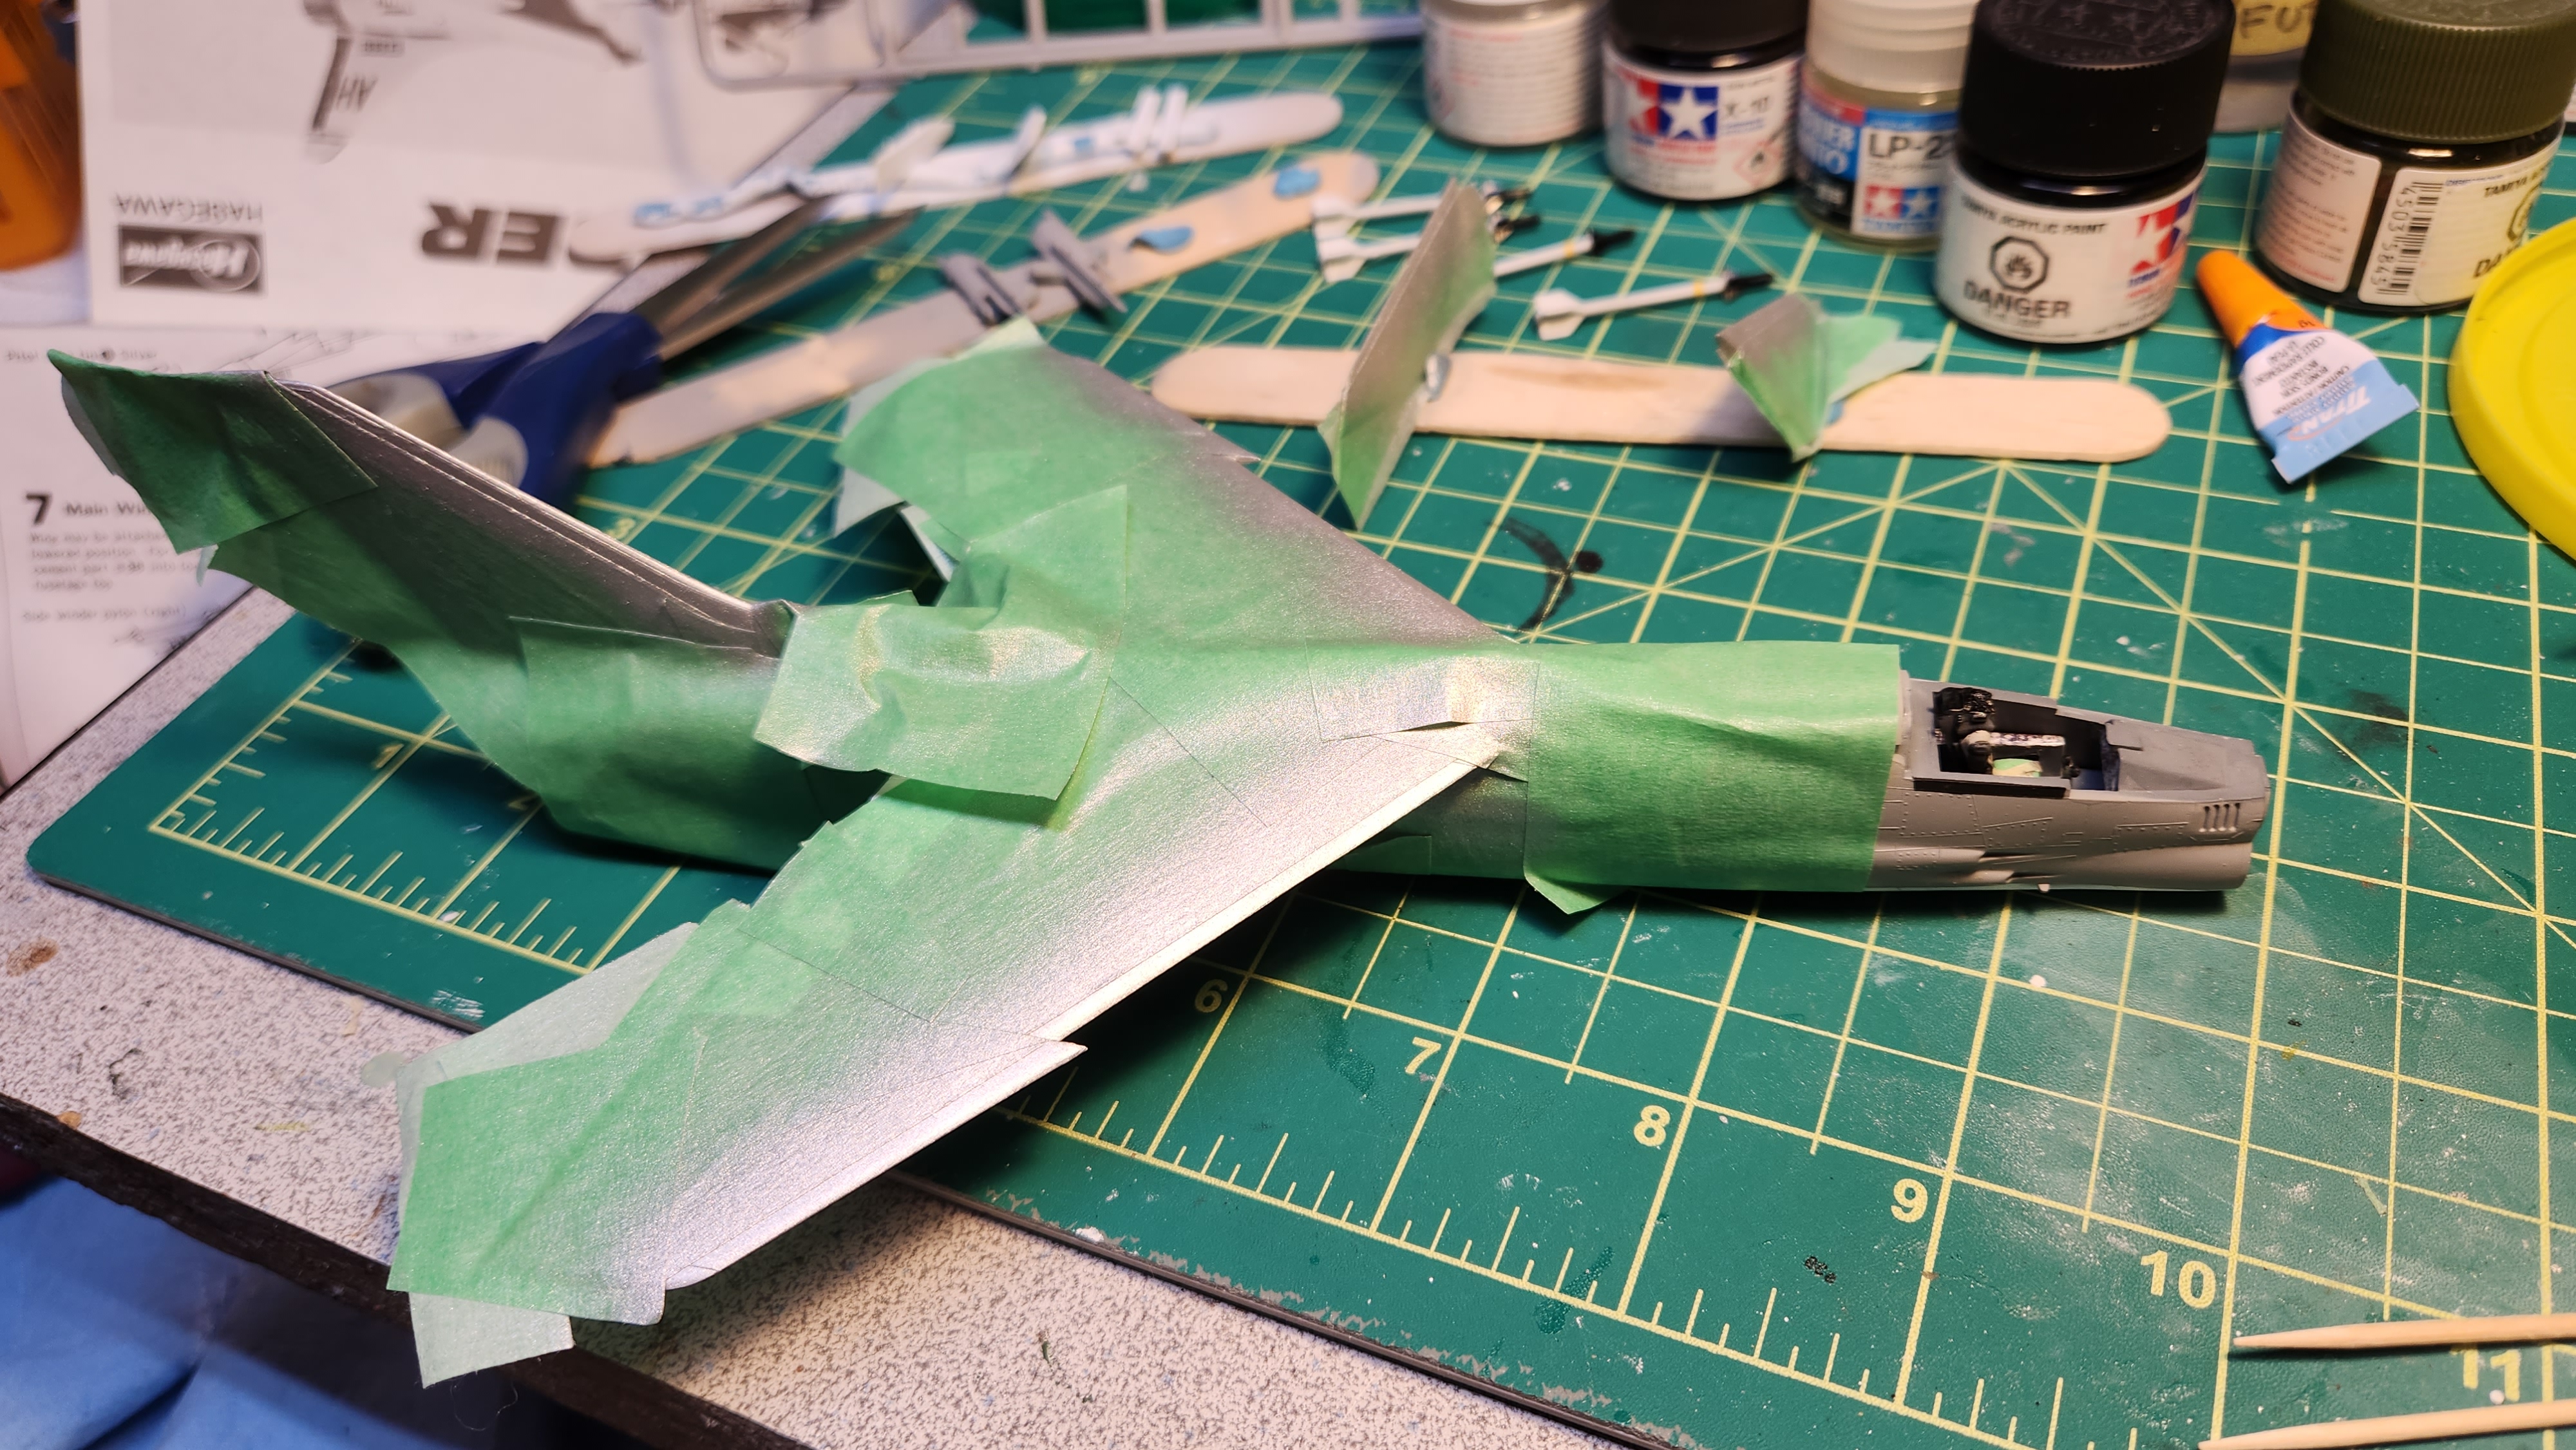
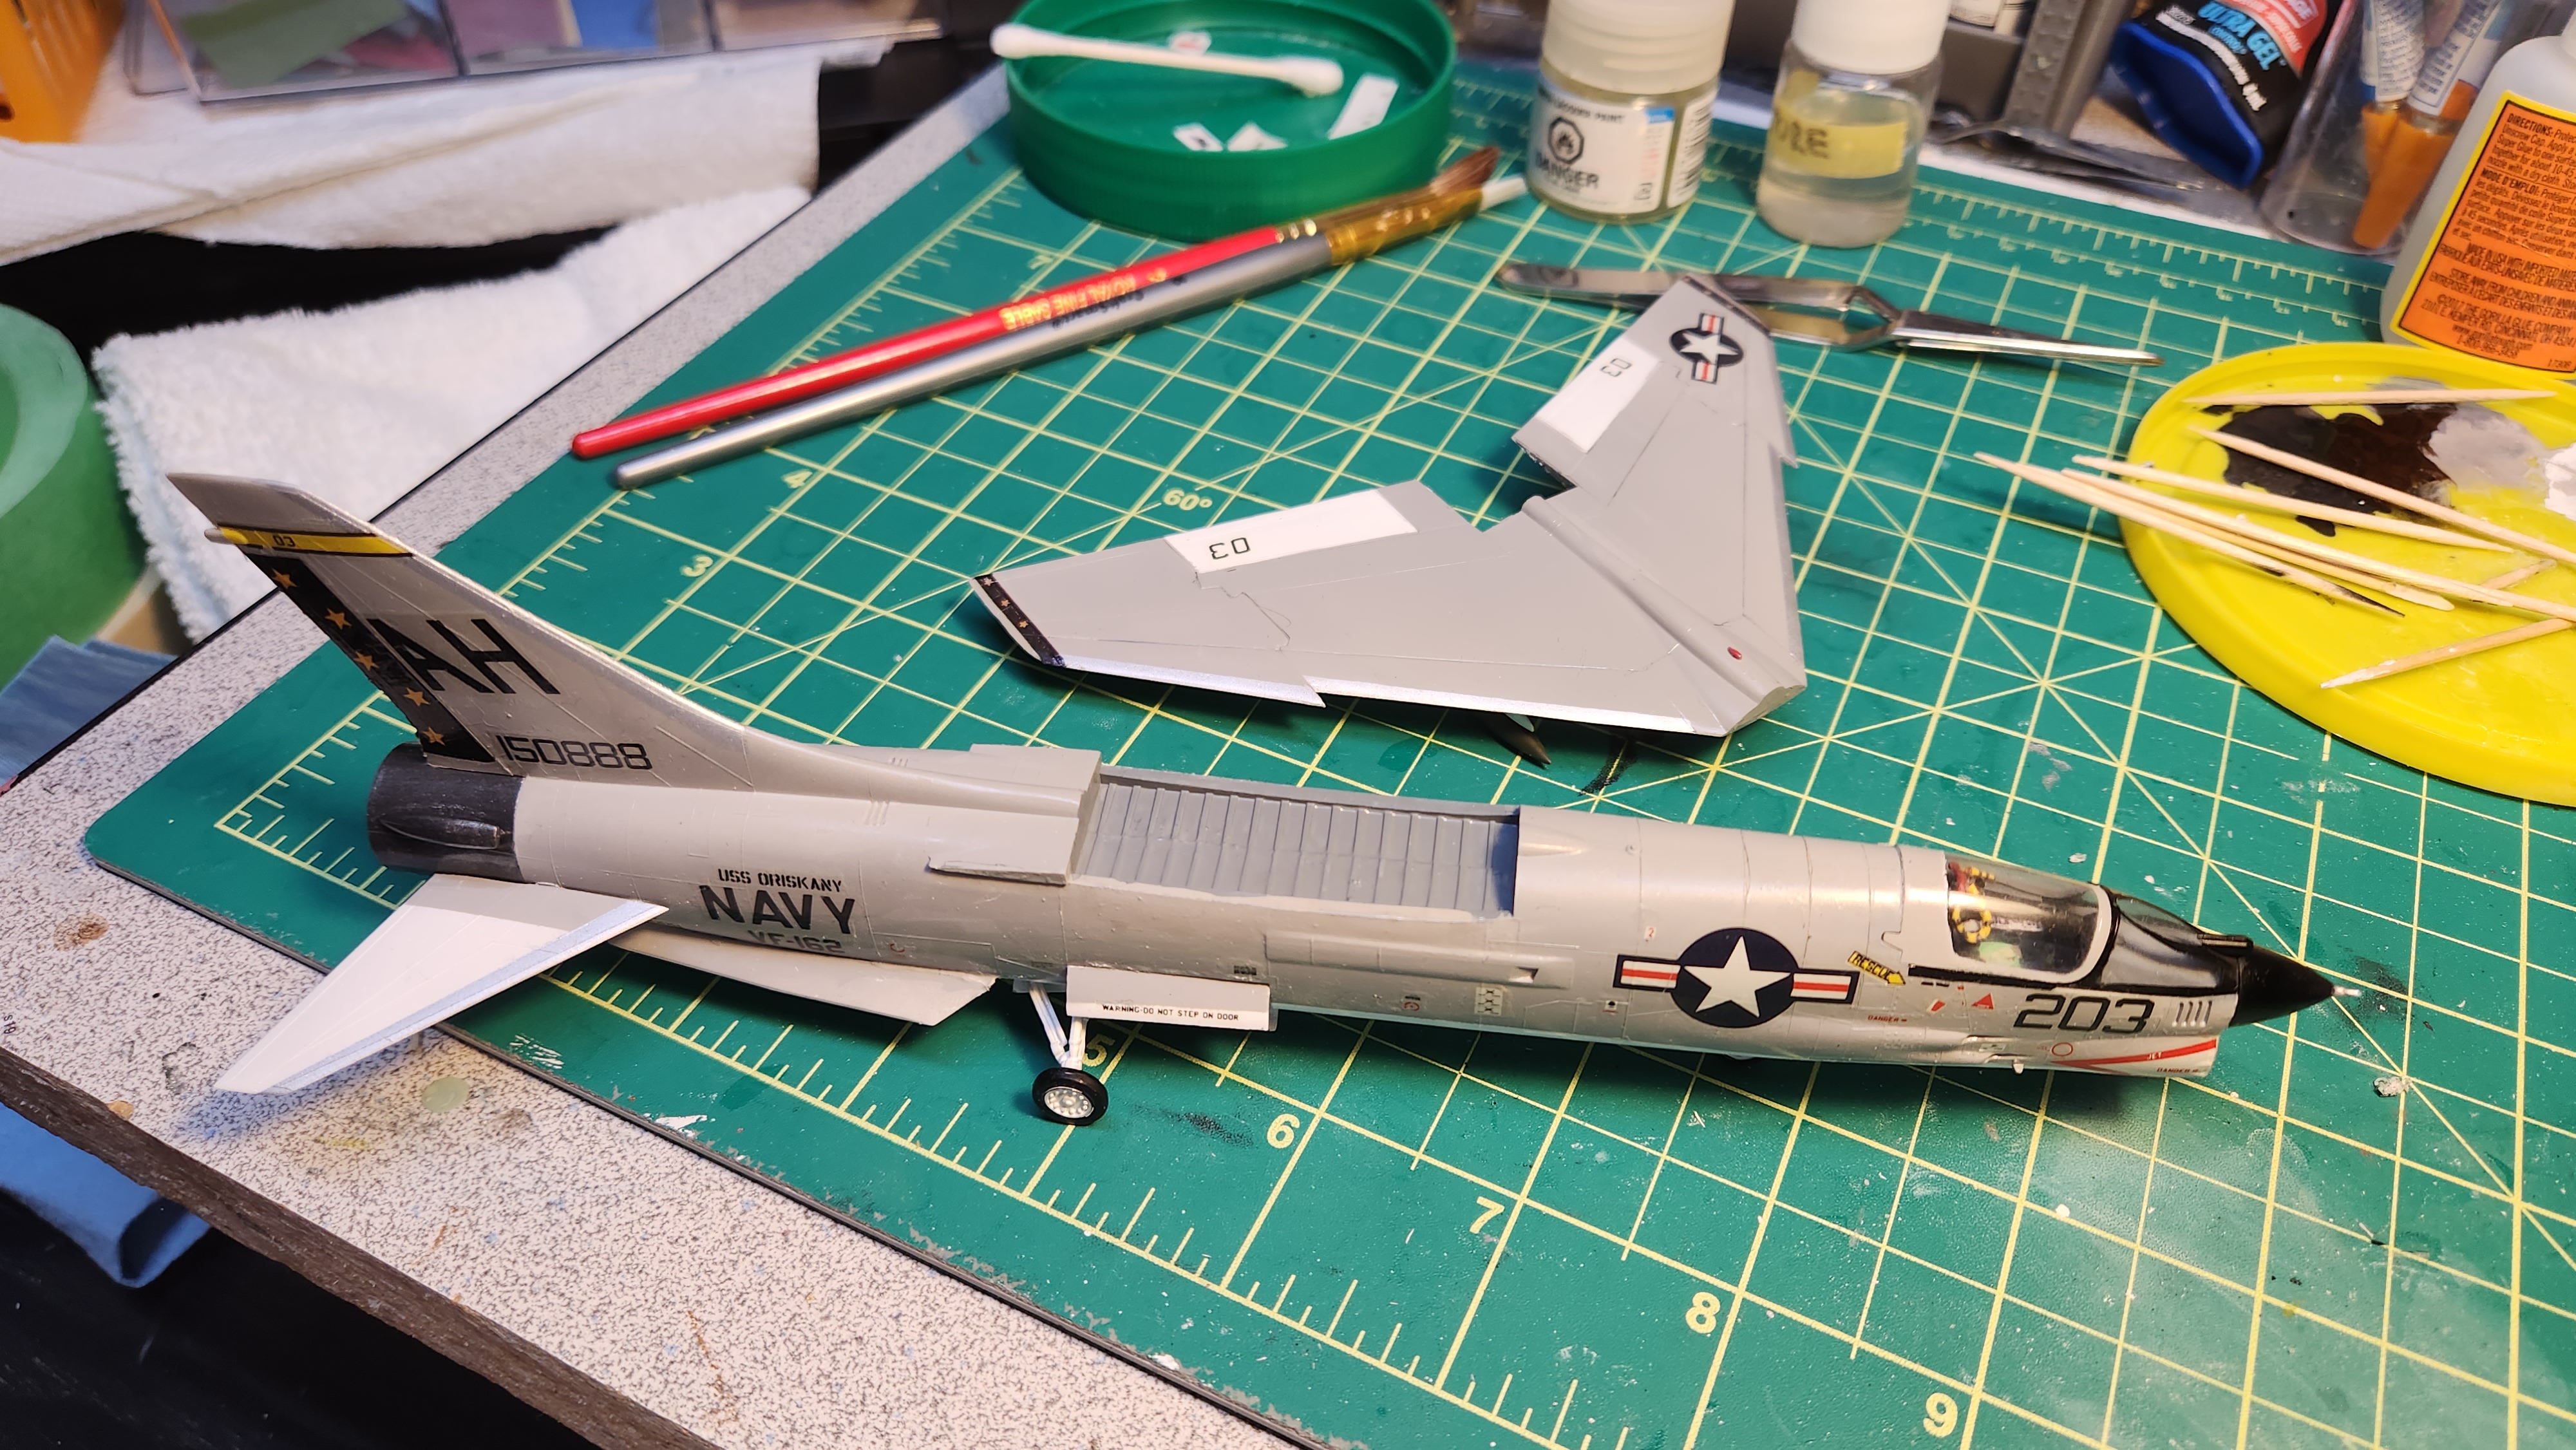
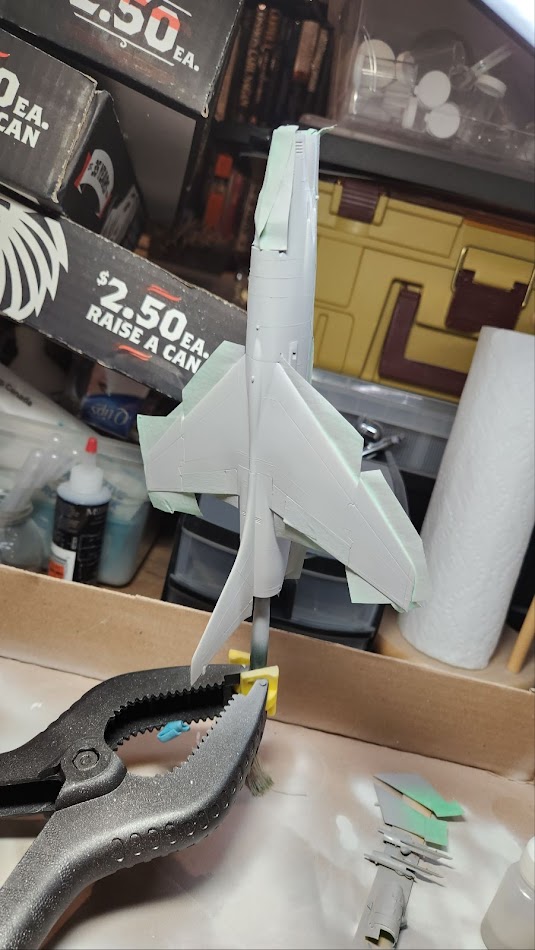 XF-19 Sky Grey for the topside. Flaps are masked off to preserve the Flat White.
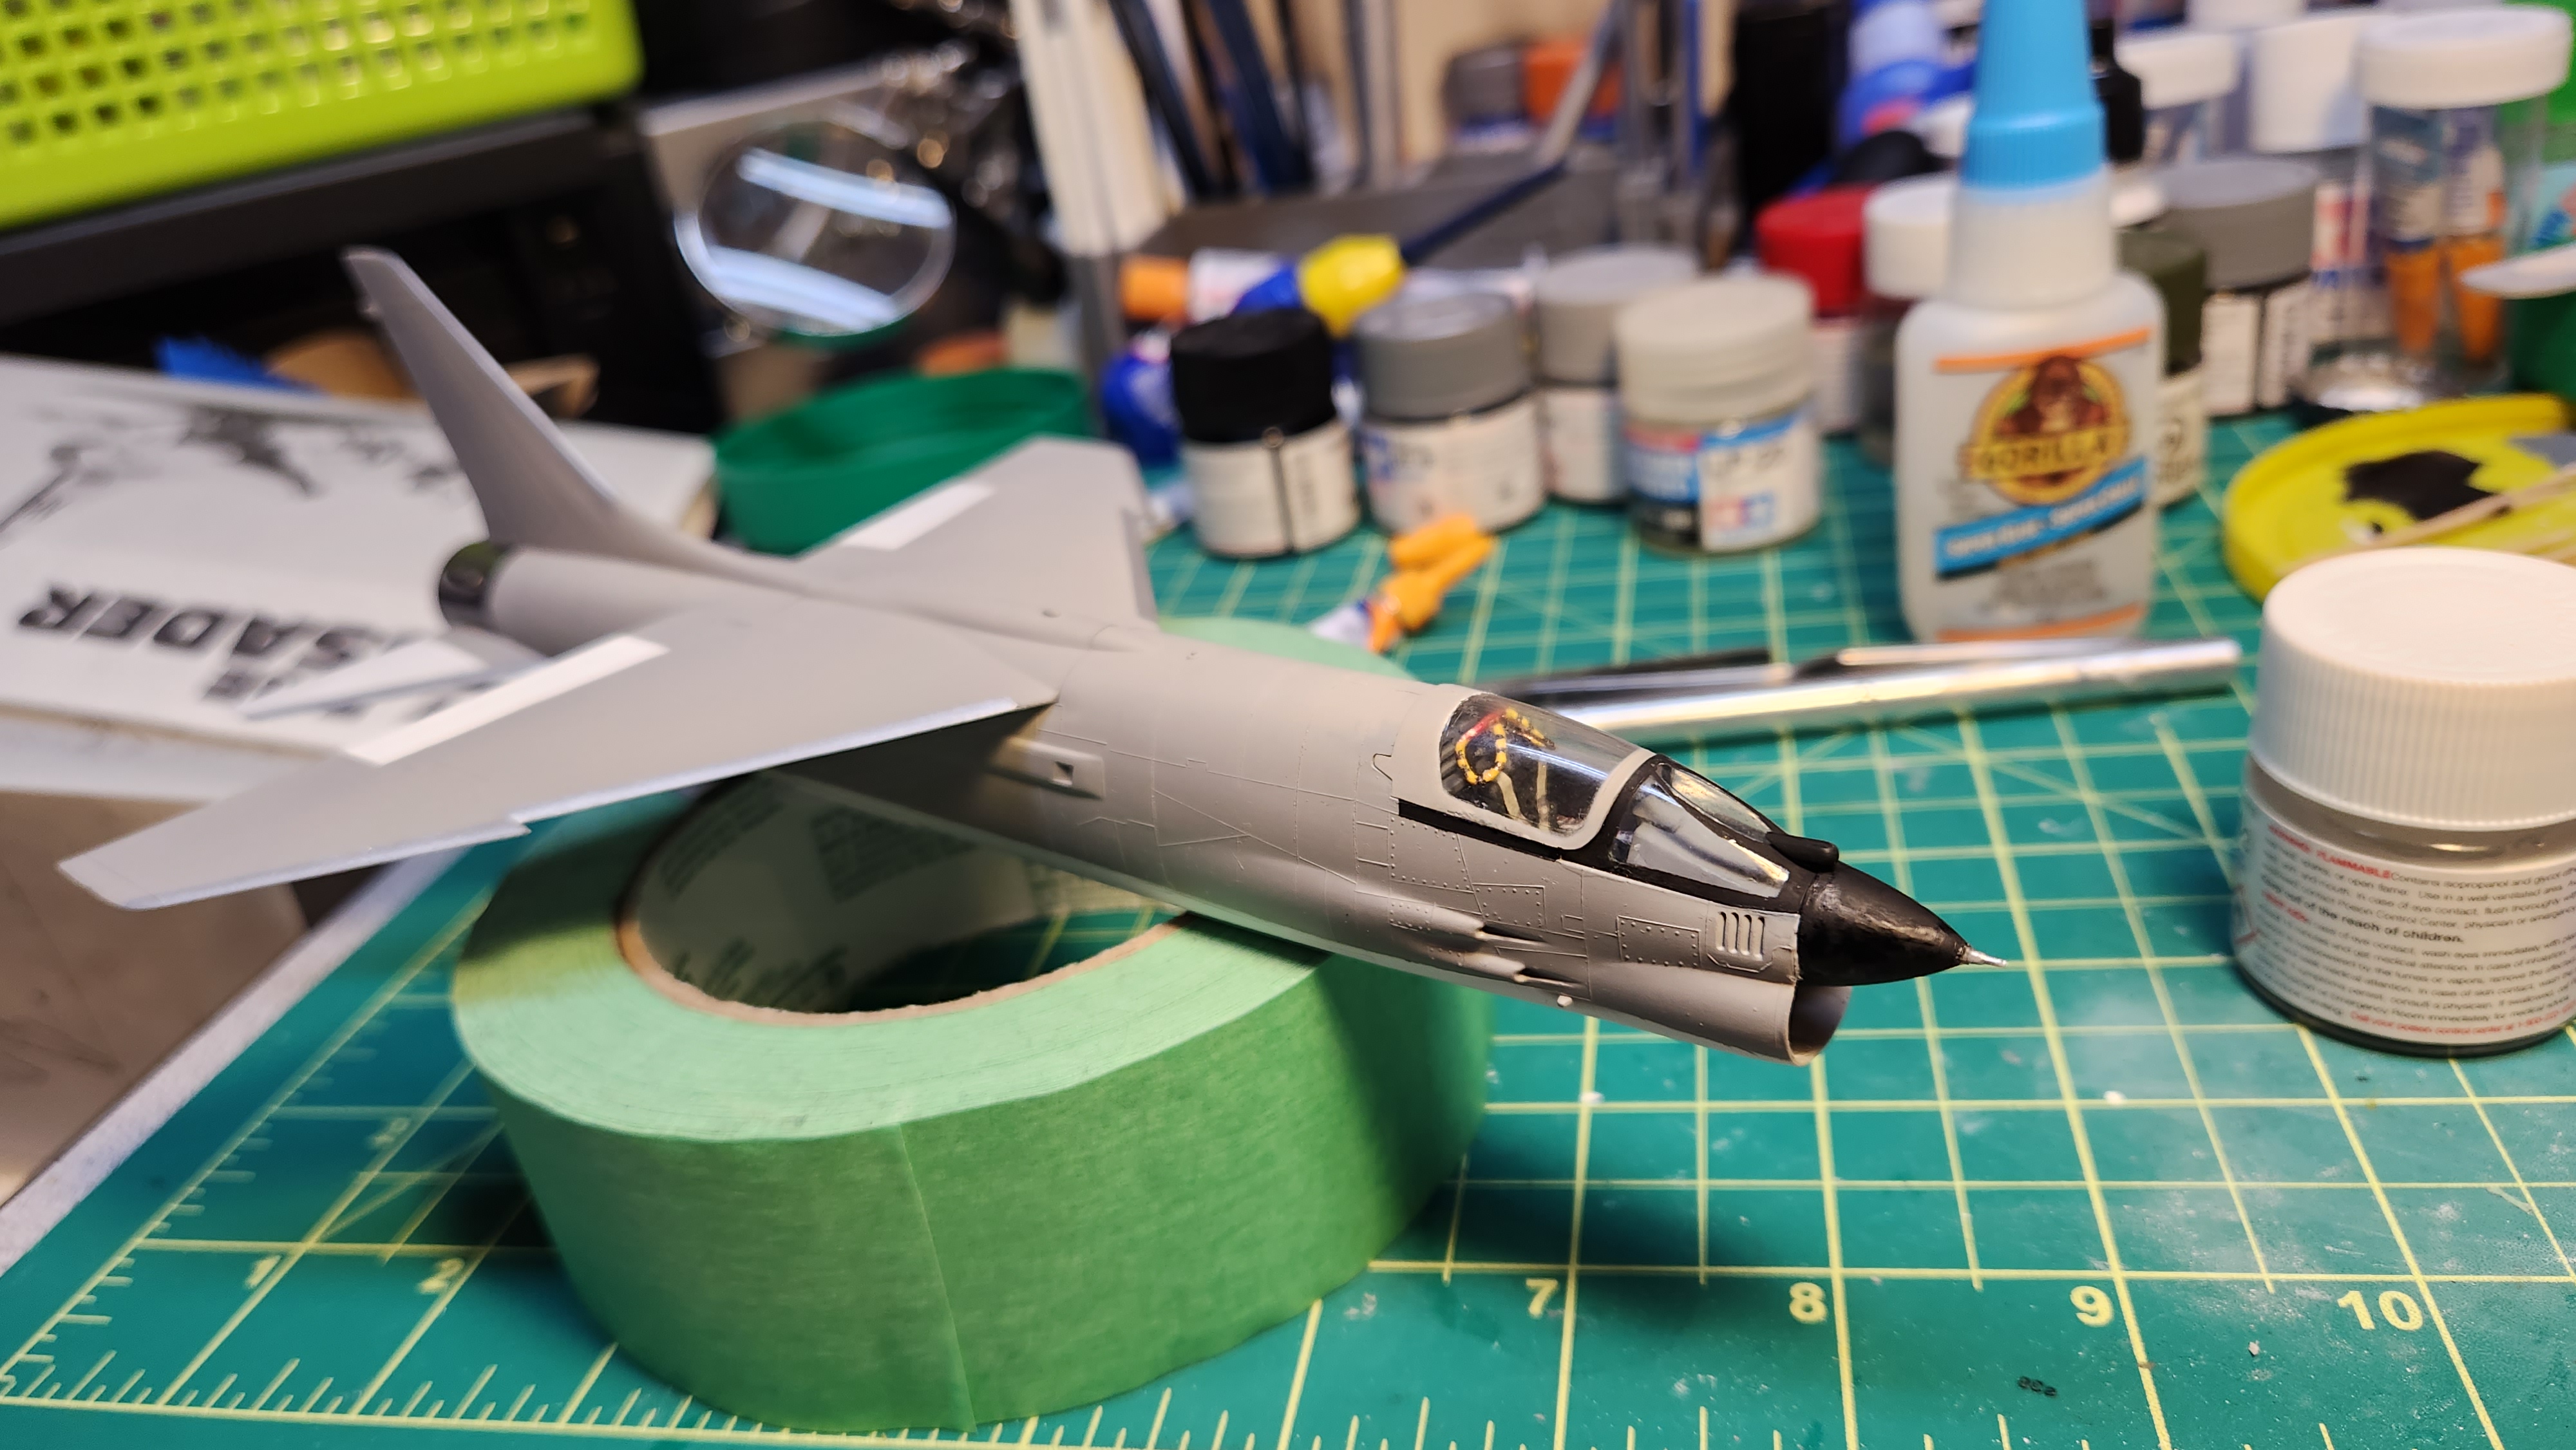
 Masked of a tiny strip under the cockpit that is black. The front canopy and nose cone are also flat black. Ready for airbrushing!
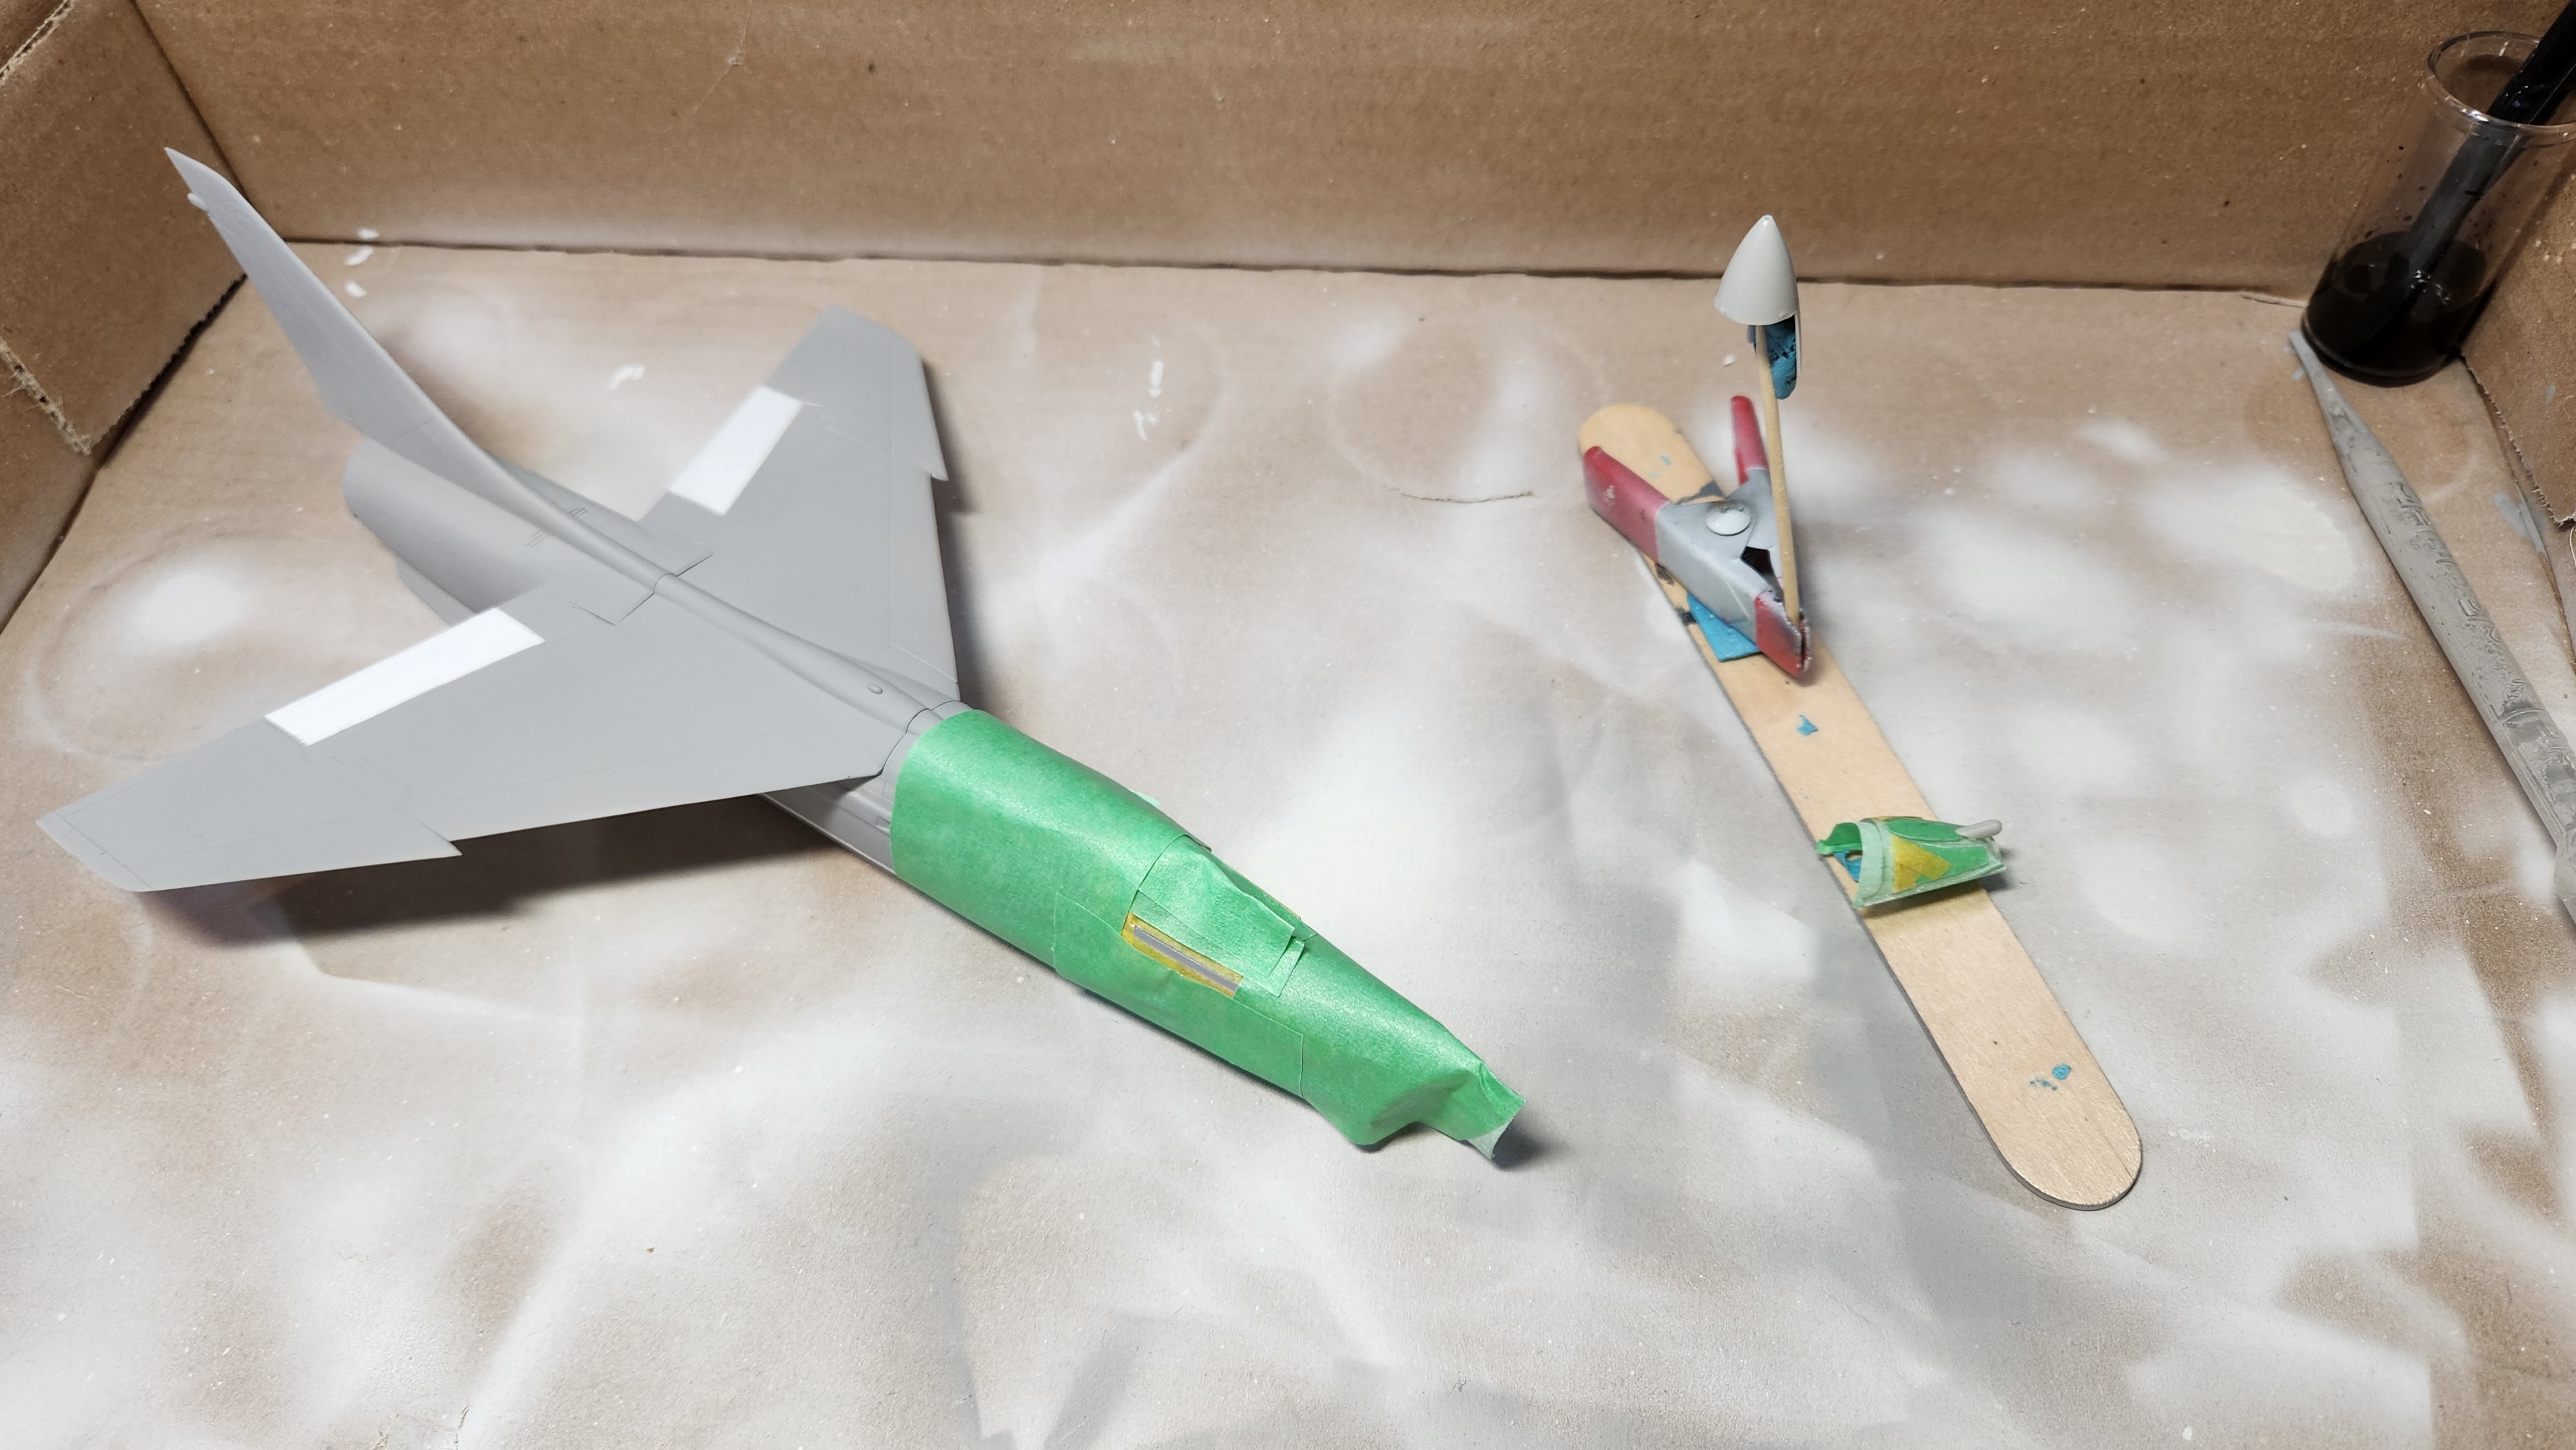
 The leading edges of the flight surfaces were aluminum so I masked them off and painted them XF-16 Flat Aluminum.
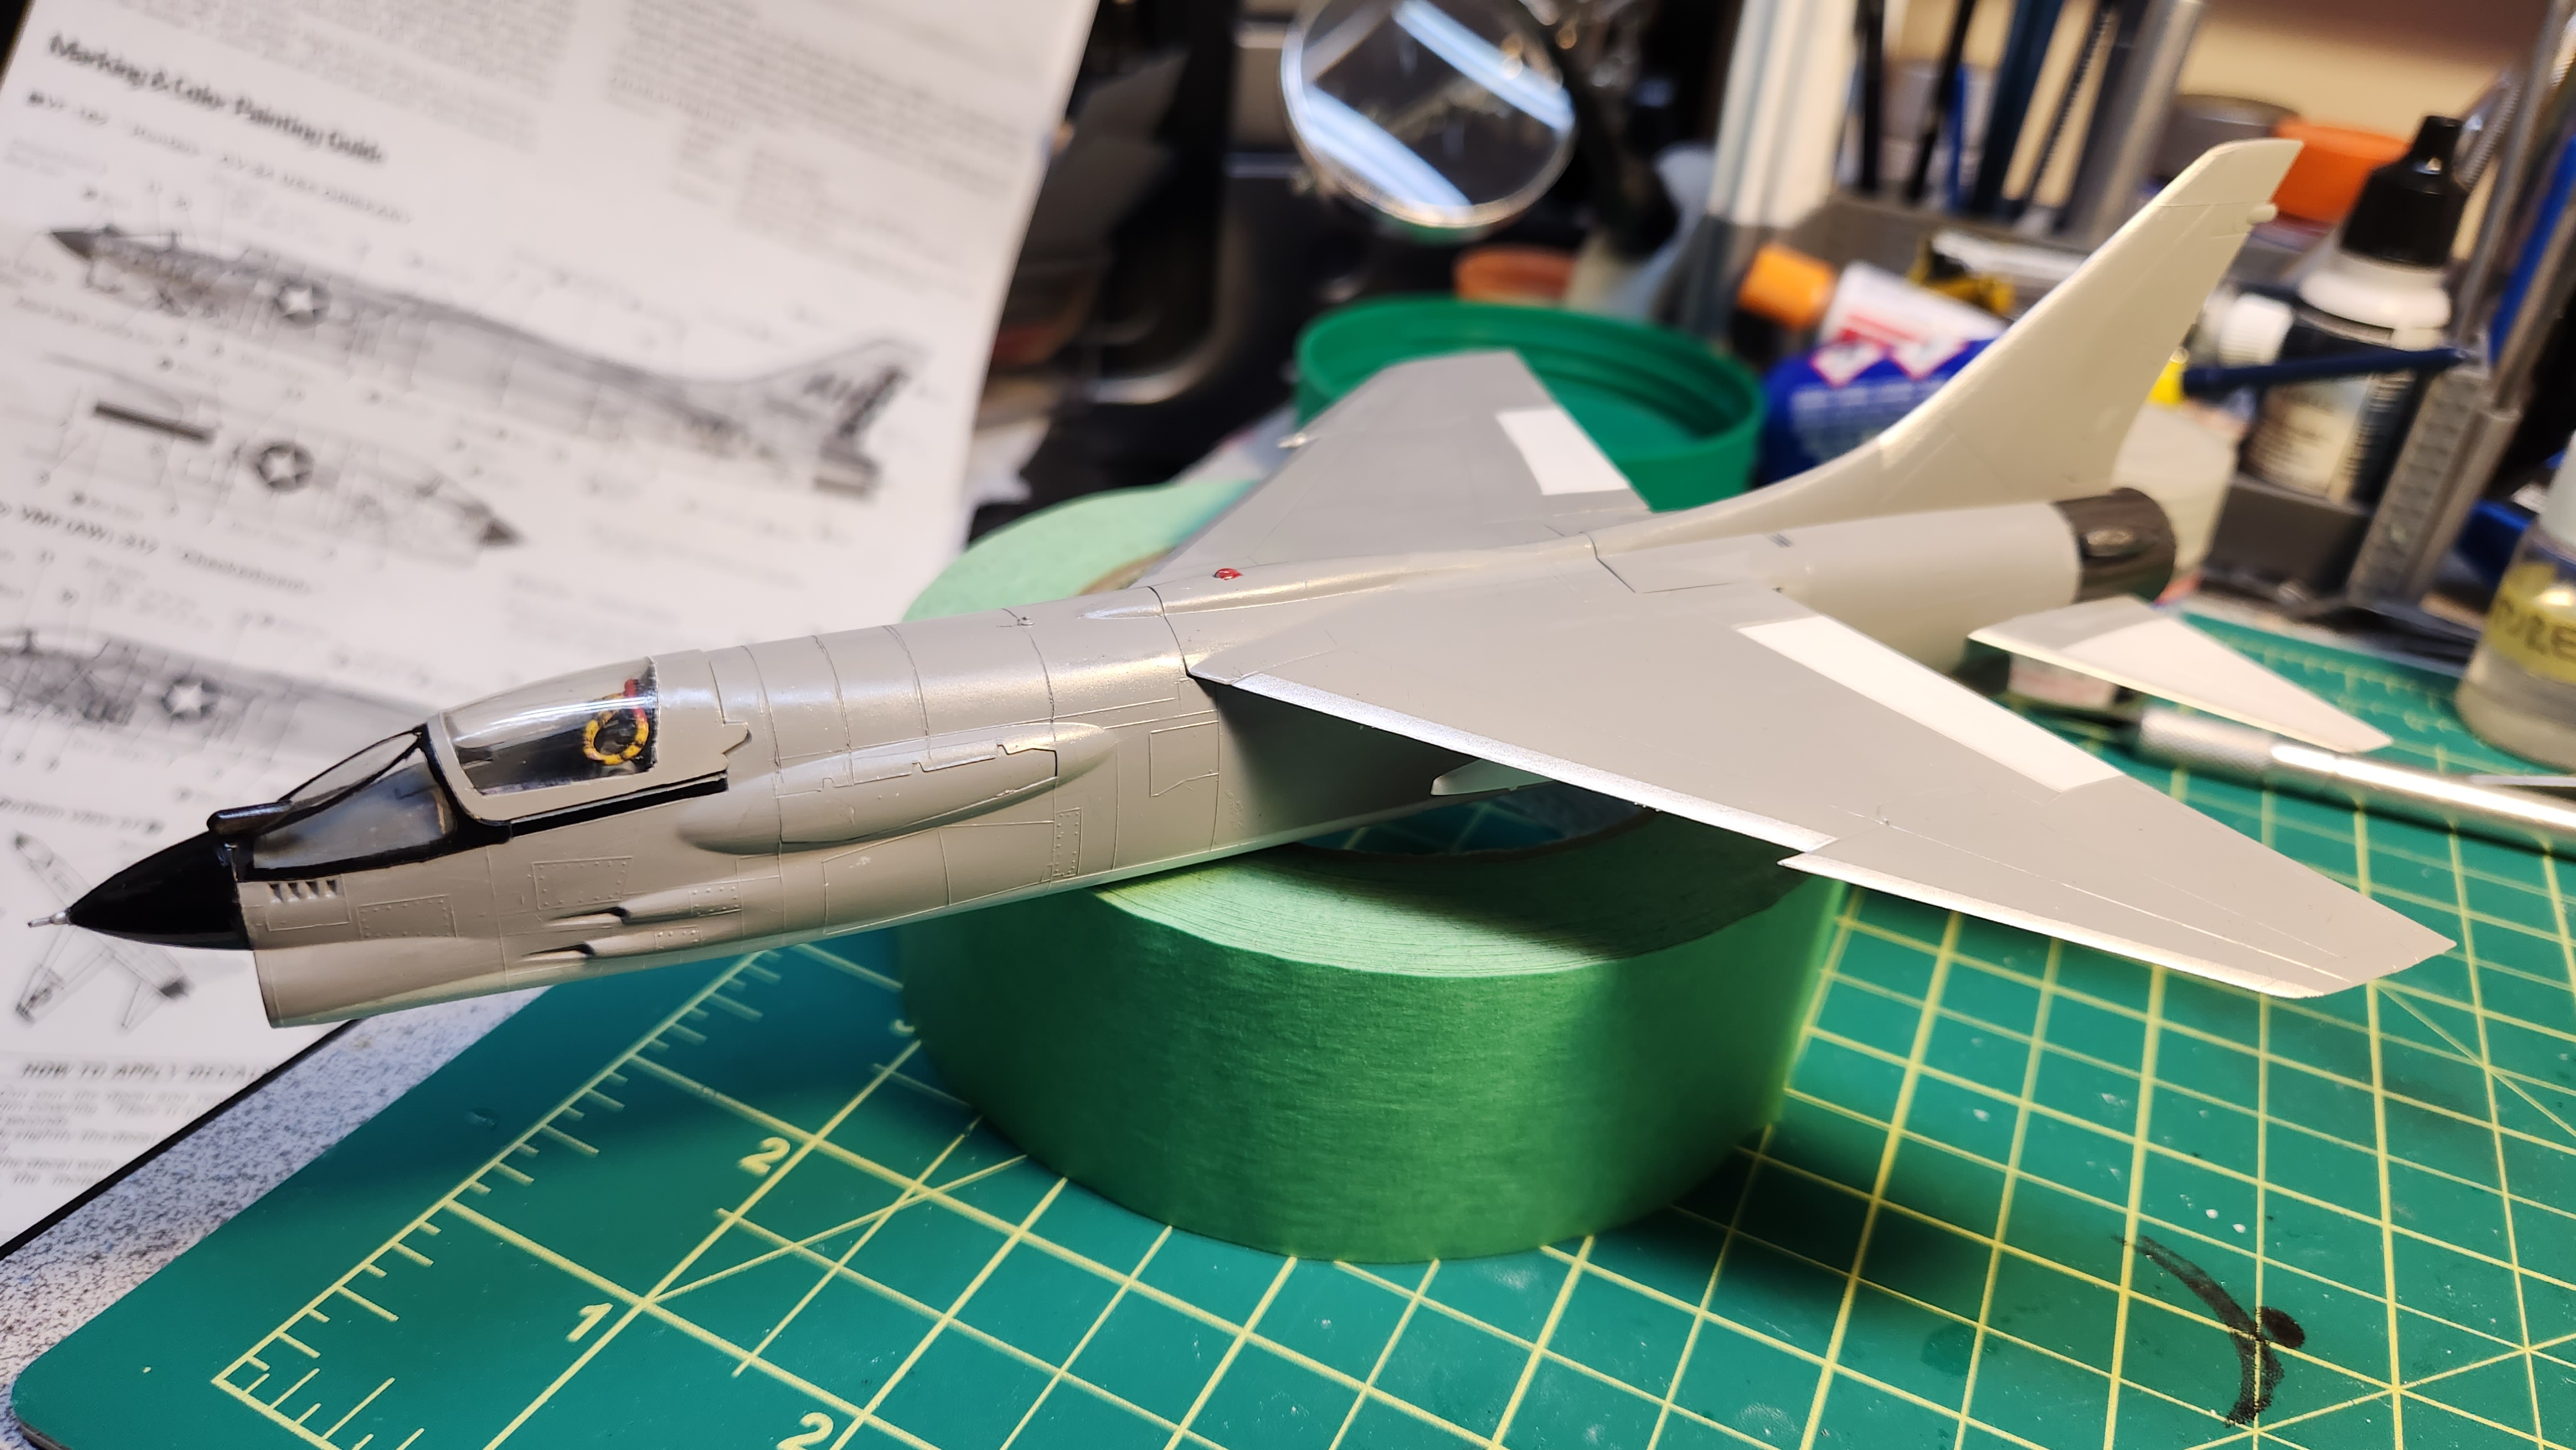
 Starting to come together!
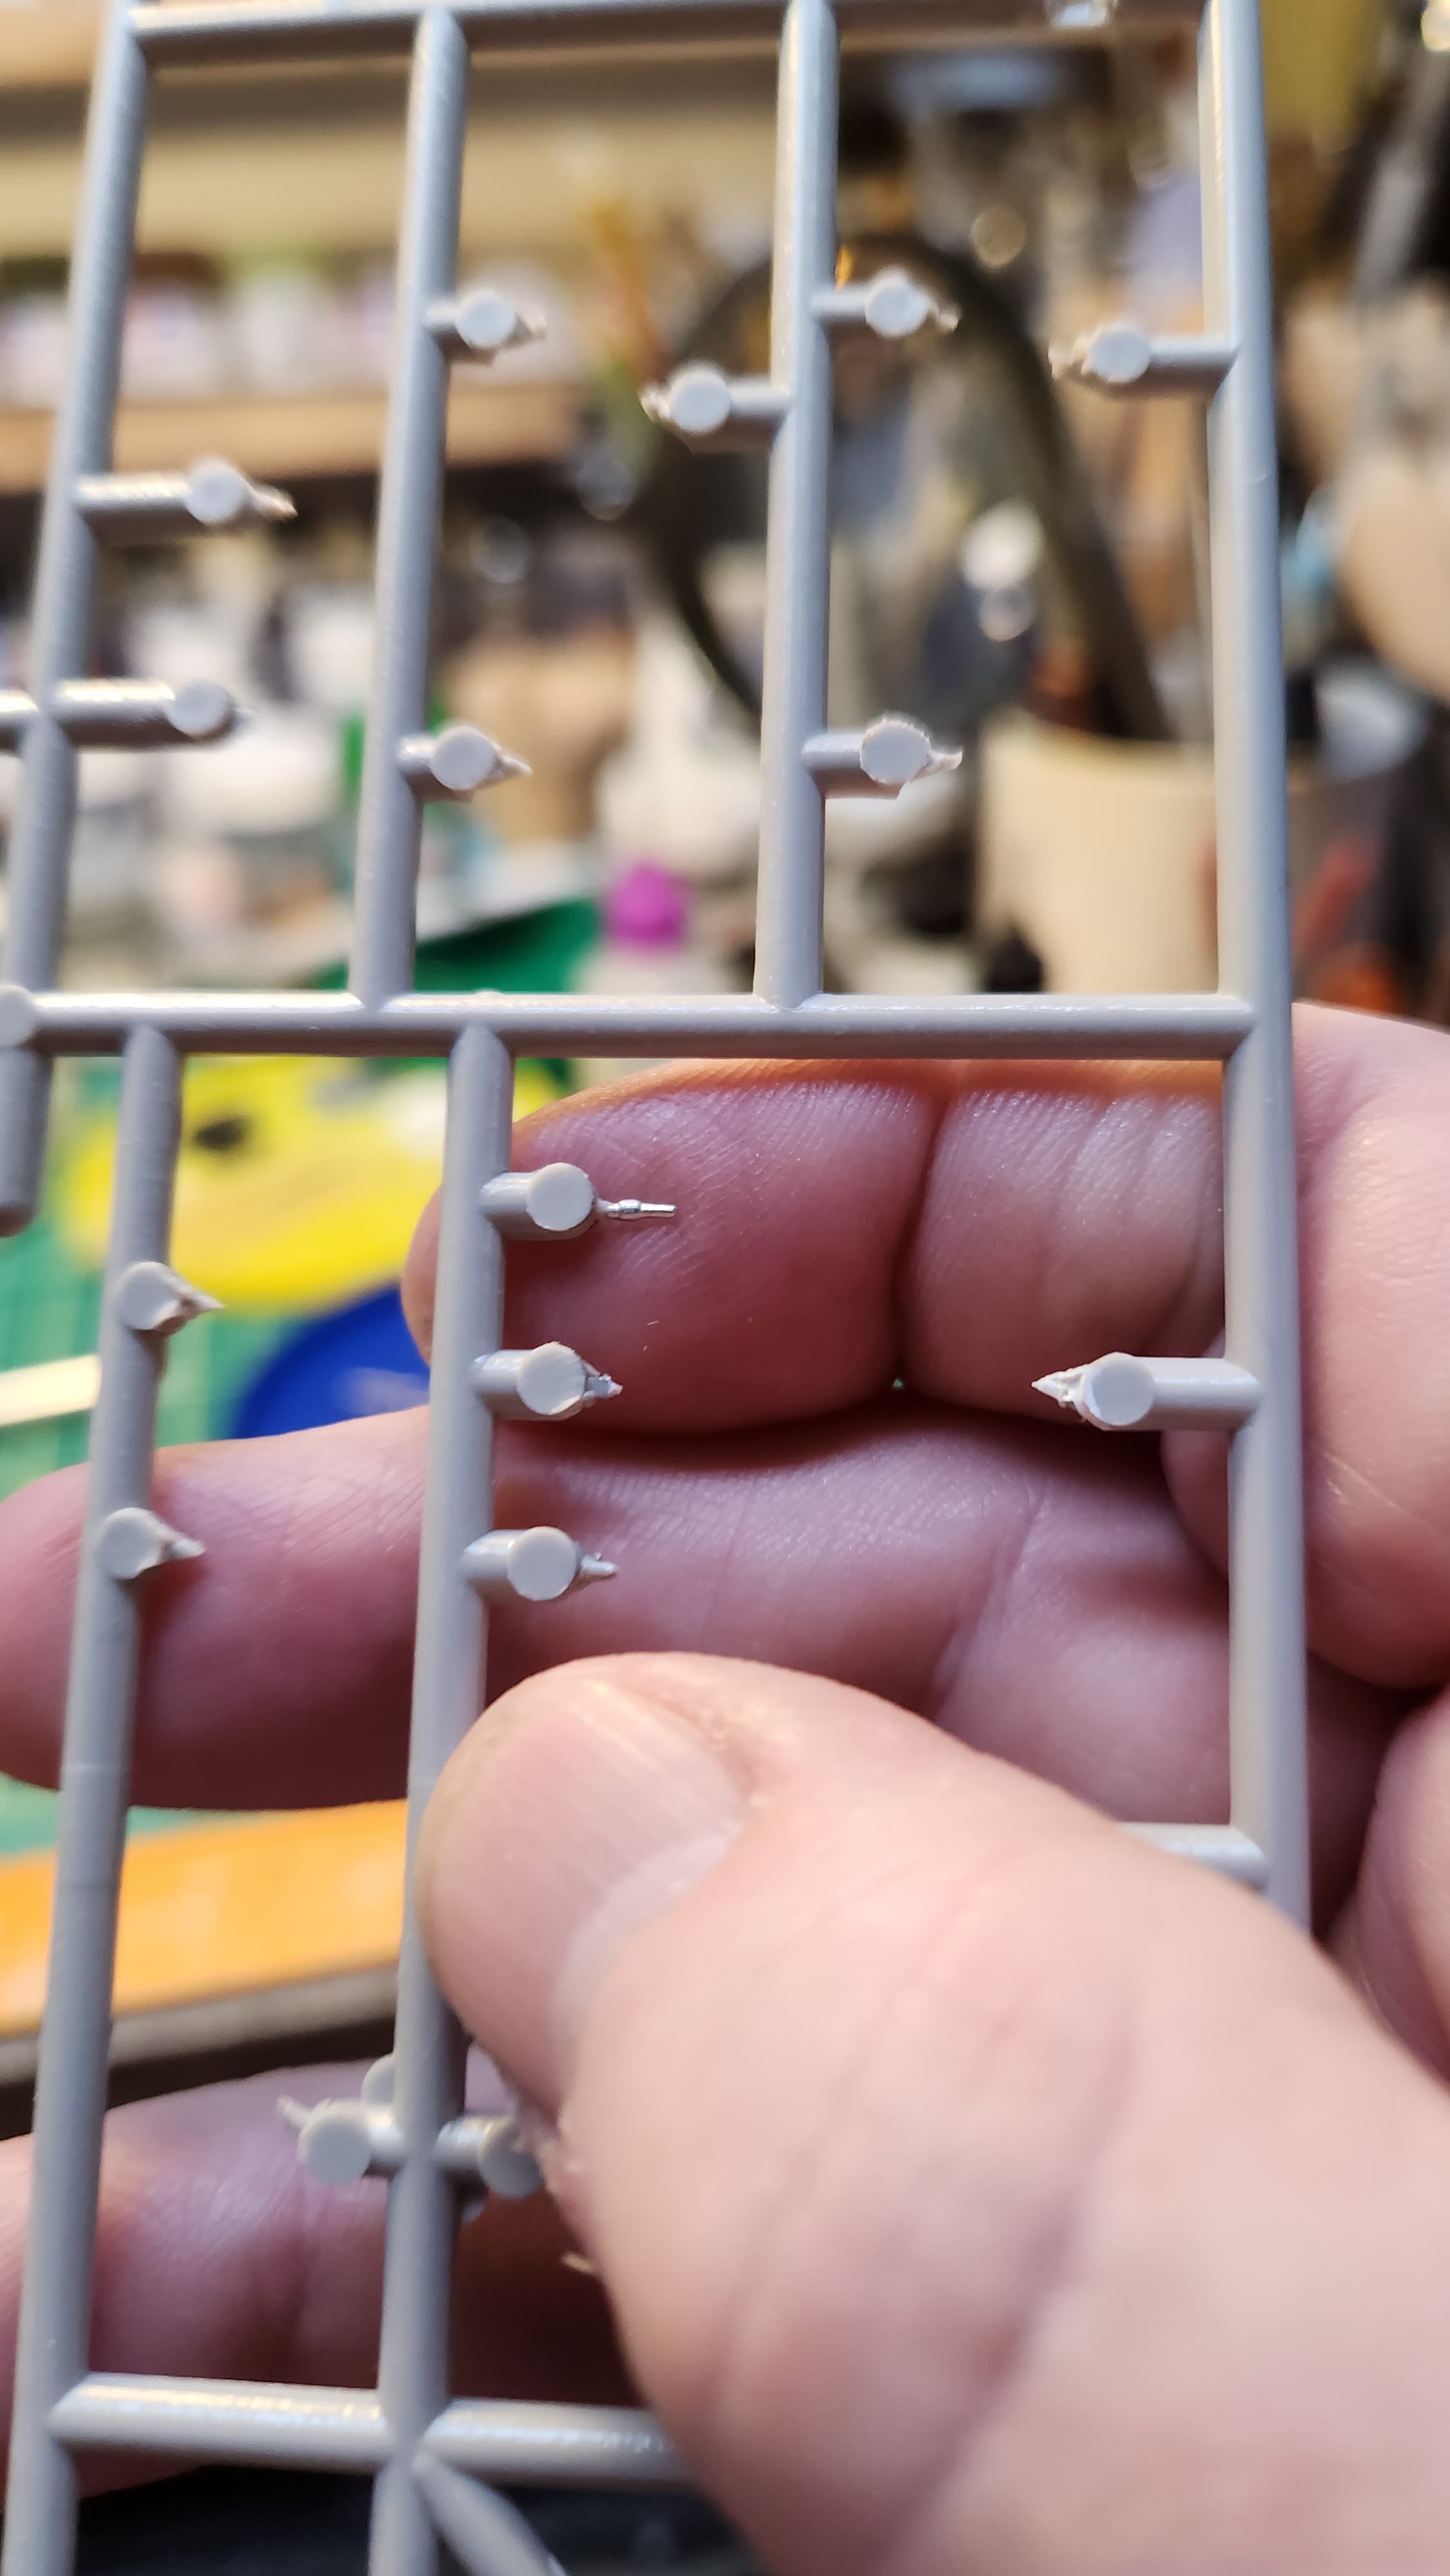 Are they serious? This is the little pitot tube in the nose cone. Could they make it a little smaller? As a bonus, the hole it fits in is too small and has to be enlarged for it to fit. Good times.
 Ready for a coat of Future so decals can be applied.
 The moment of truth is nearly here — time to try the “renewed” decals….
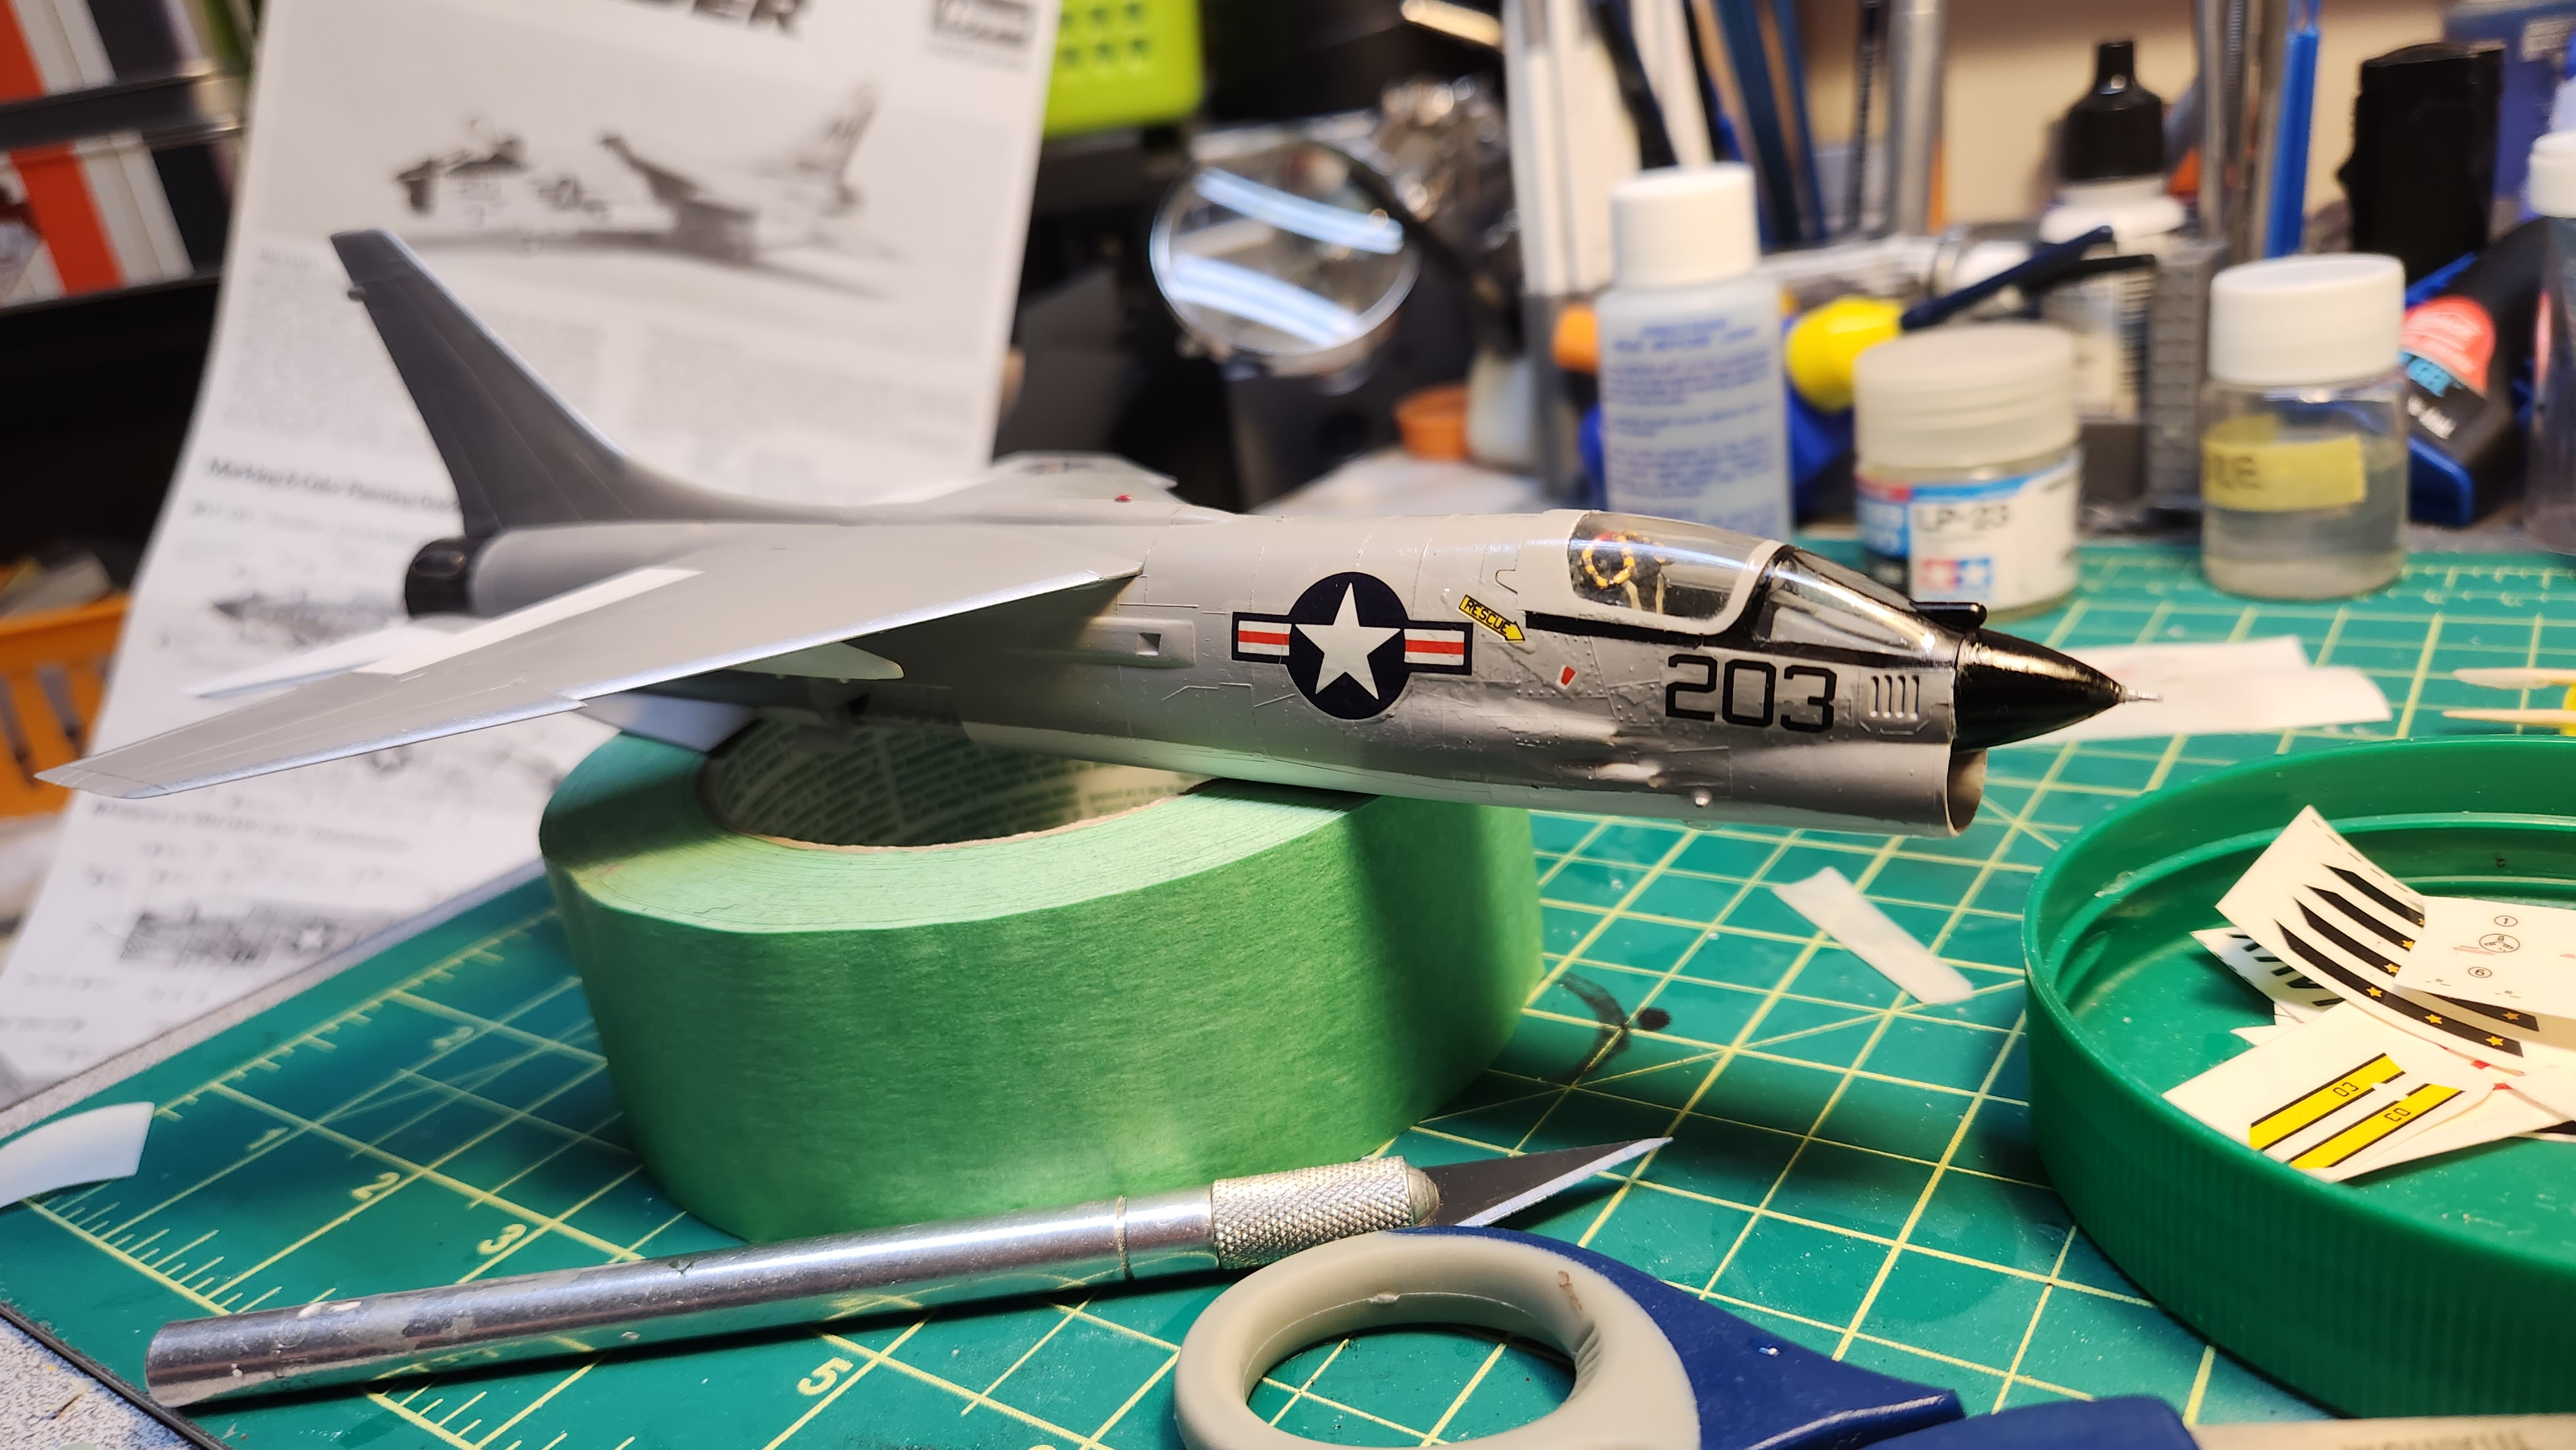 Decals are very brittle and fragile, but usable. There is some additional clear coat coming off the sheet with some of the decals. Going to hope the Micro Sol is going to make these look good. Had to use a few of my homemade decals for the wing end markings.
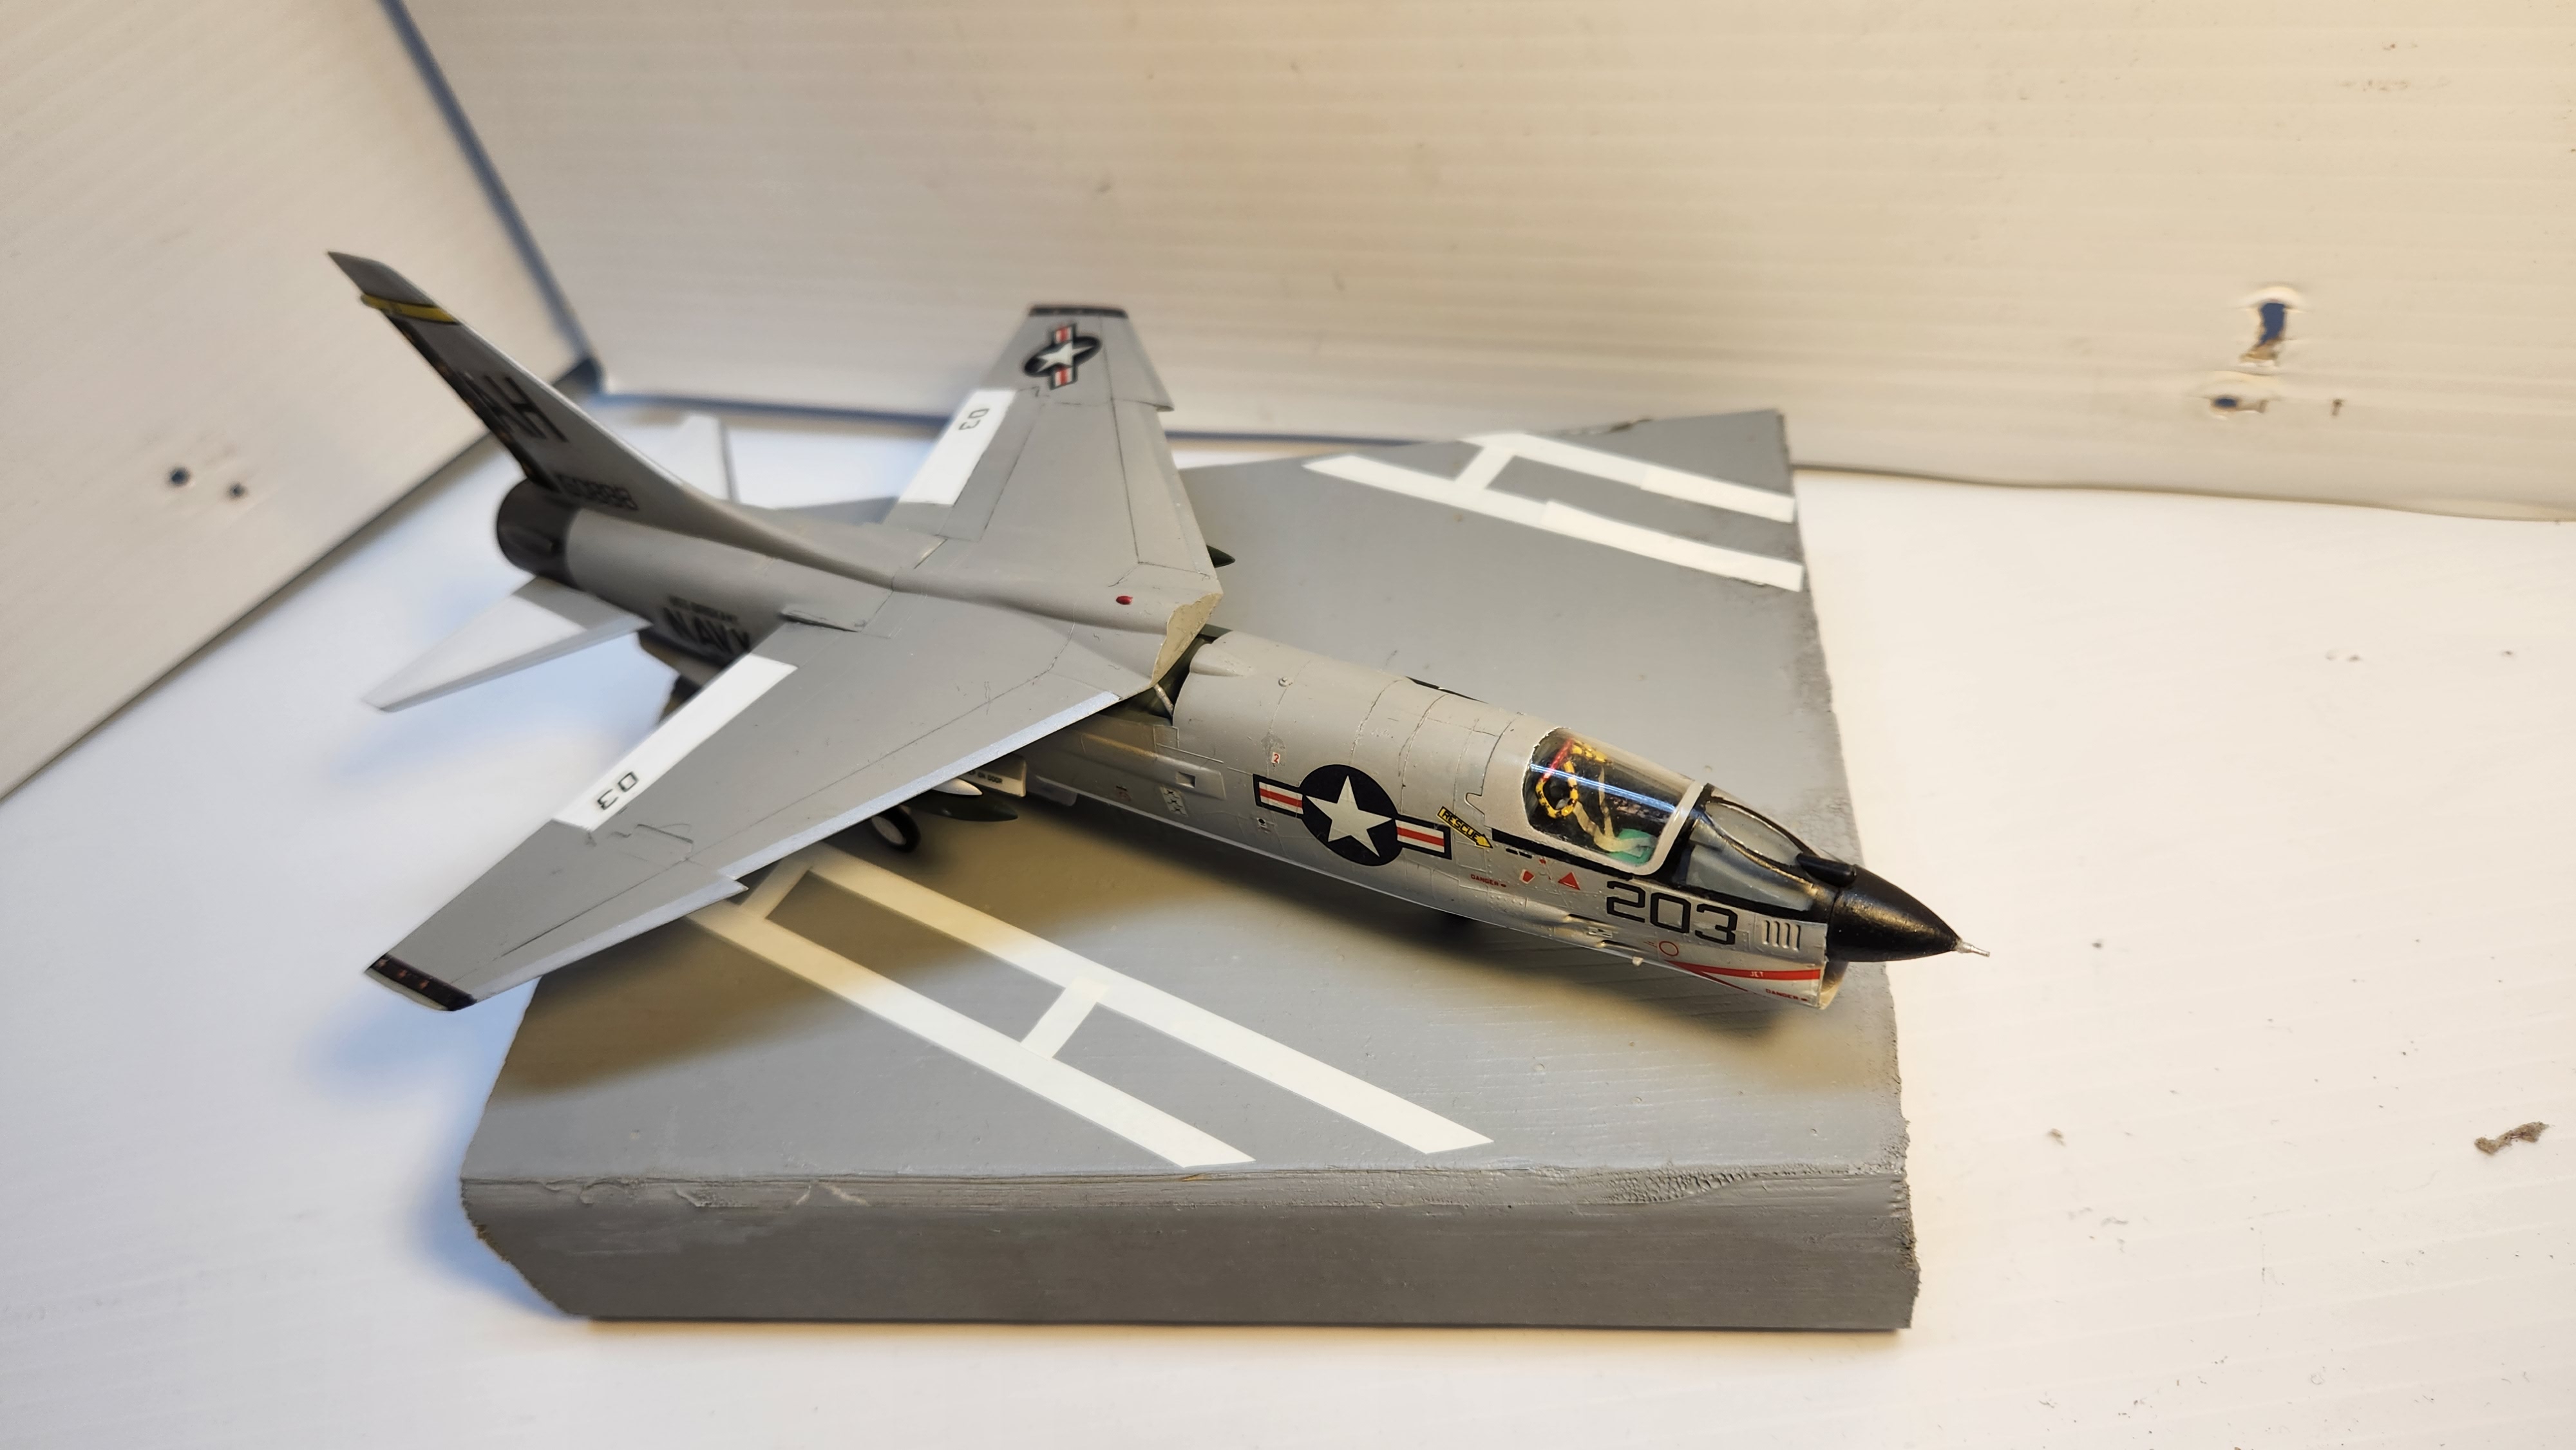
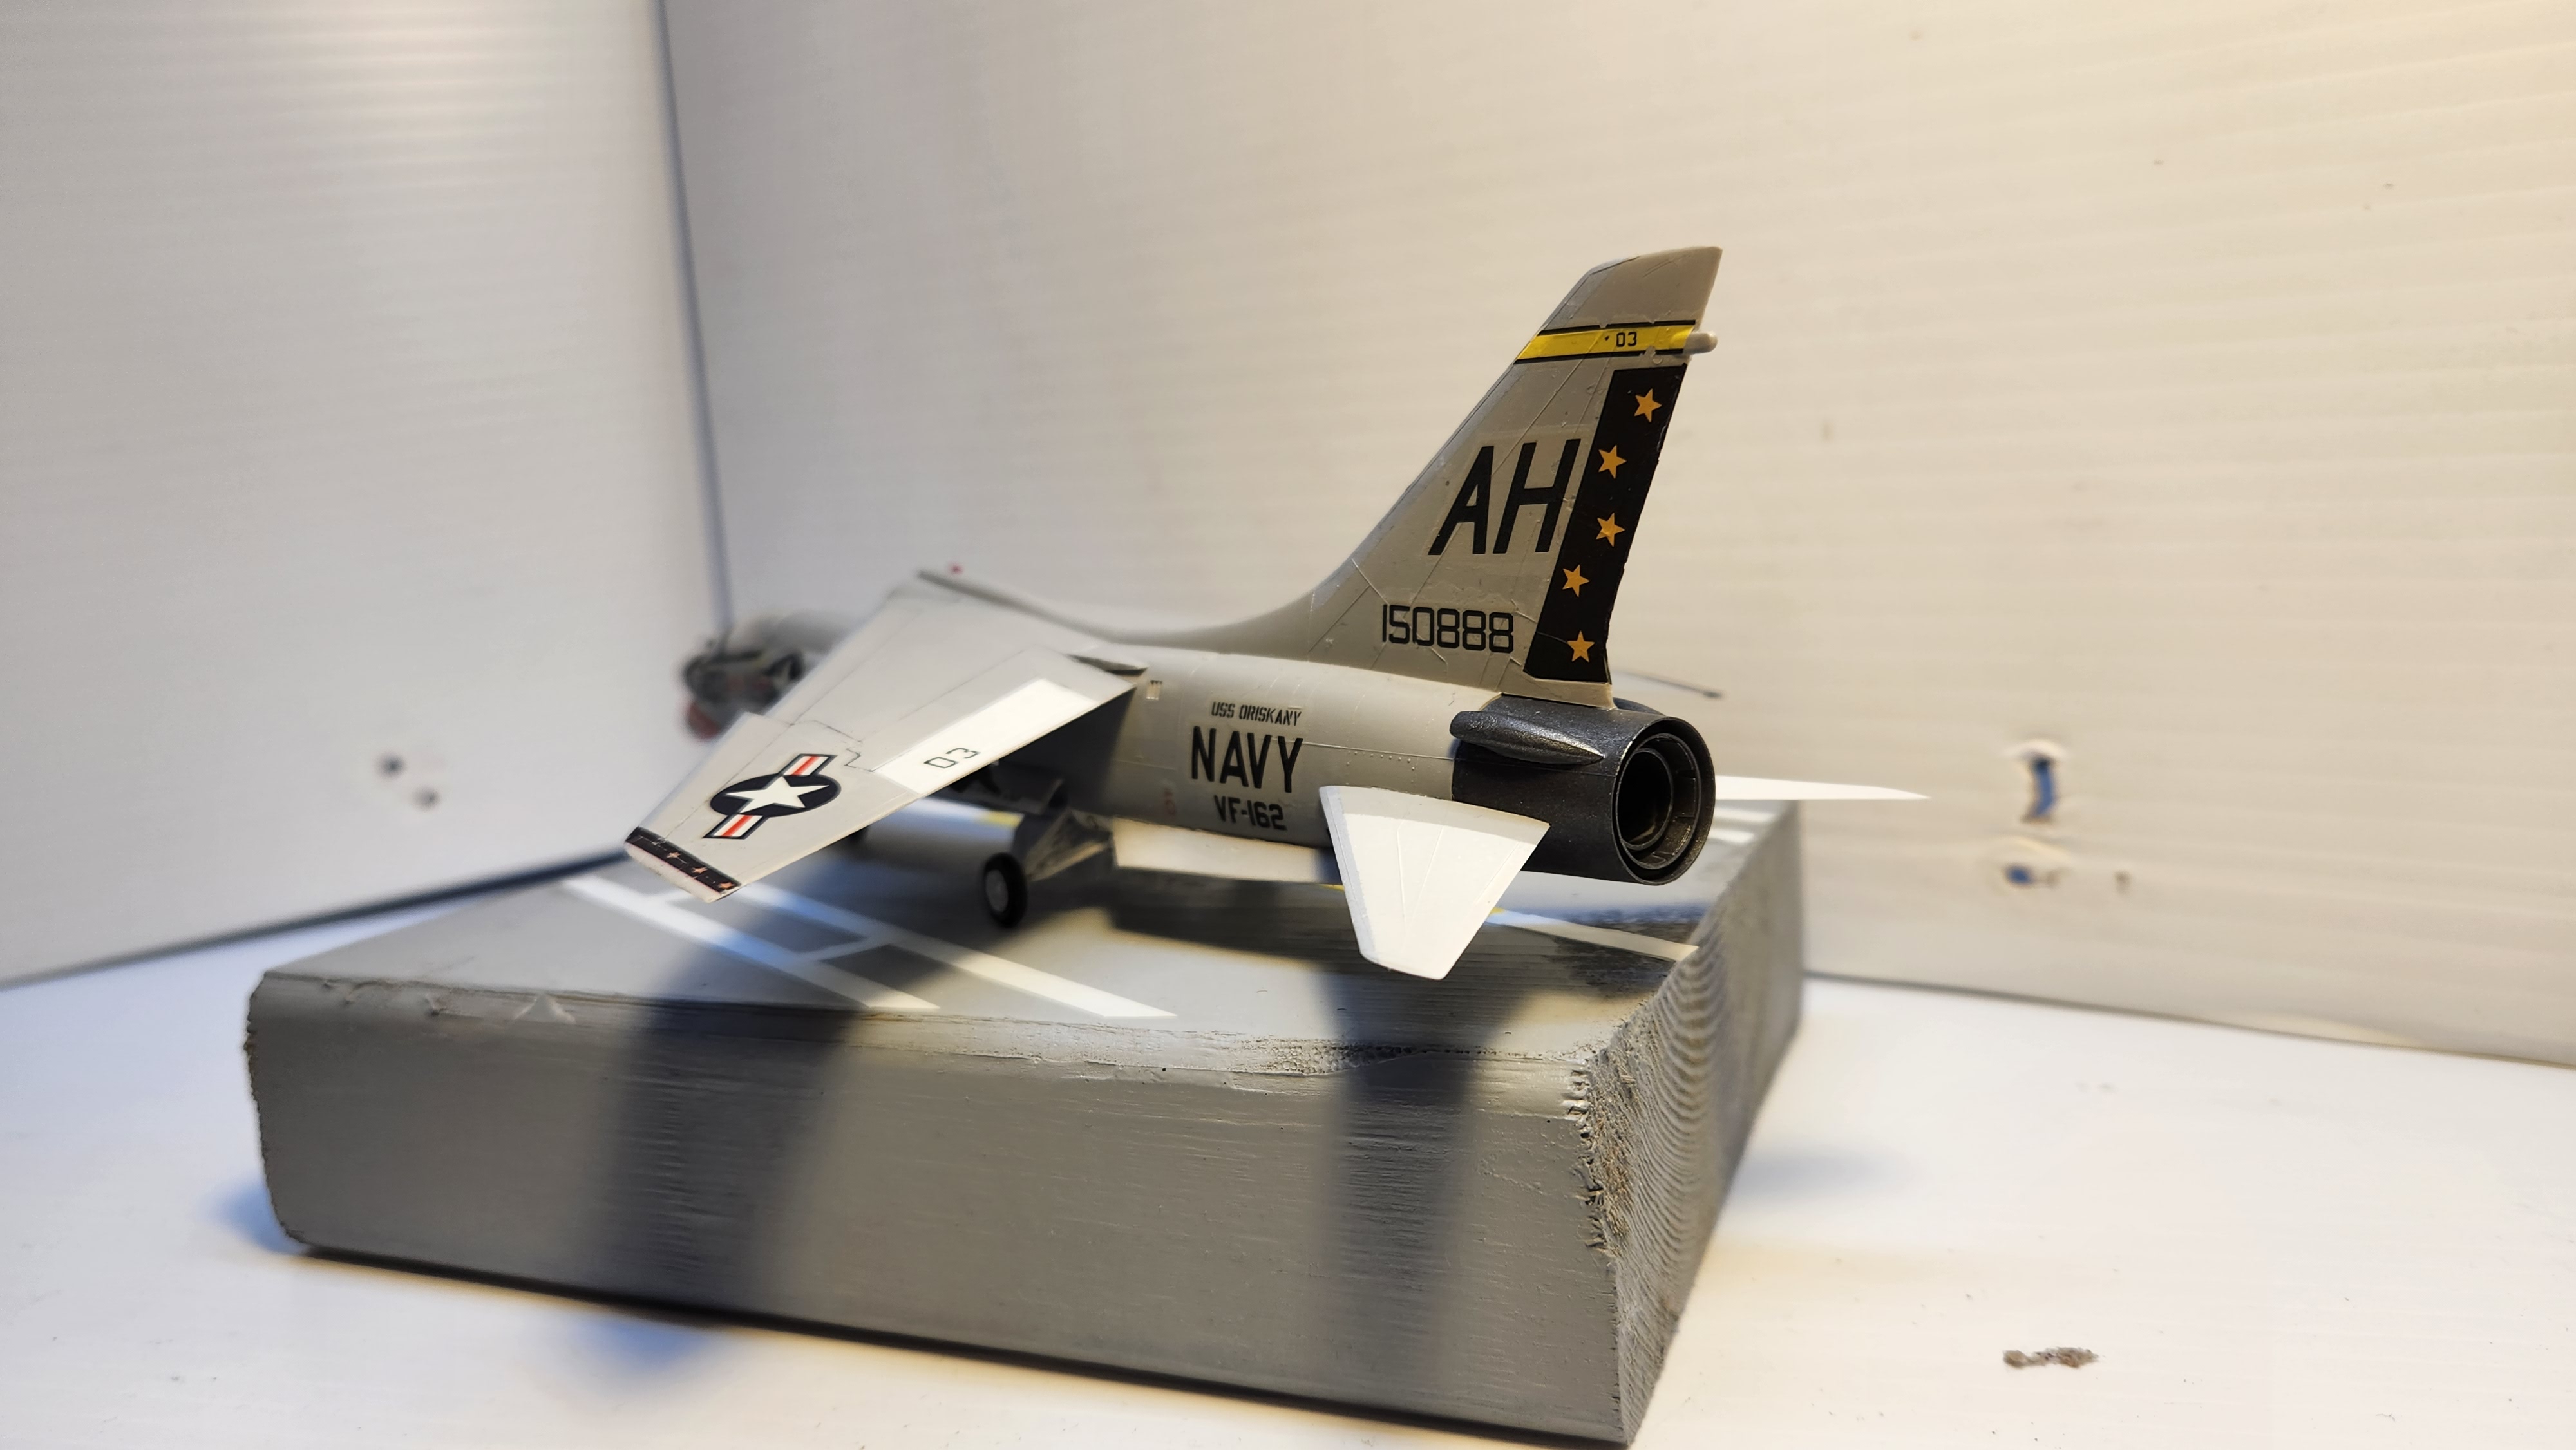
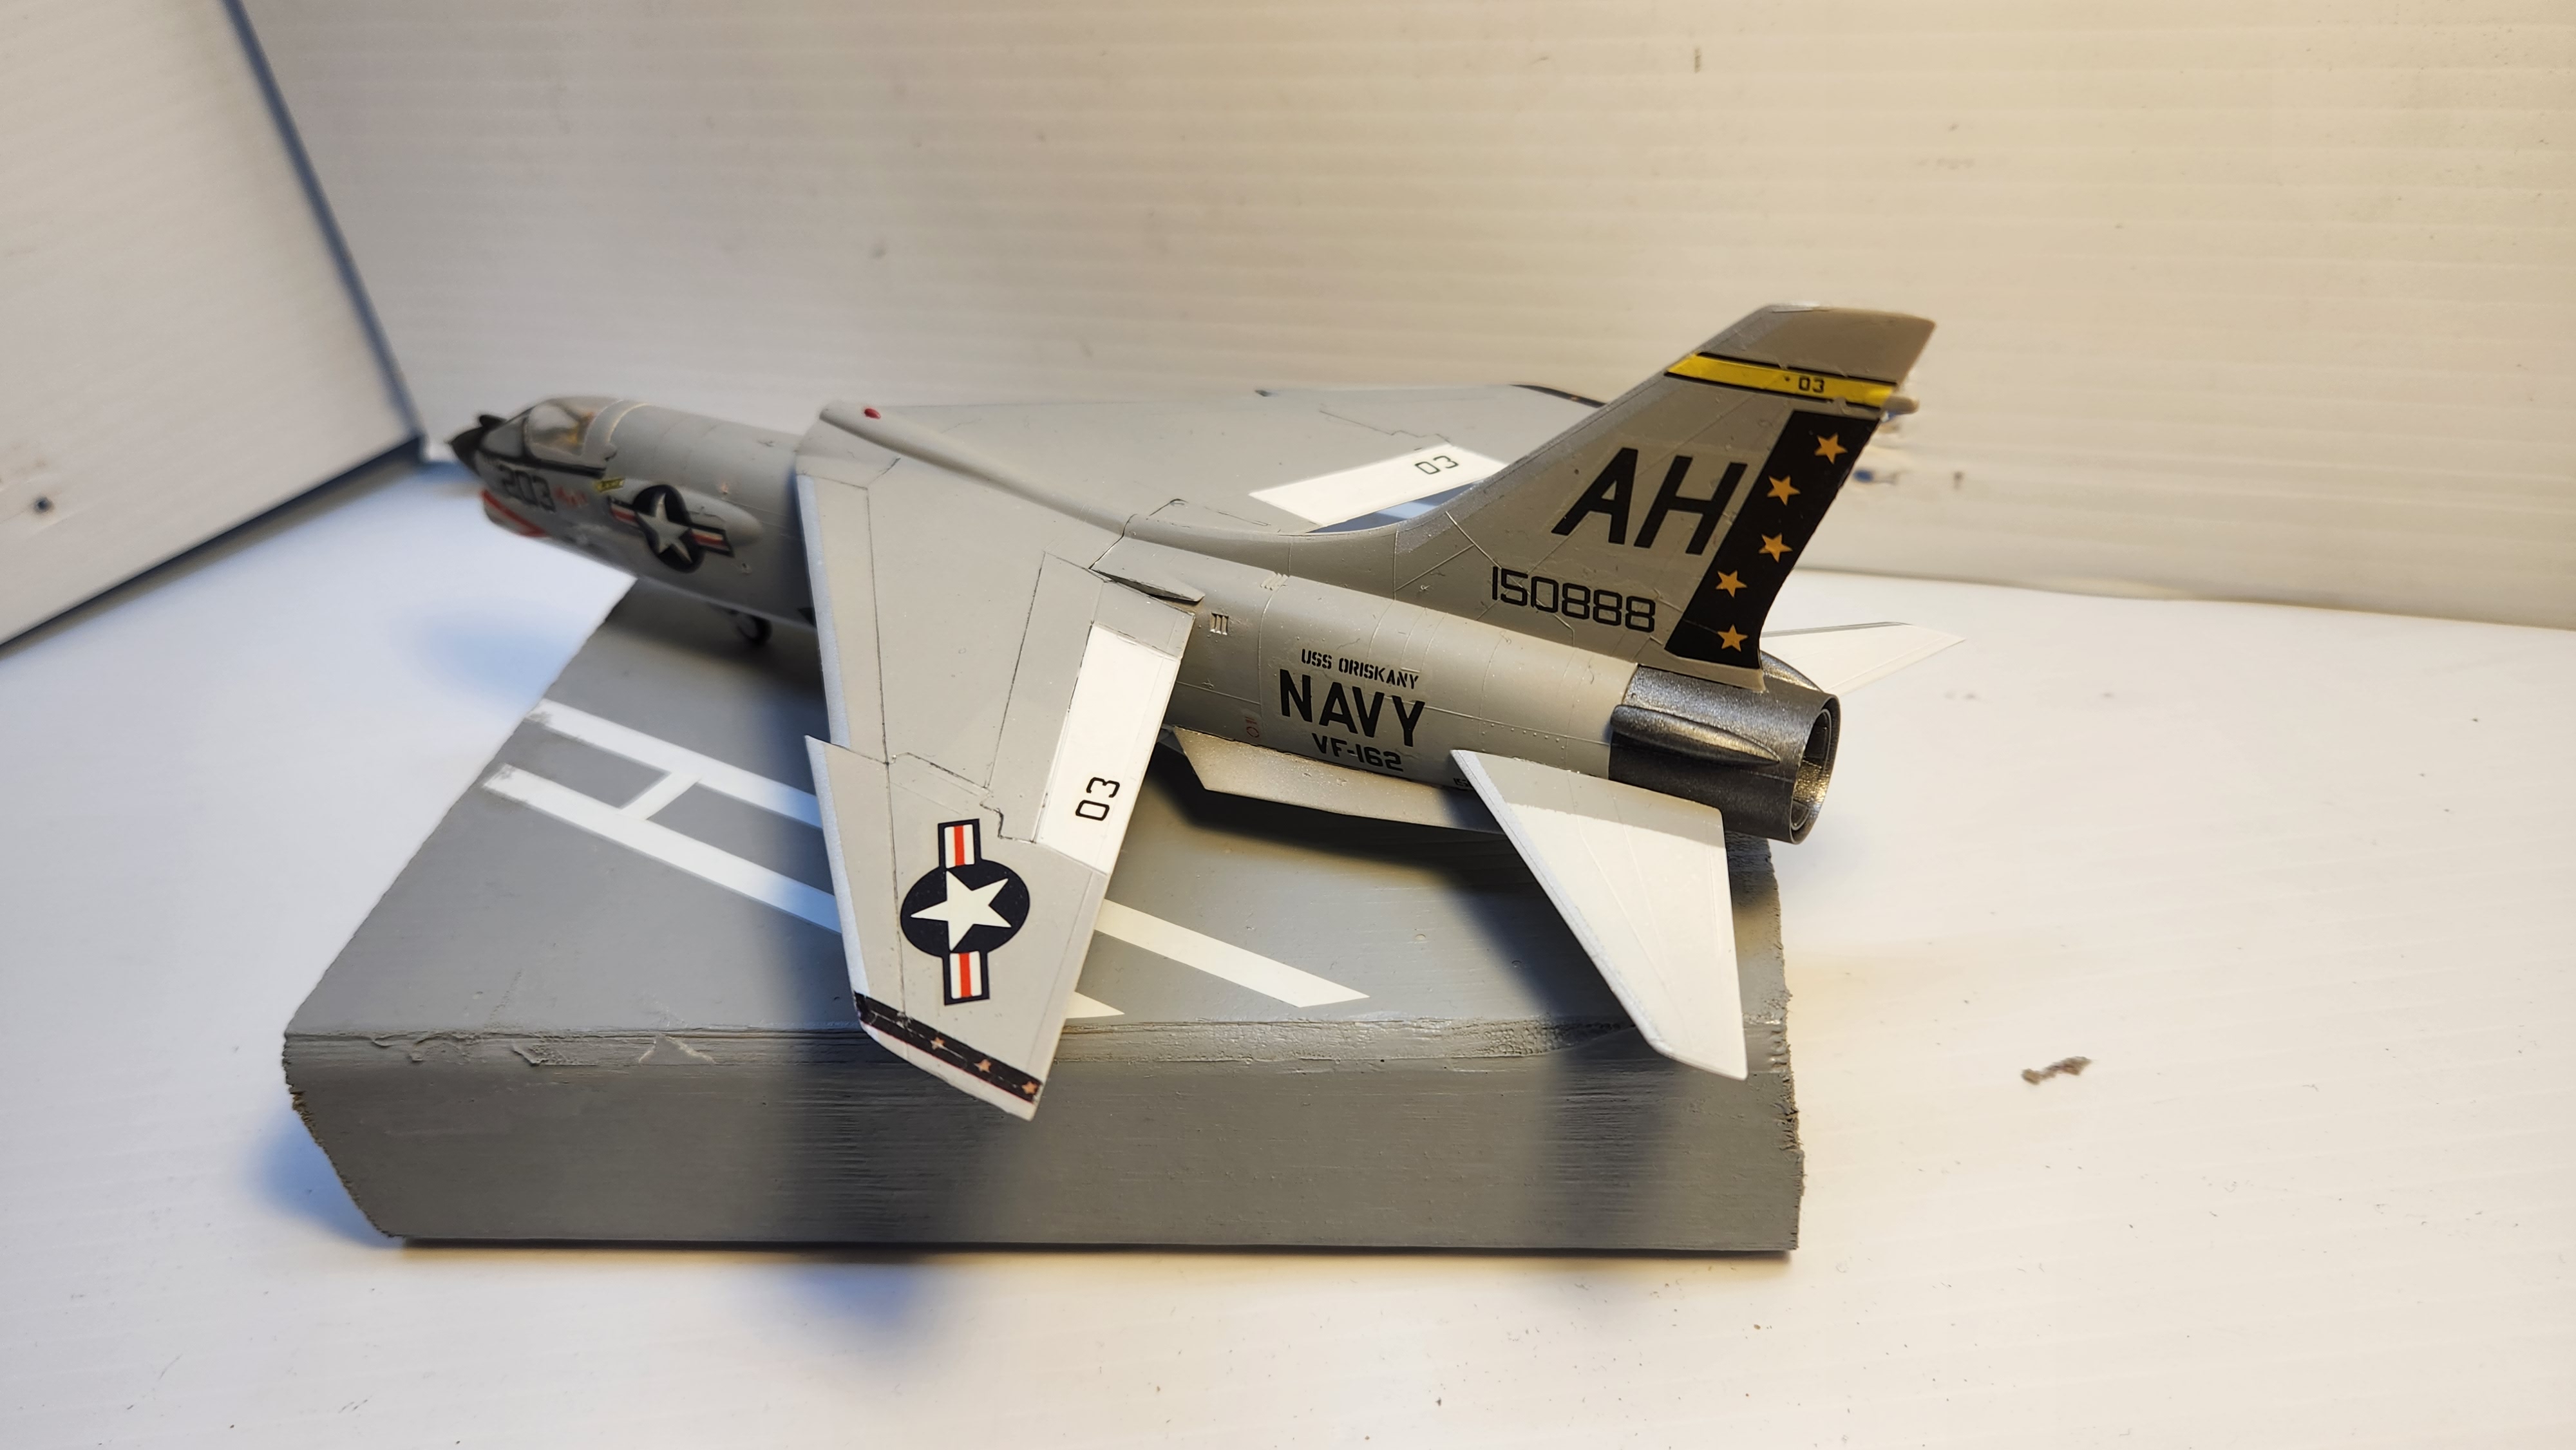
 Micro Sol did a pretty good job! Put the landing gear on. Did a coat of XF-86 flat clear over the decals. Masked off the canopy for this. Going to finish by mounting the wing in the up position since the aircraft is built with the gear down.
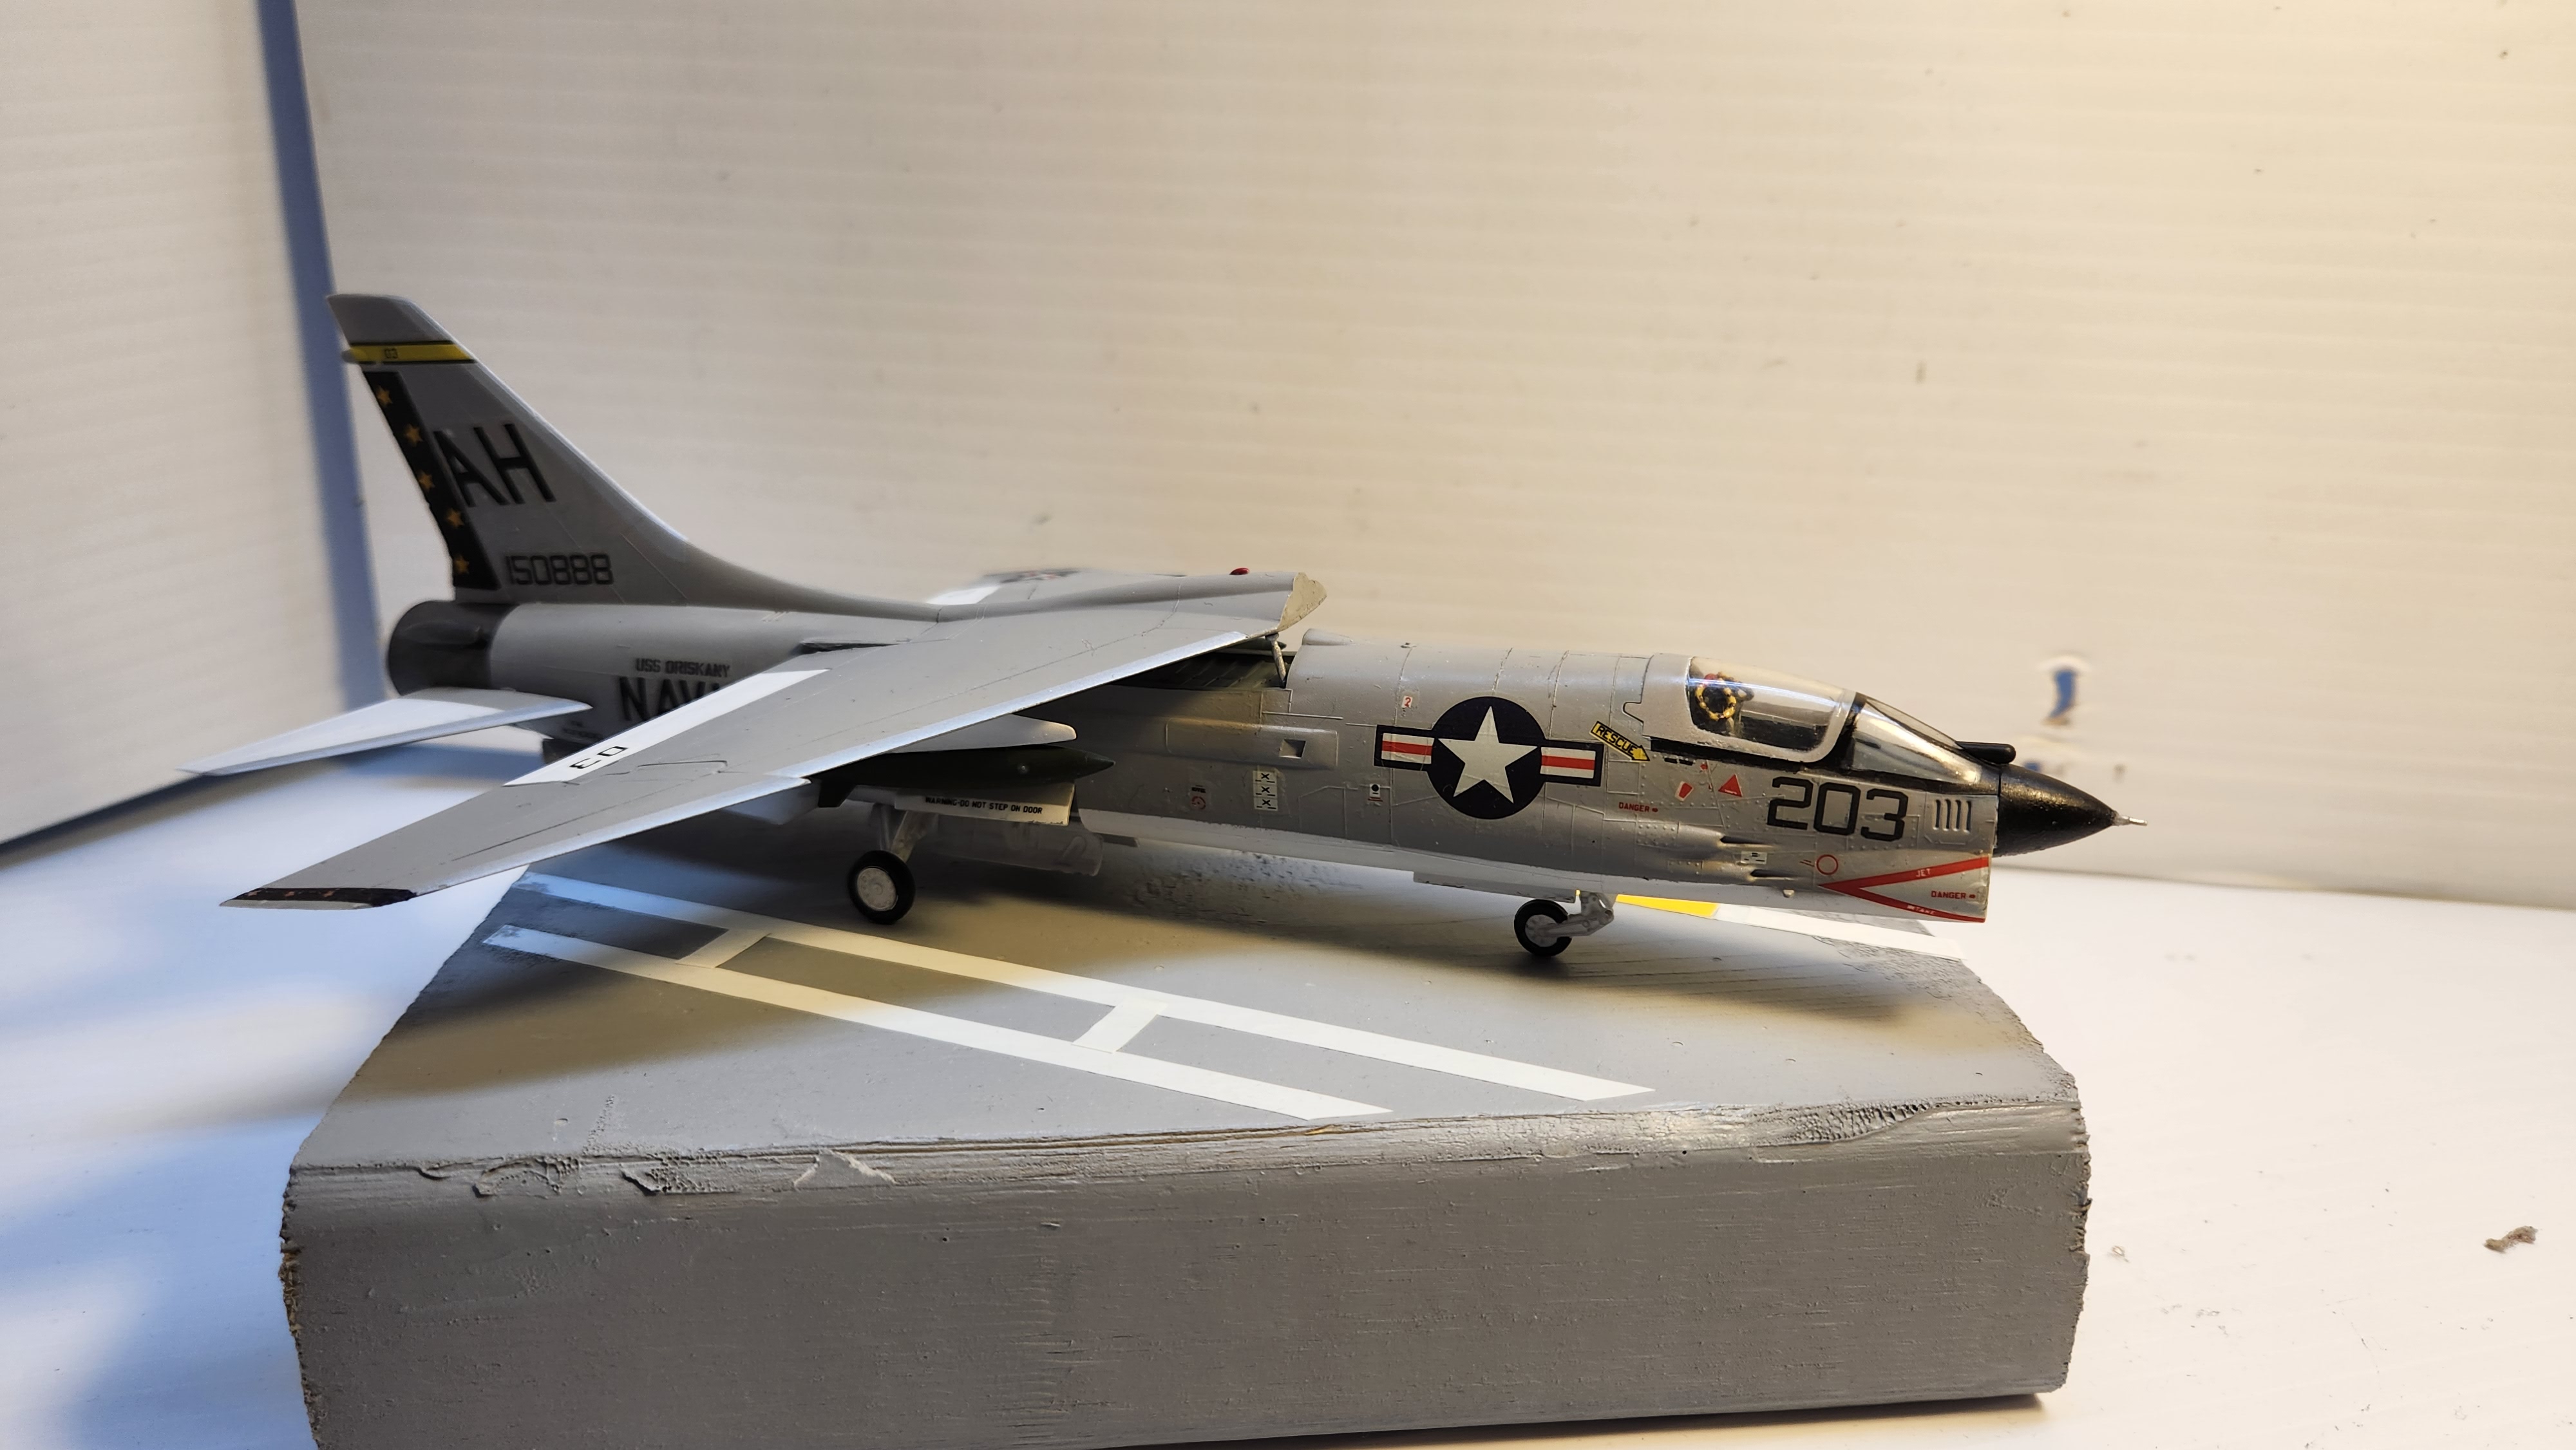
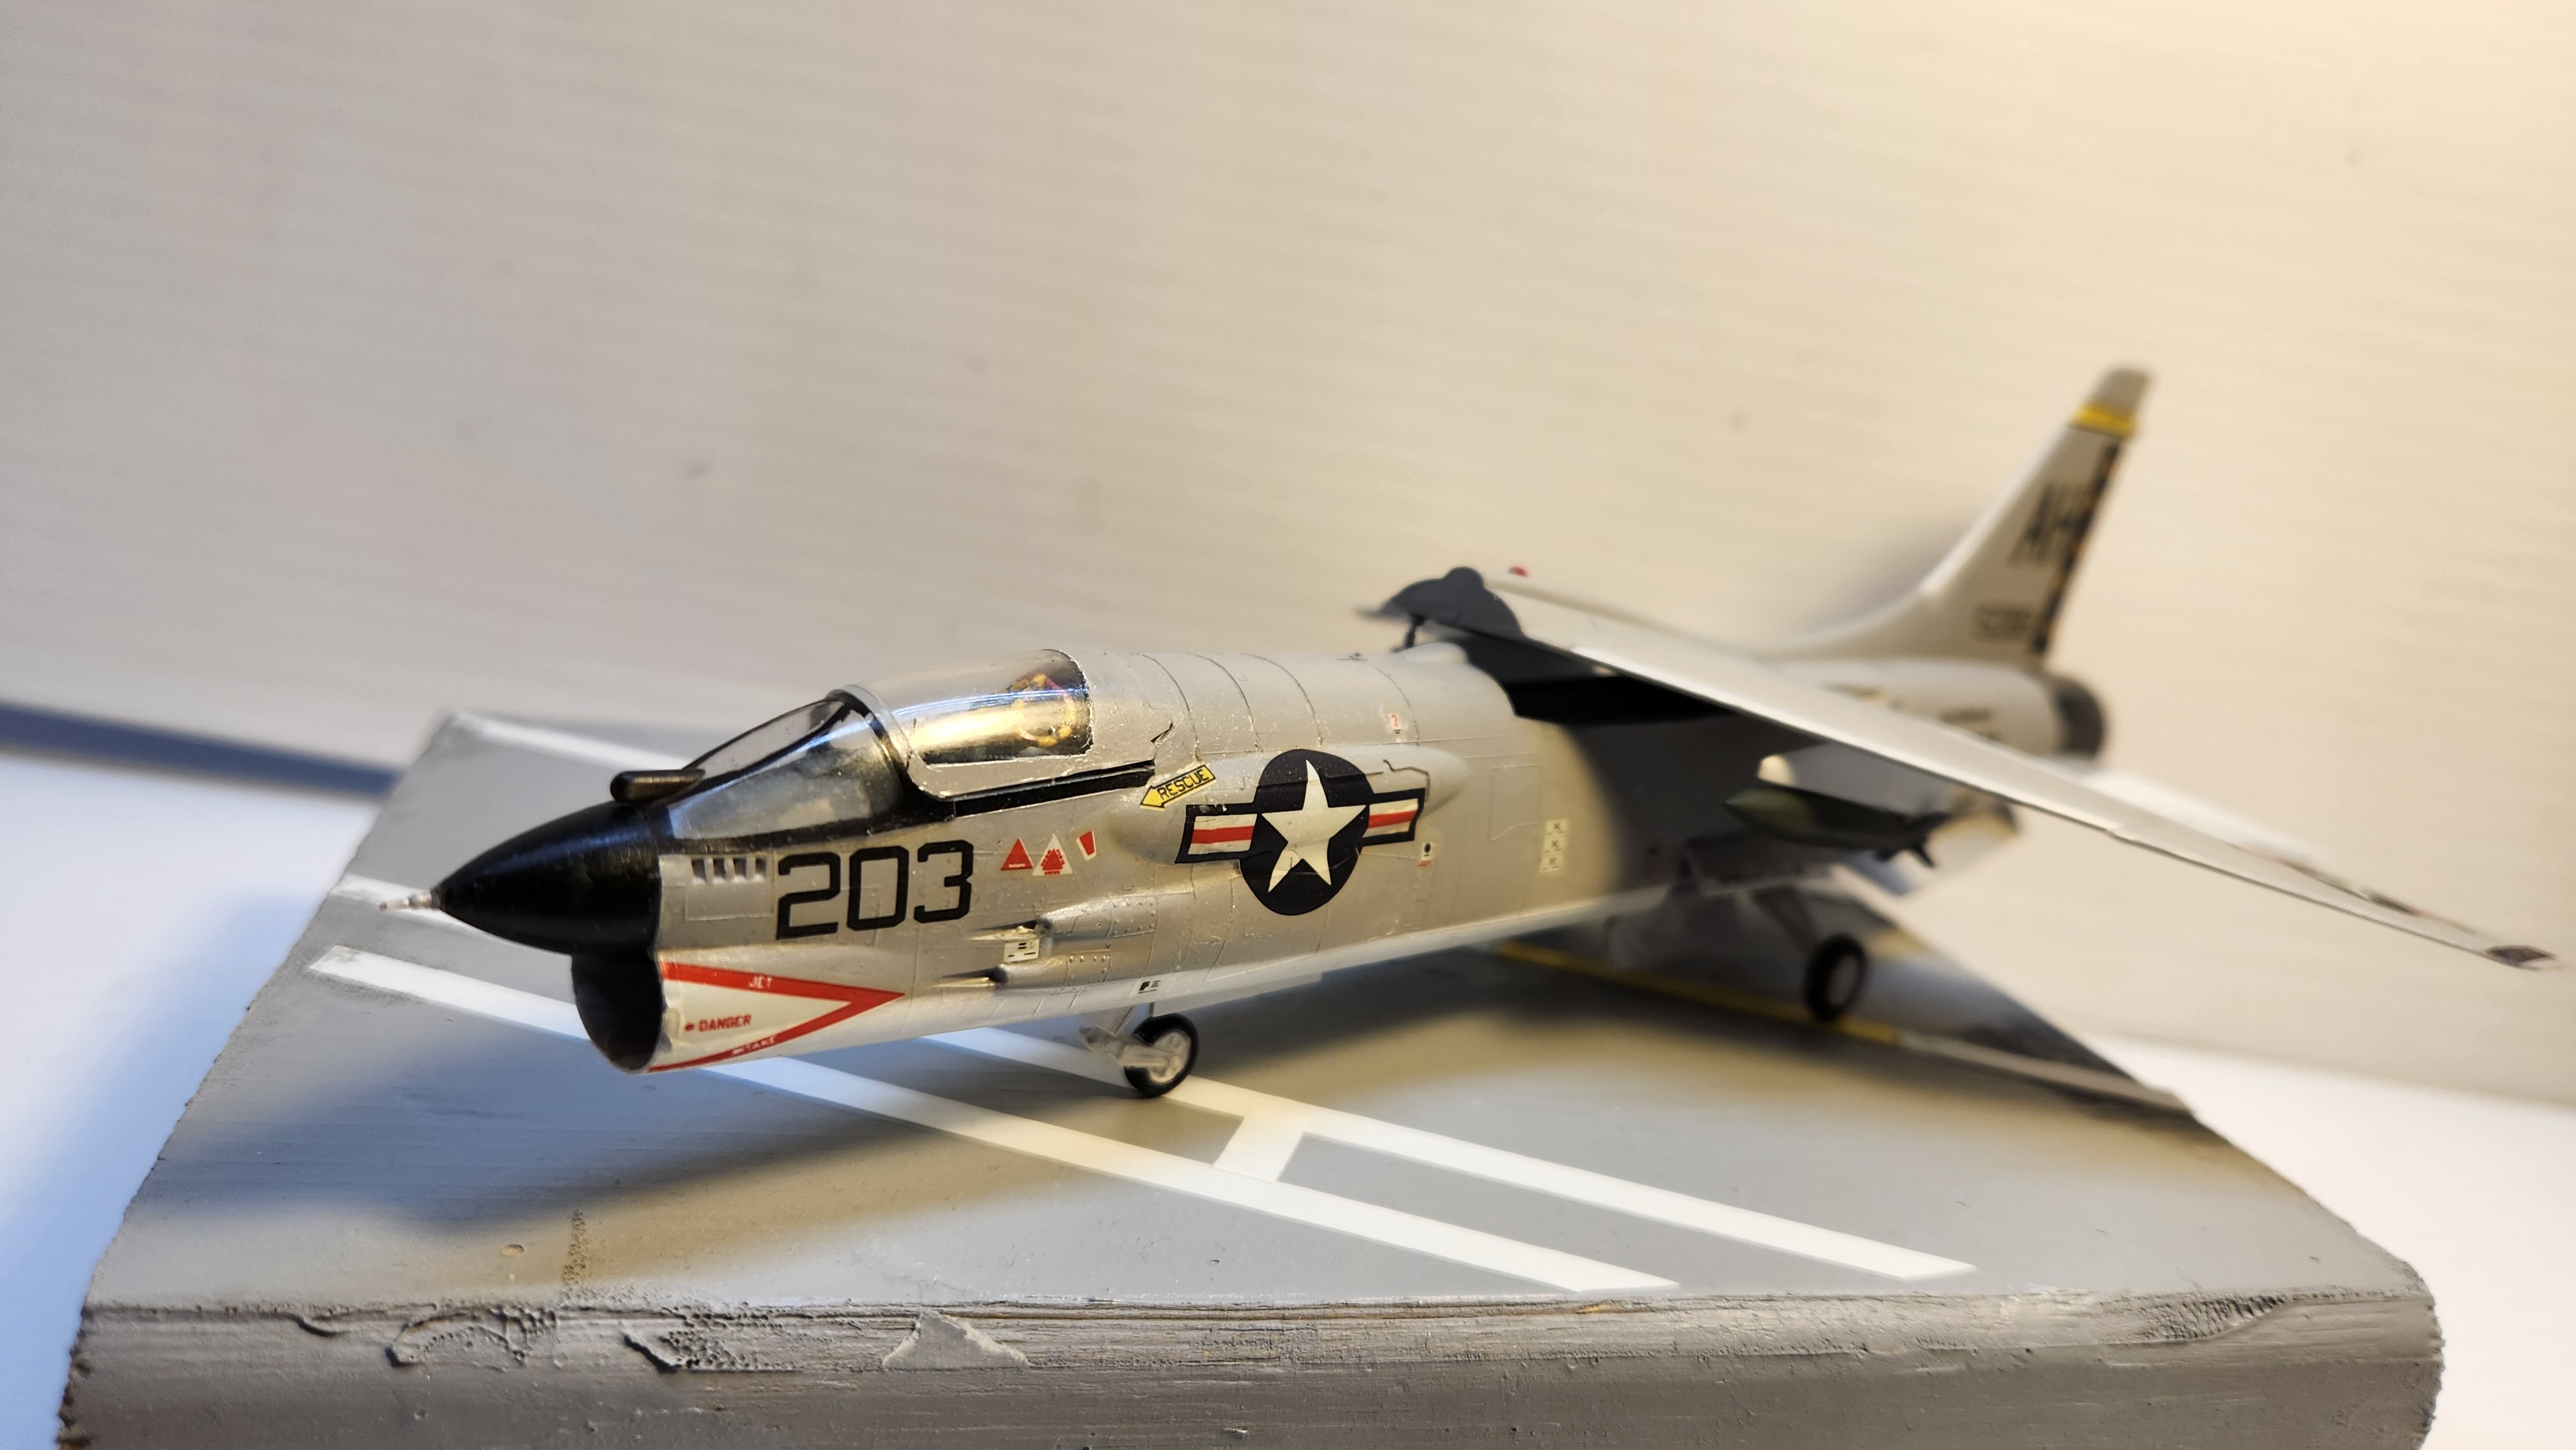
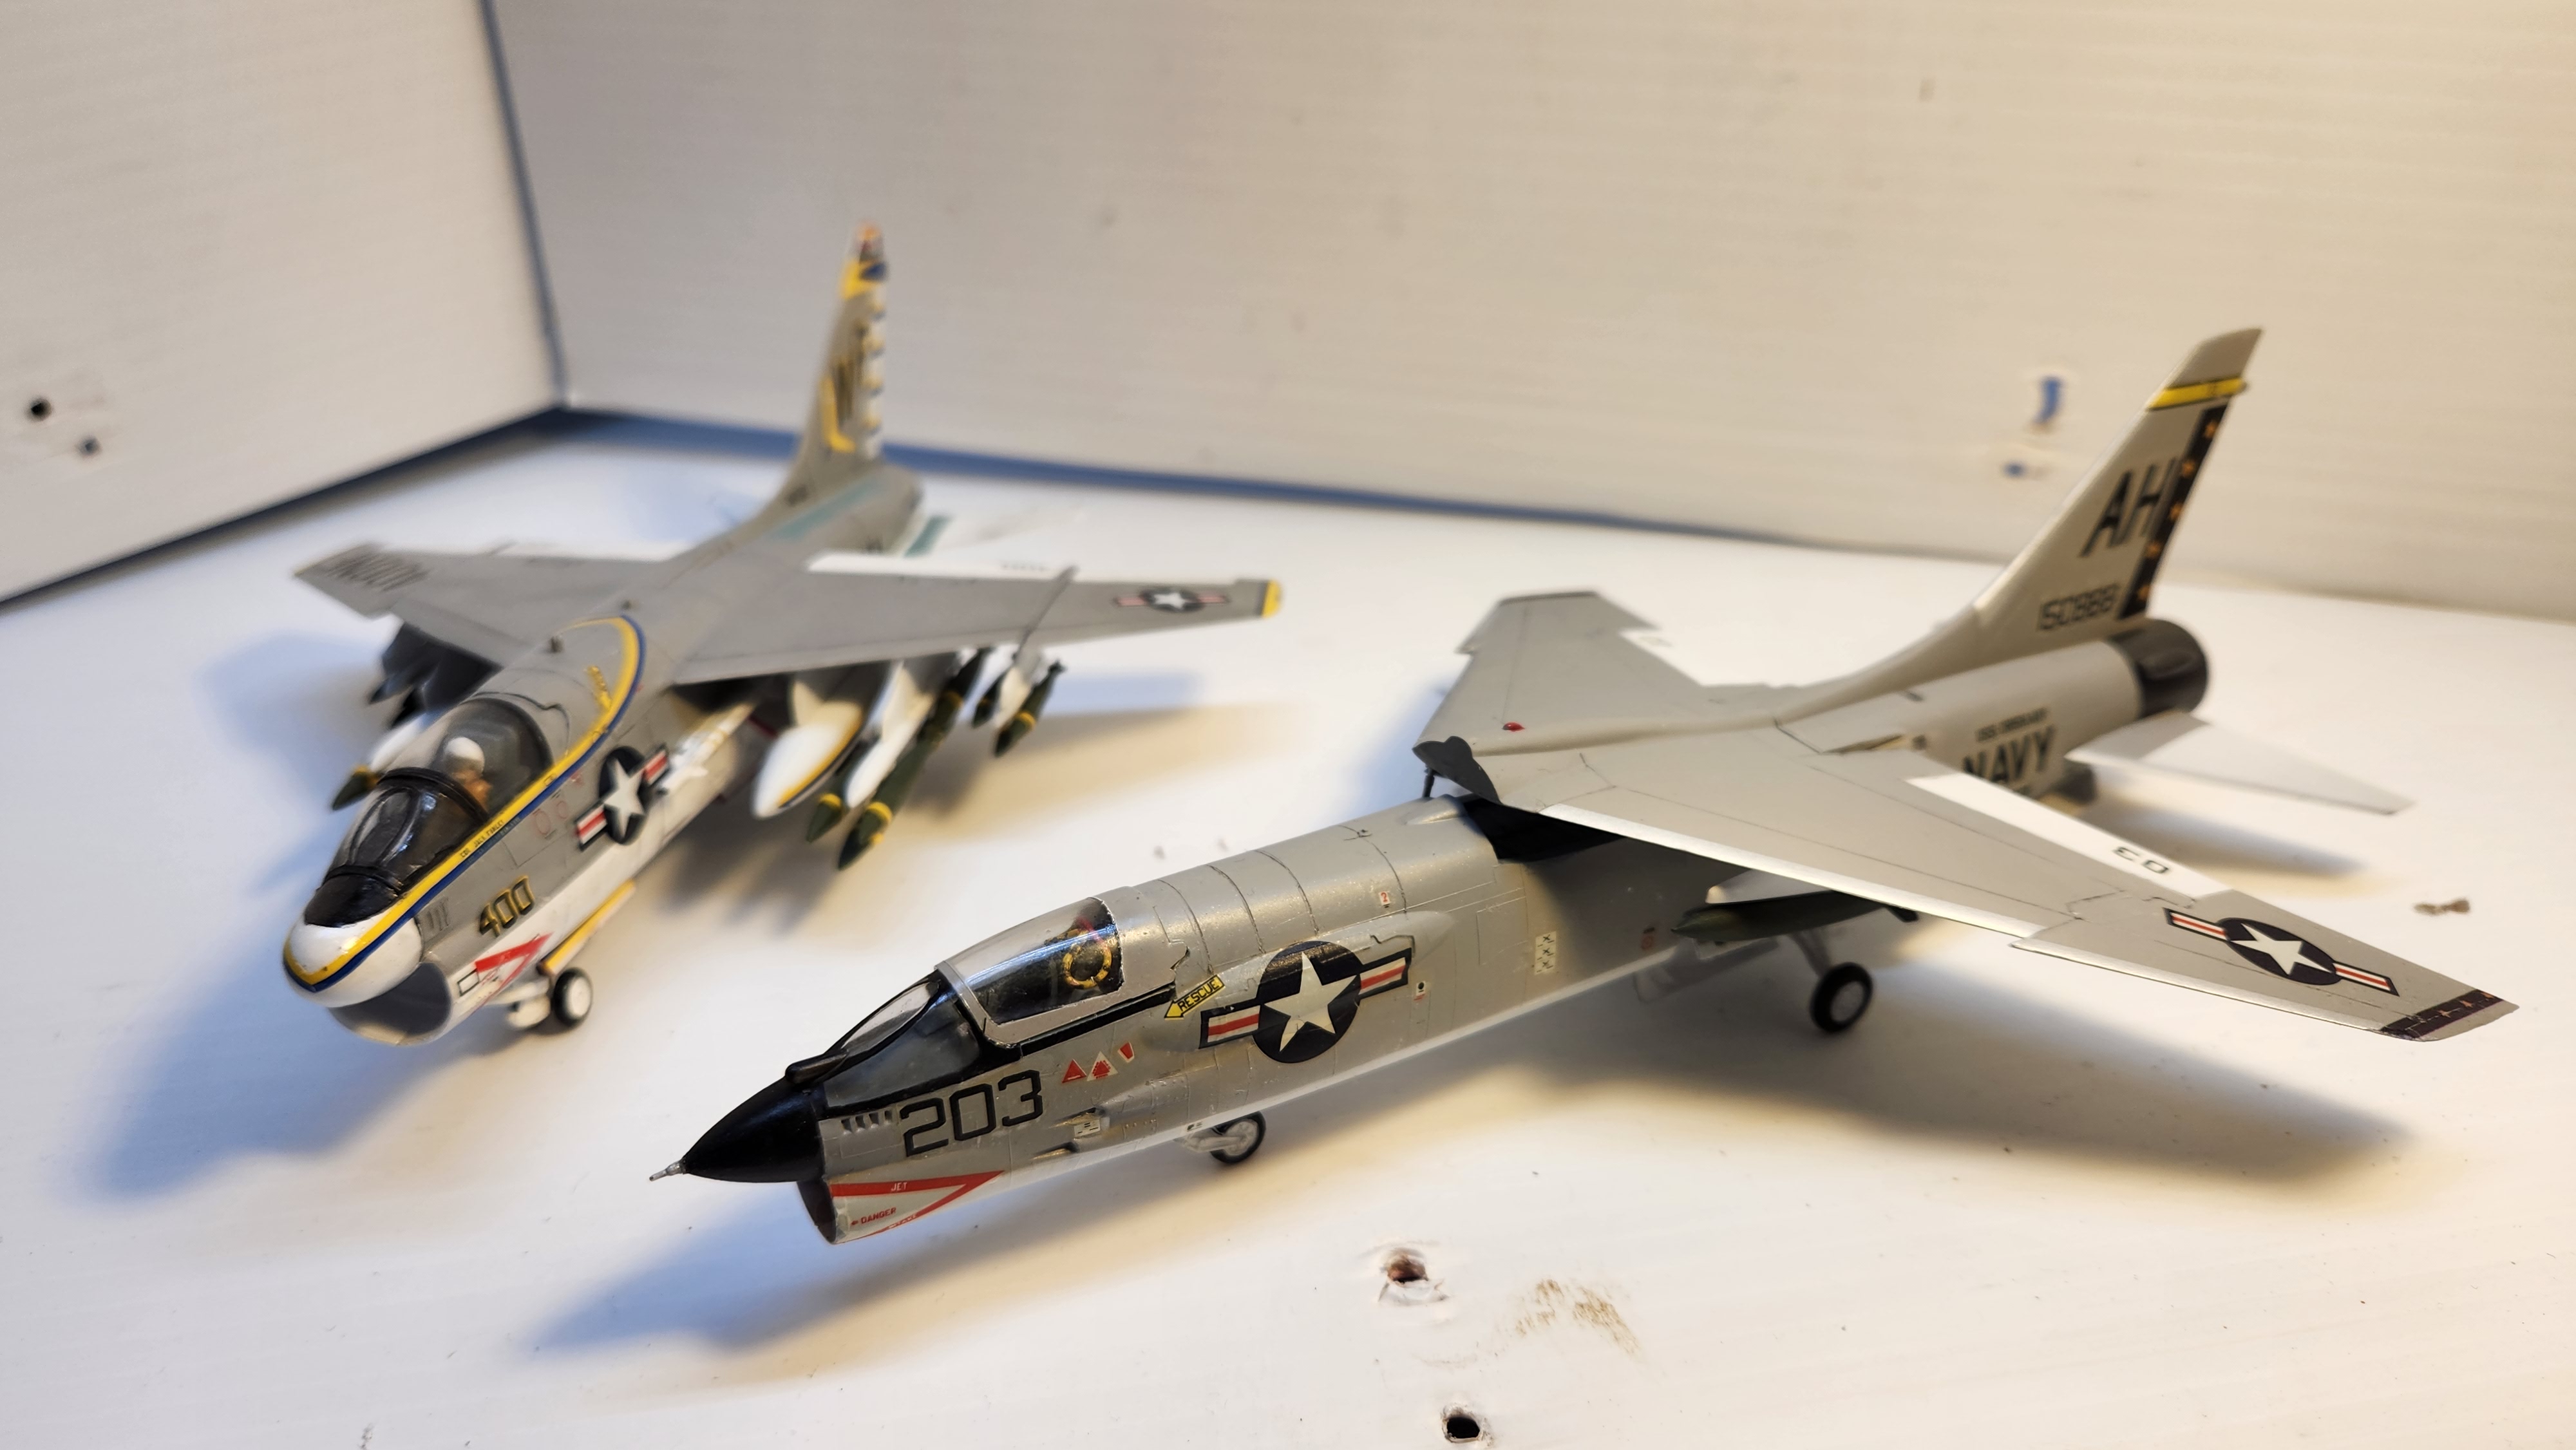
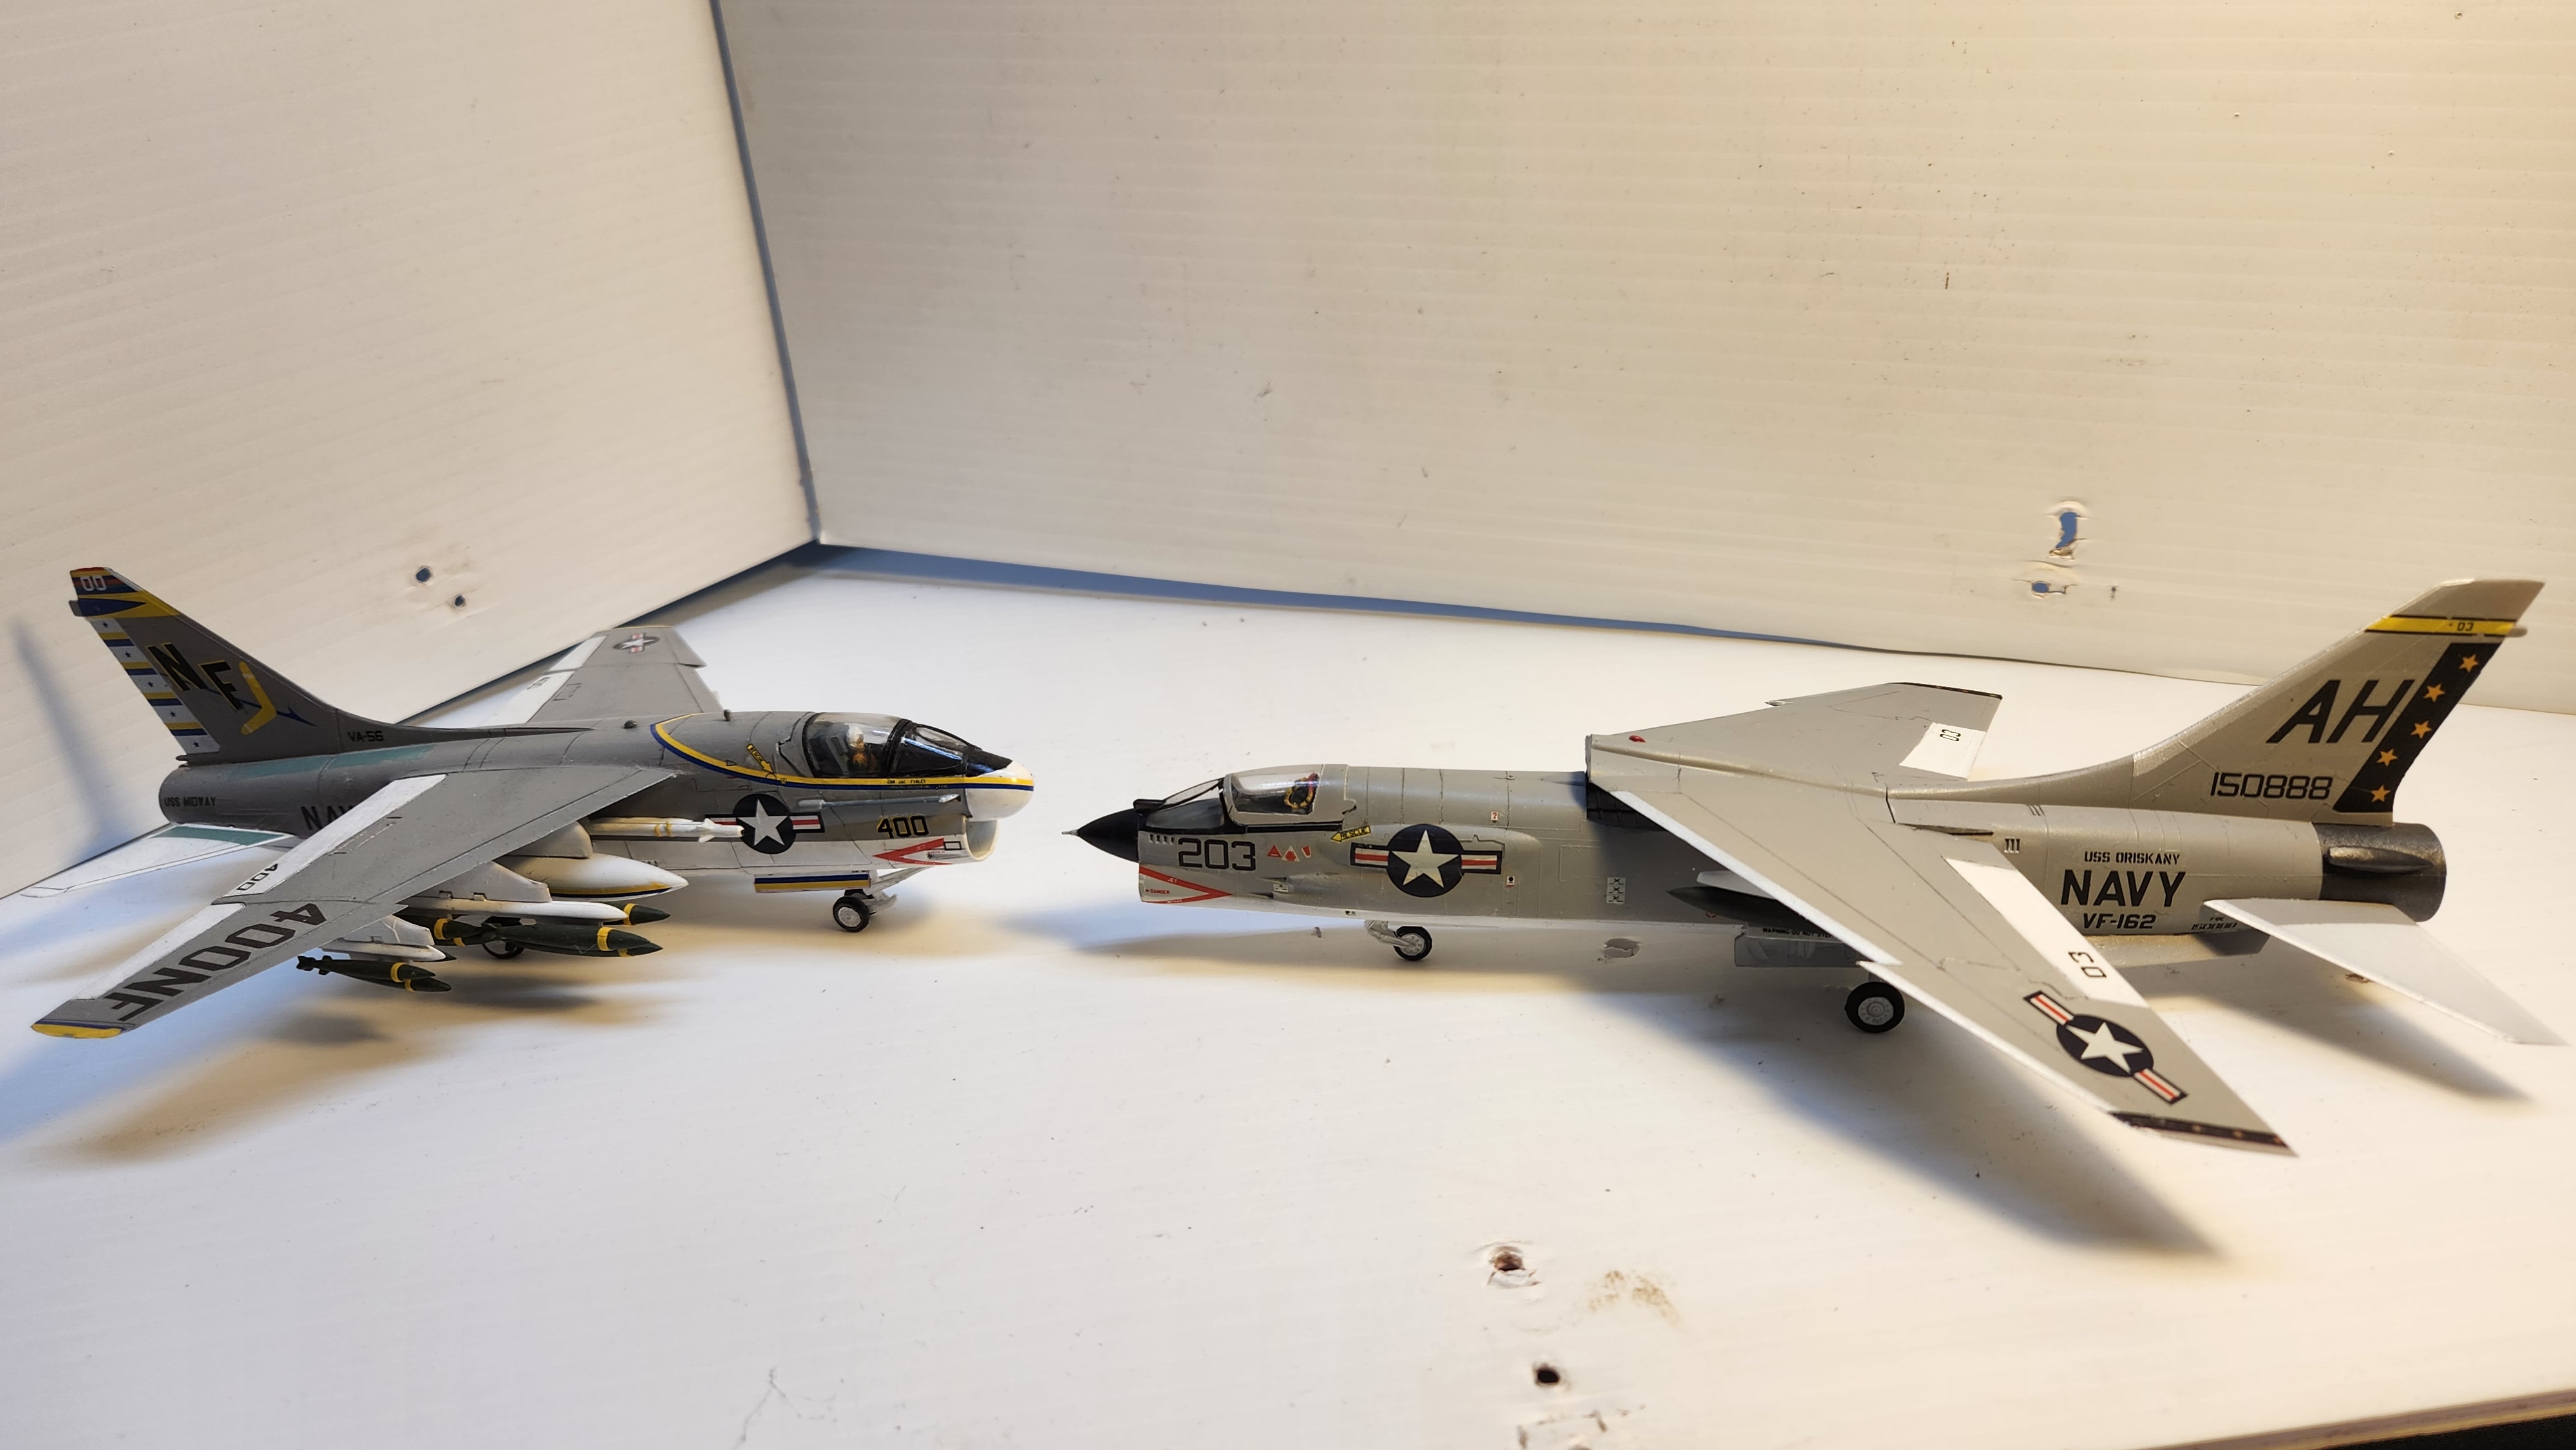
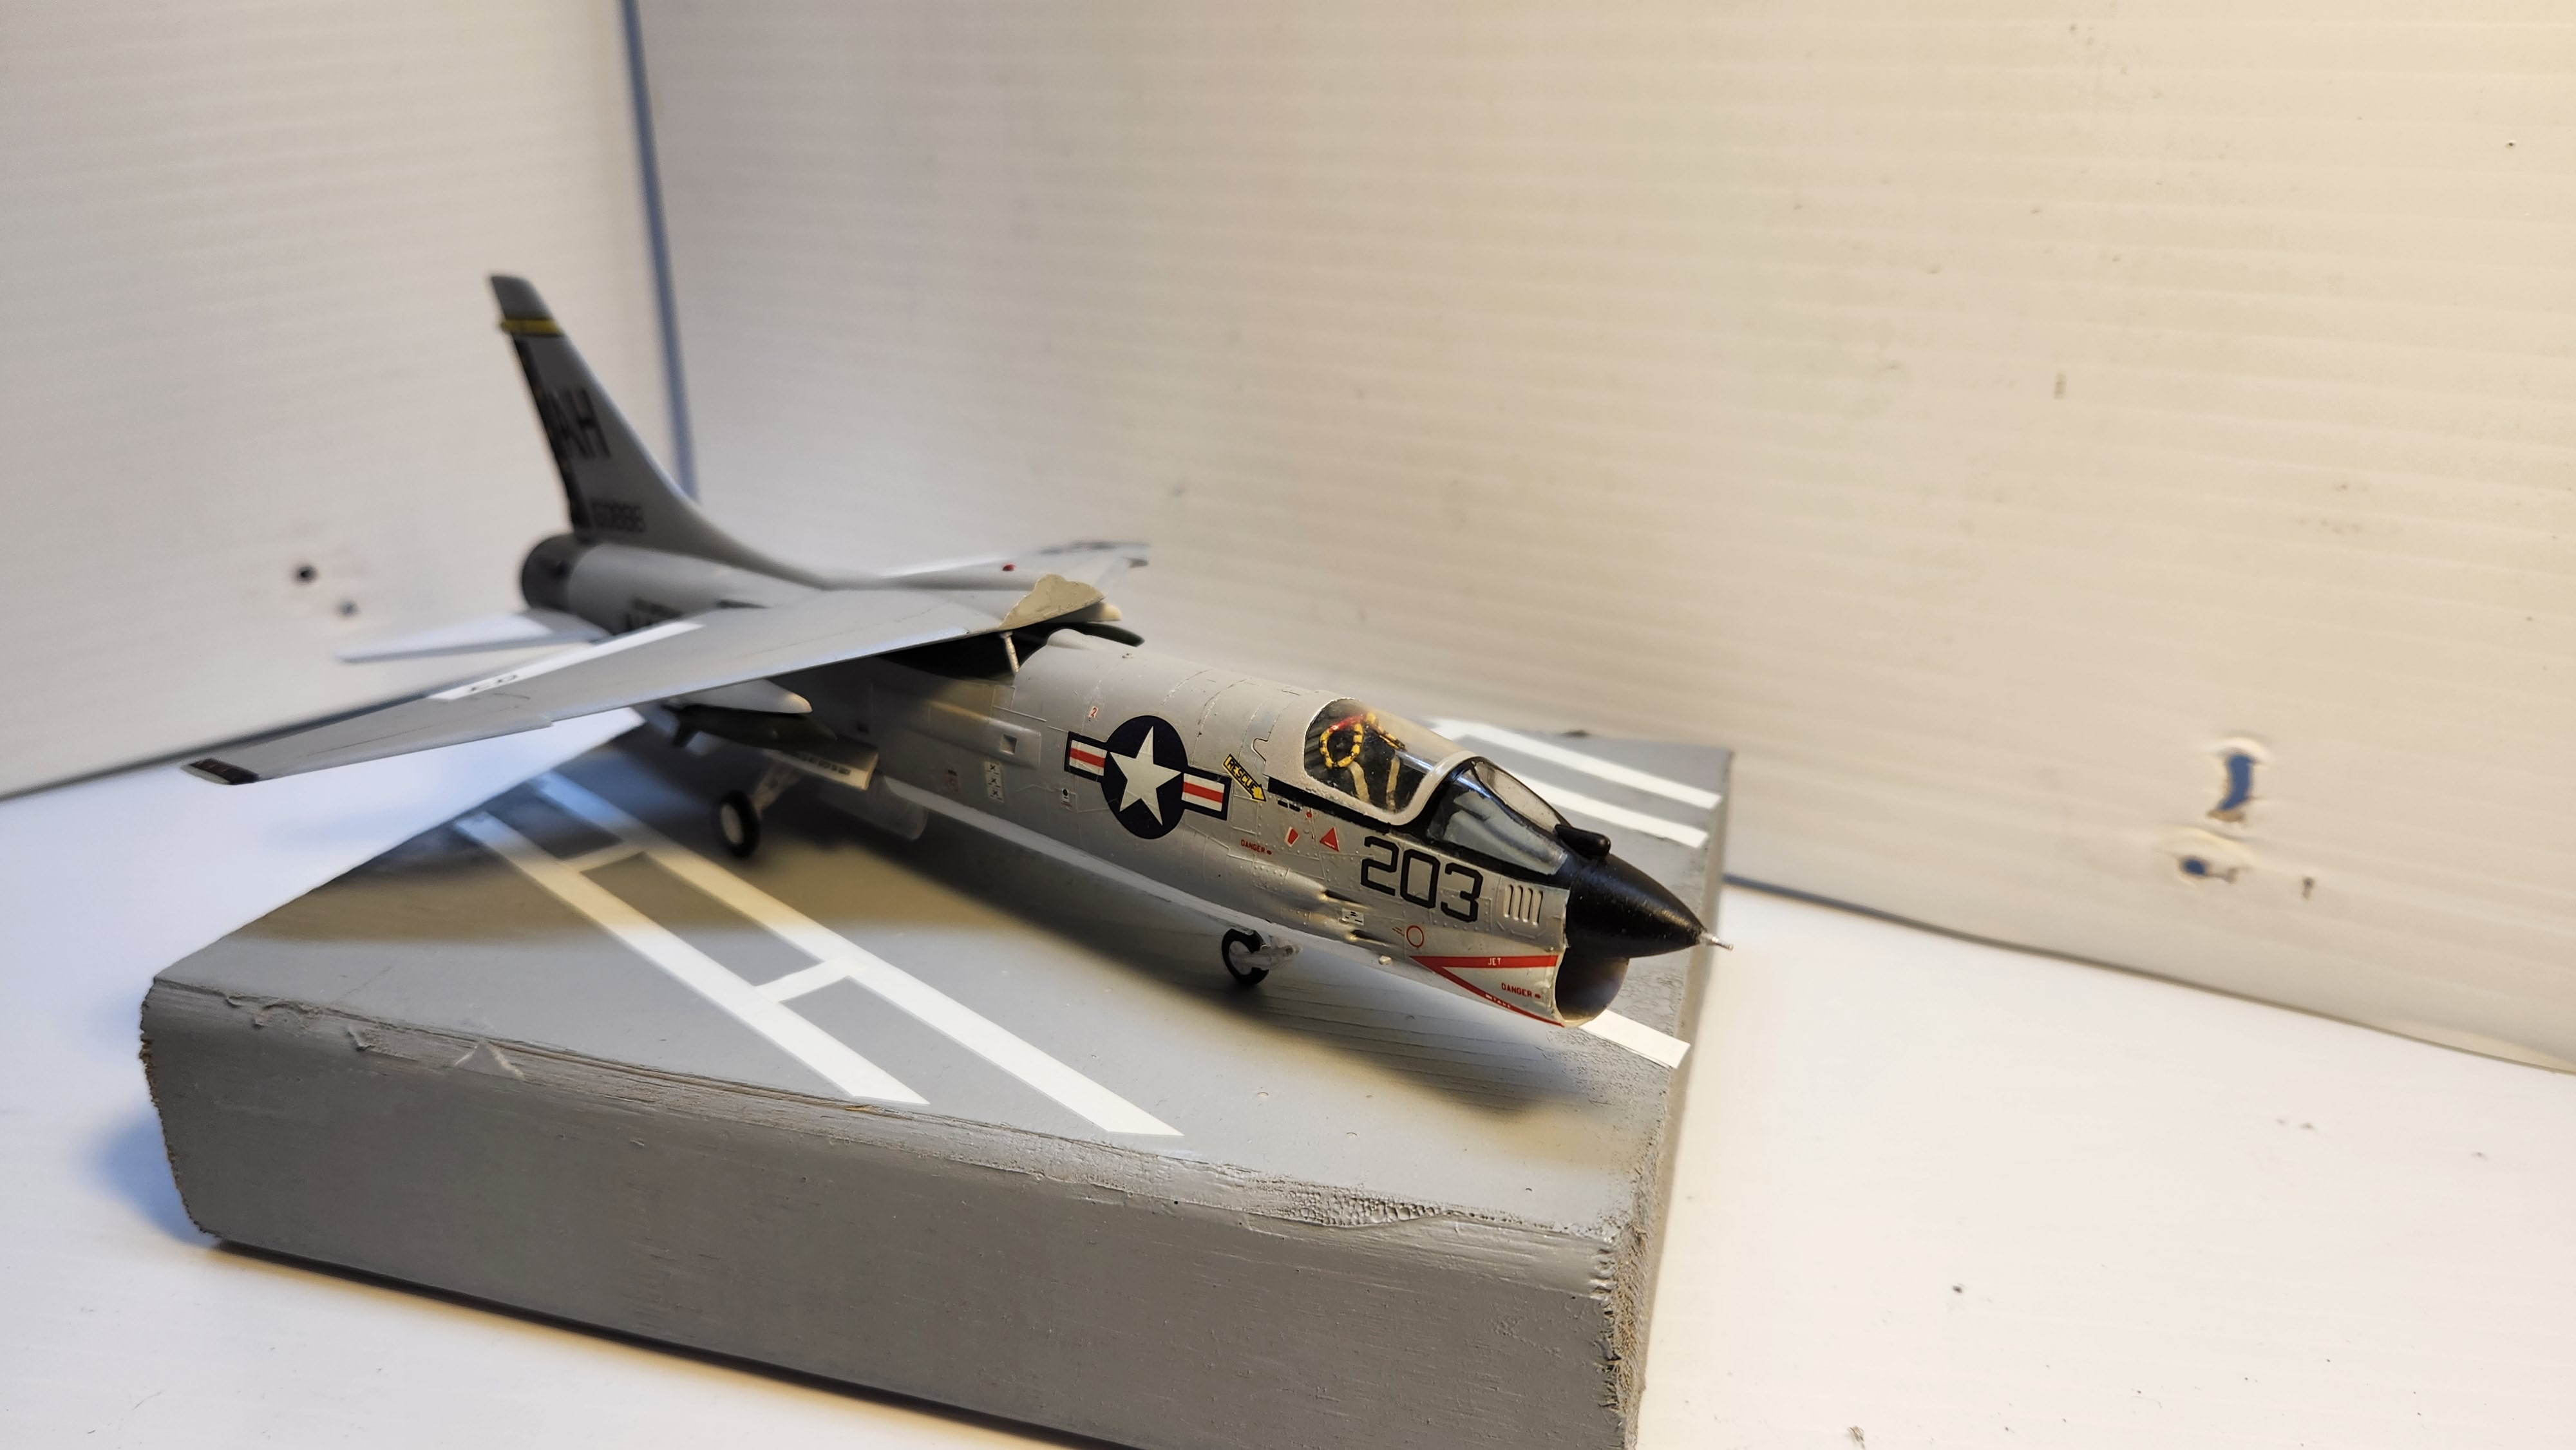 Here is the glamour shot. Not too bad for being built over the weekend!

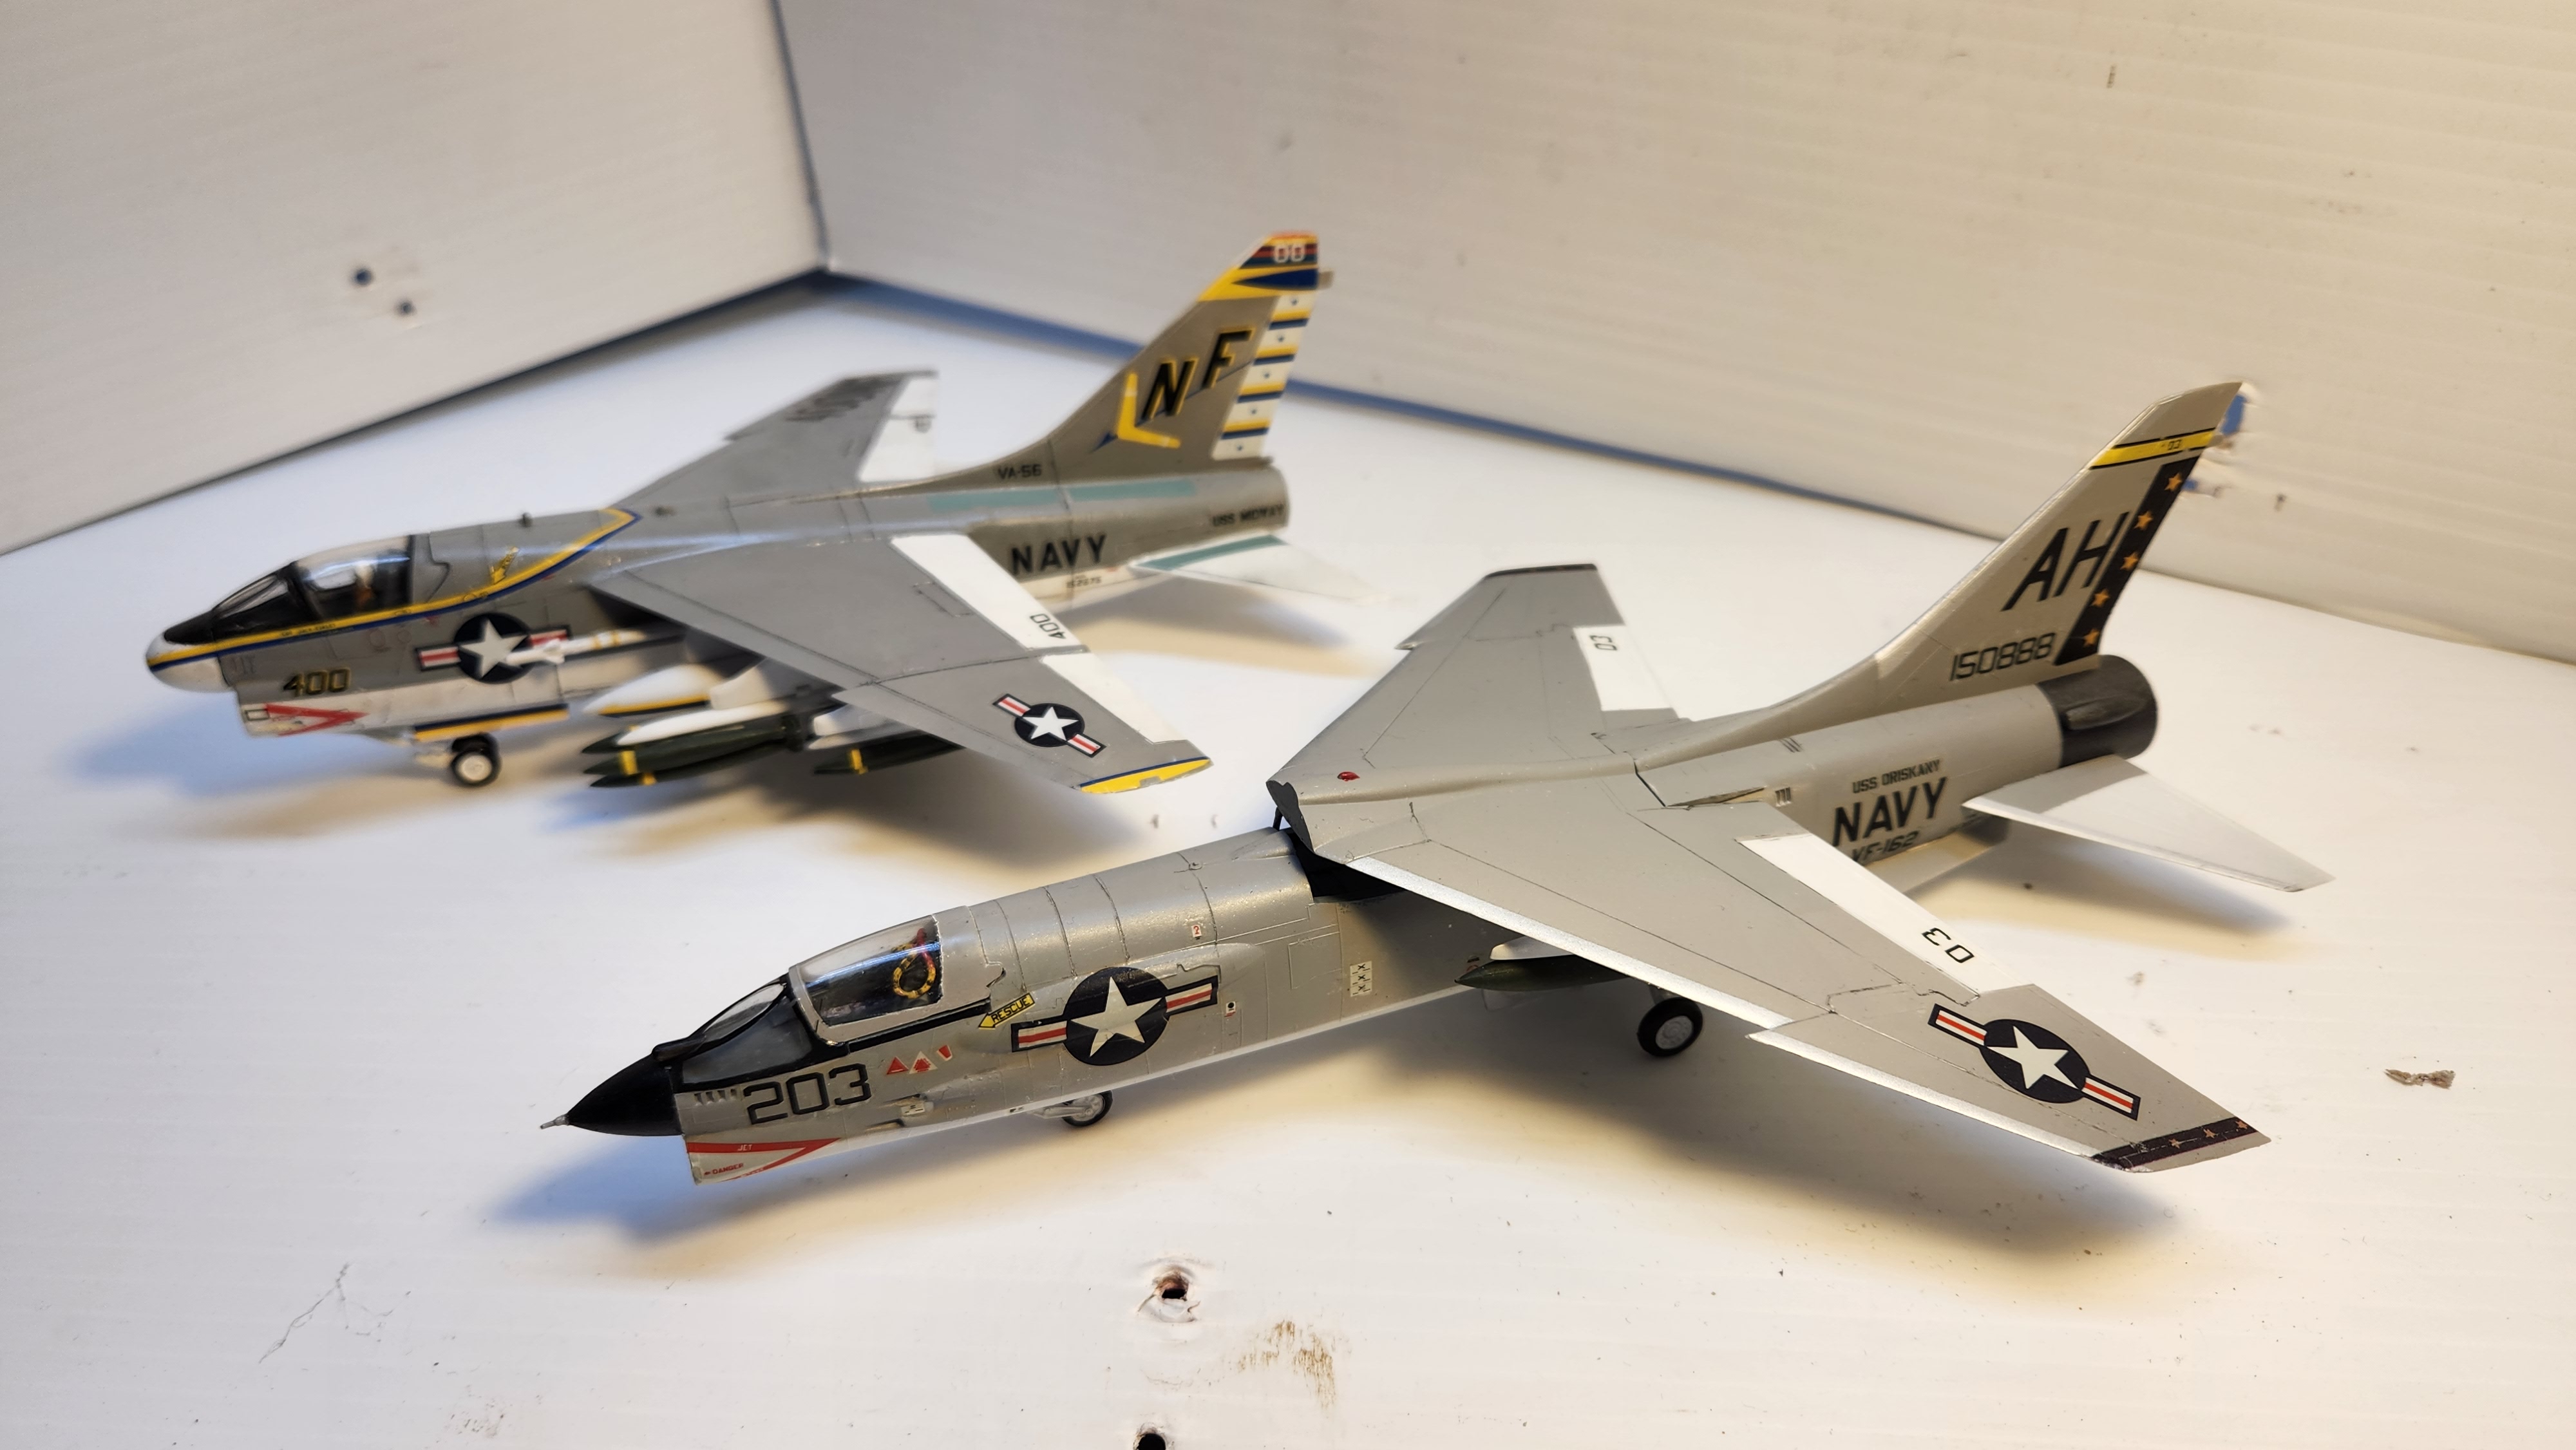
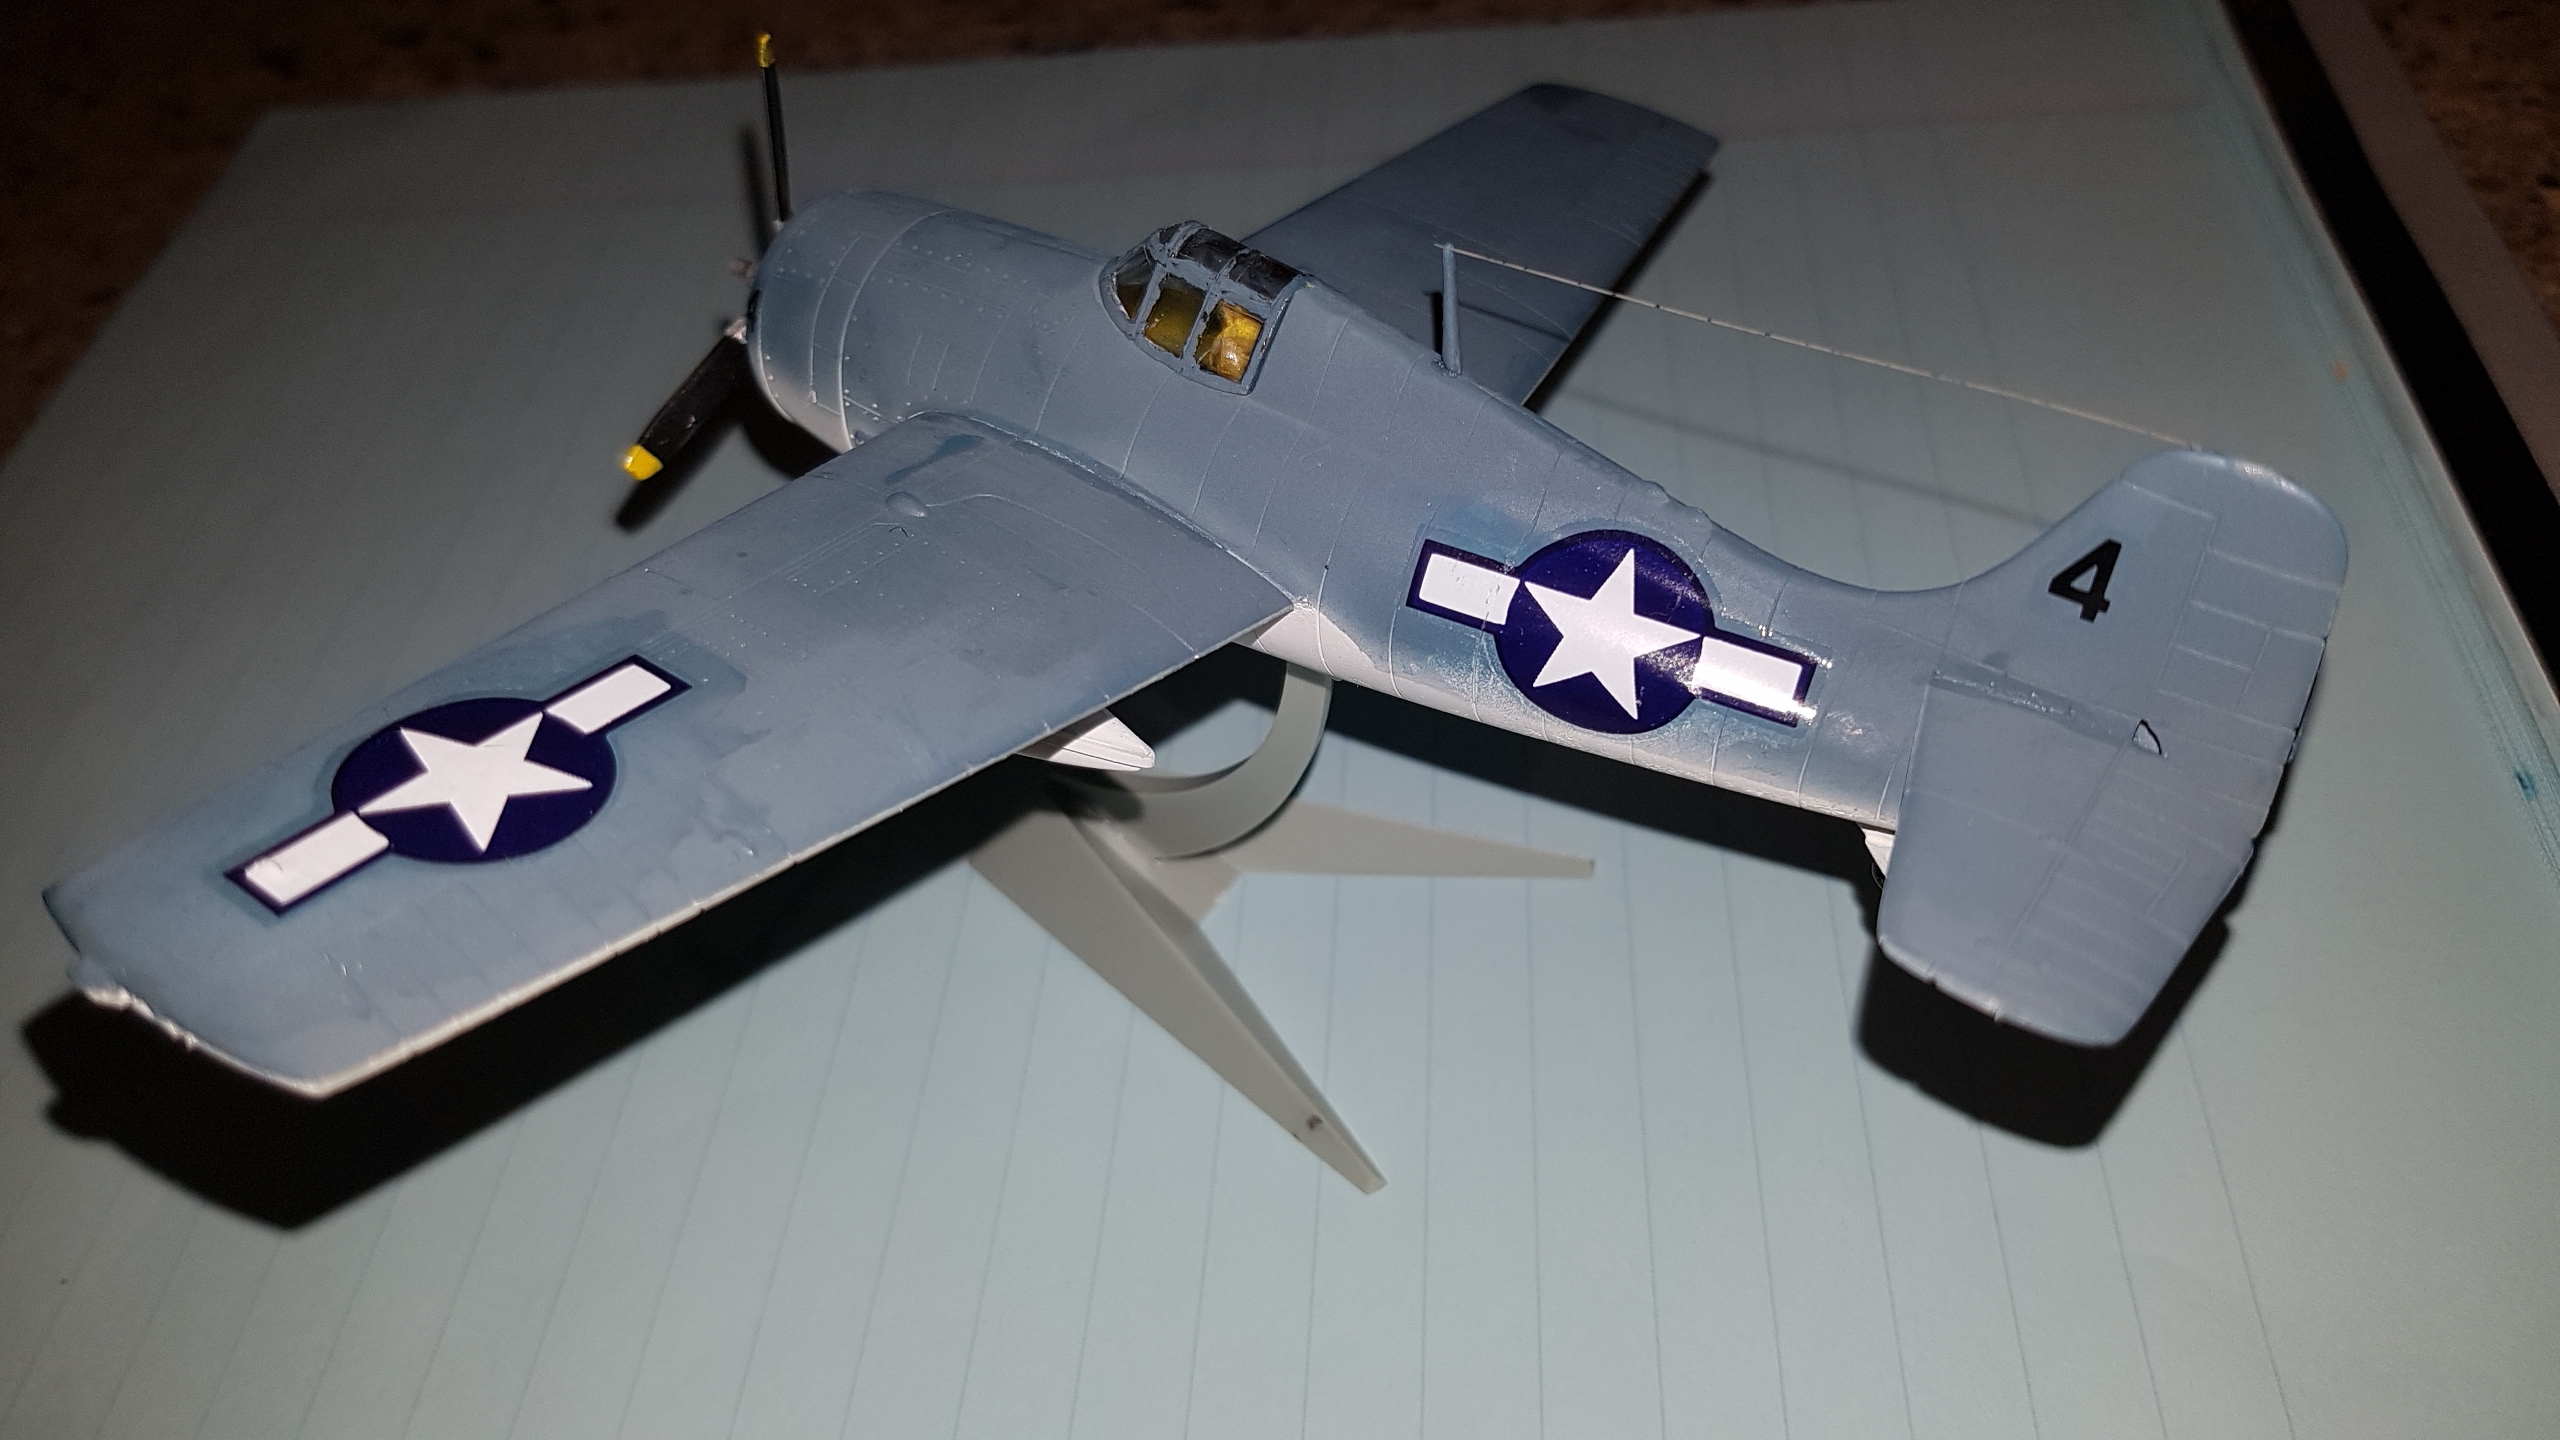
A couple of shots with the Crusader’s cousin, the A-7 Corsair II.
Paints

Tamiya Acrylic
XF-1 Flat Black
XF-2 Flat White
XF-16 Flat Aluminum
XF-19 Sky Grey
XF-58 Olive Green
XF-66 Light Grey
XF-86 Flat Clear

X-7 Red
X-10 Gun Metal
X-11 Chrome Silver

Tamiya Lacquer
LP-23 Flat Clear
Plane of the Day, Douglas SBD Dauntless
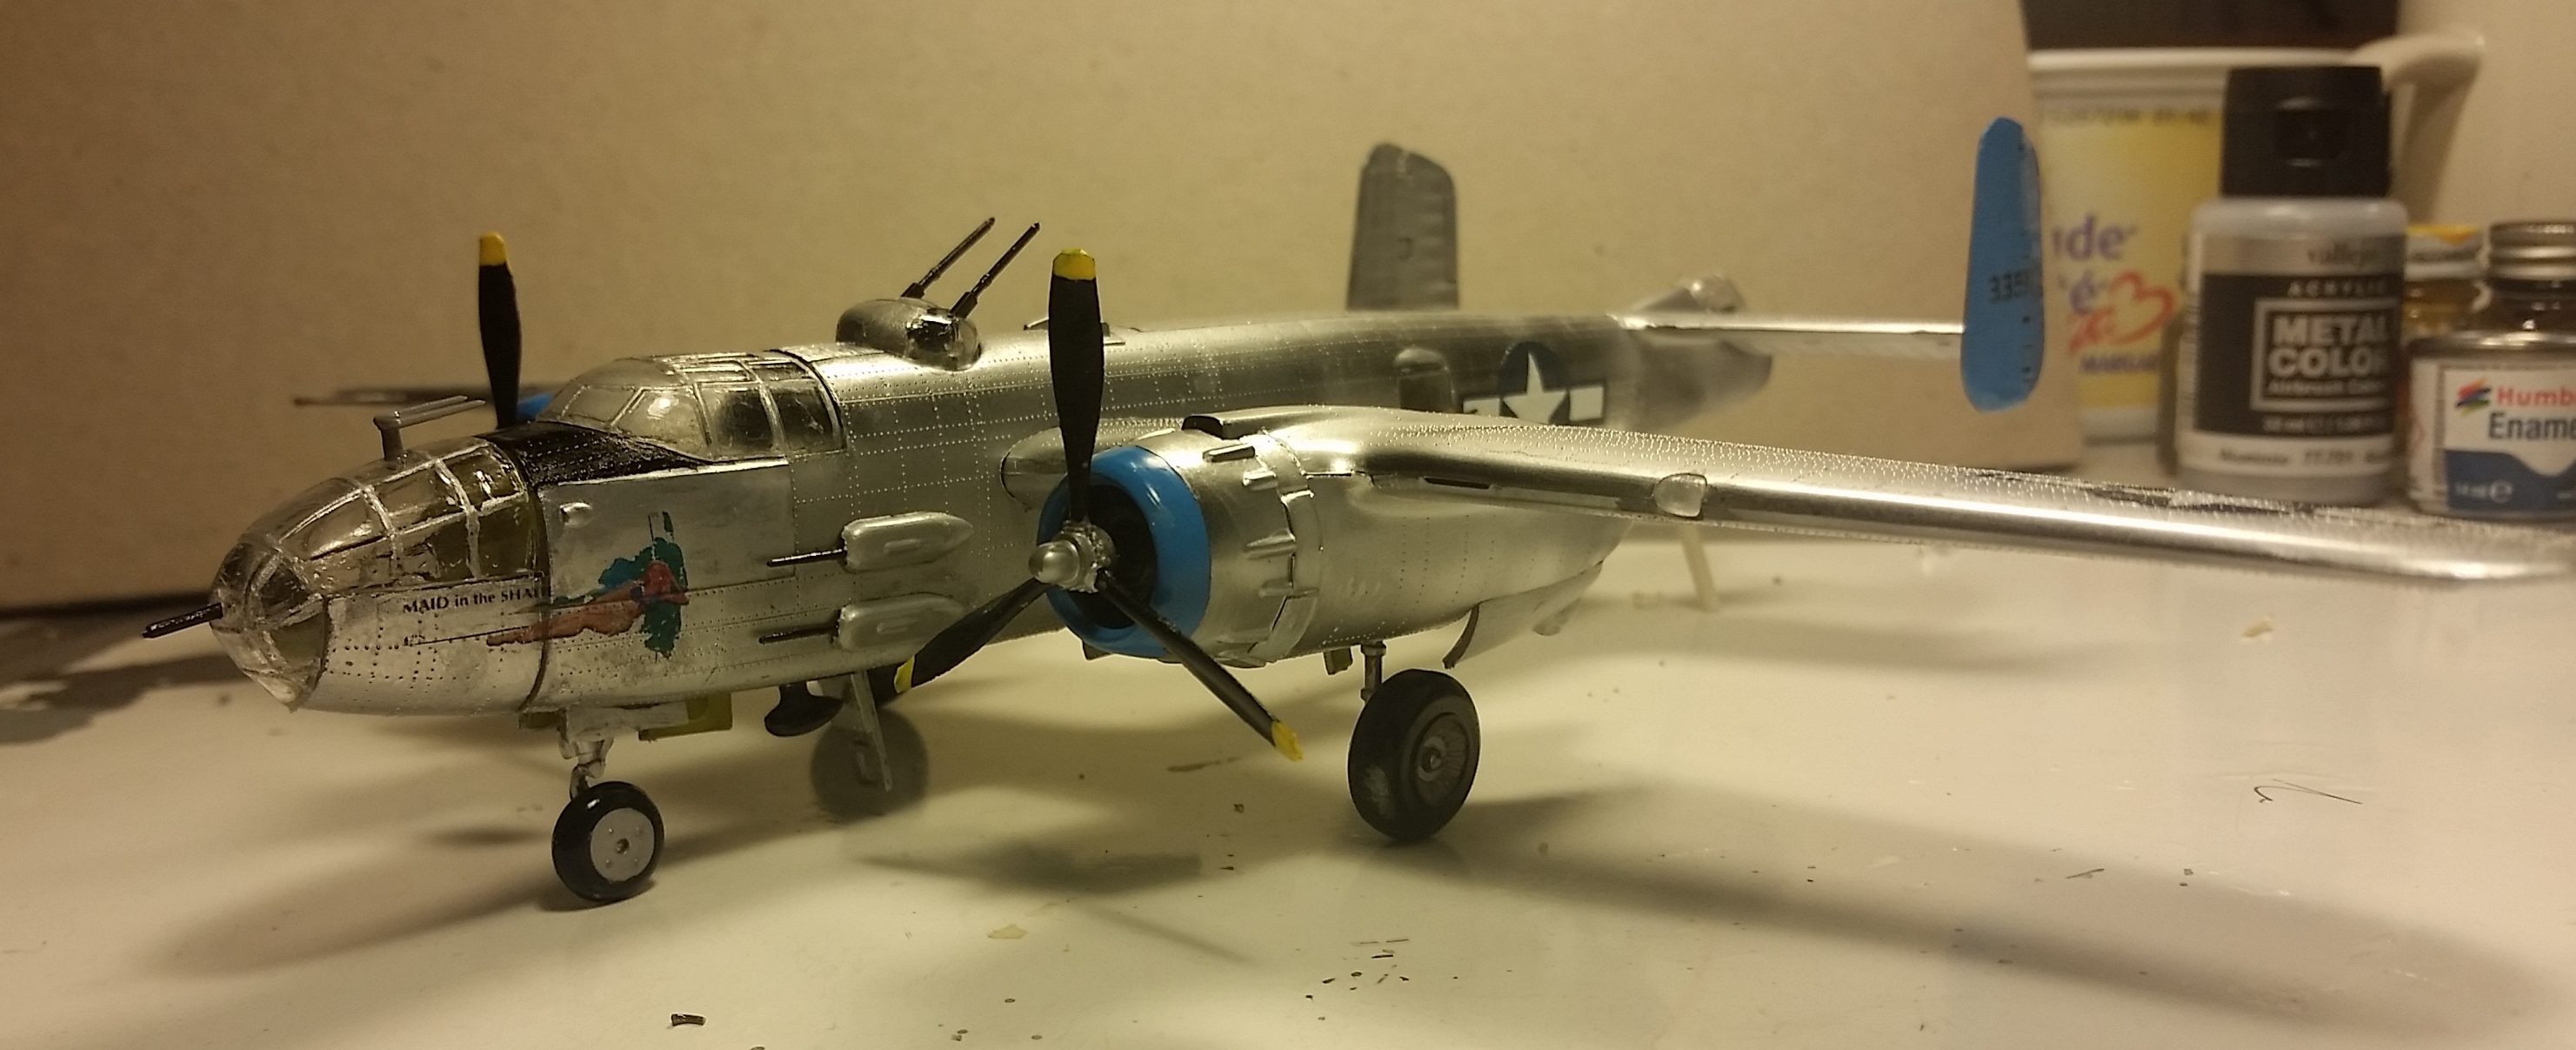
US AirFix 1/72 B-25J Mitchell