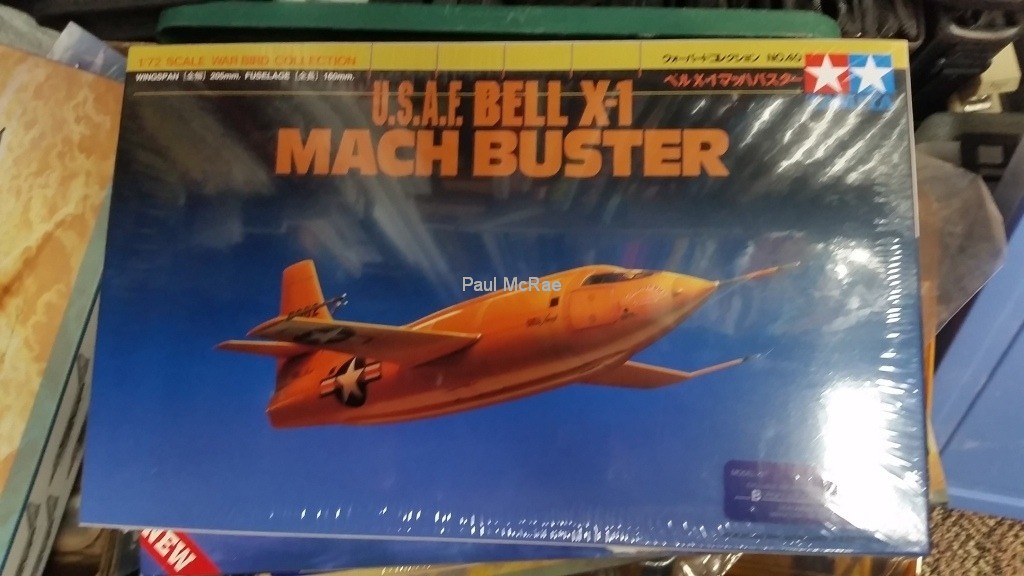
Tamiya 1/72 Bell X-1 Glamorous Glennis
The Bell X-1 was made famous by ace test pilot Chuck Yeager, who became the first to break the sound barrier on October 14, 1947. Yeager’s X-1, dubbed “Glamorous Glennis” after his wife, was powered by an ethyl alcohol liquid oxygen ozider engine.
The Tamiya kit comes with the option to build it with one half of the fuselage transparent, displaying the internal cockpit, rocket engine and fuel tanks. In general, fit on this kit is very good, thought the transparent fuselage is not perfectly symmetrical with the non-transparent half. The X-1 is a very small craft, so there are lots of very small parts, especially the landing gear.
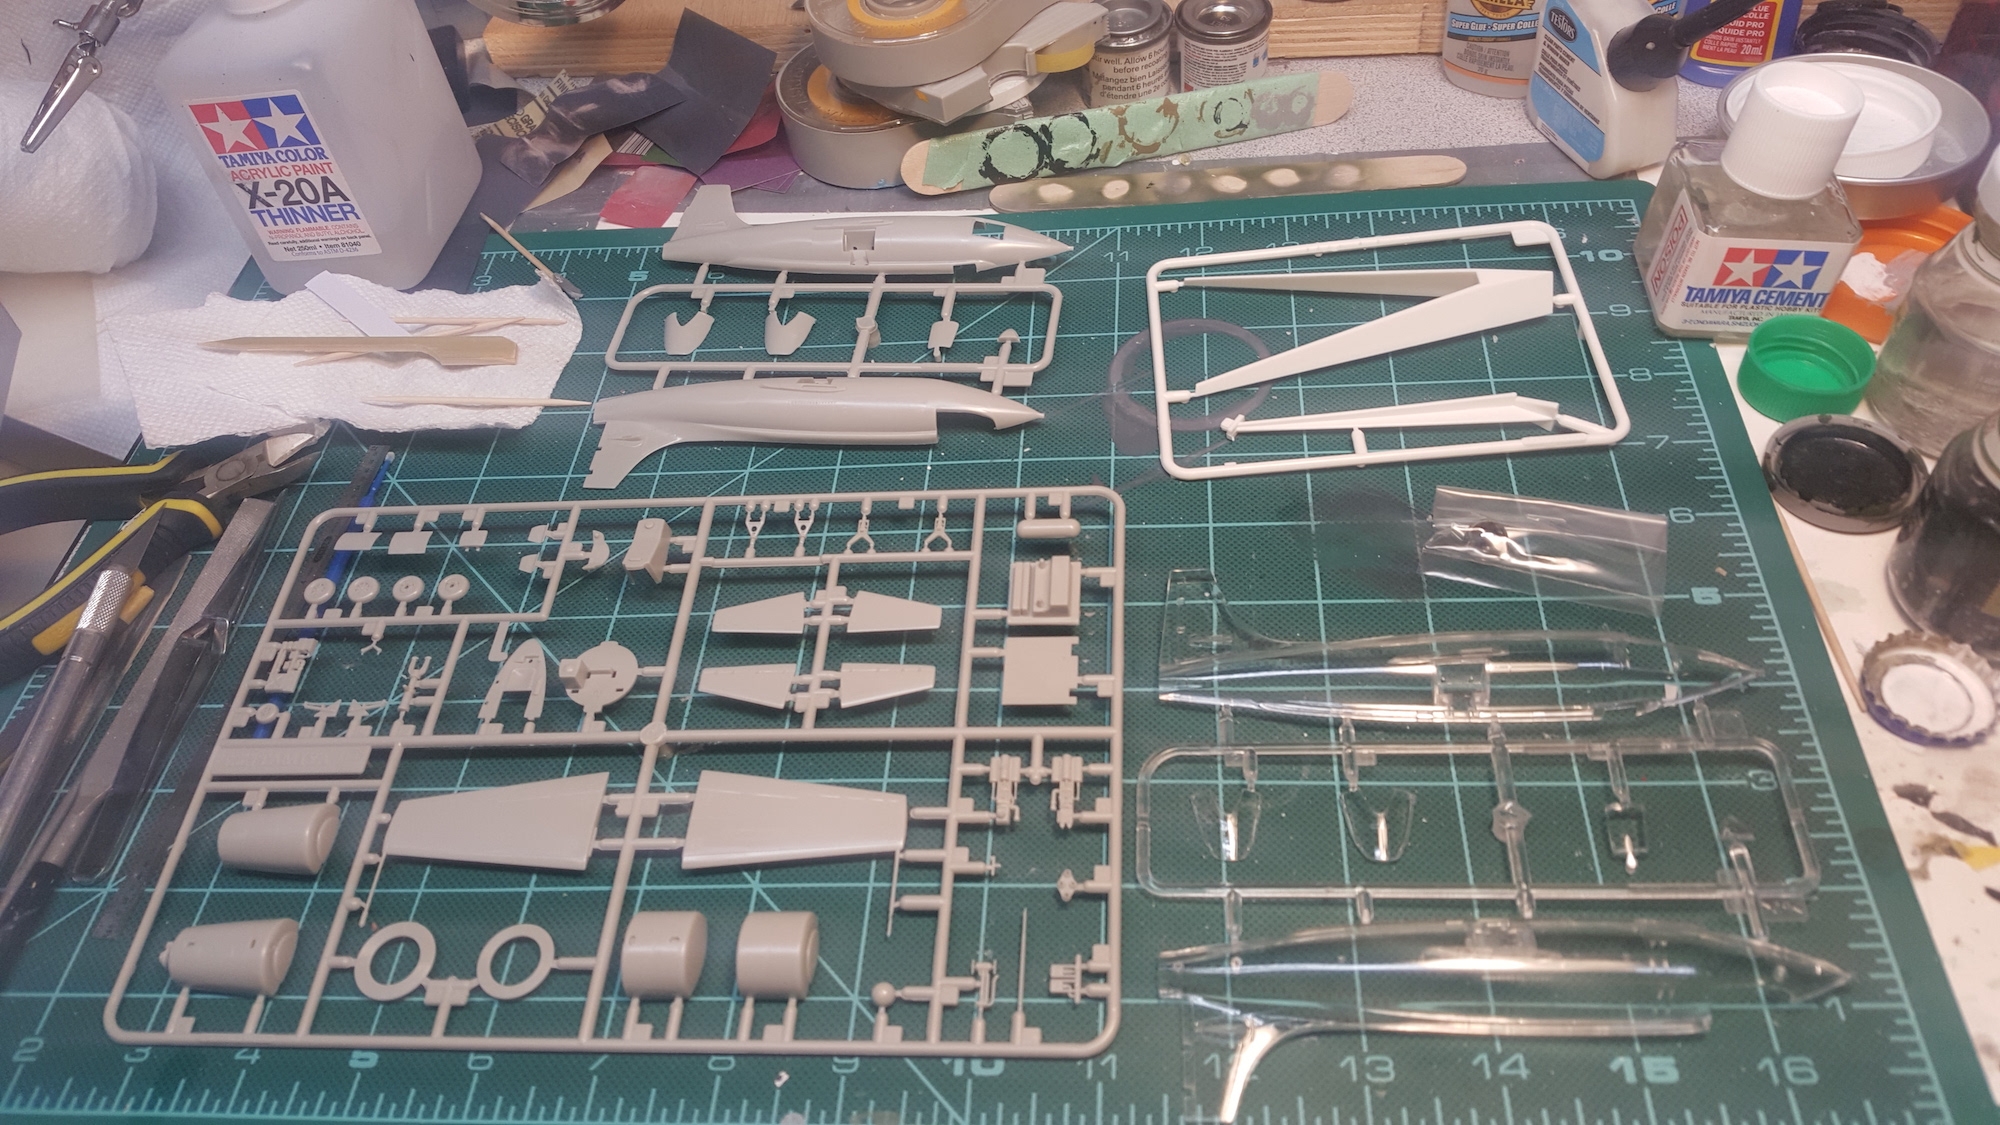
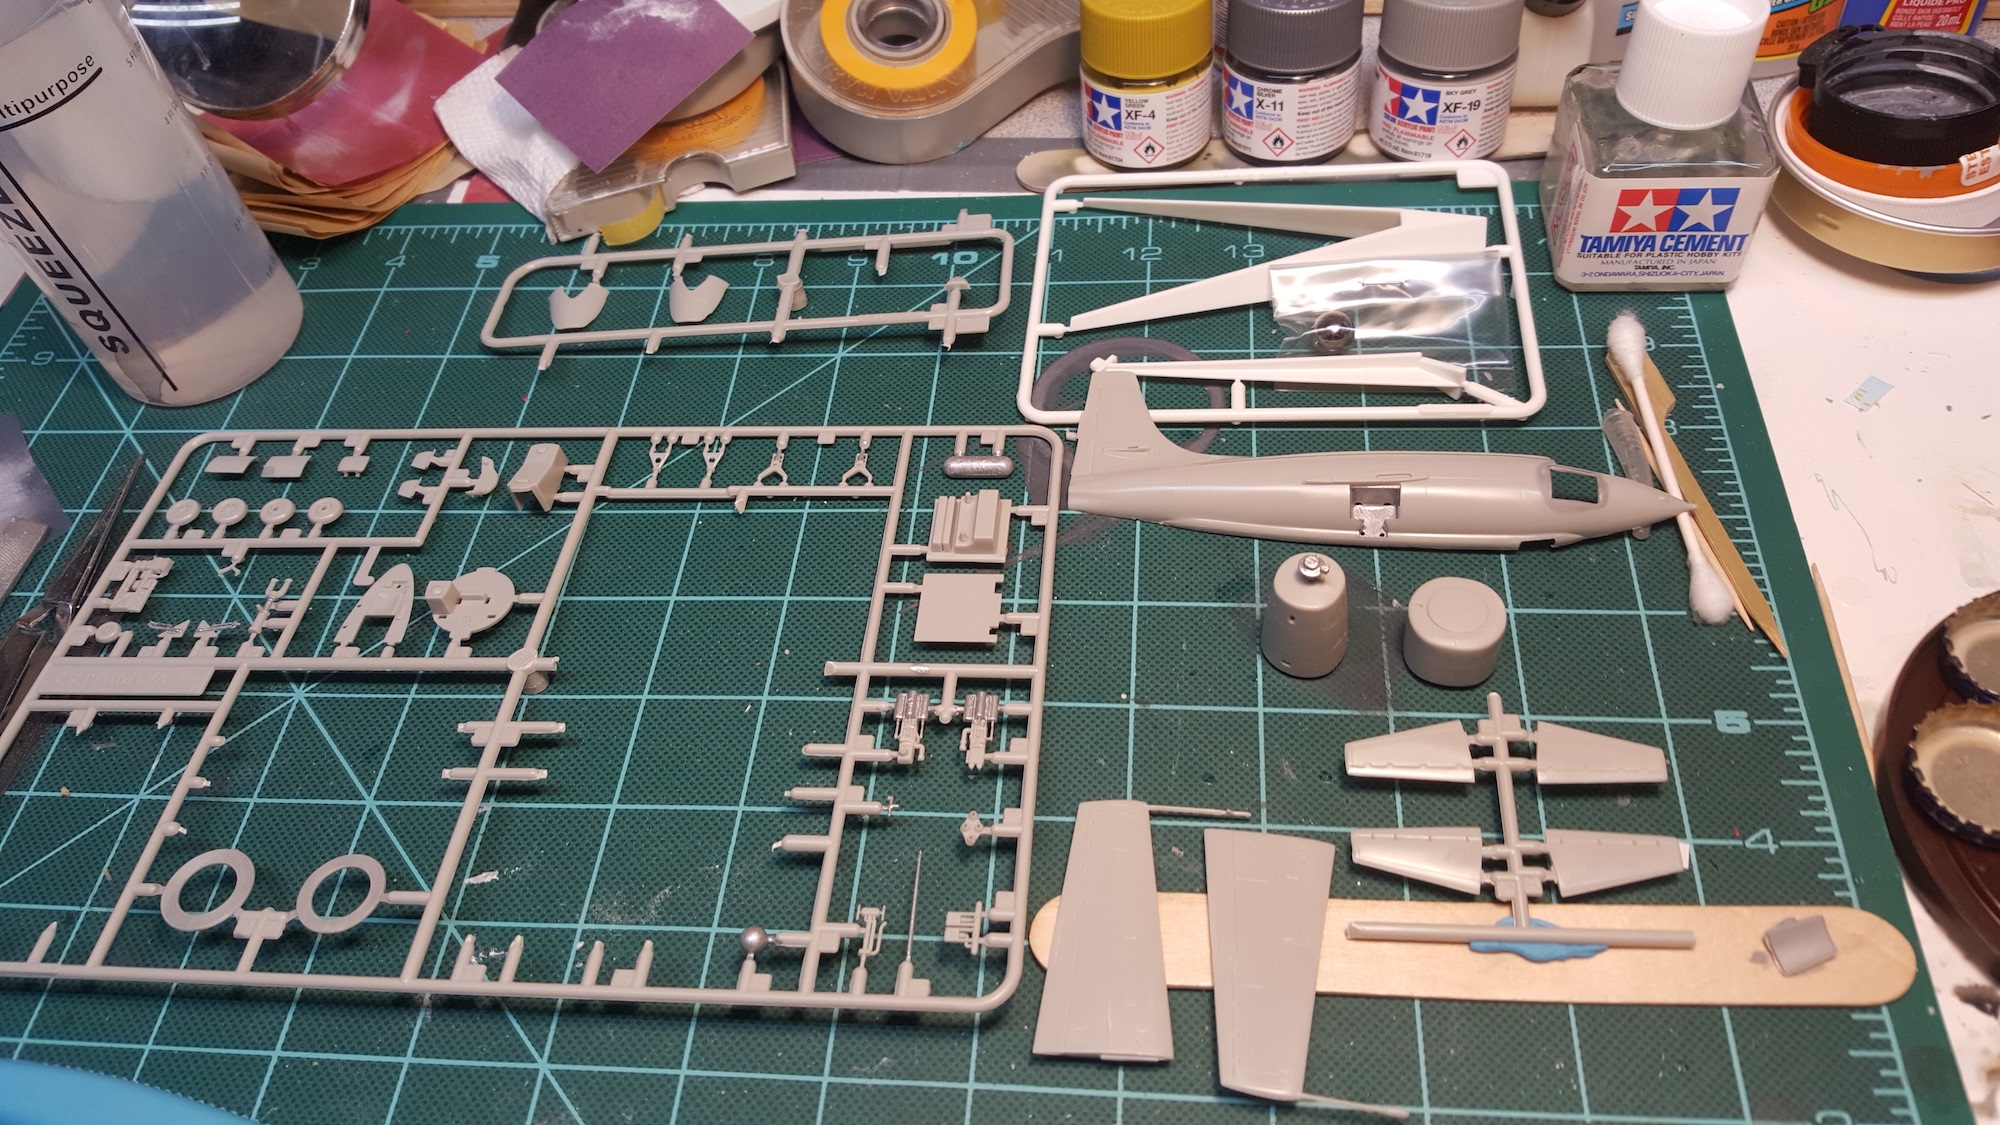
The parts come on two main sprues with an additional sprue for the transparent parts, which include 2 fuselage halves and two canopy variations.
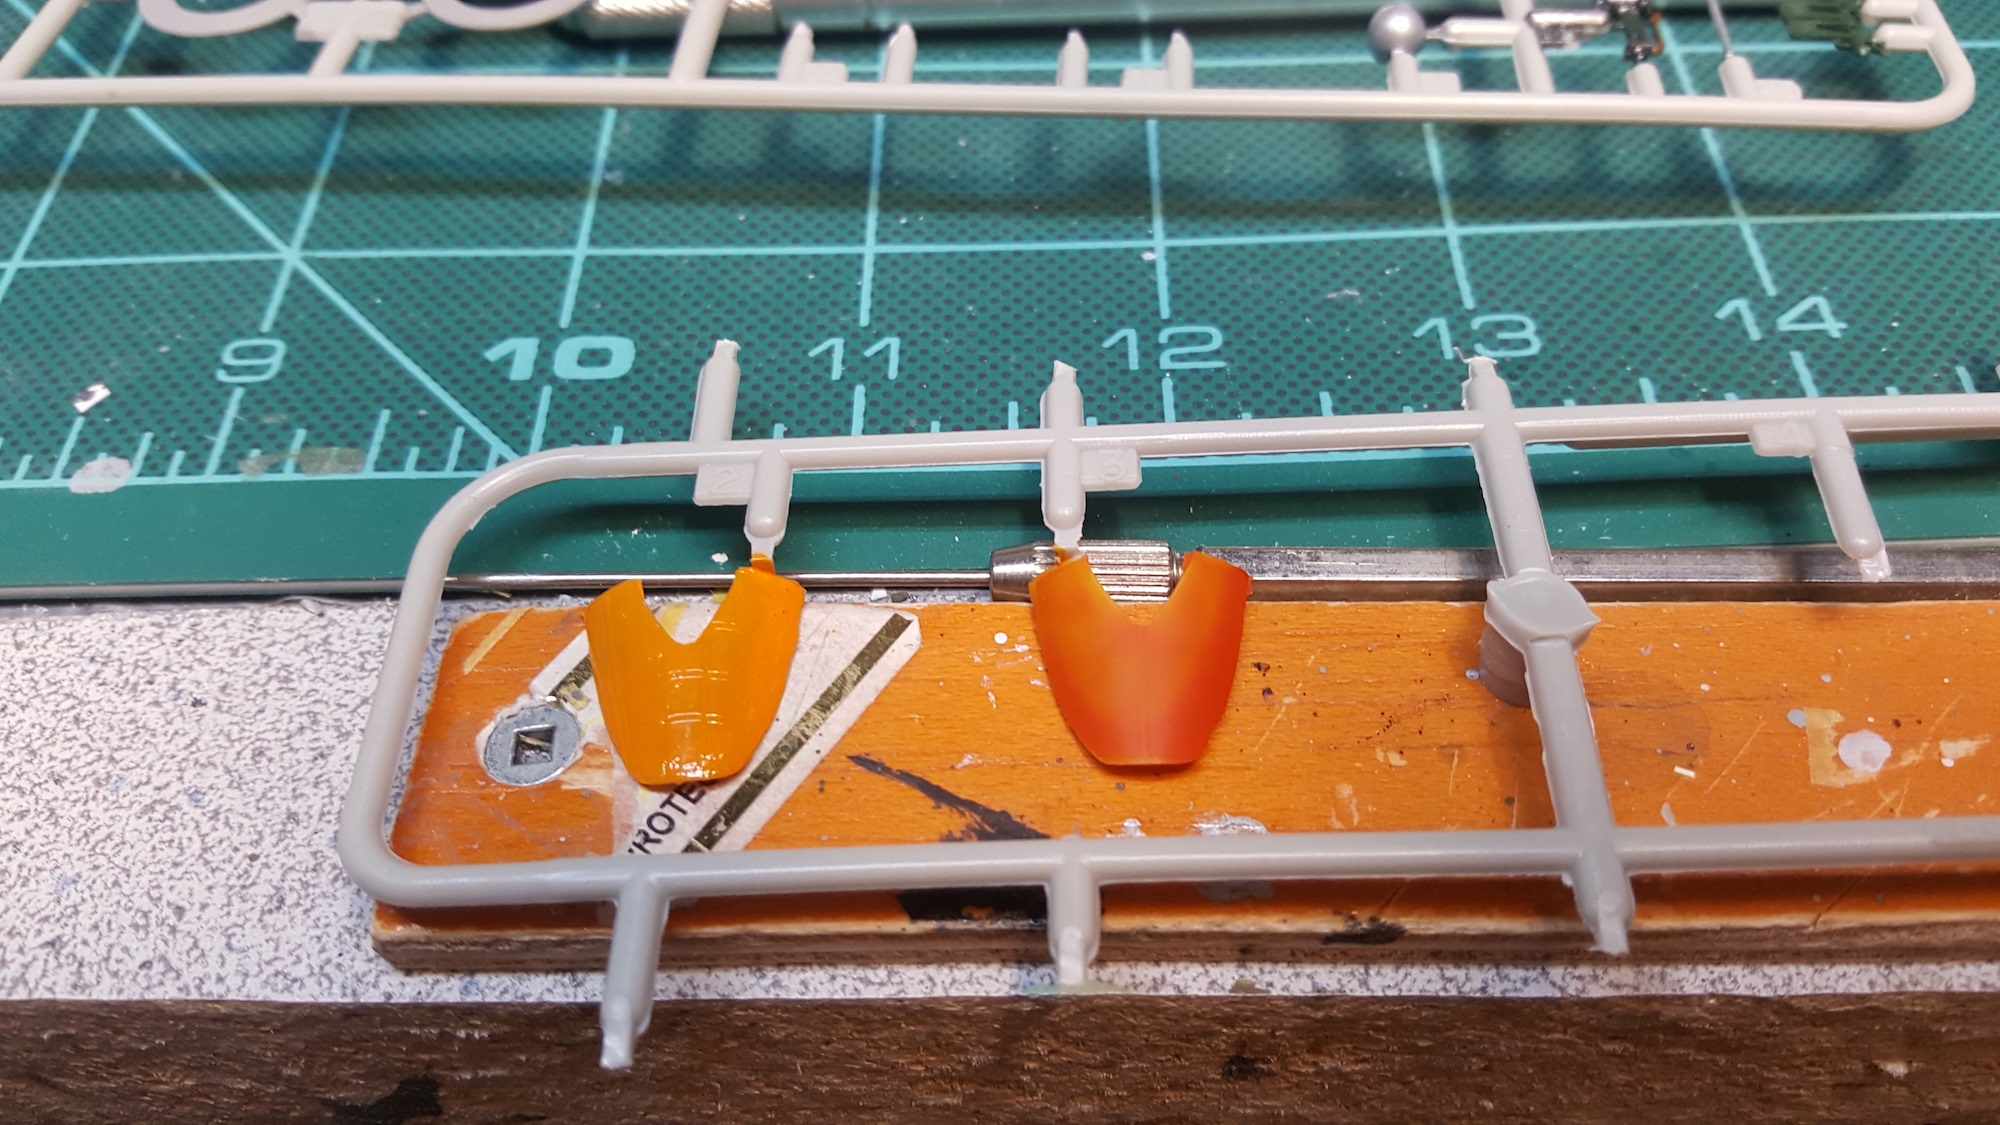
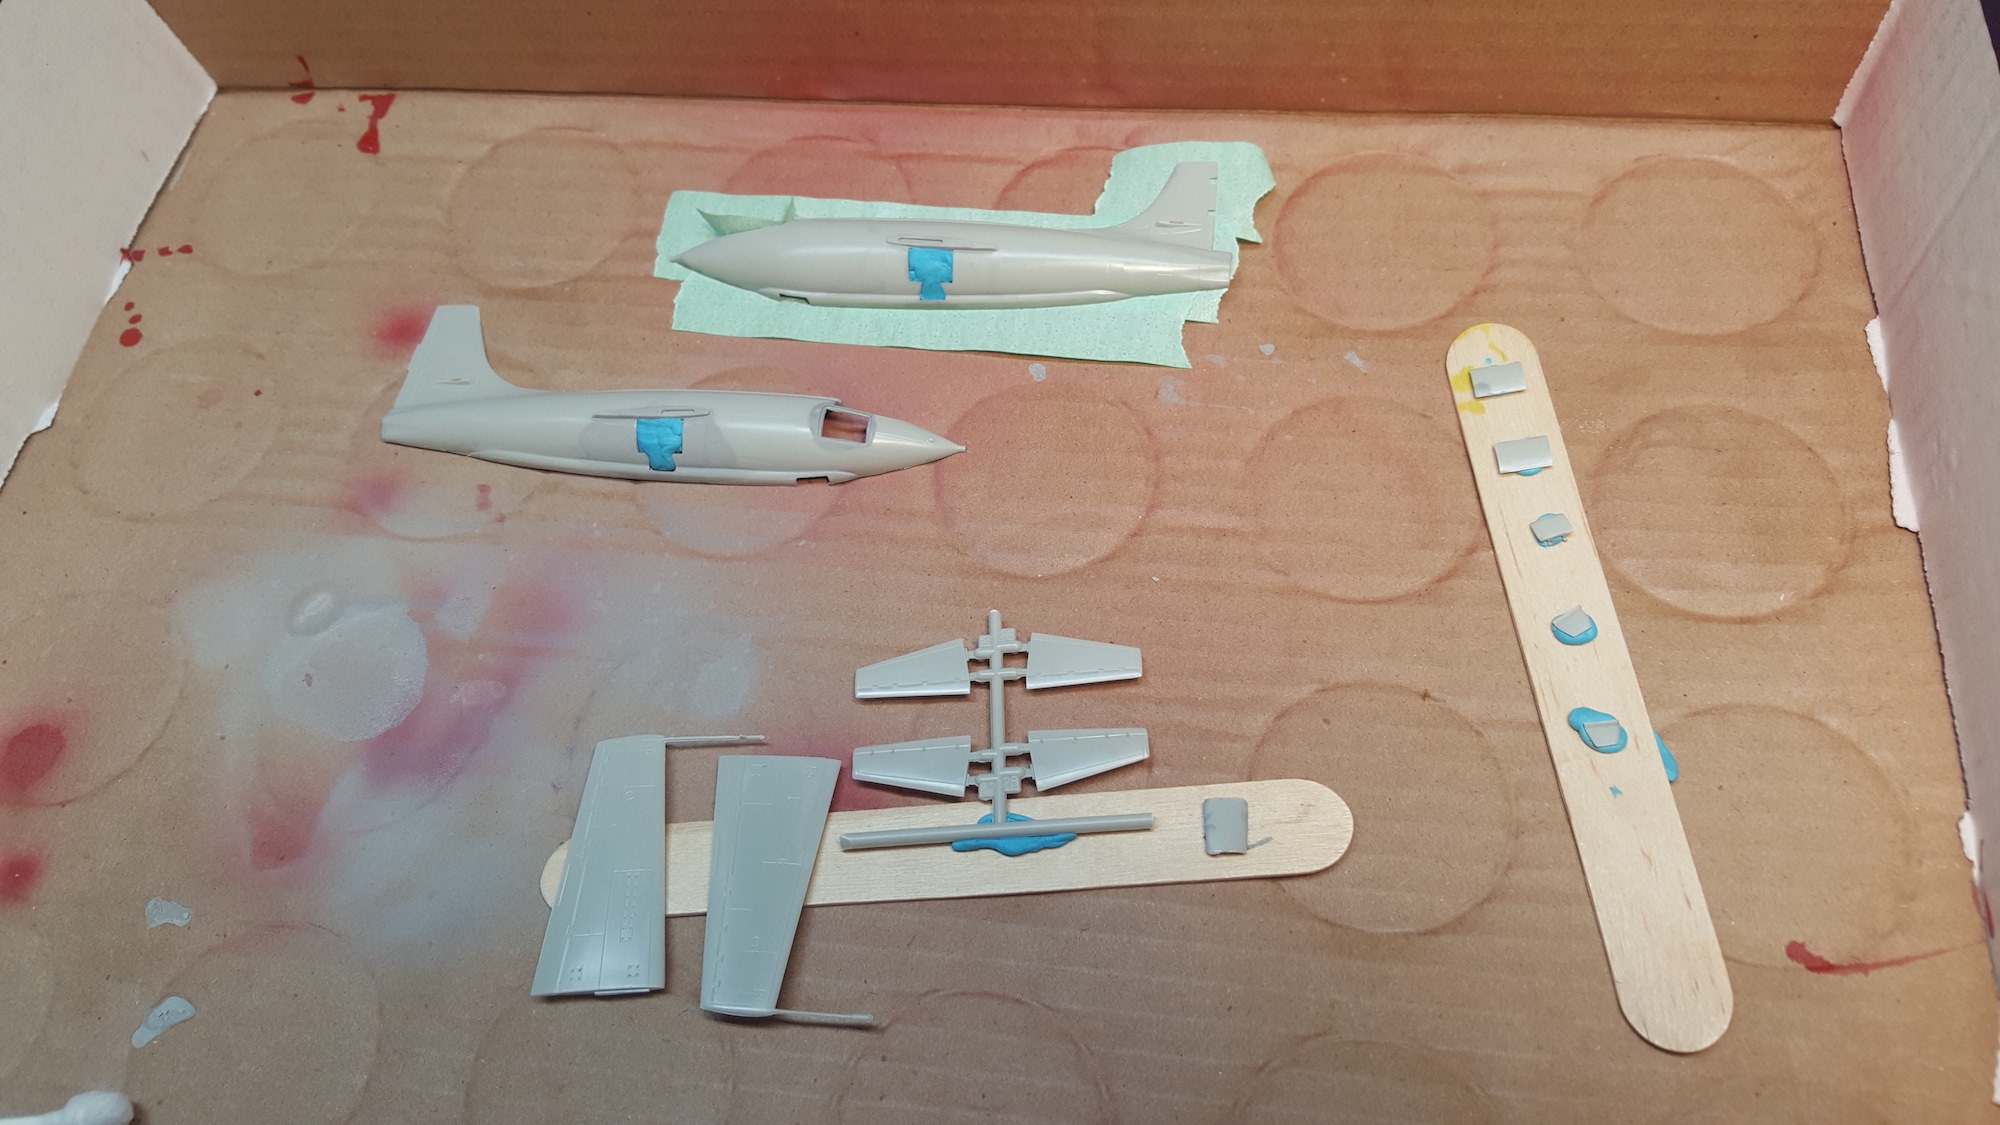
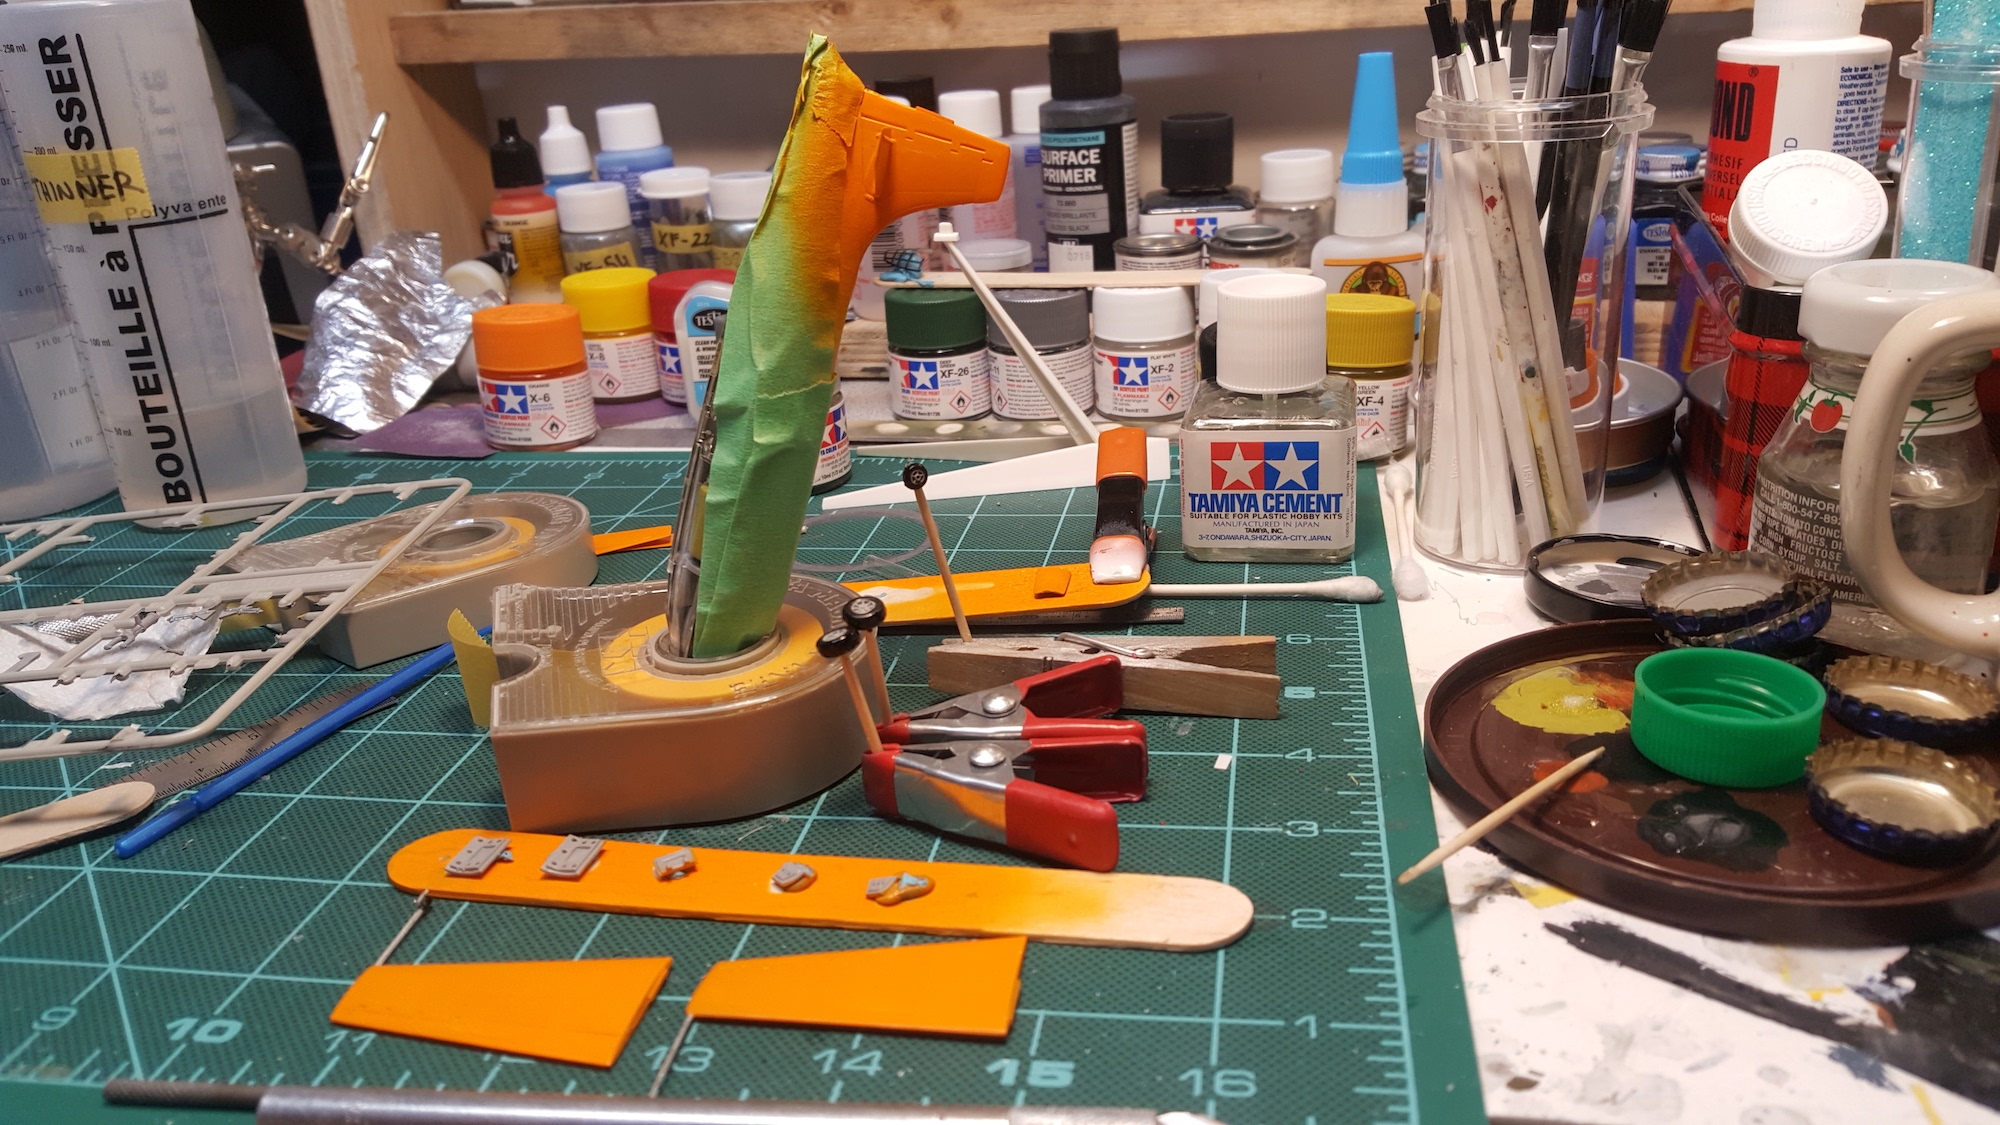
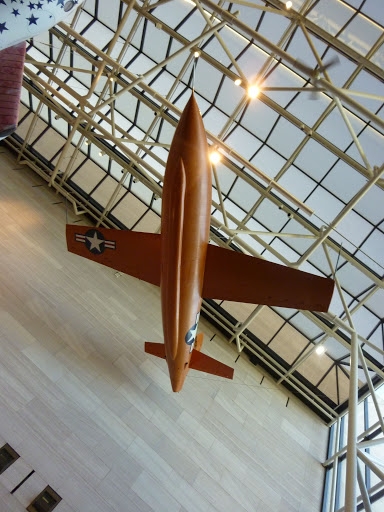
I started with prepping the parts that would be airbrushed with the fuselage color. I tested out Tamiya Orange X-6 and Vallejo Naranja Orange 731.083. The Tamiya color came out looking more like the actual aircraft (seen here during our visit to the Smithsonian National Air and Space Museum).
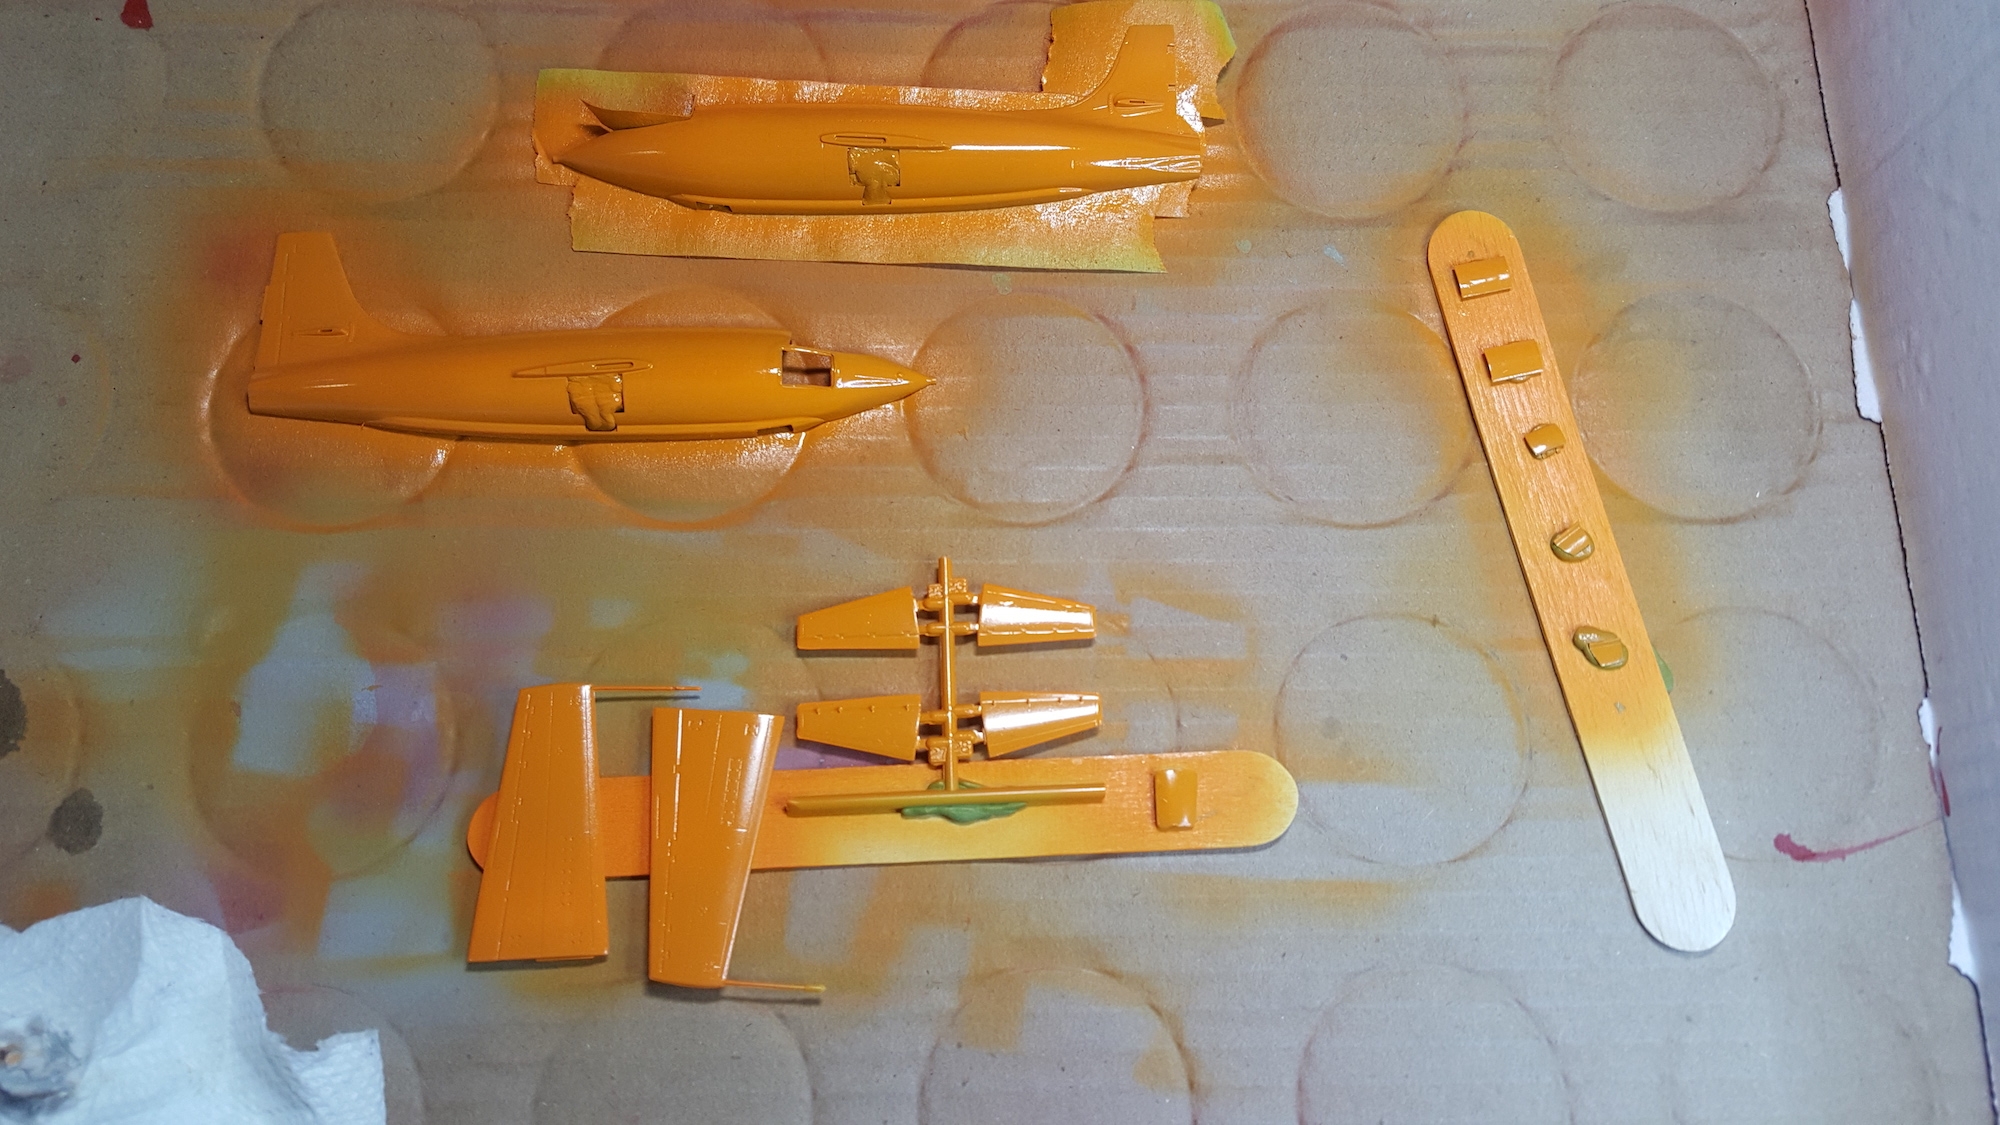
It took several coats to get good coverage.
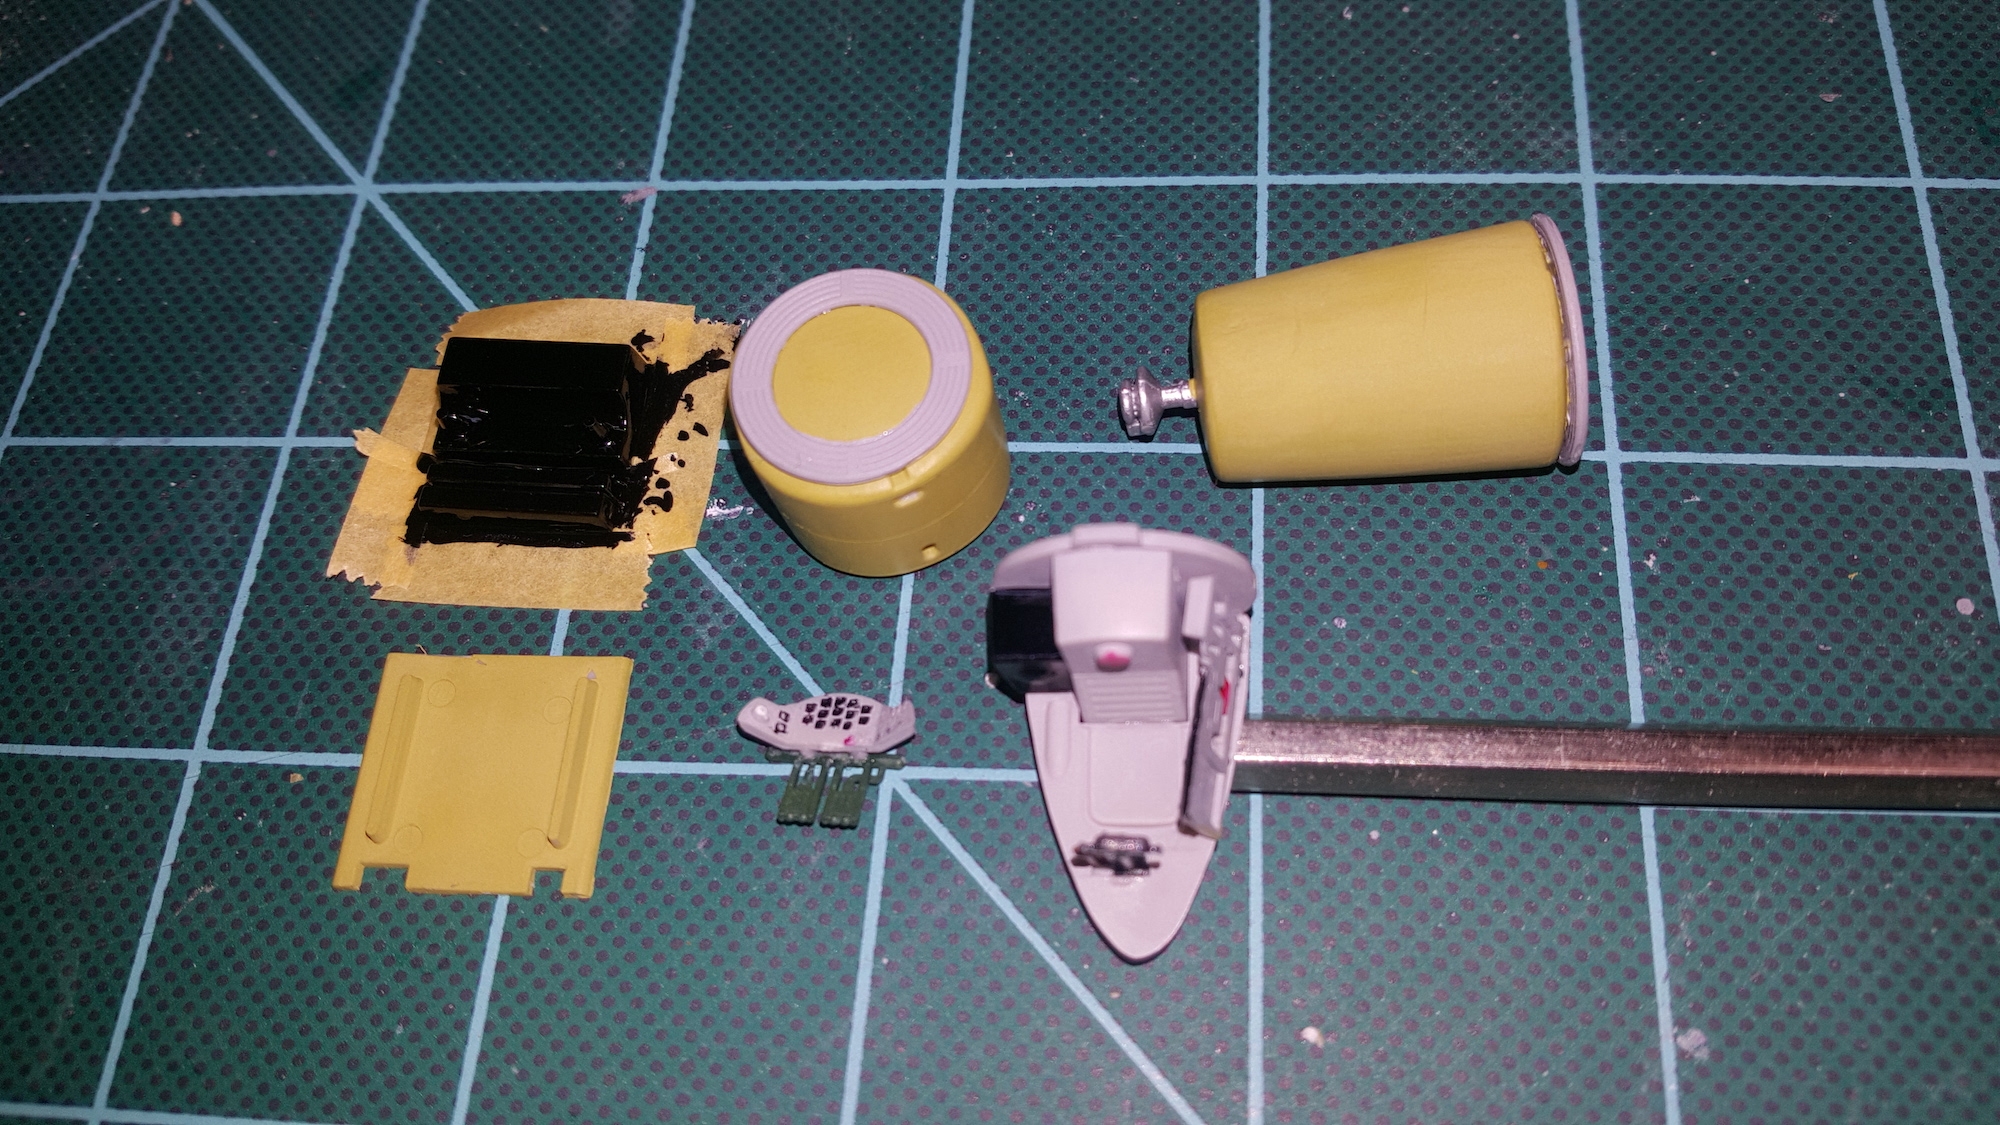
Here are the assembled cockpit and internal fuel tanks. The tanks are painted Tamiya XF-4 Yellow Green. I put some weight in the forward tank to make sure the tail didn’t drag.
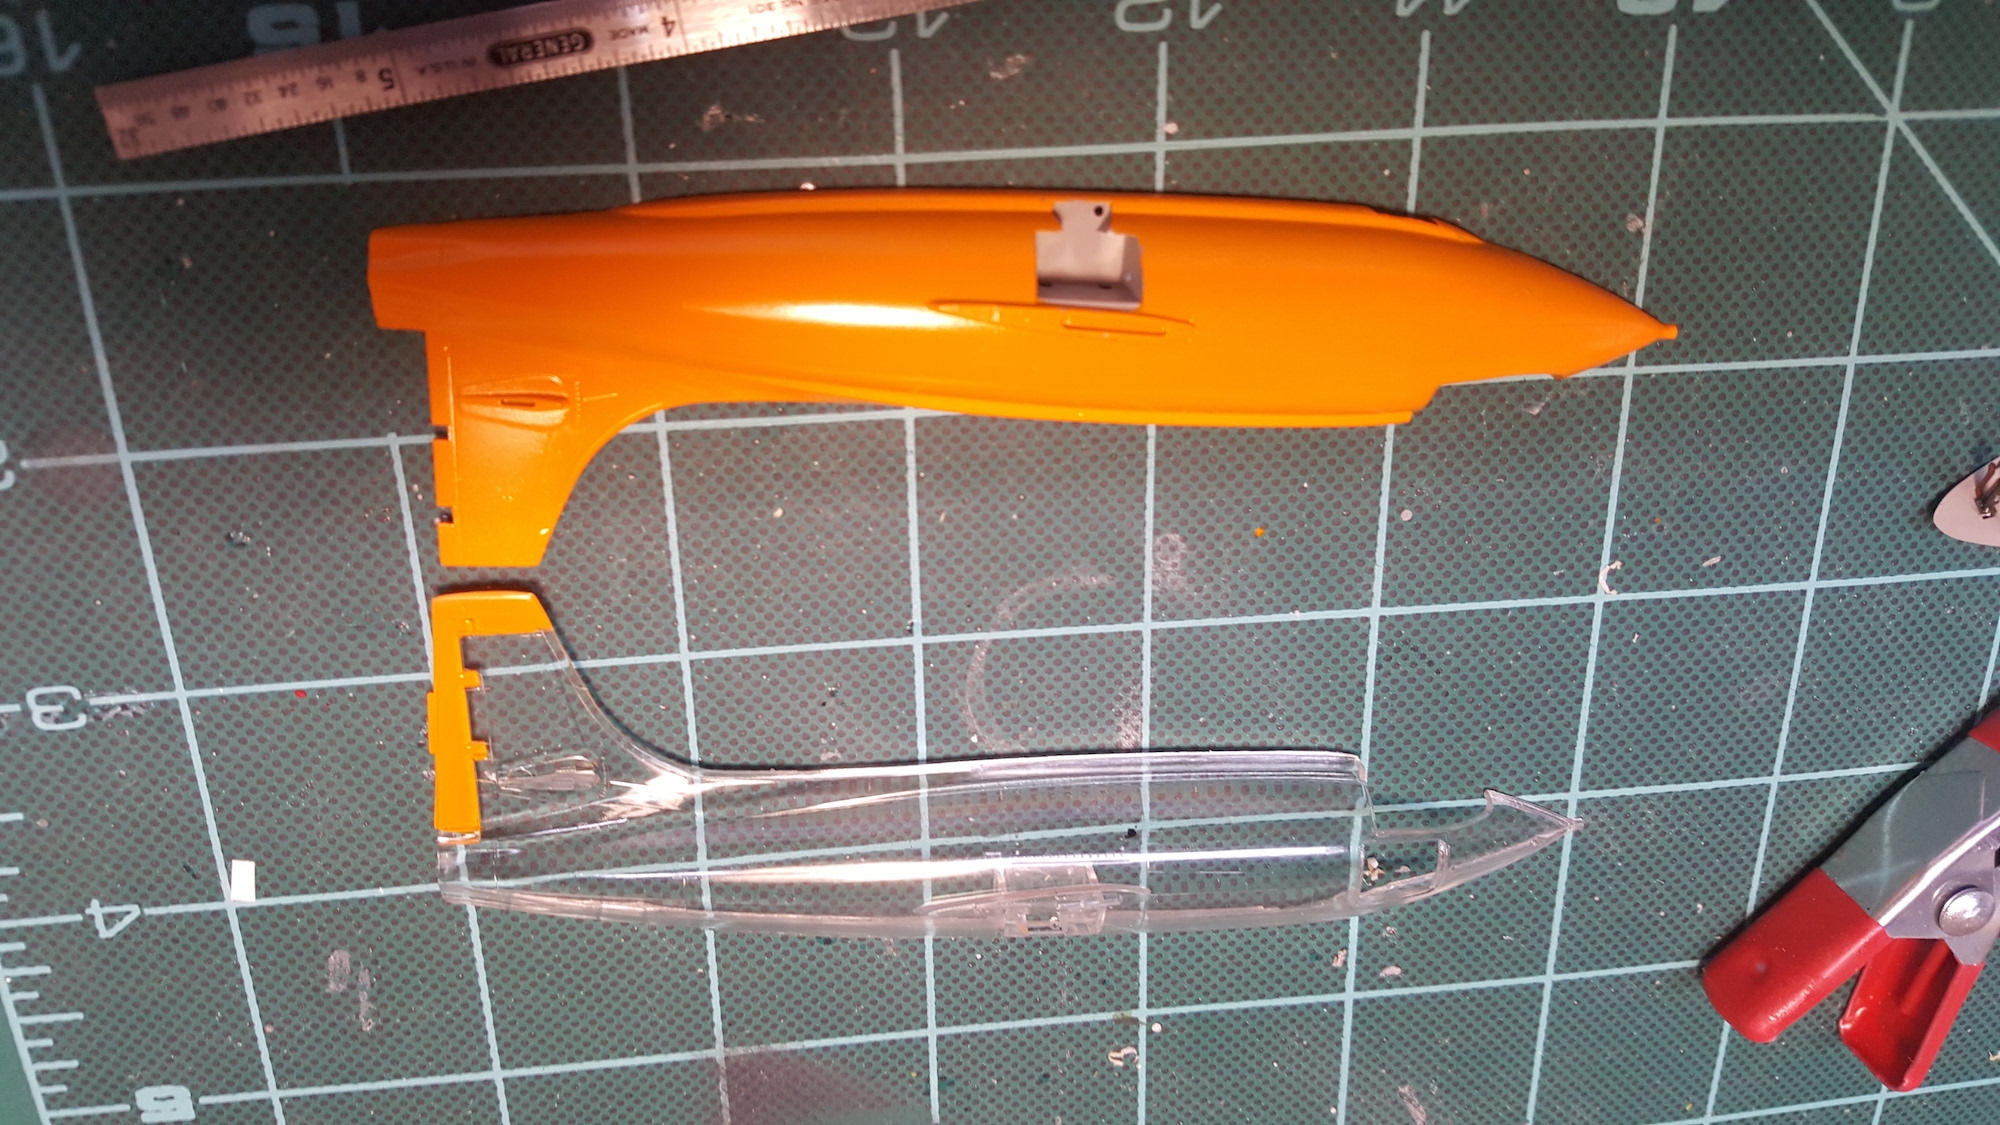
An interesting choice presents itself at this stage. The kit provides two transparent and two non-transparent fuselage halves. However, only one of the halves has the mounting grooves to glue the tanks, cockpit, etc. onto. Because most glues fog clear plastic and even the special “clear plastic glue” will show as residue, I decided to glue the parts onto the non-transparent half. This meant that the transparent half had to be the side with the “Glamorous Glennis” marking on it. But, really, there was no choice.
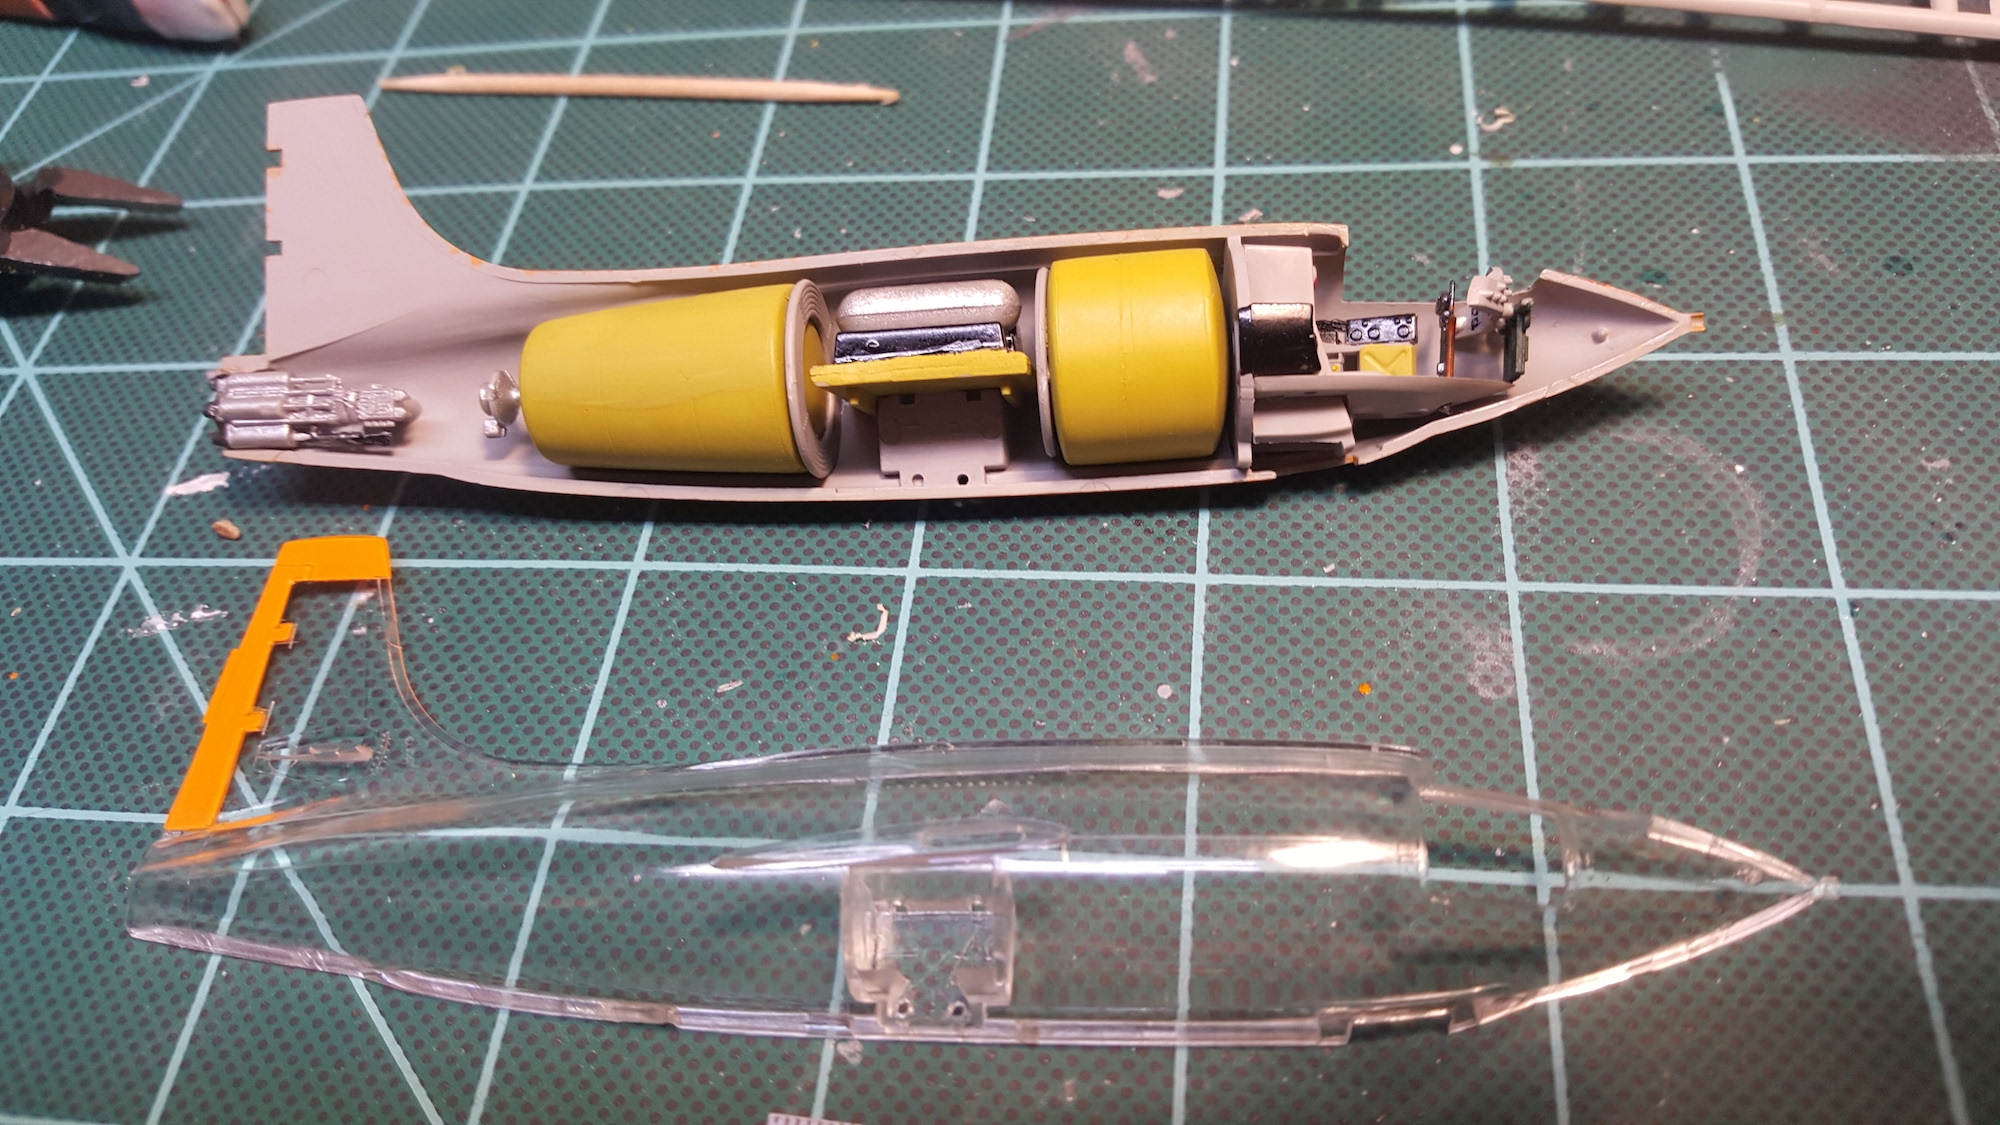
So here we can see the two fuselage halves ready to be glued together.
After I glued the halves together, I noticed exactly what I had feared. The Testors Clear Plastic glue showed up quite prominently on the clear rudder half of the fuselage. I decided to go back and airbrush the tail on the clear side as well.
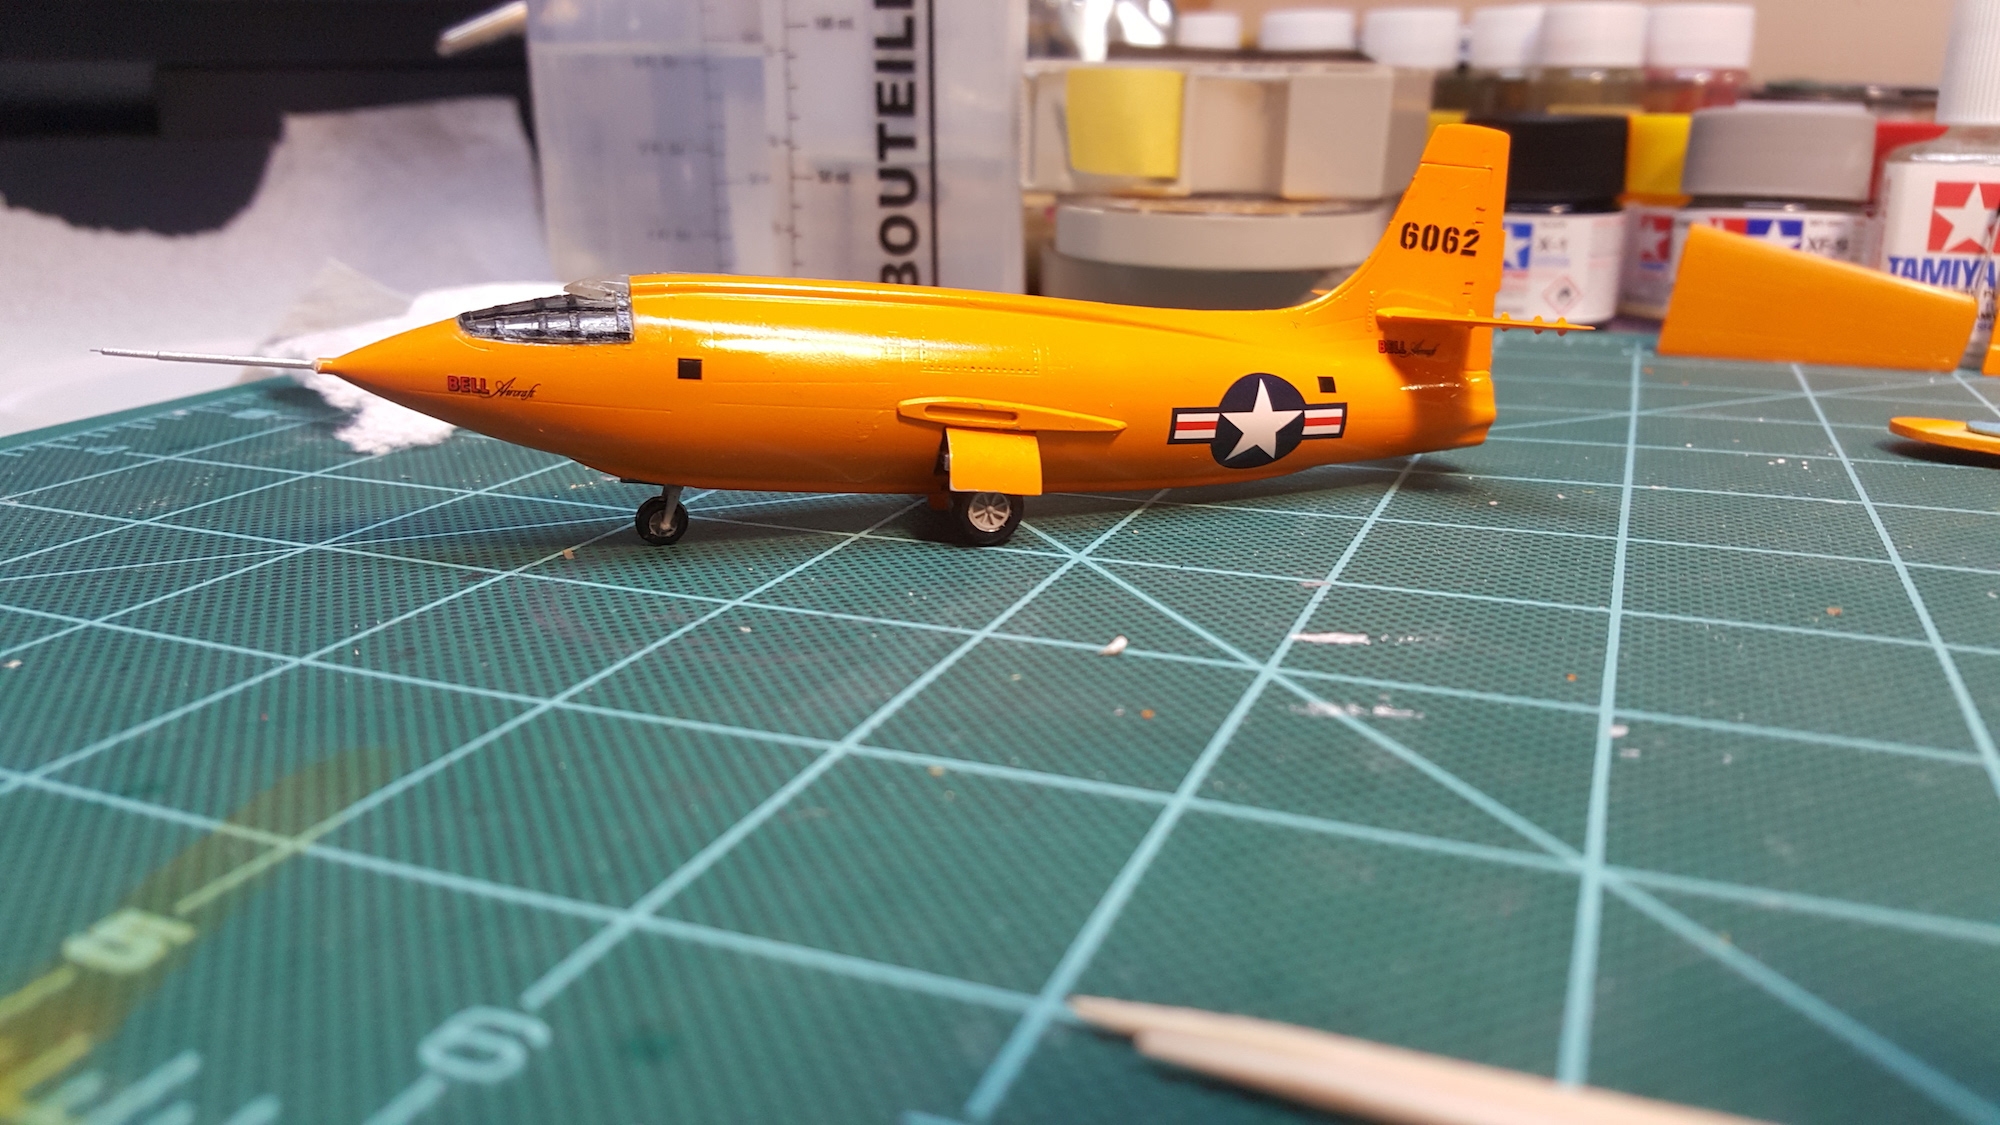
For the canopy, I used the masking tape method, thin strips of masking tape painted black. Added the landing gear before gluing on the wings to give myself more room to work with.
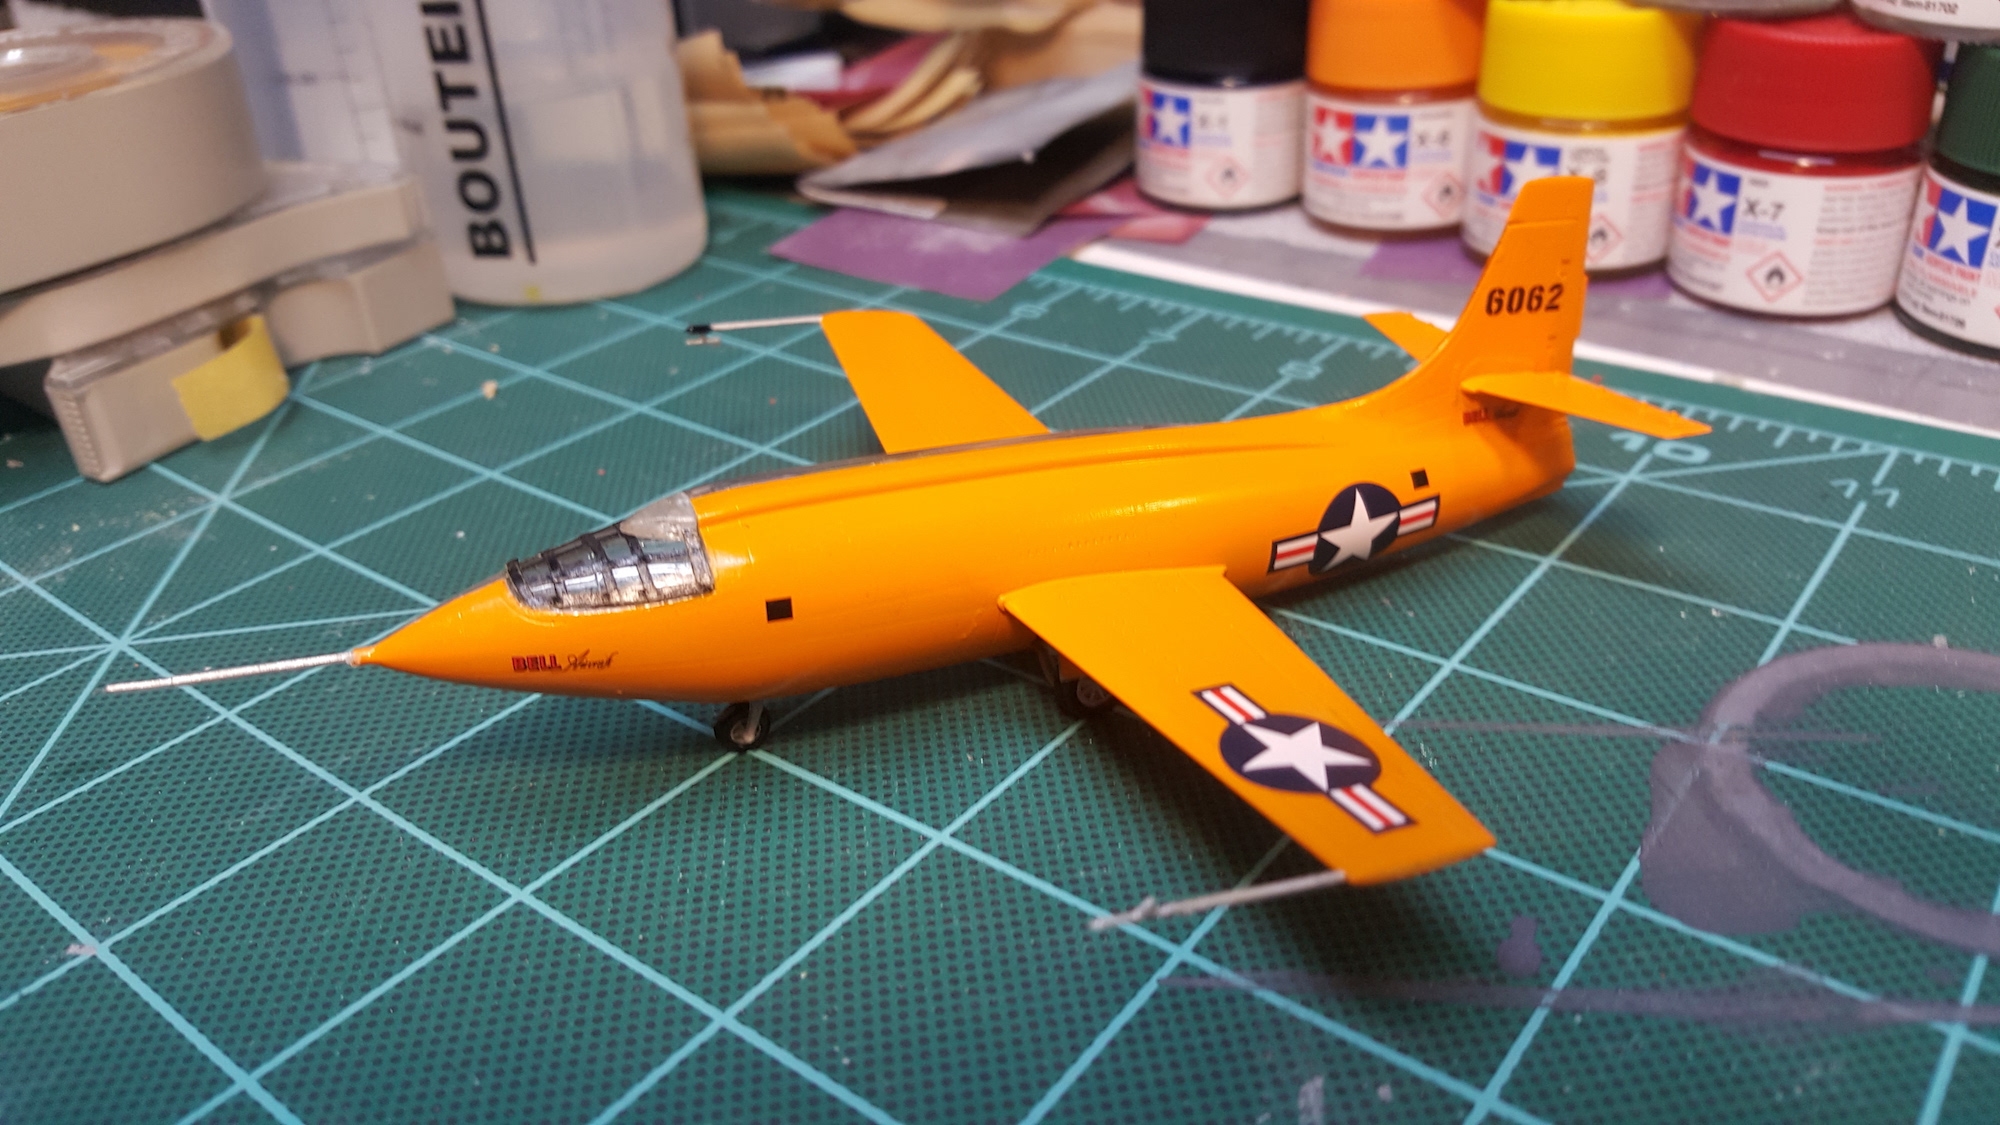
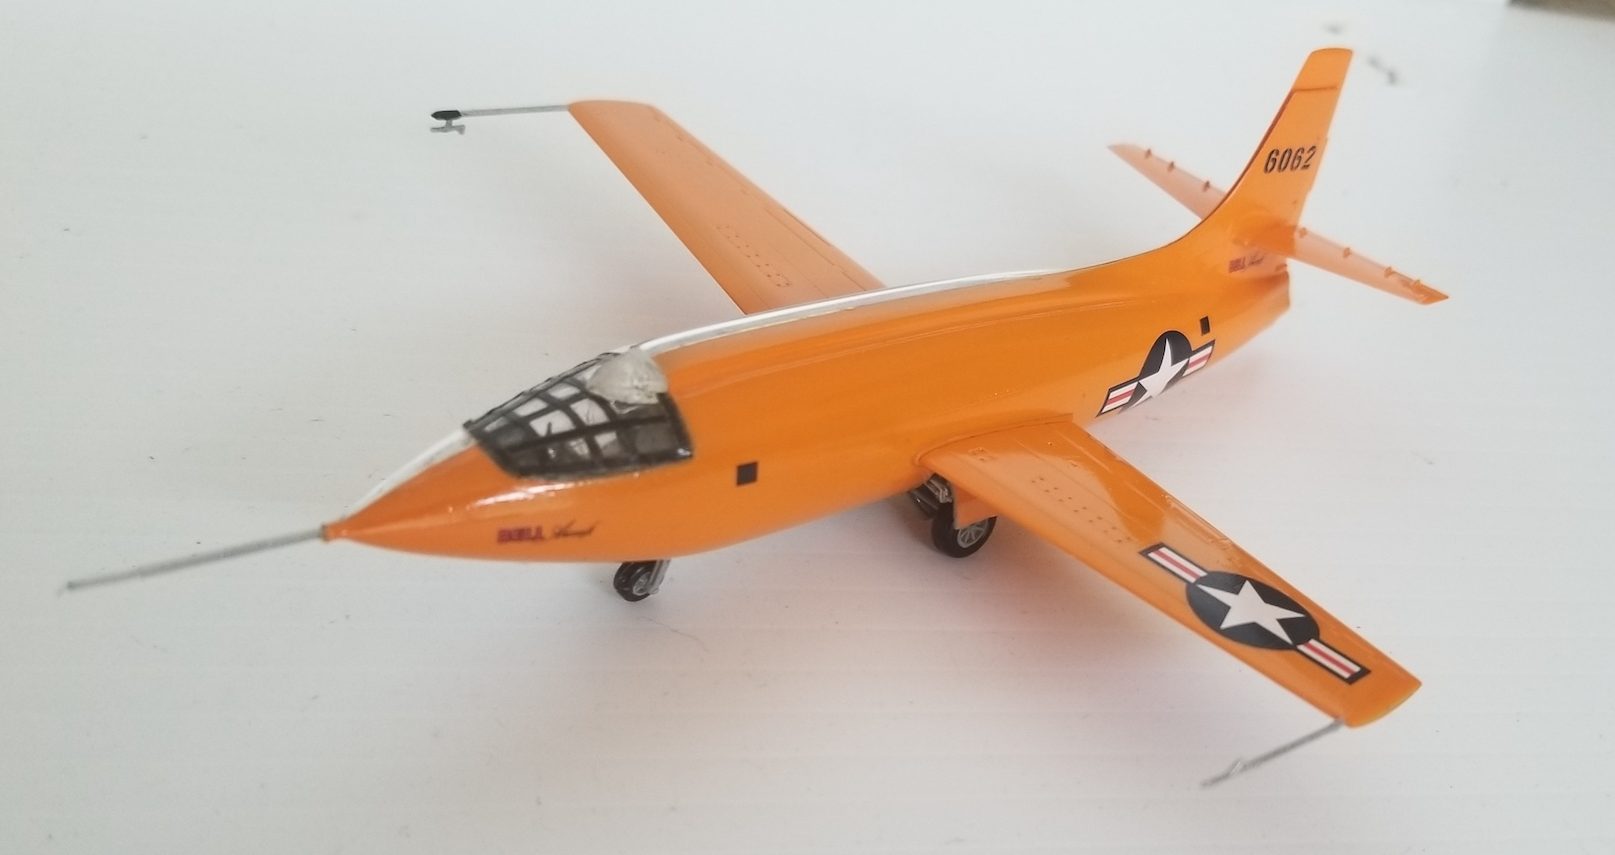
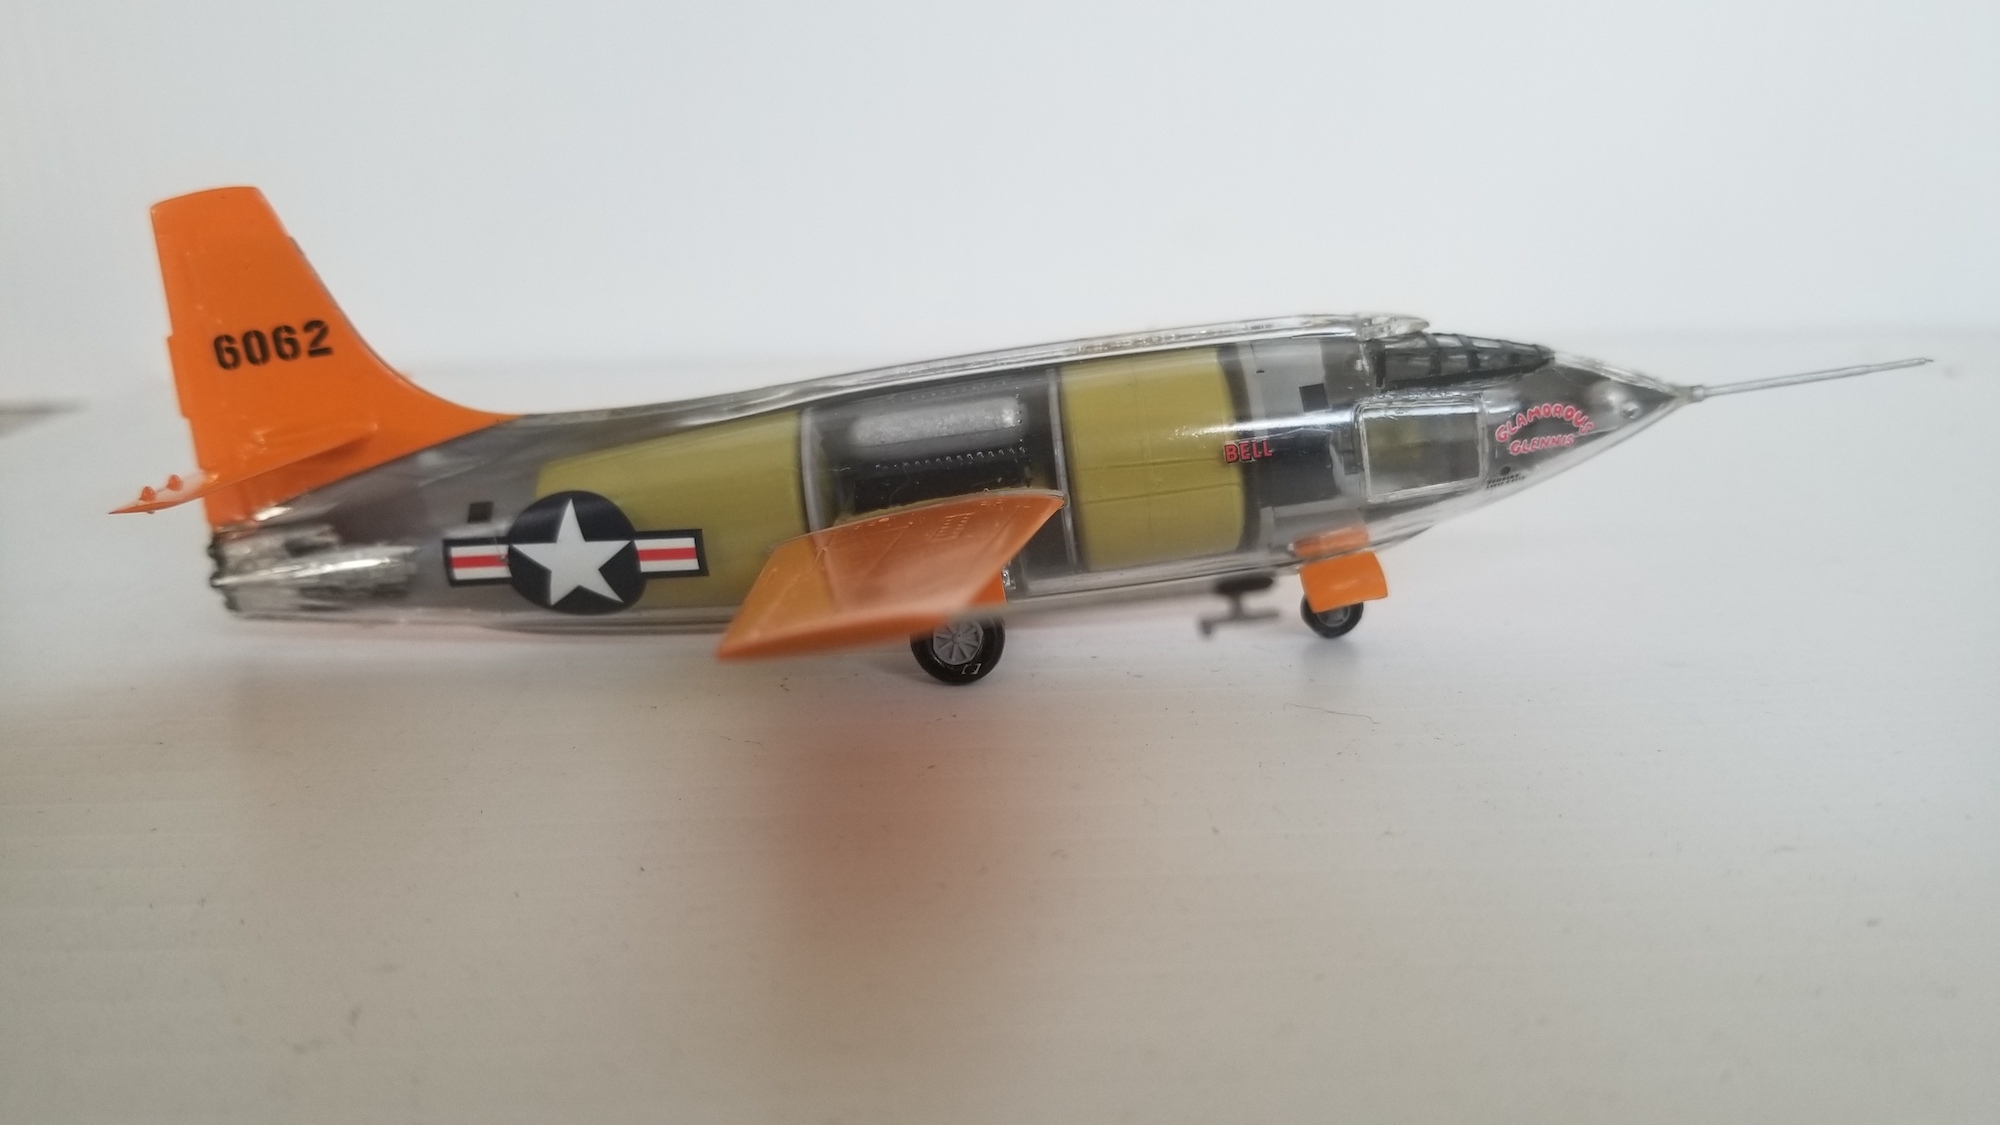
So here she is after adding decals. Coated the model with Future before applying the decals and after to seal them in.
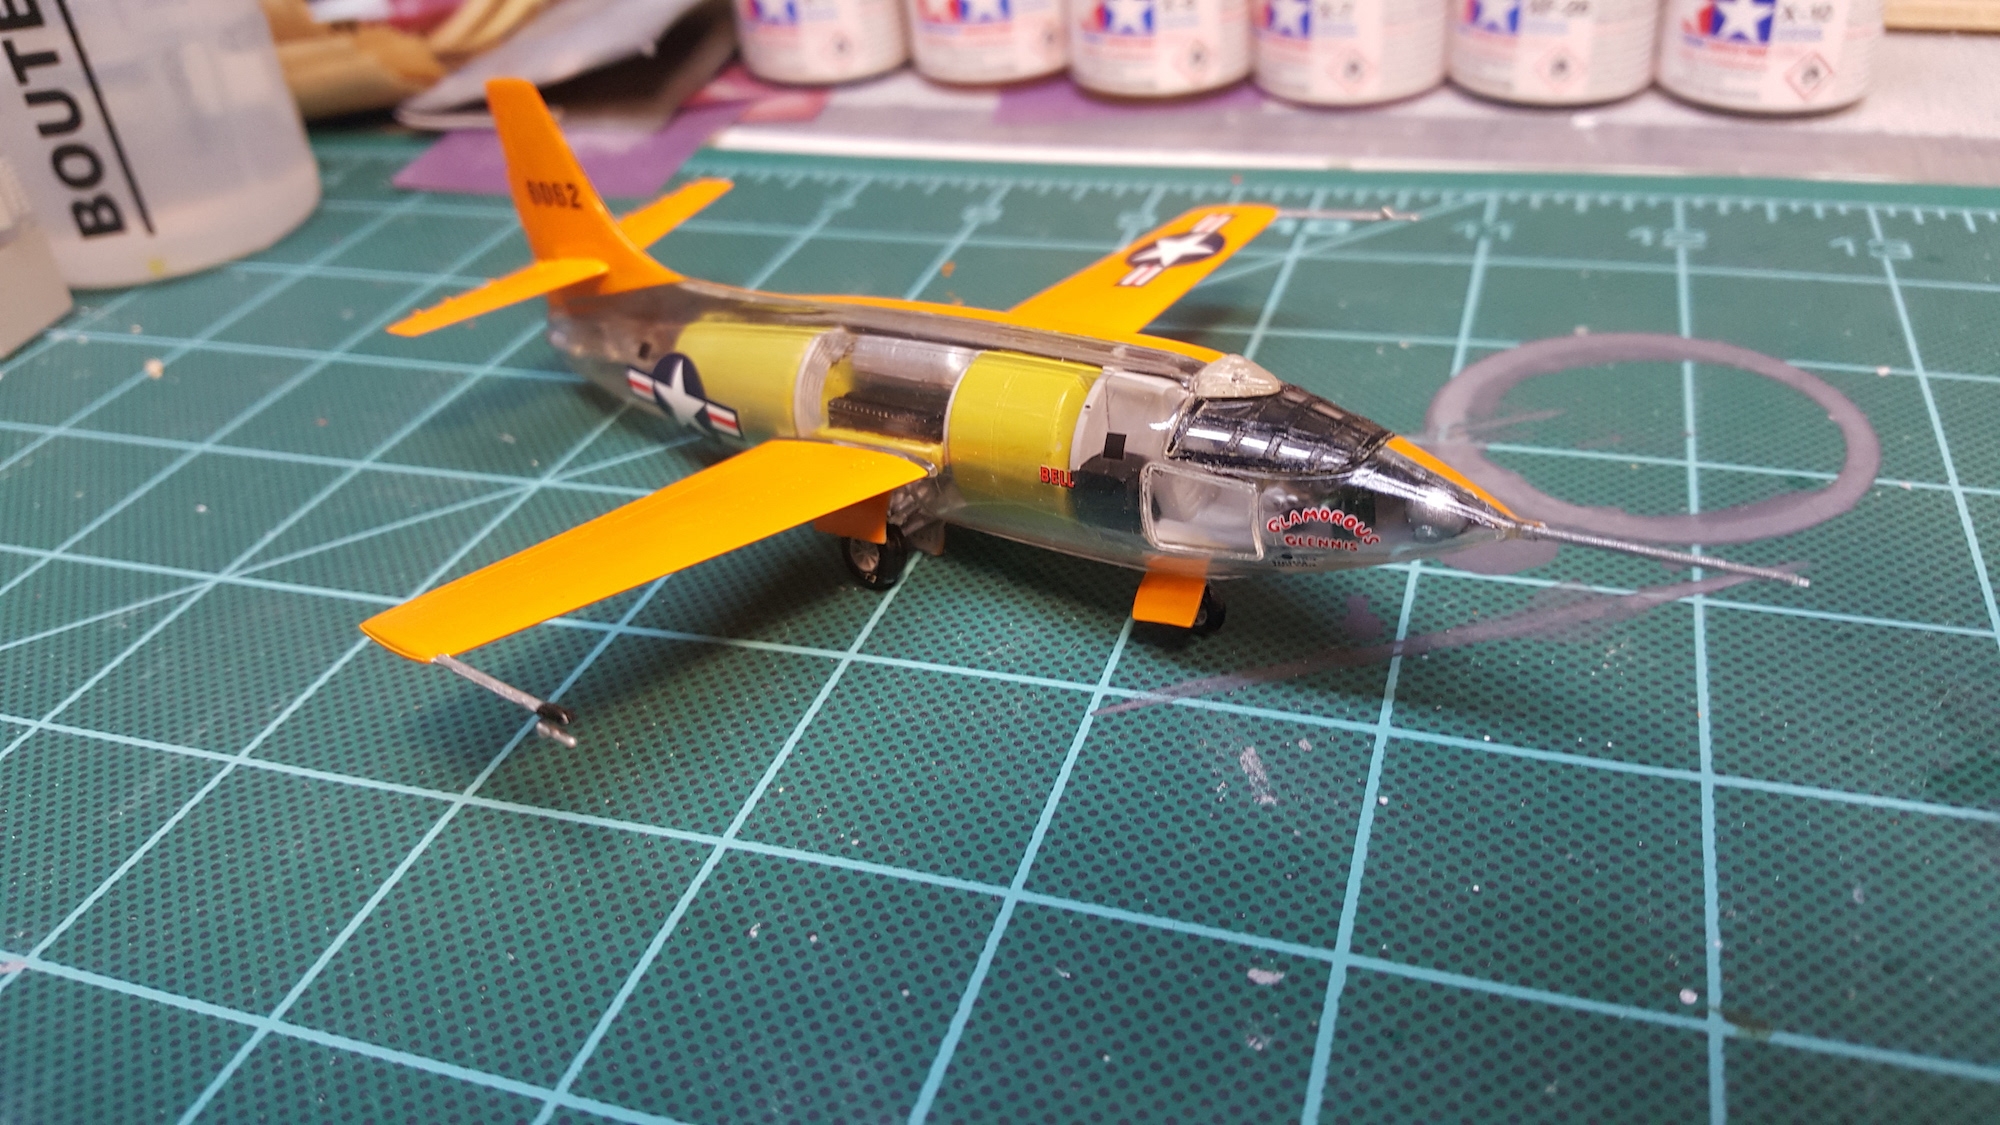
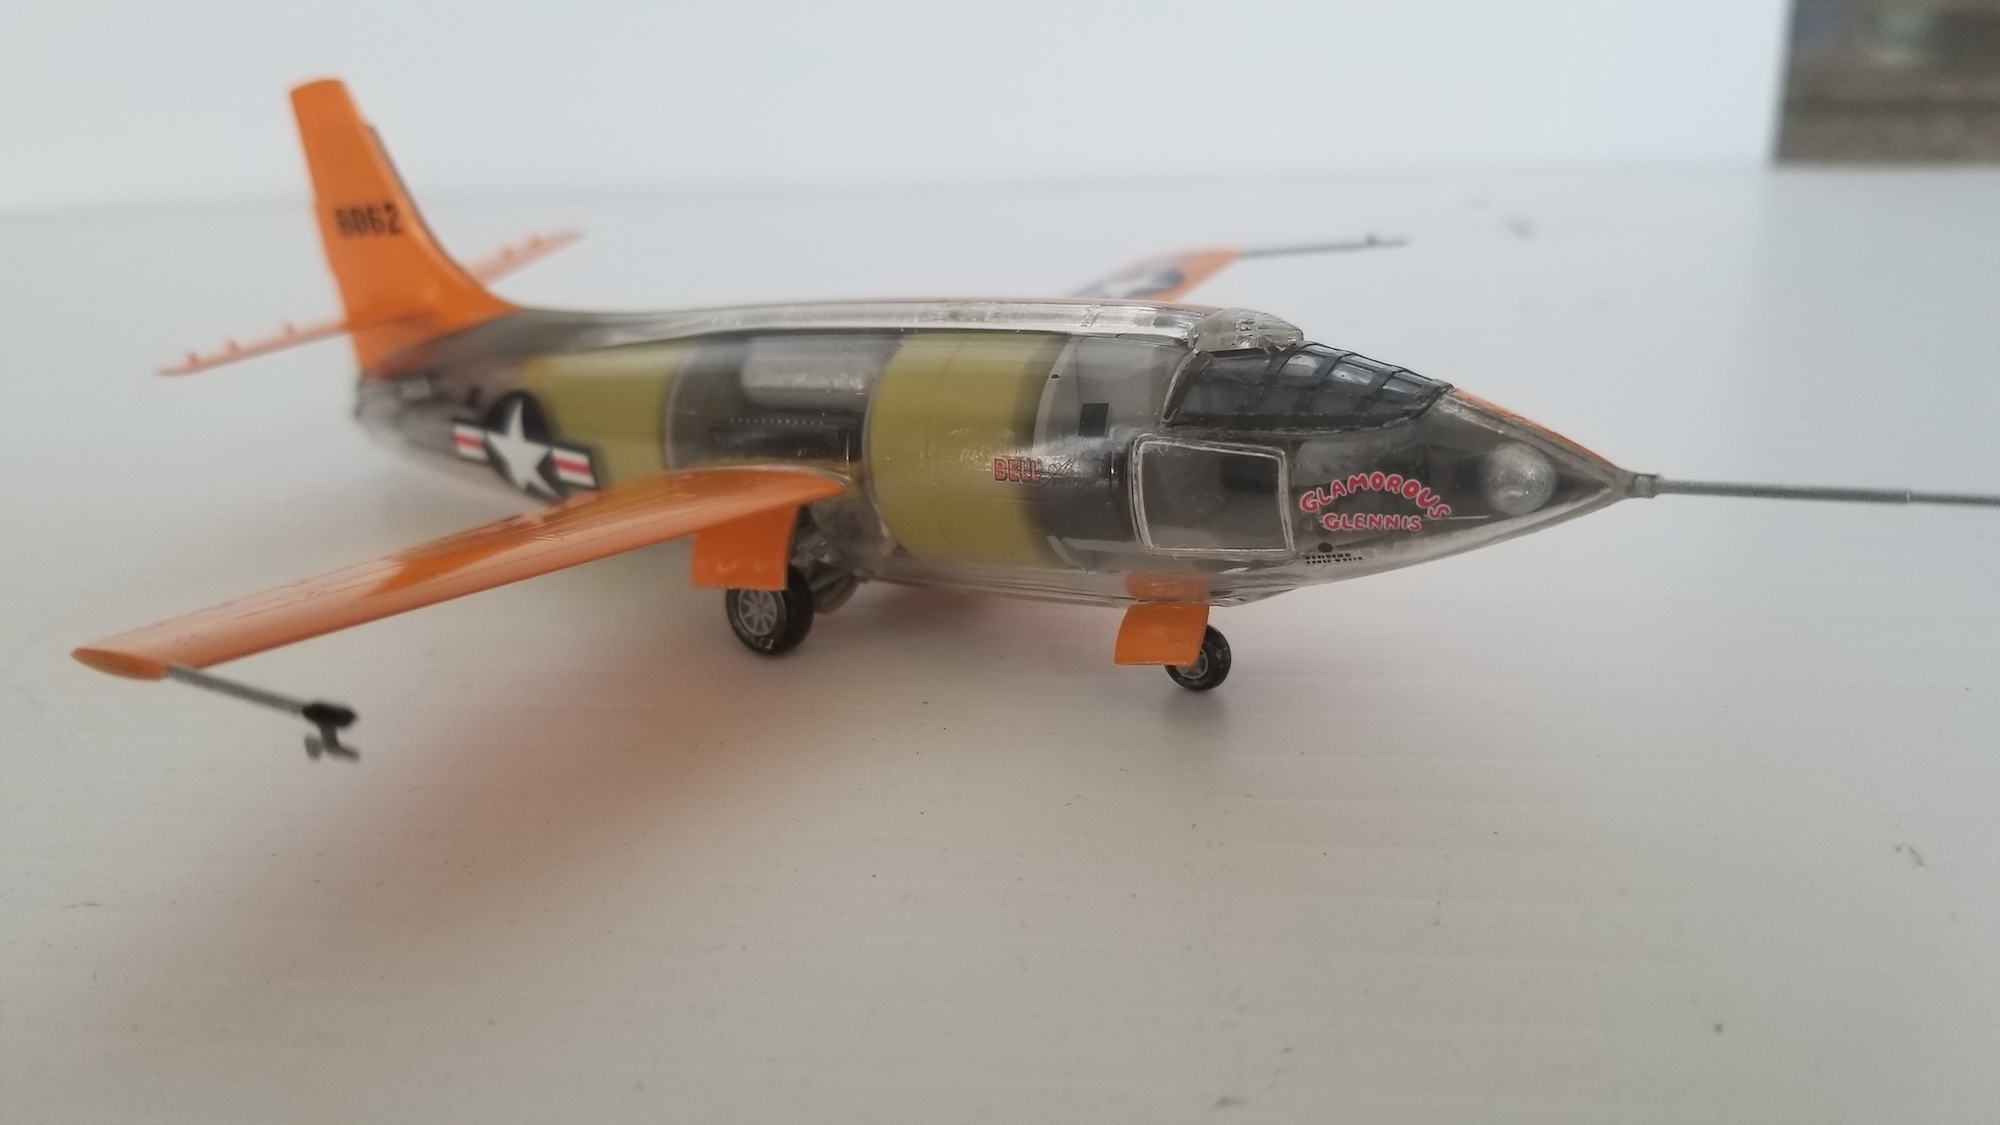
Here is the see-through side.
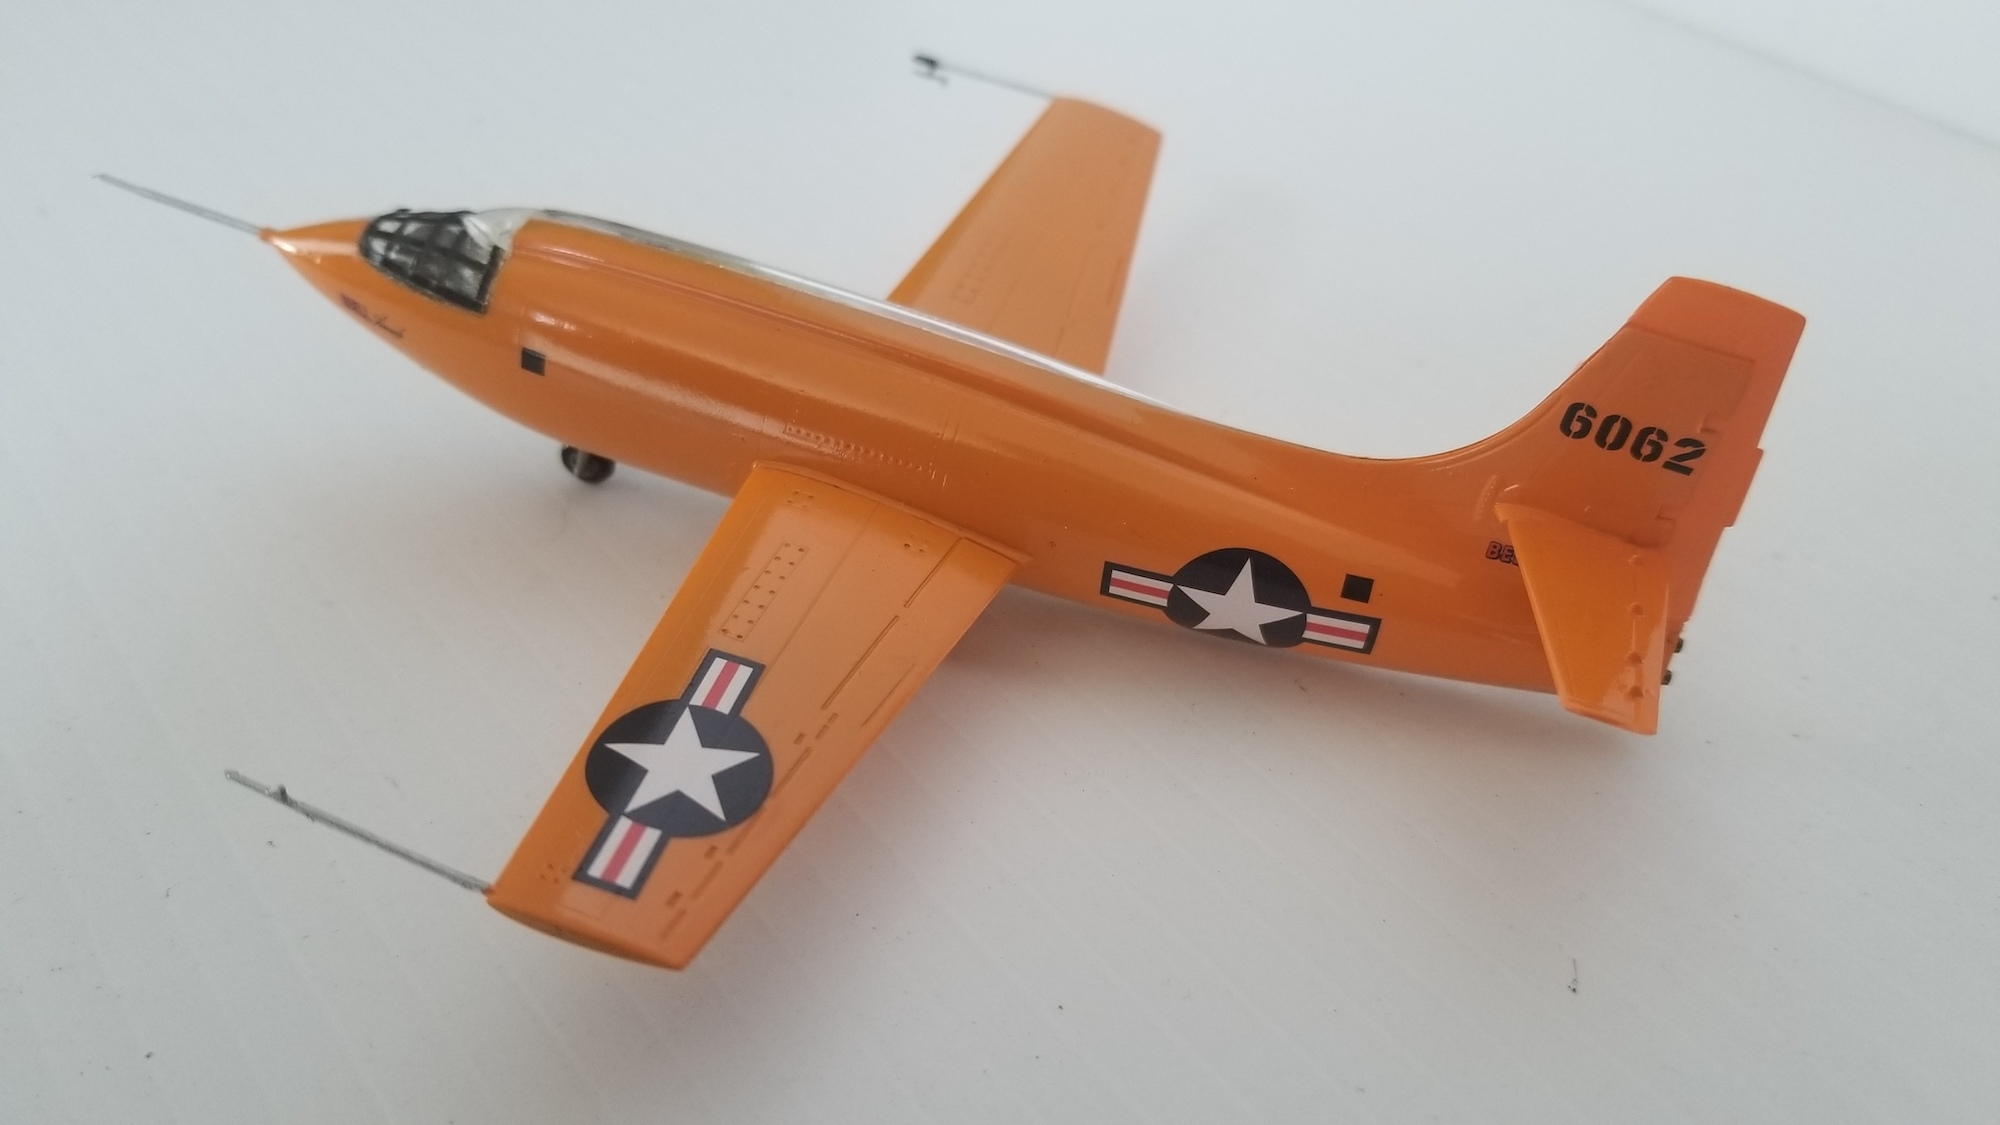
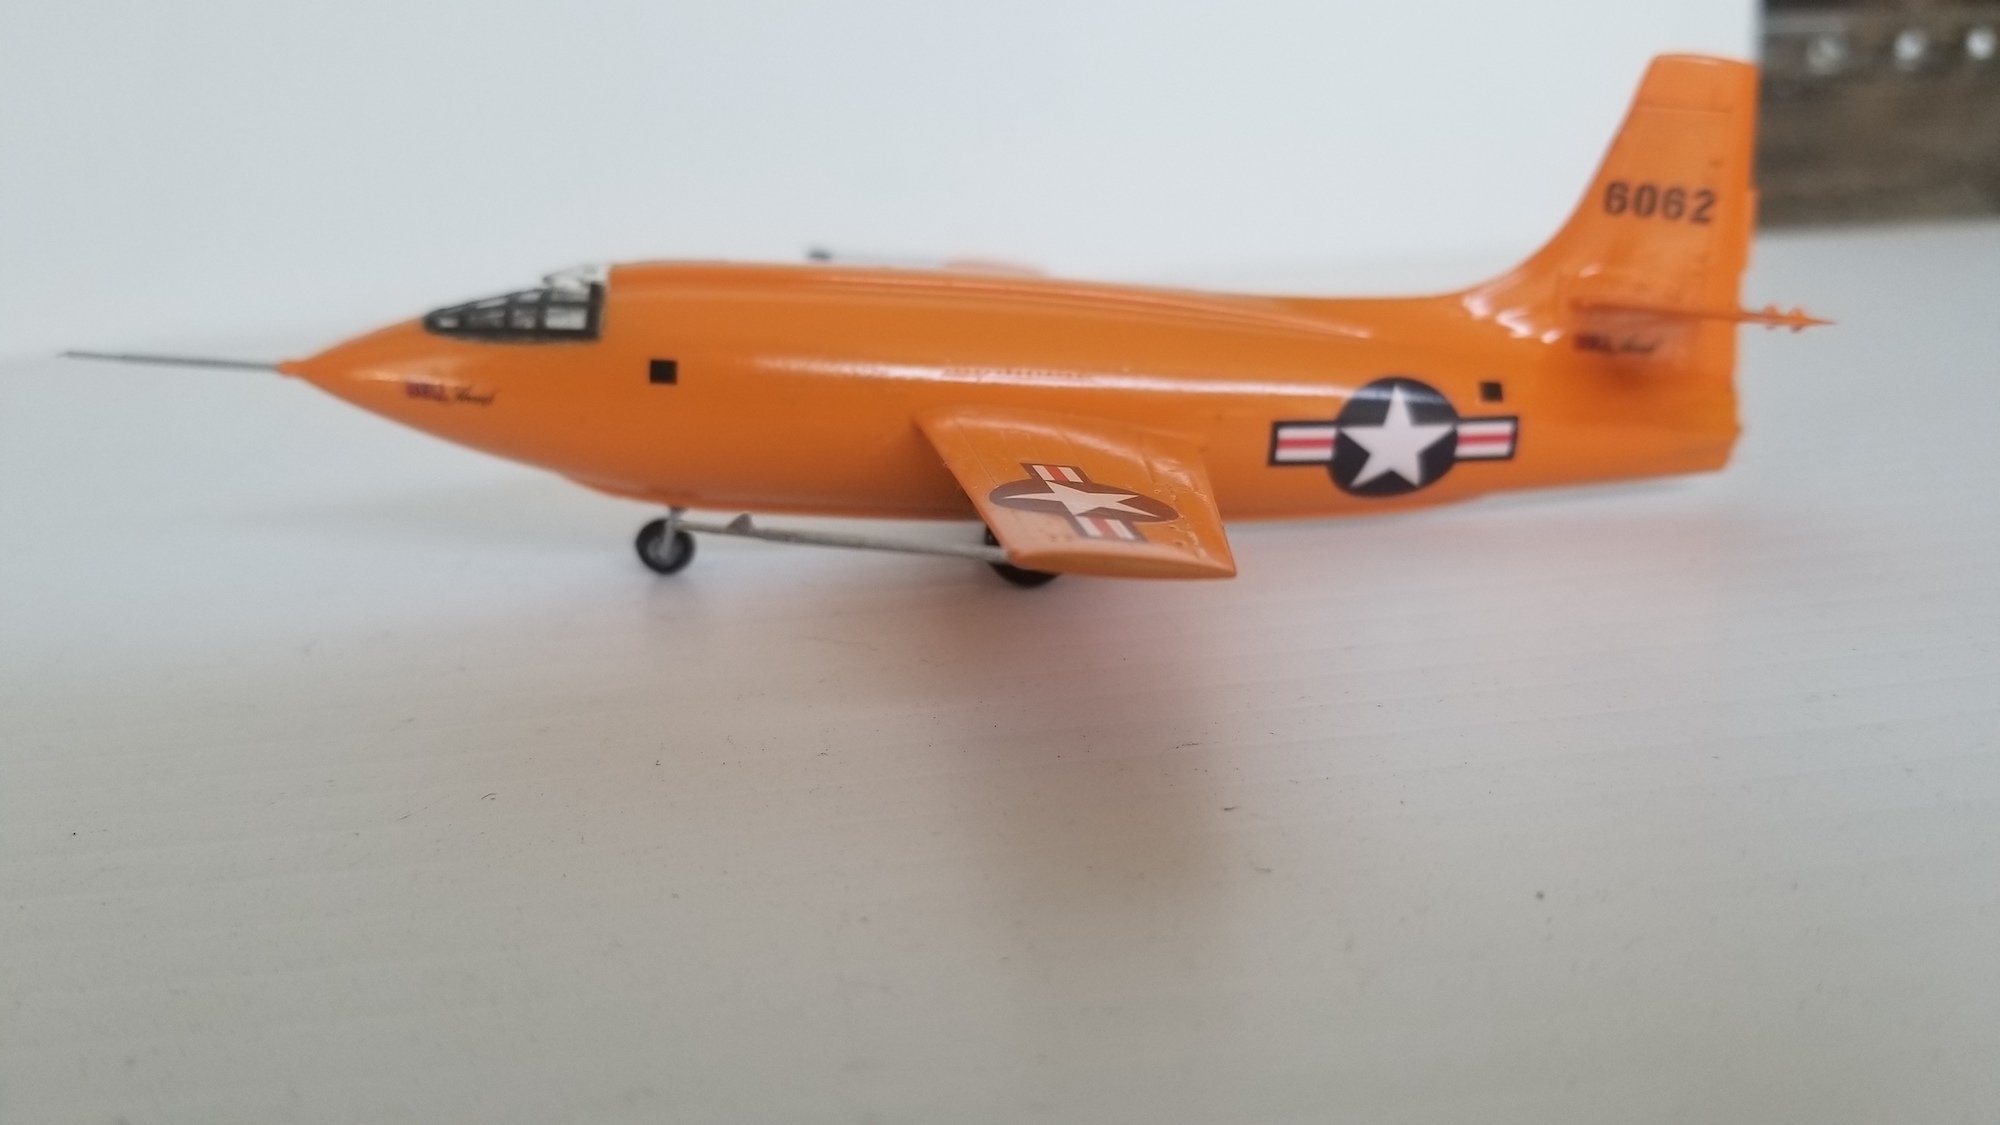
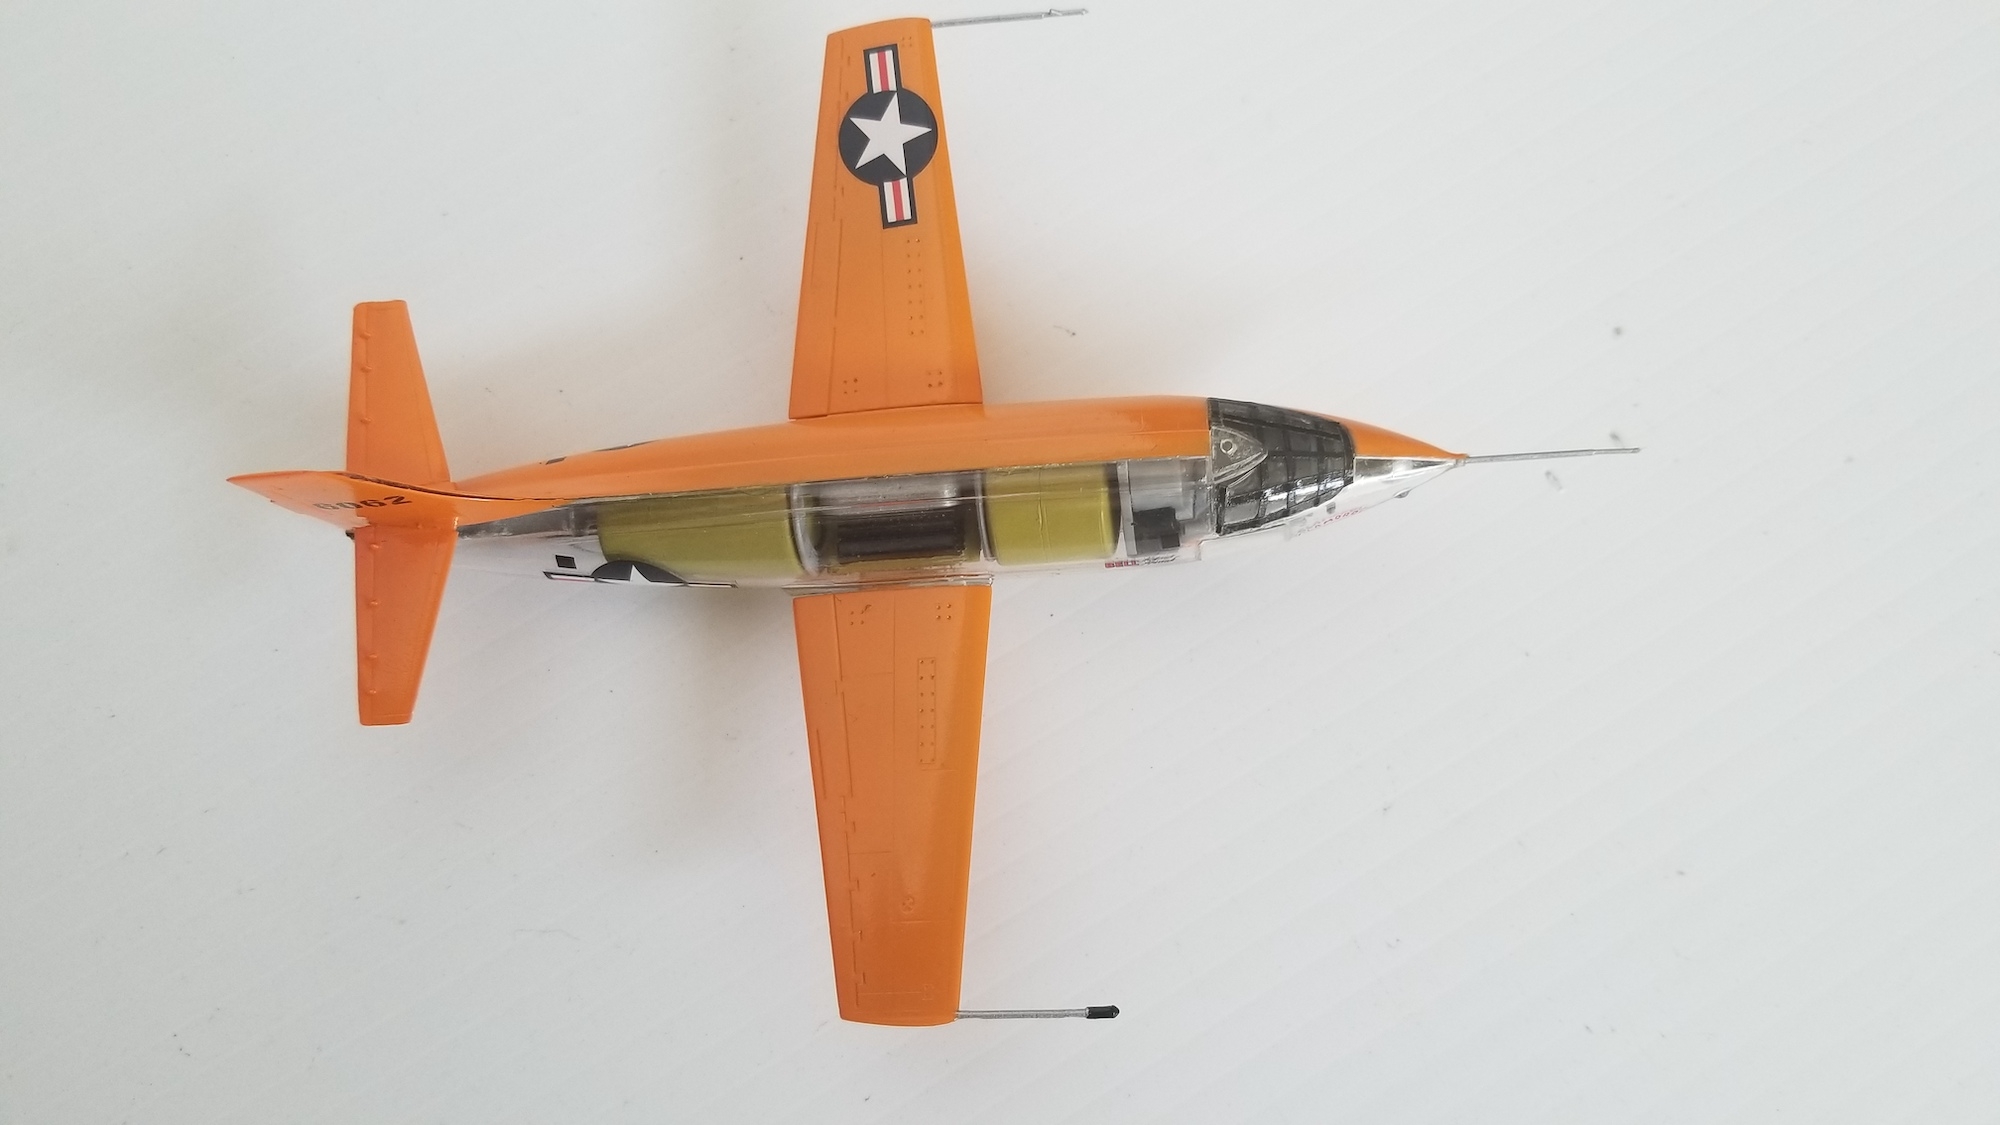
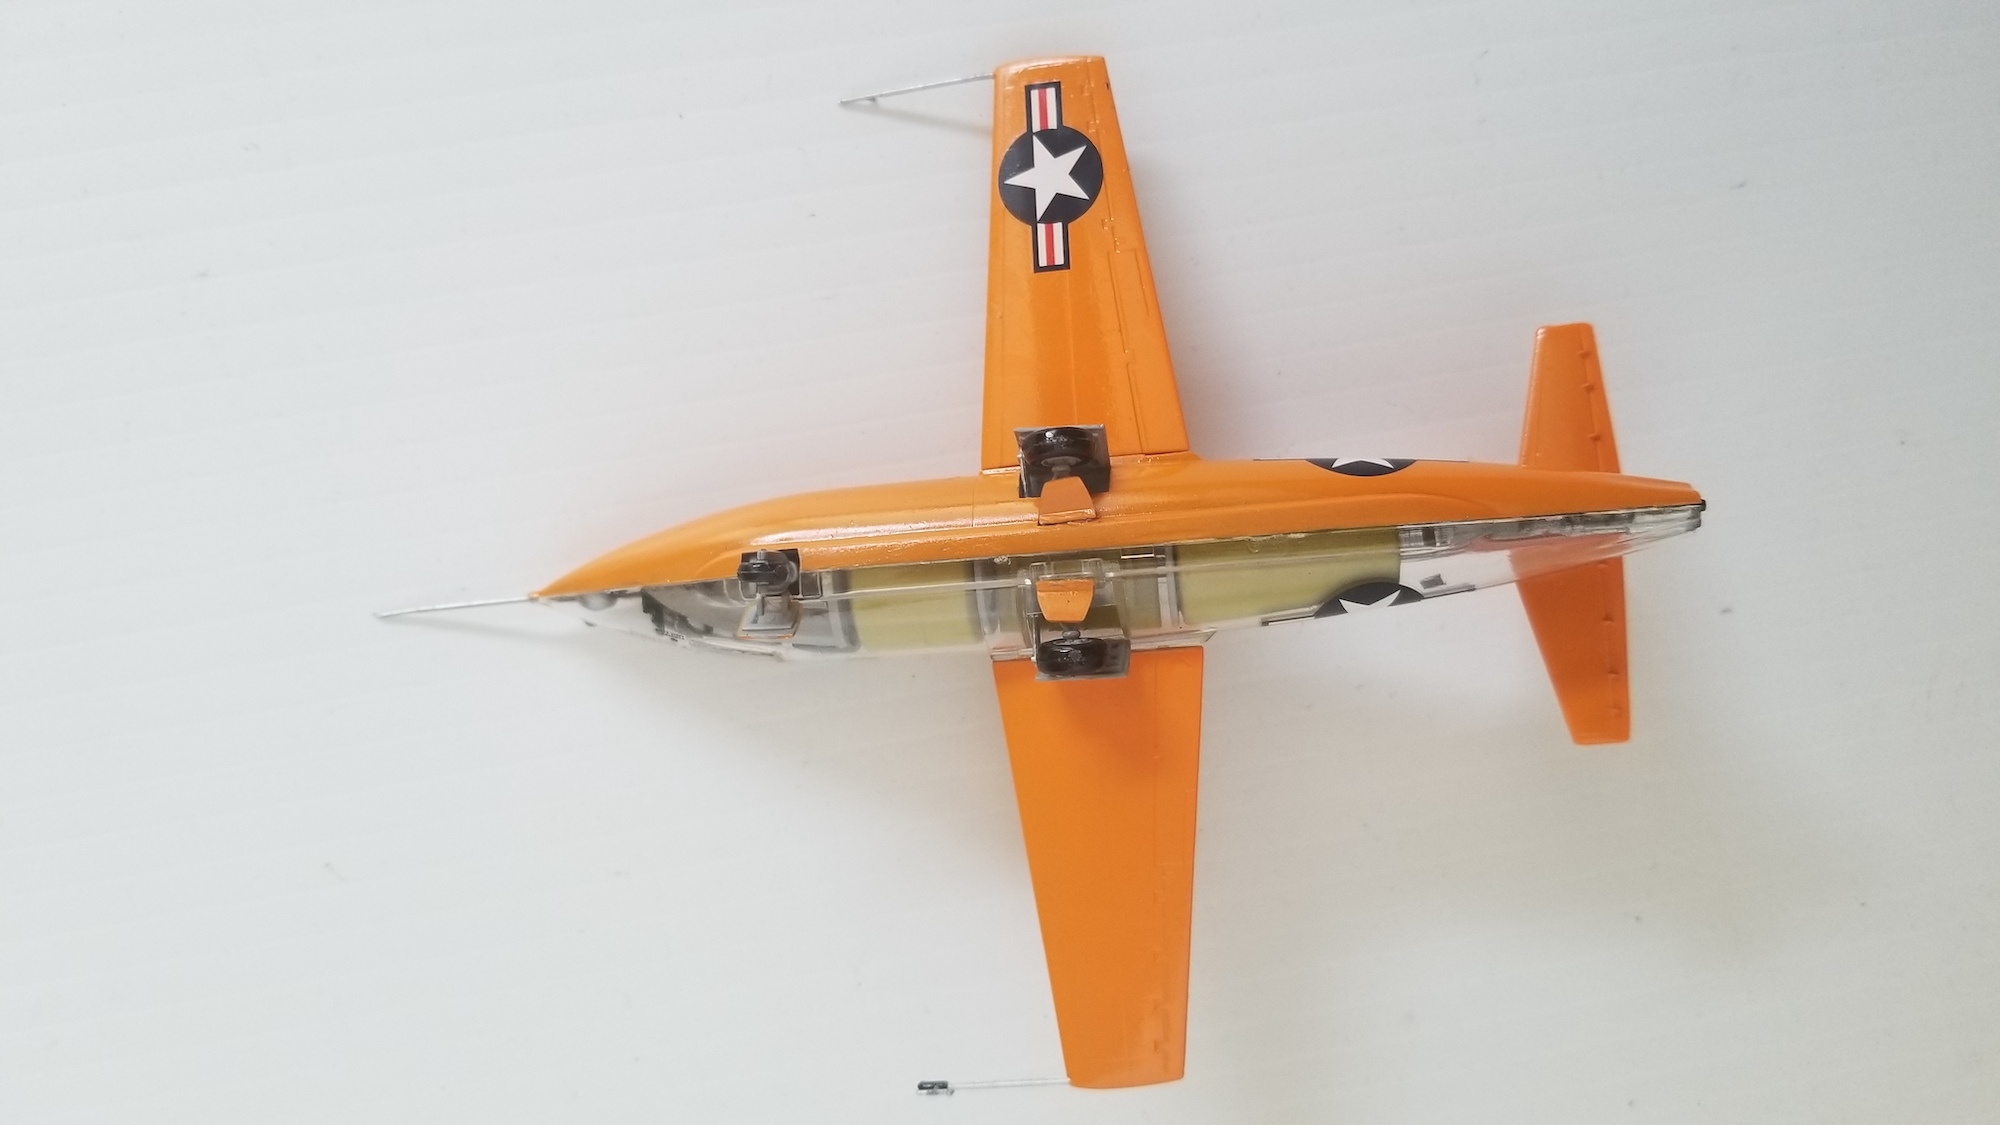
And here are some more shots of the completed model.
Paints
Tamiya Orange X-6
Tamiya Gloss Black X-1
Tamiya Yellow Green XF-4
Tamiya Sky Grey XF-19
Tamiya Silver X-11
Tamiya Flat Aluminum XF-16

