1/72 Italeri North American F-100D Super Sabre
The F-100 Super Sabre, or “Hun”, was the first jet fighter to achieve supersonic speed in level flight. It was the next generation fighter after the North American F-86 Sabre. The F-100 saw action in Vietnam, initially as an escort fighter, then later as an attack aircraft and recon plane.
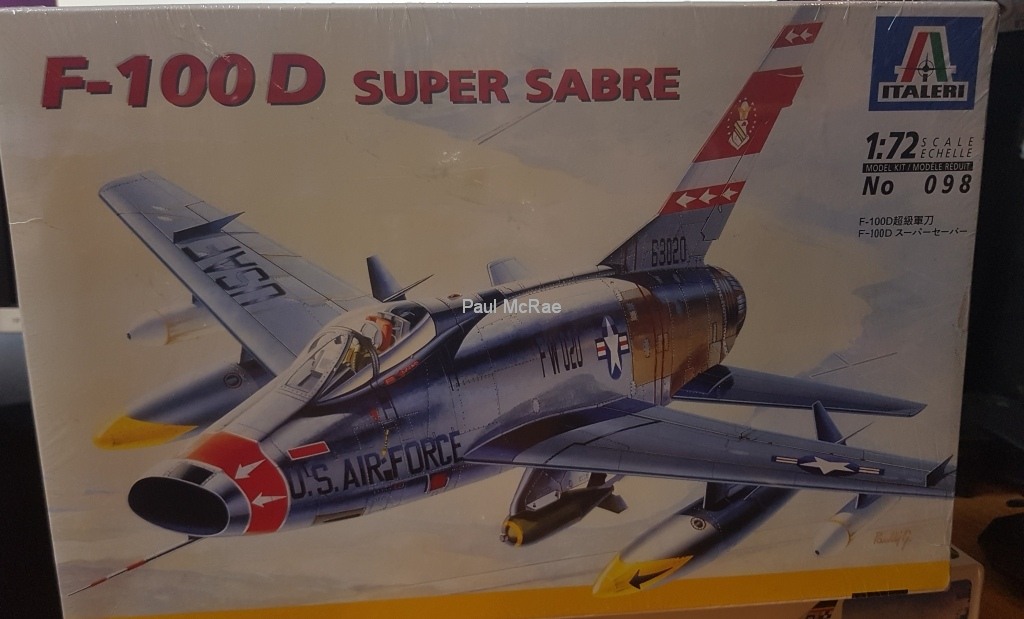
This kit by Italeri is from 1998. Having just been spoiled by the Eduard Hellcat kit, this one was going to prove a little more challenging. Twenty-five year old decals can be a little finicky.

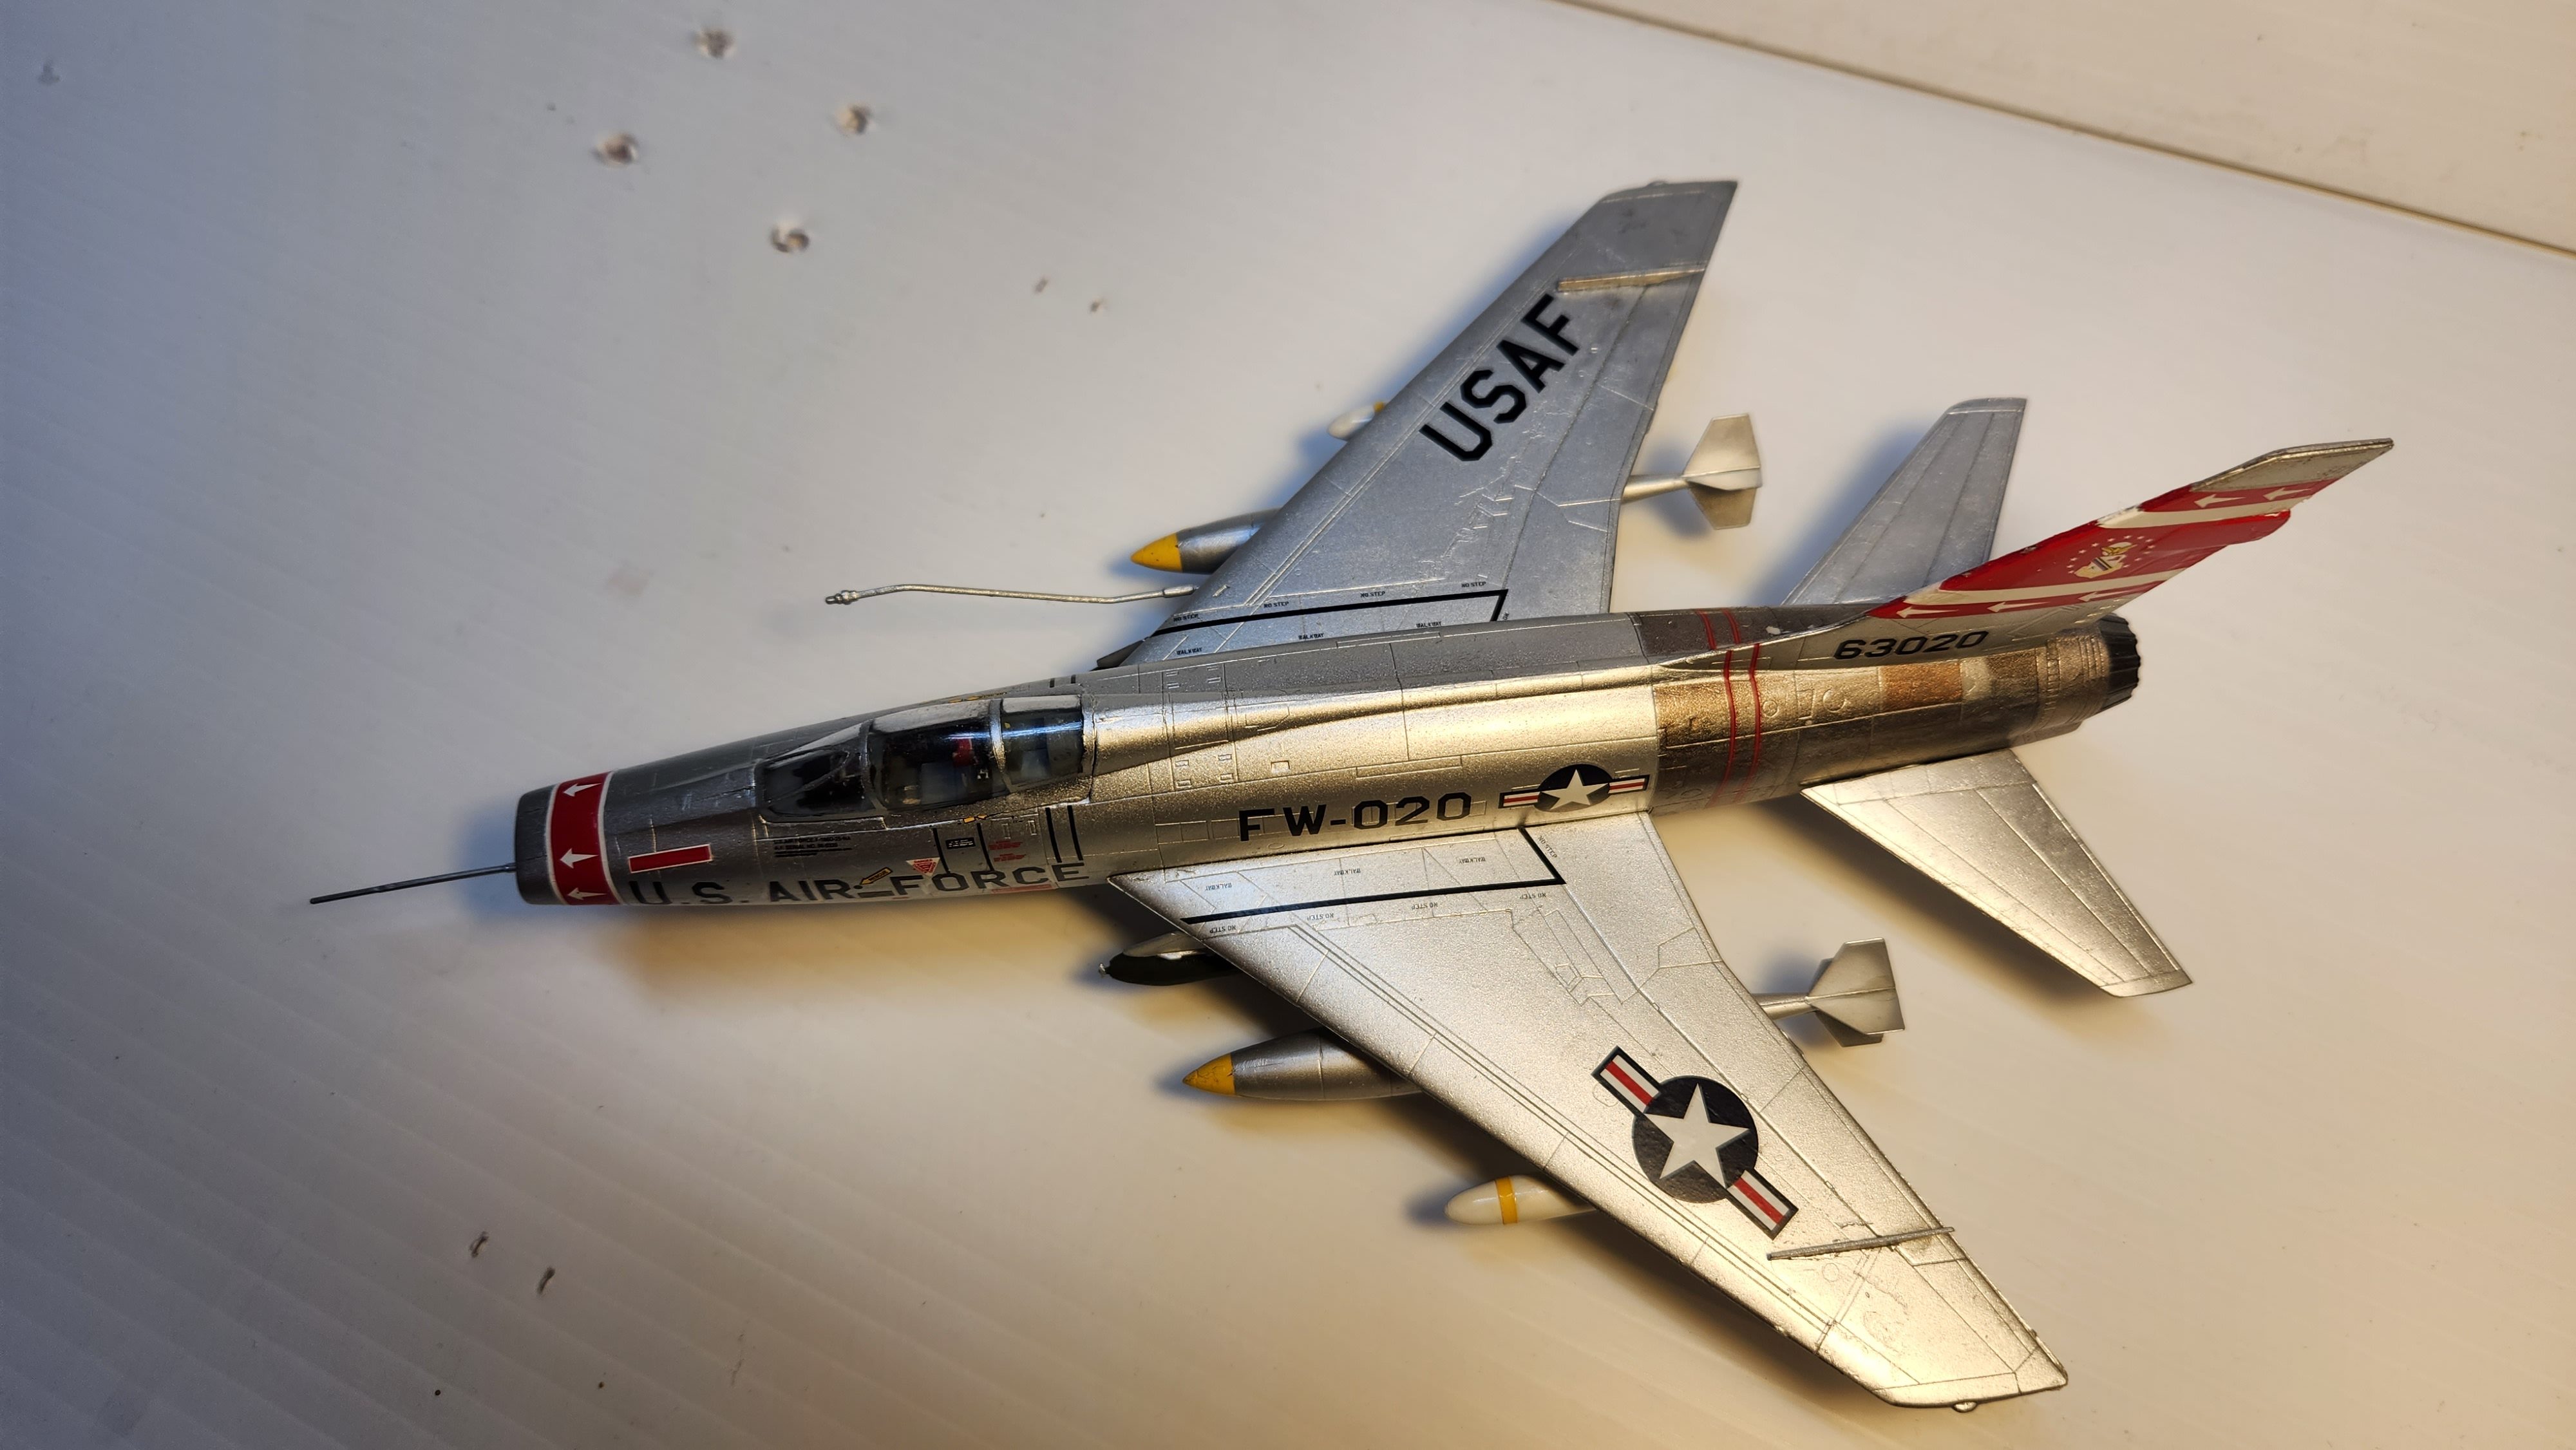
The ever-critical canopy masking. Took about 90 minutes, but, as we shall see, it turned out pretty well.

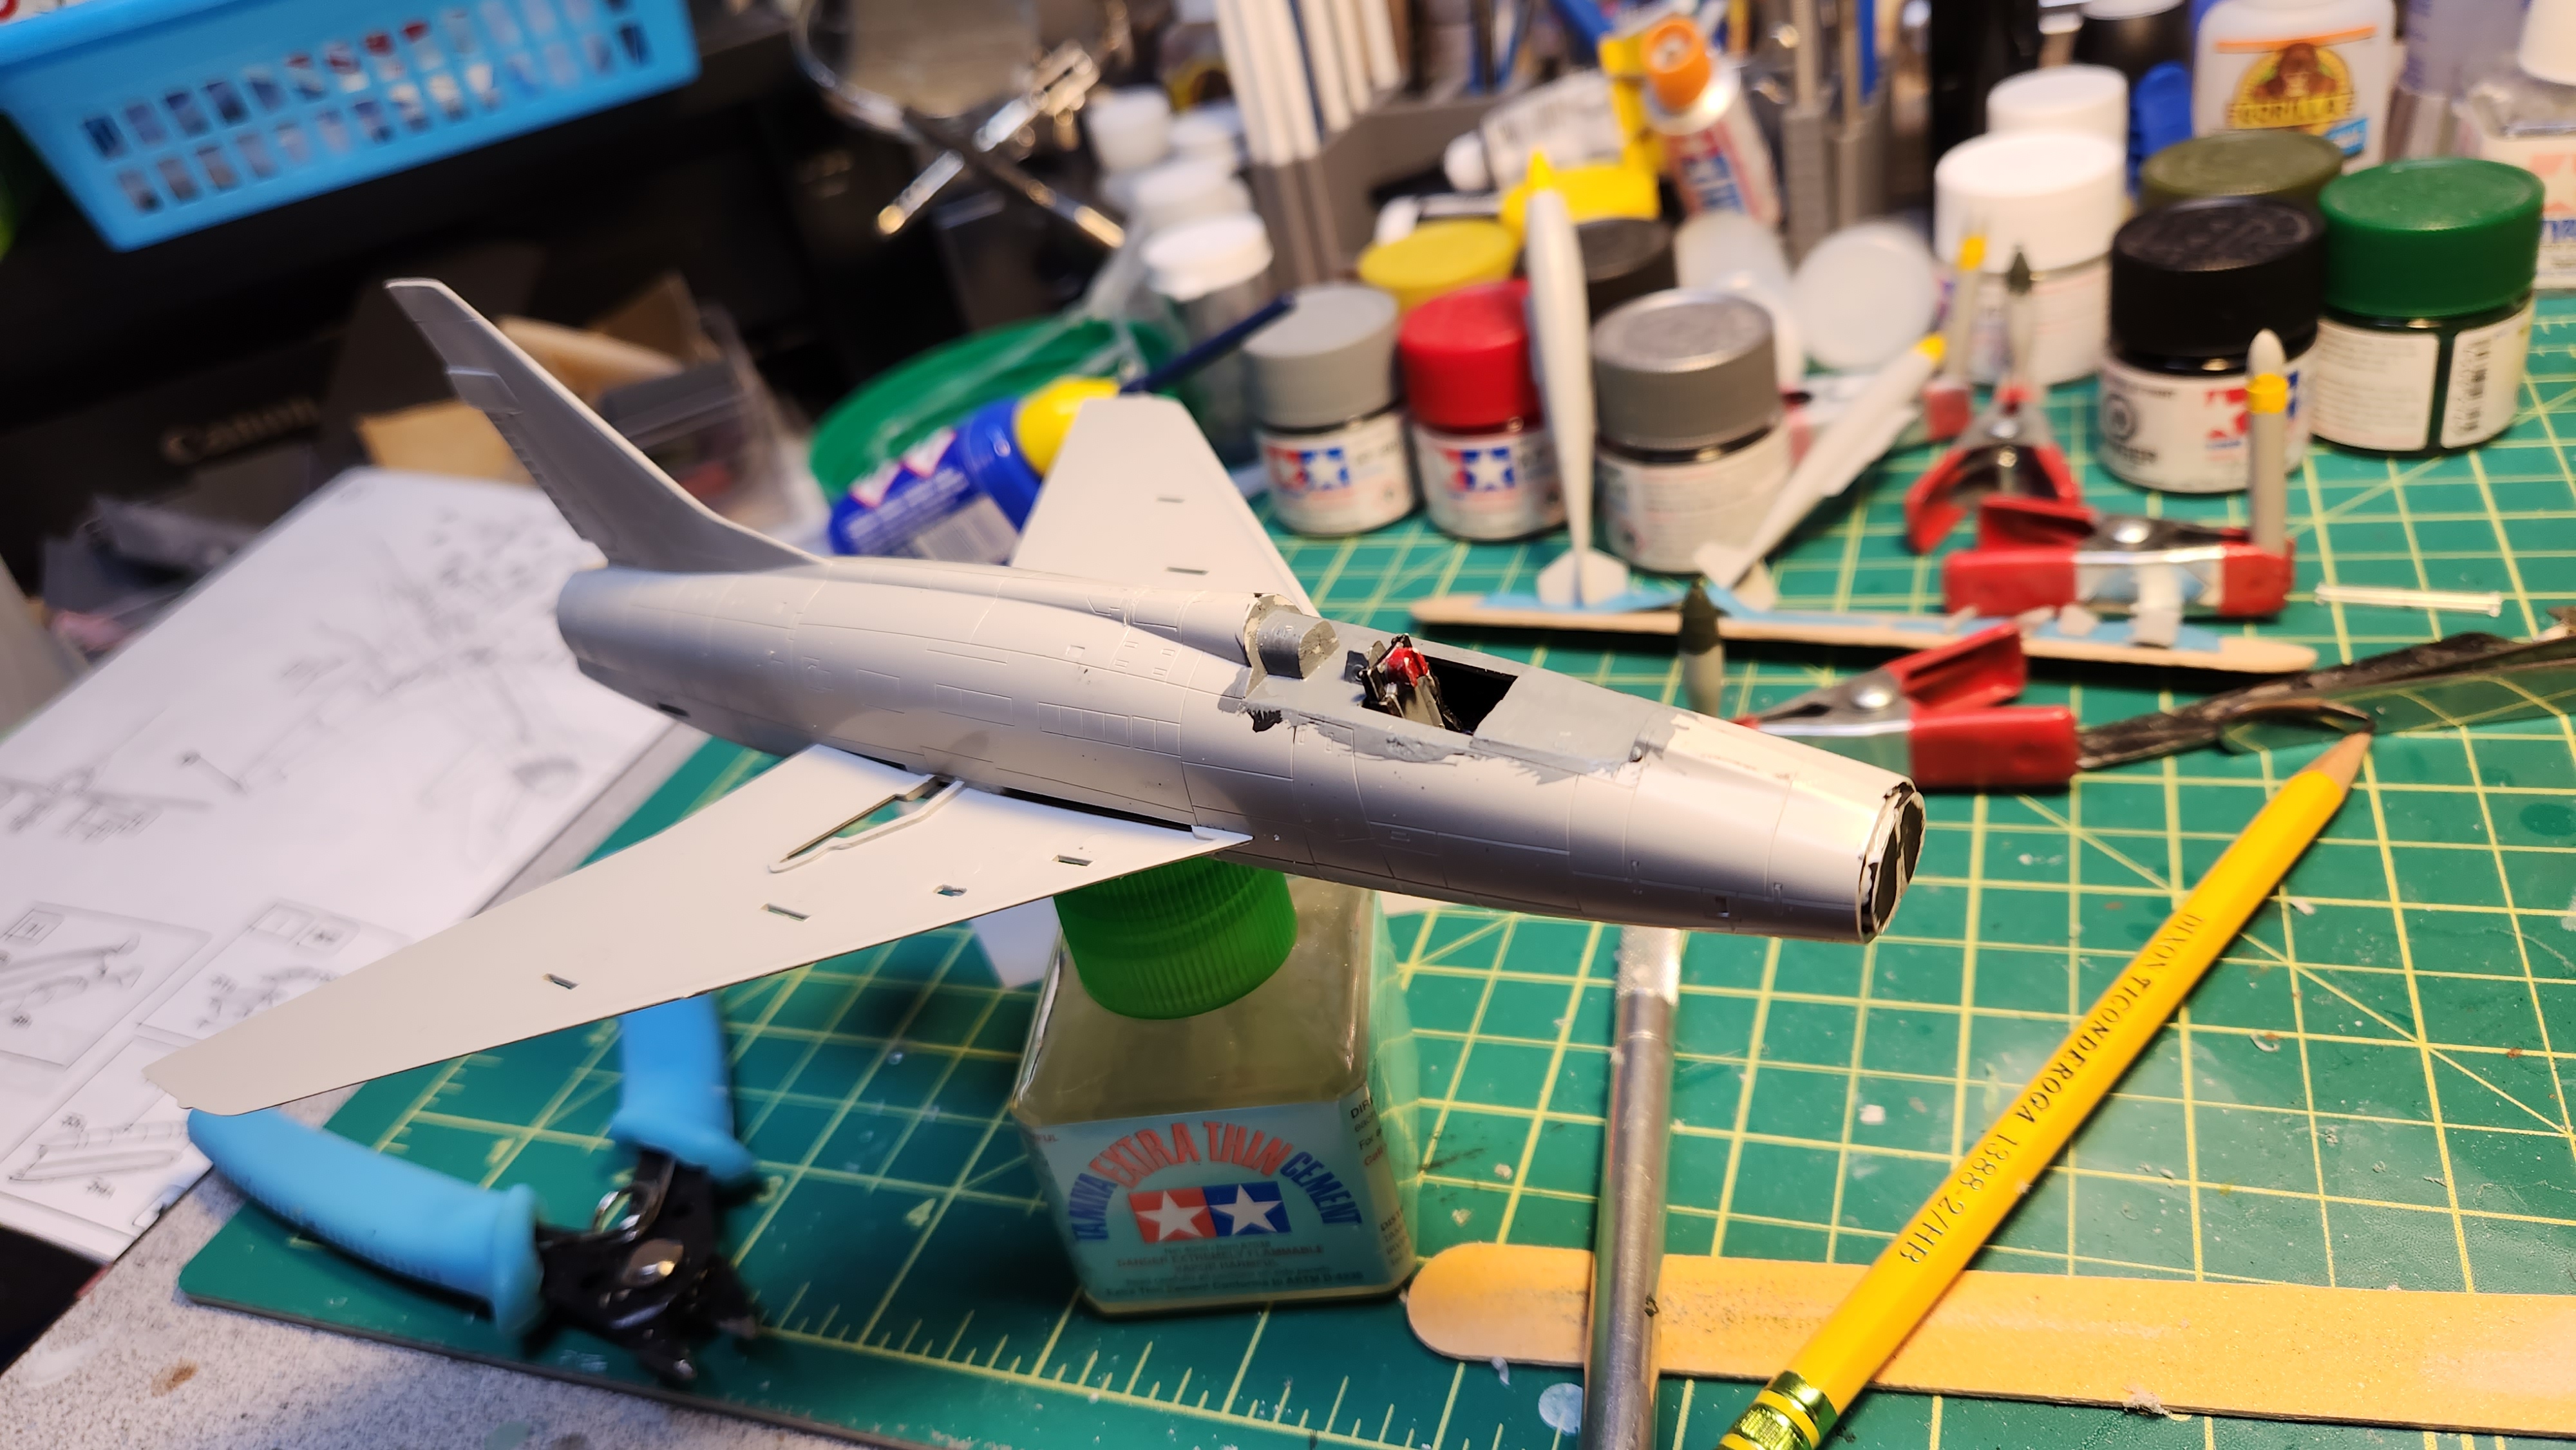
Here is the cockpit glued into place. I used colored pencils to highlight the instrumentation.
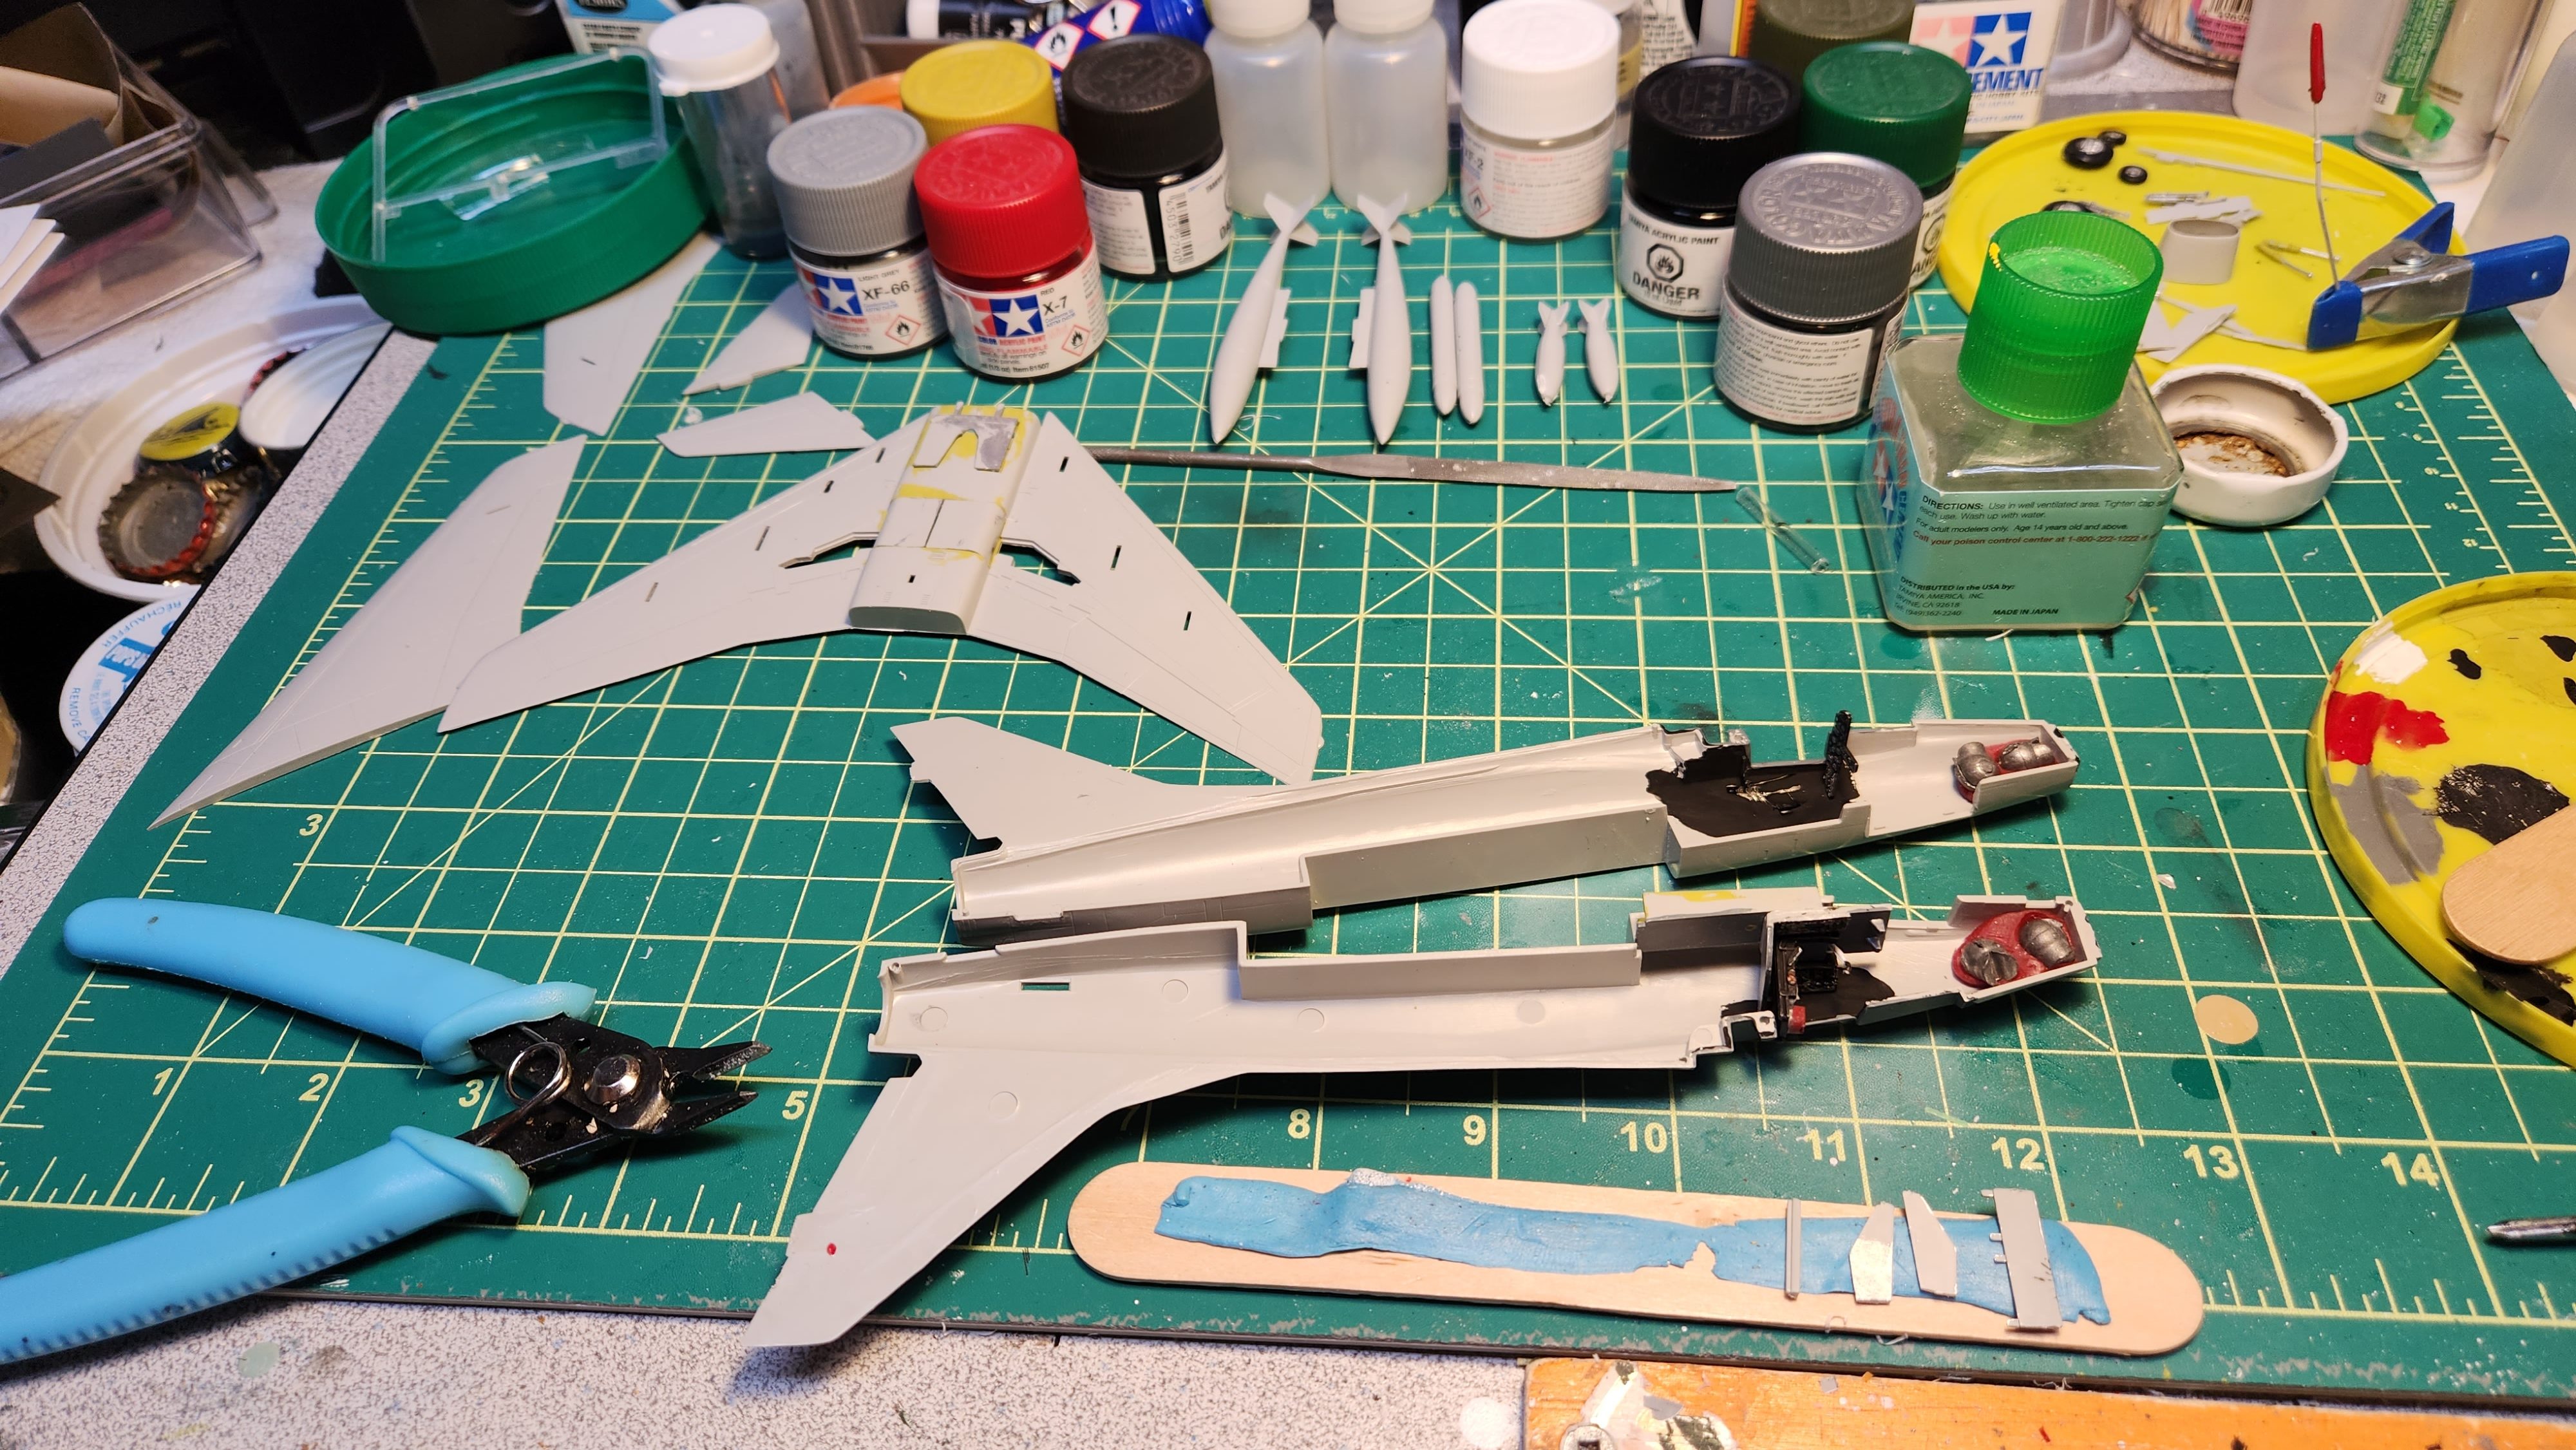
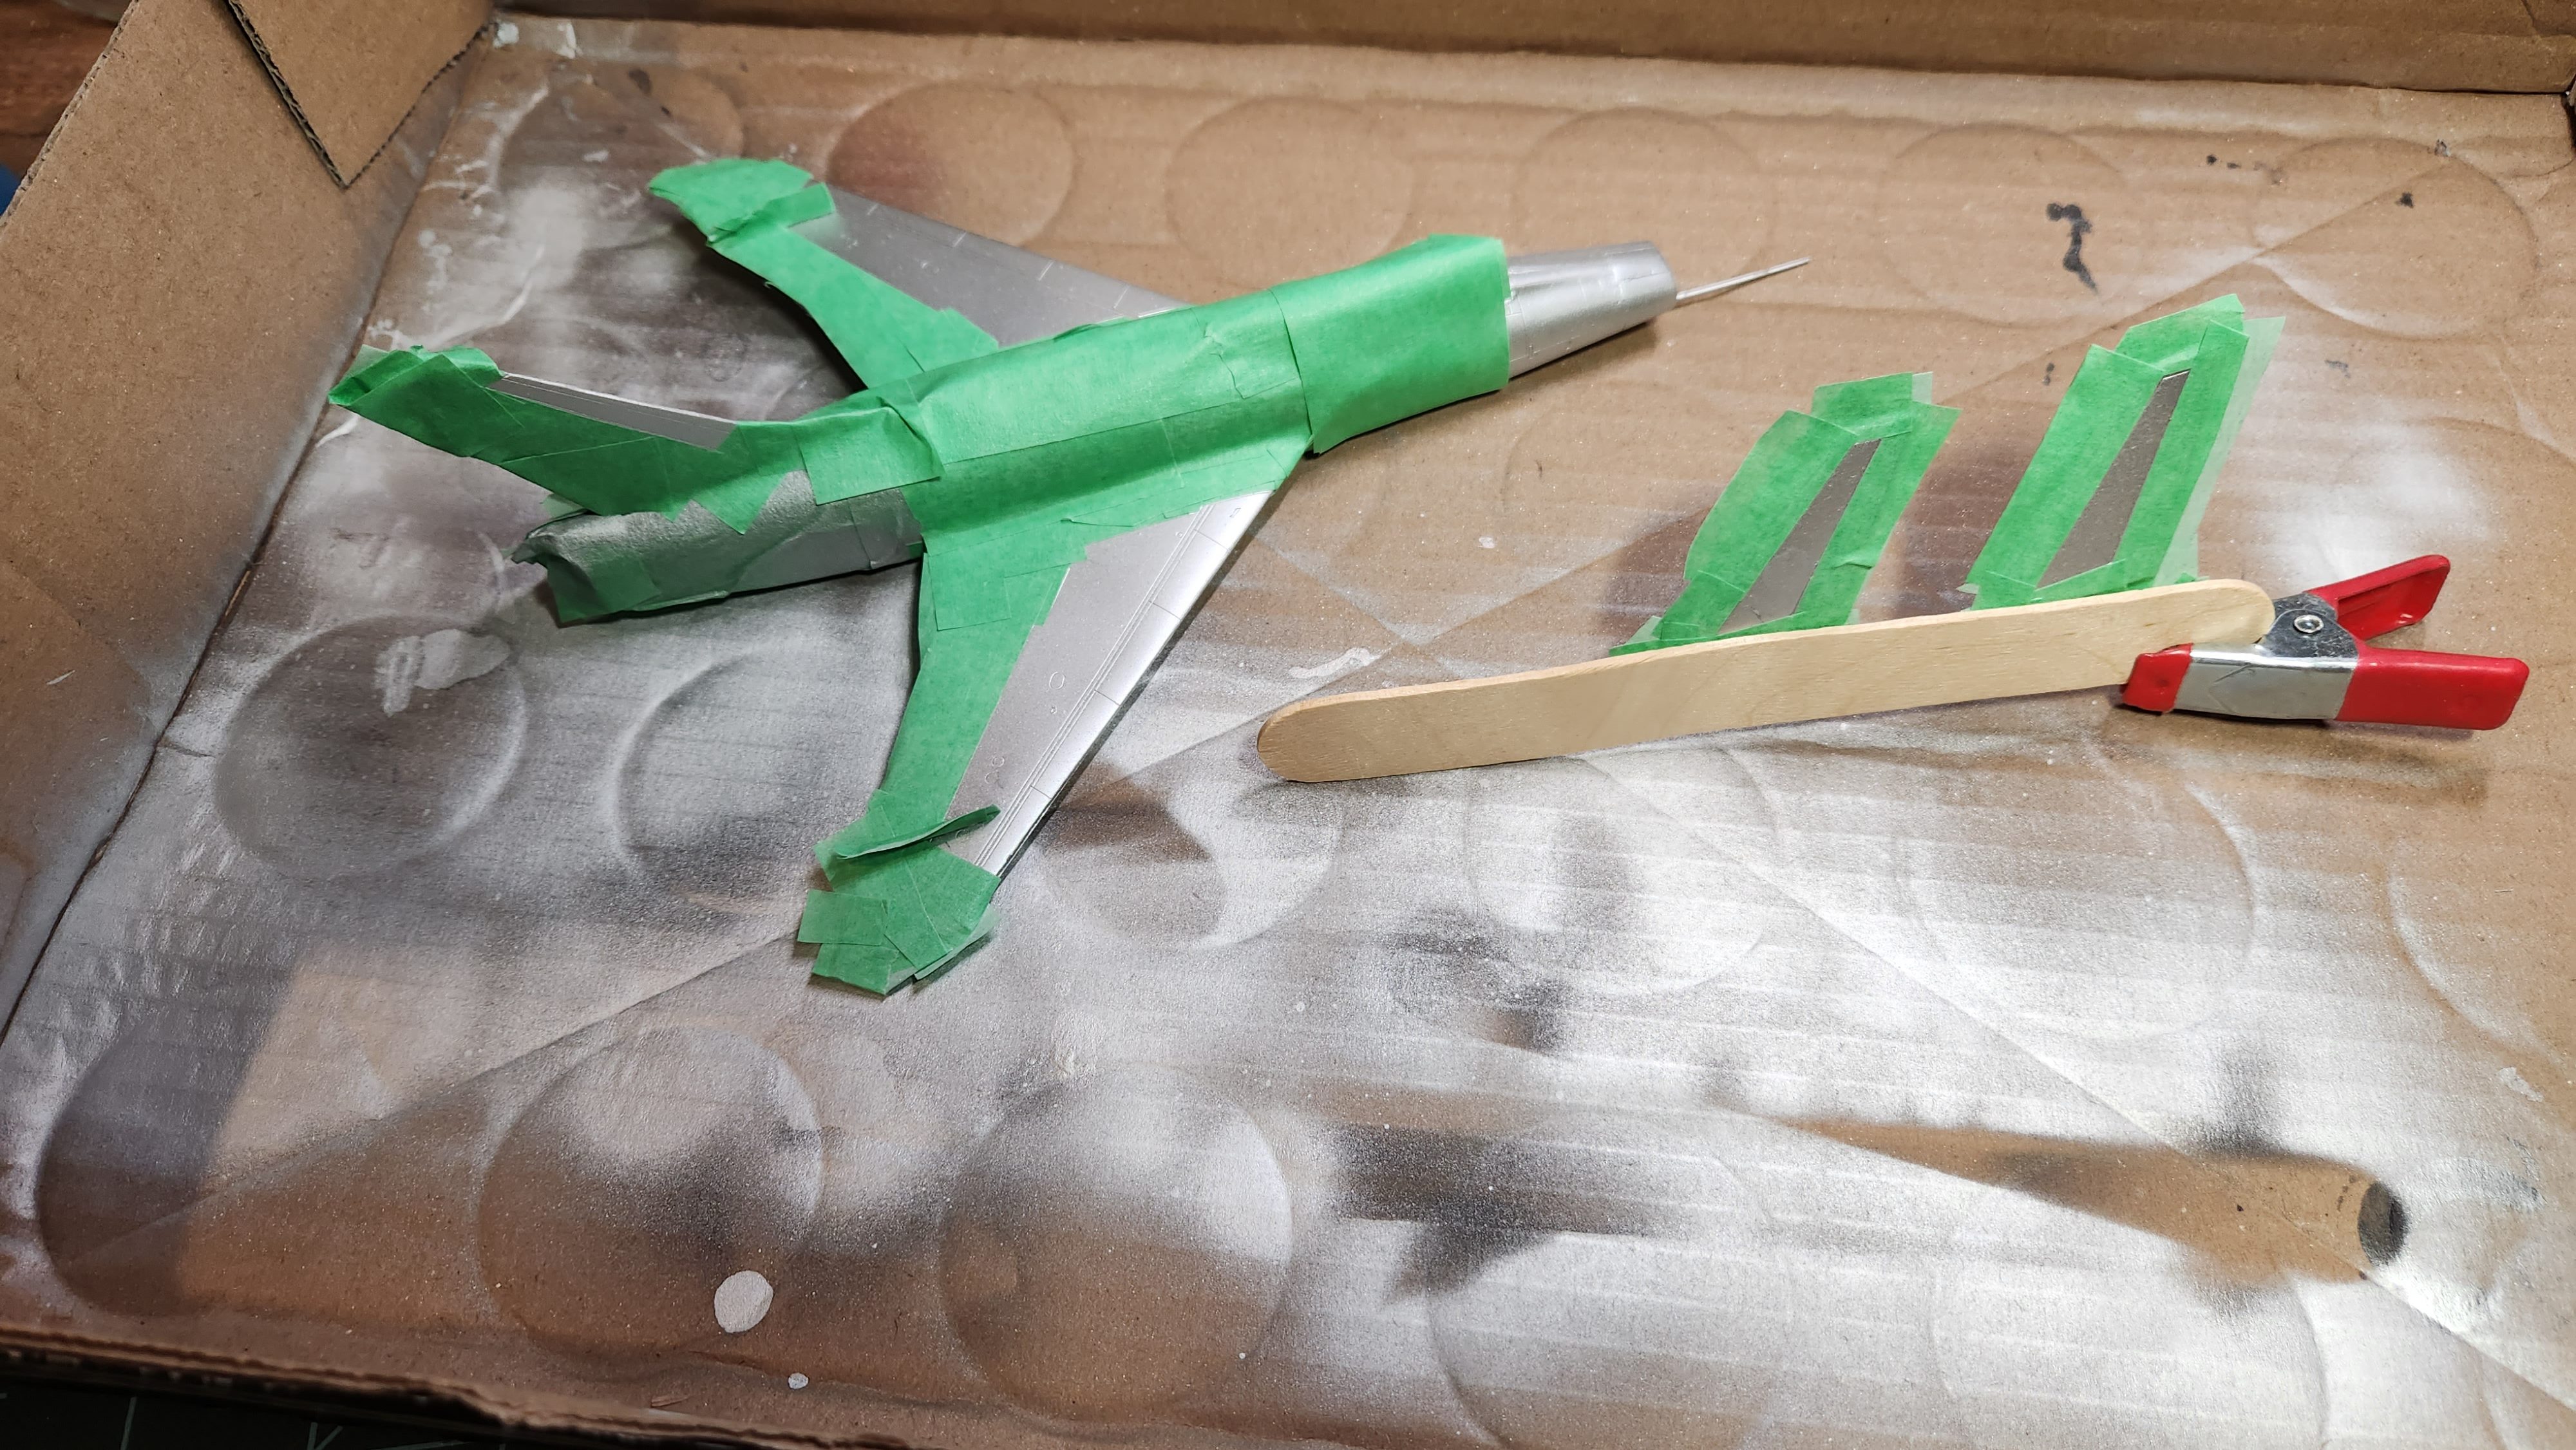
You can see the added weight in the nose to keep this from being a tail-dragger. Starting to prep some parts for airbrushing the bare metal finish by sticking them to a stick with Fun Tac.
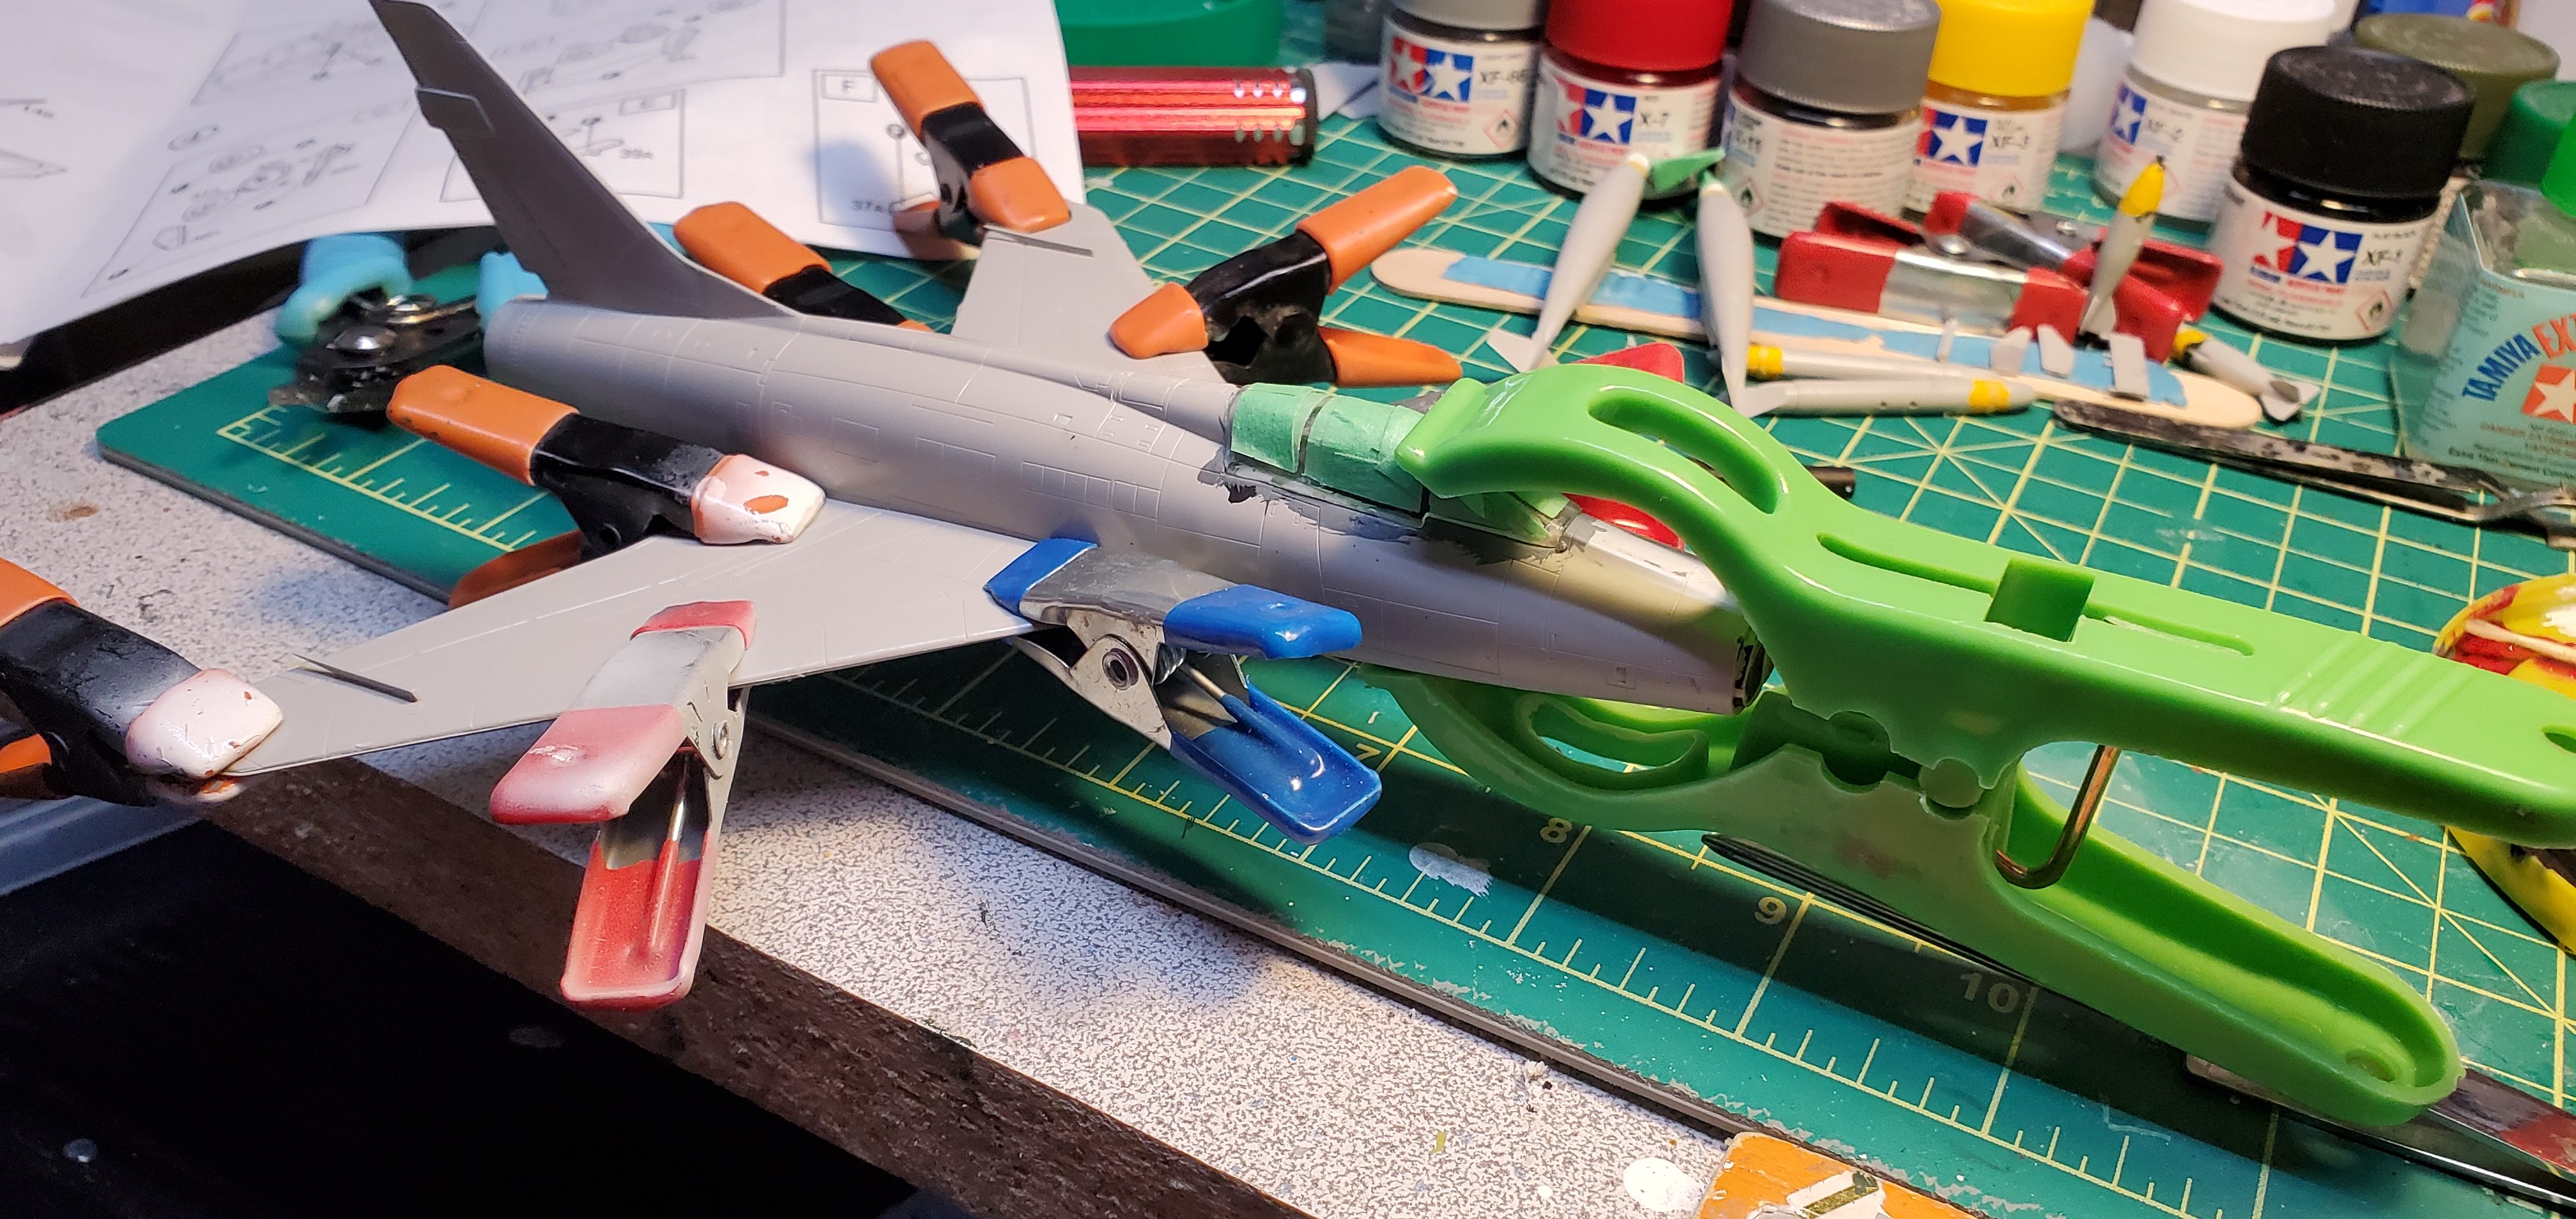
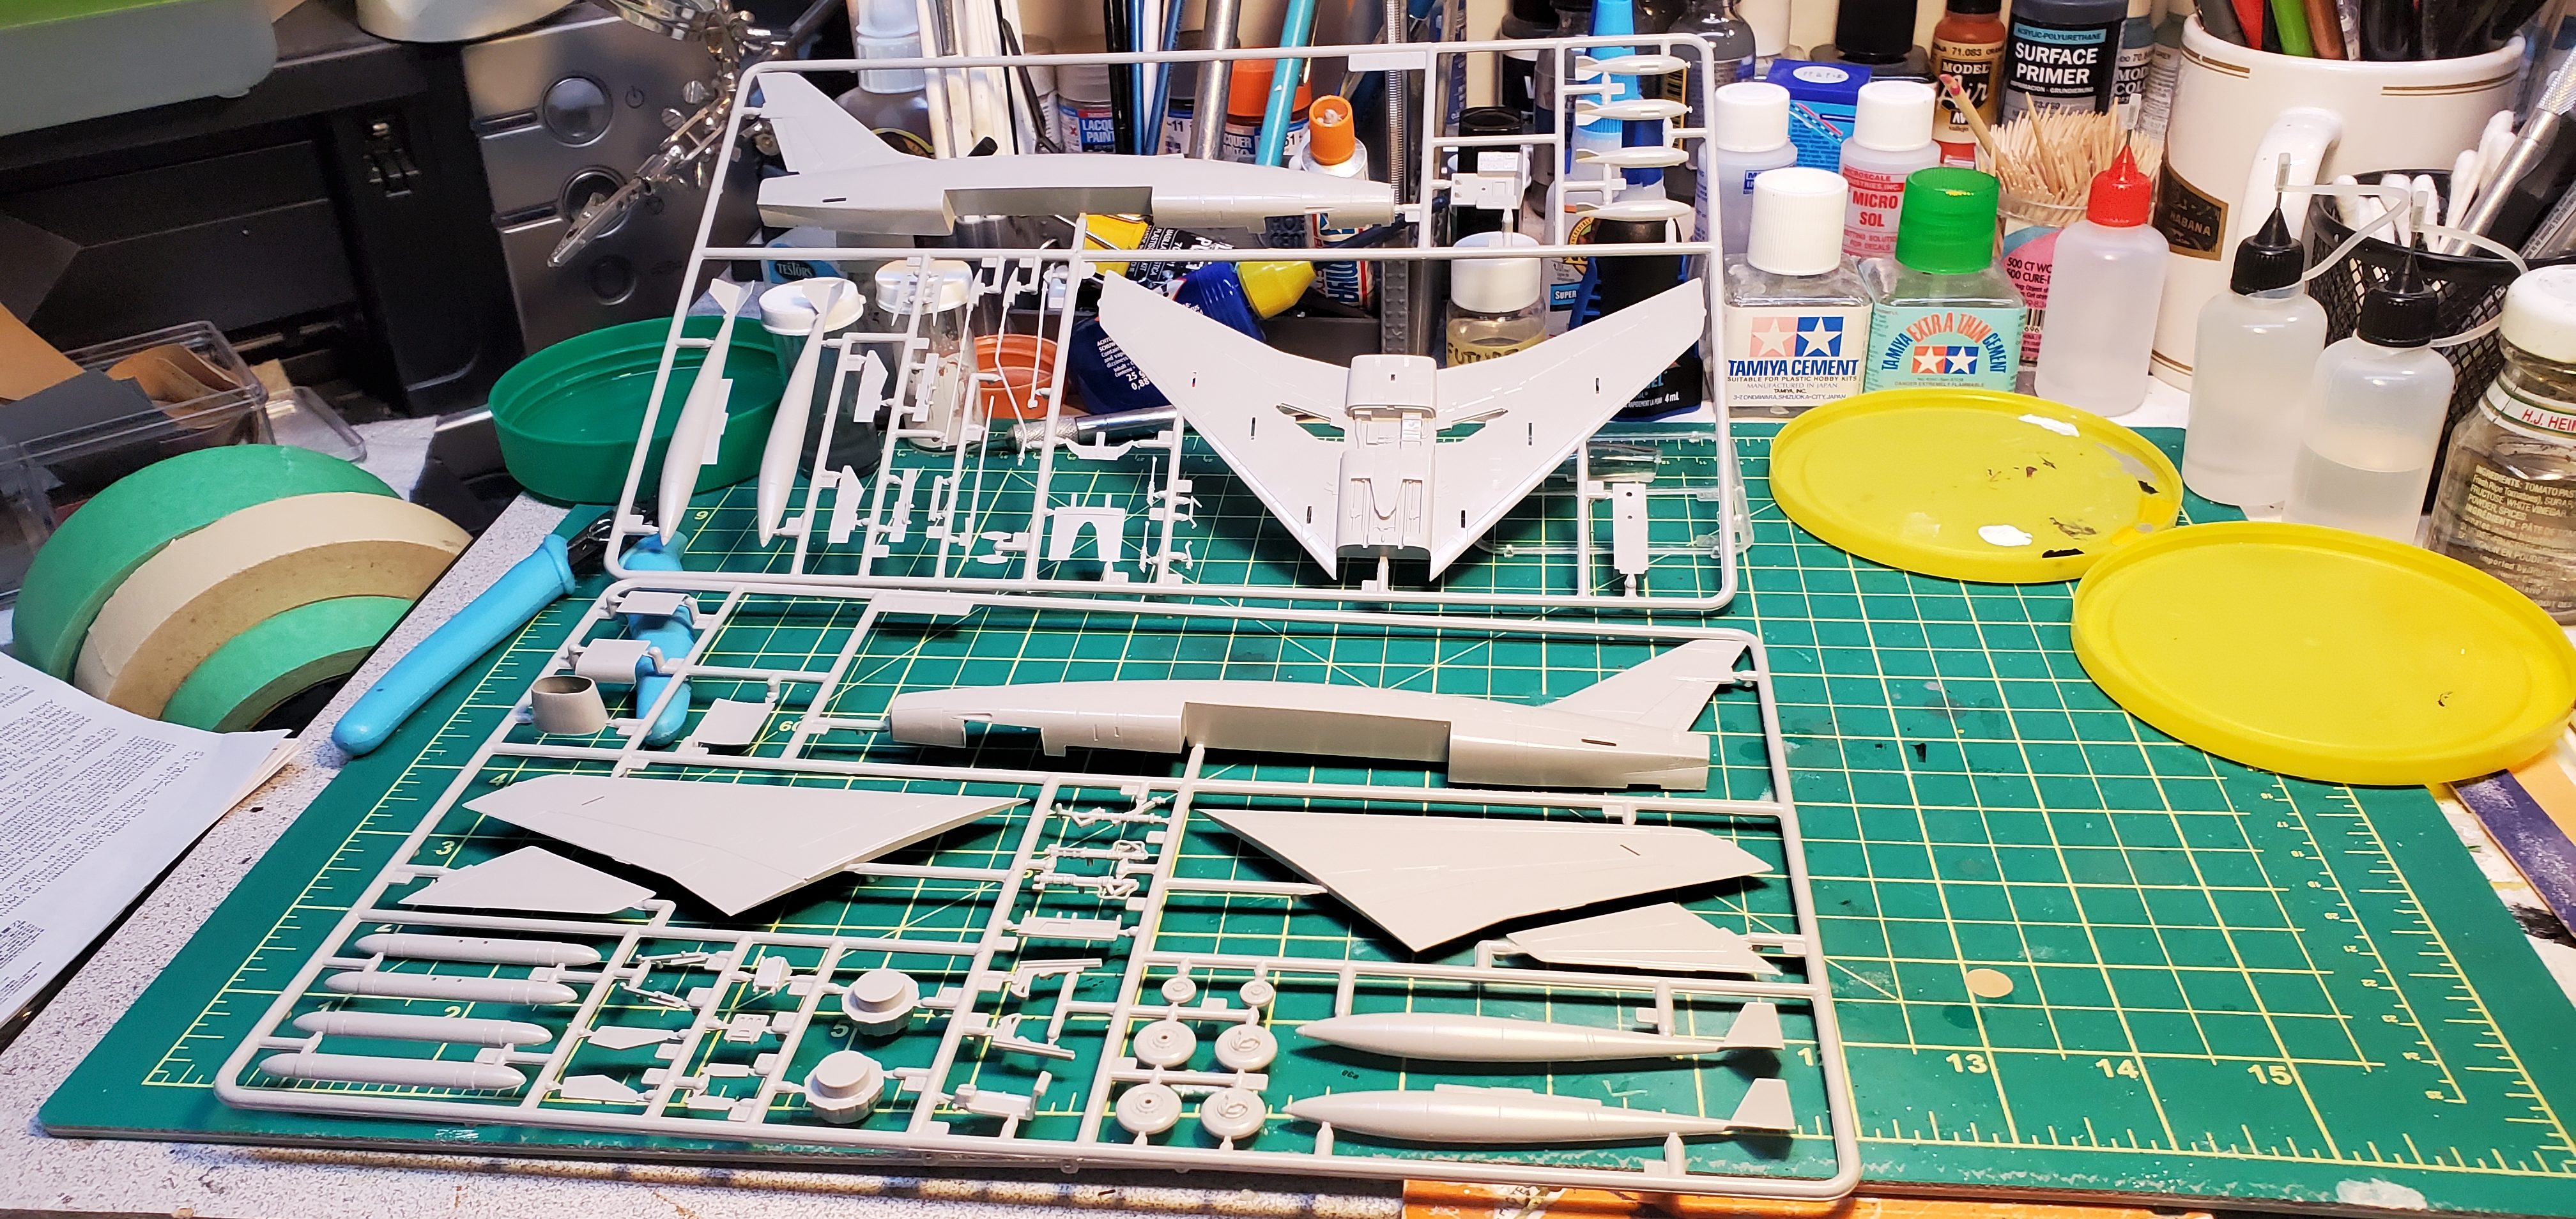
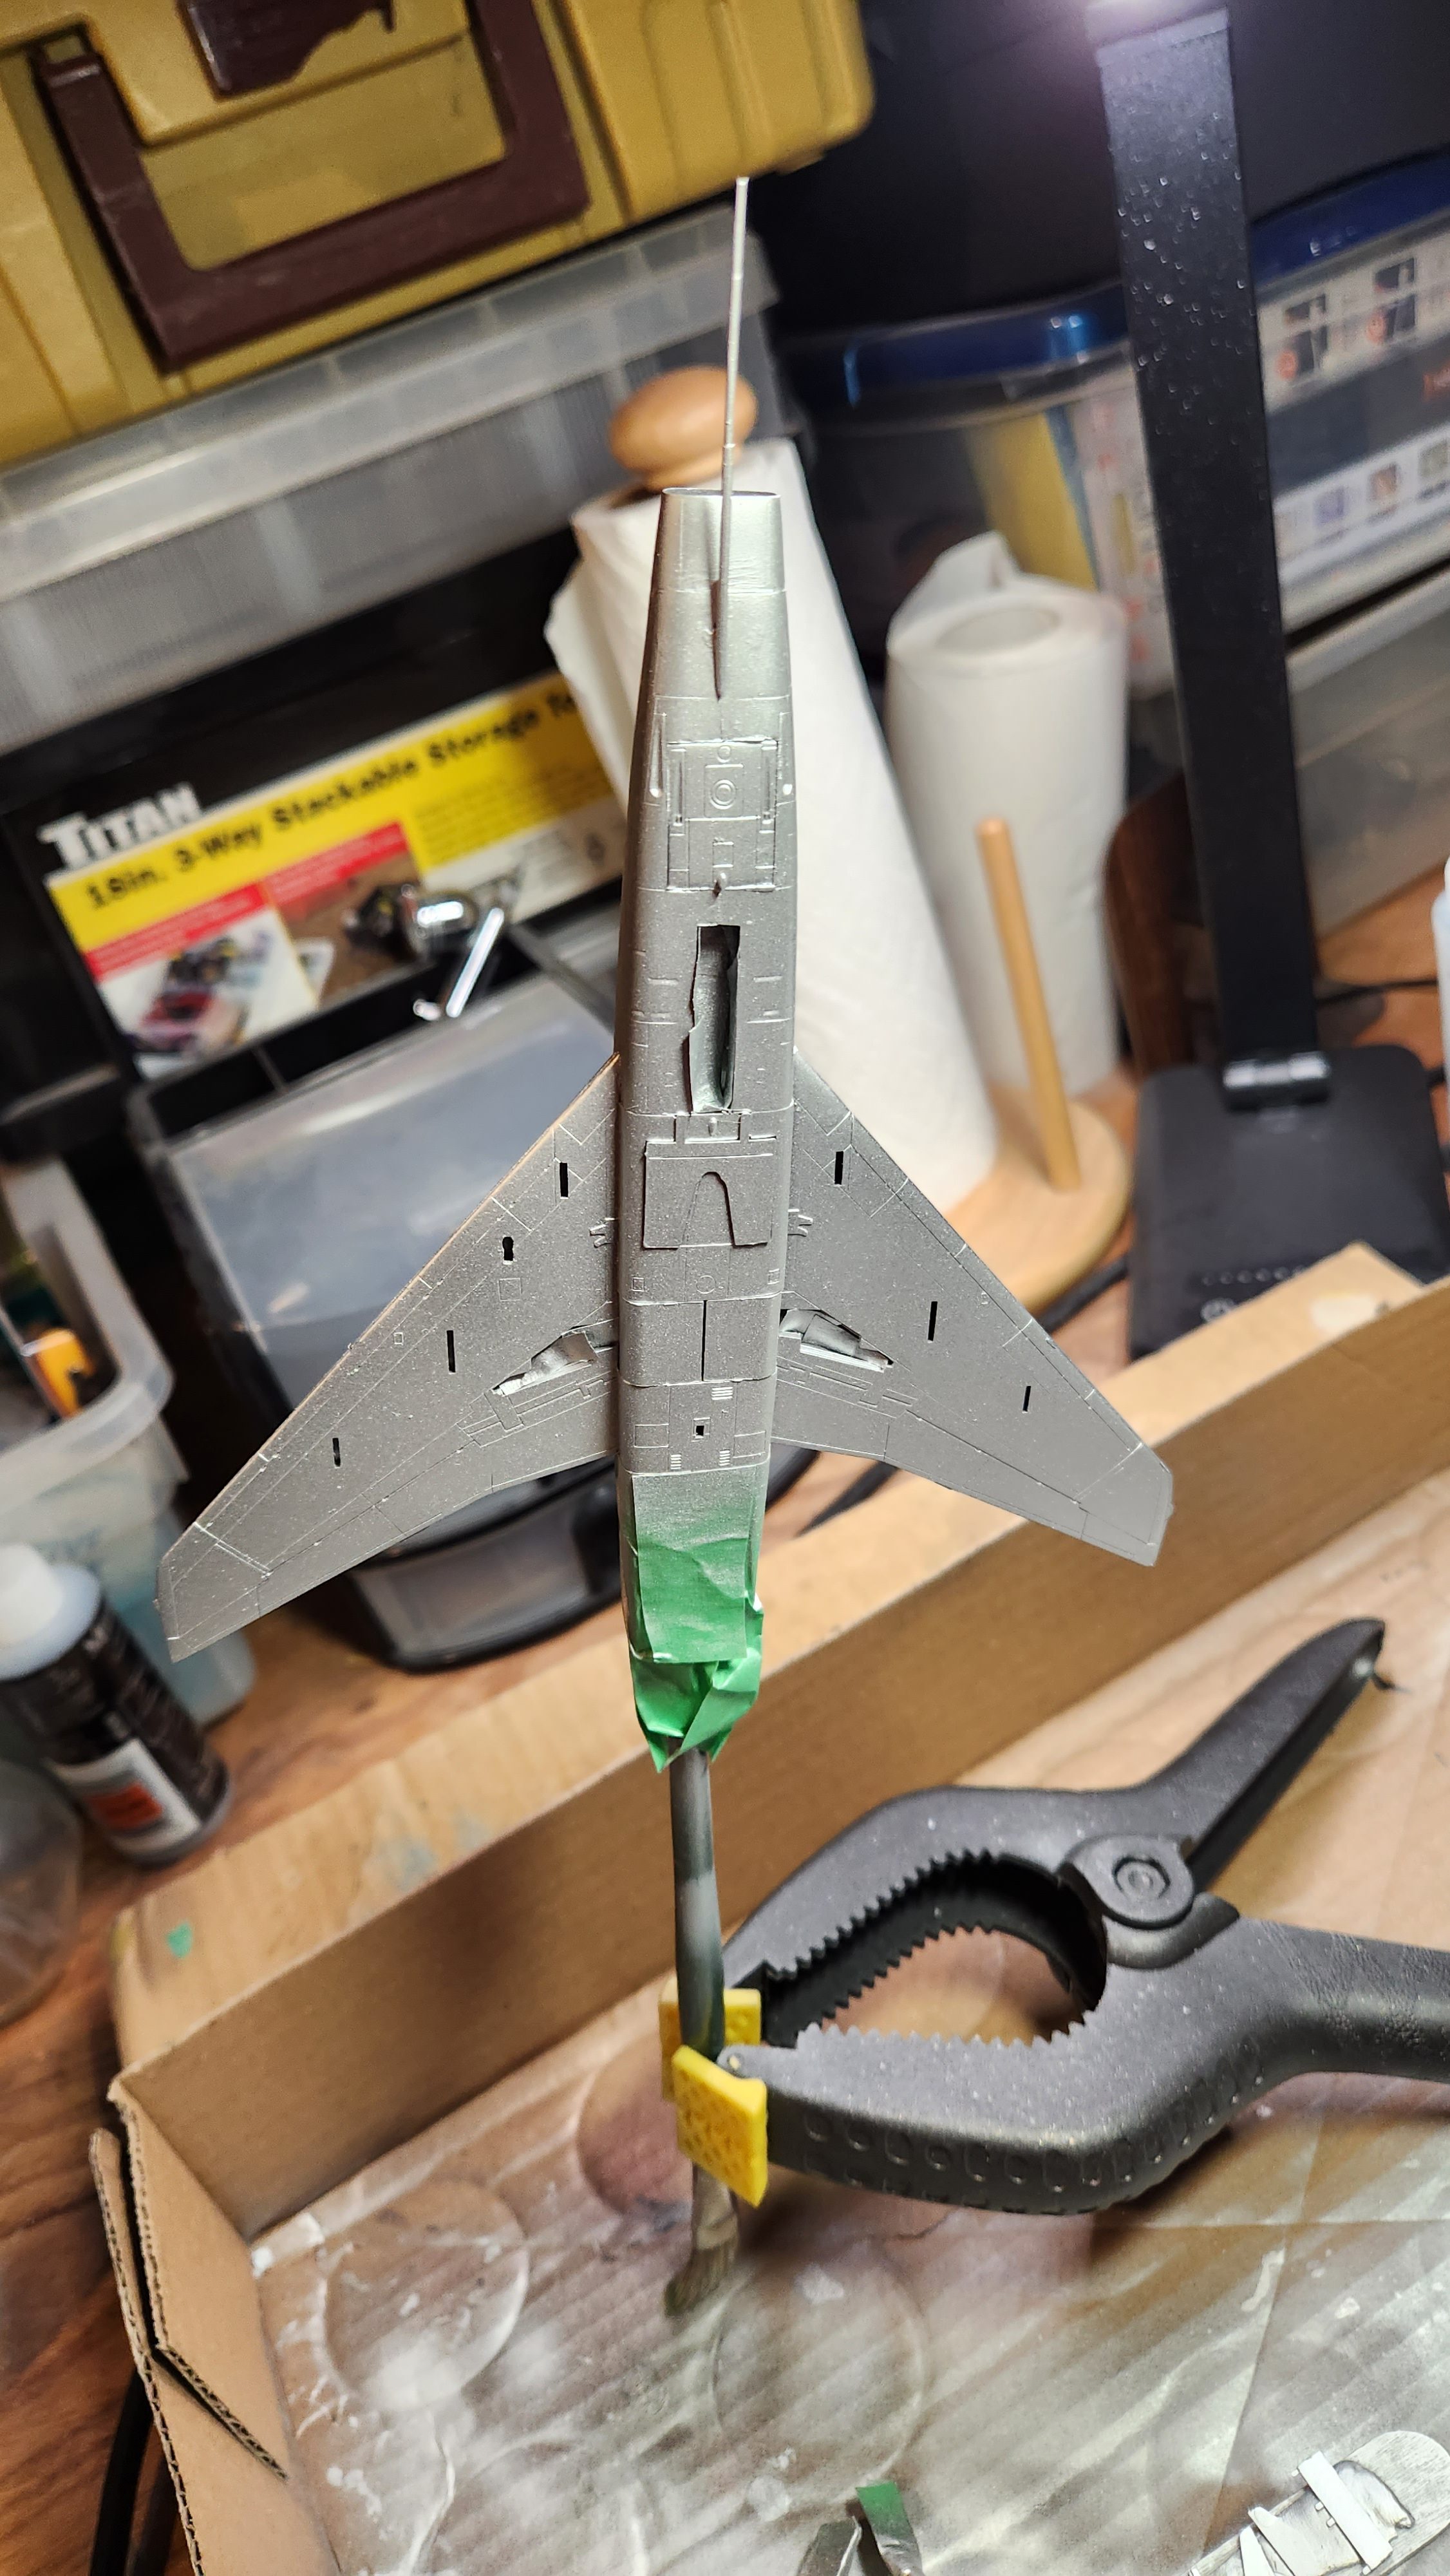
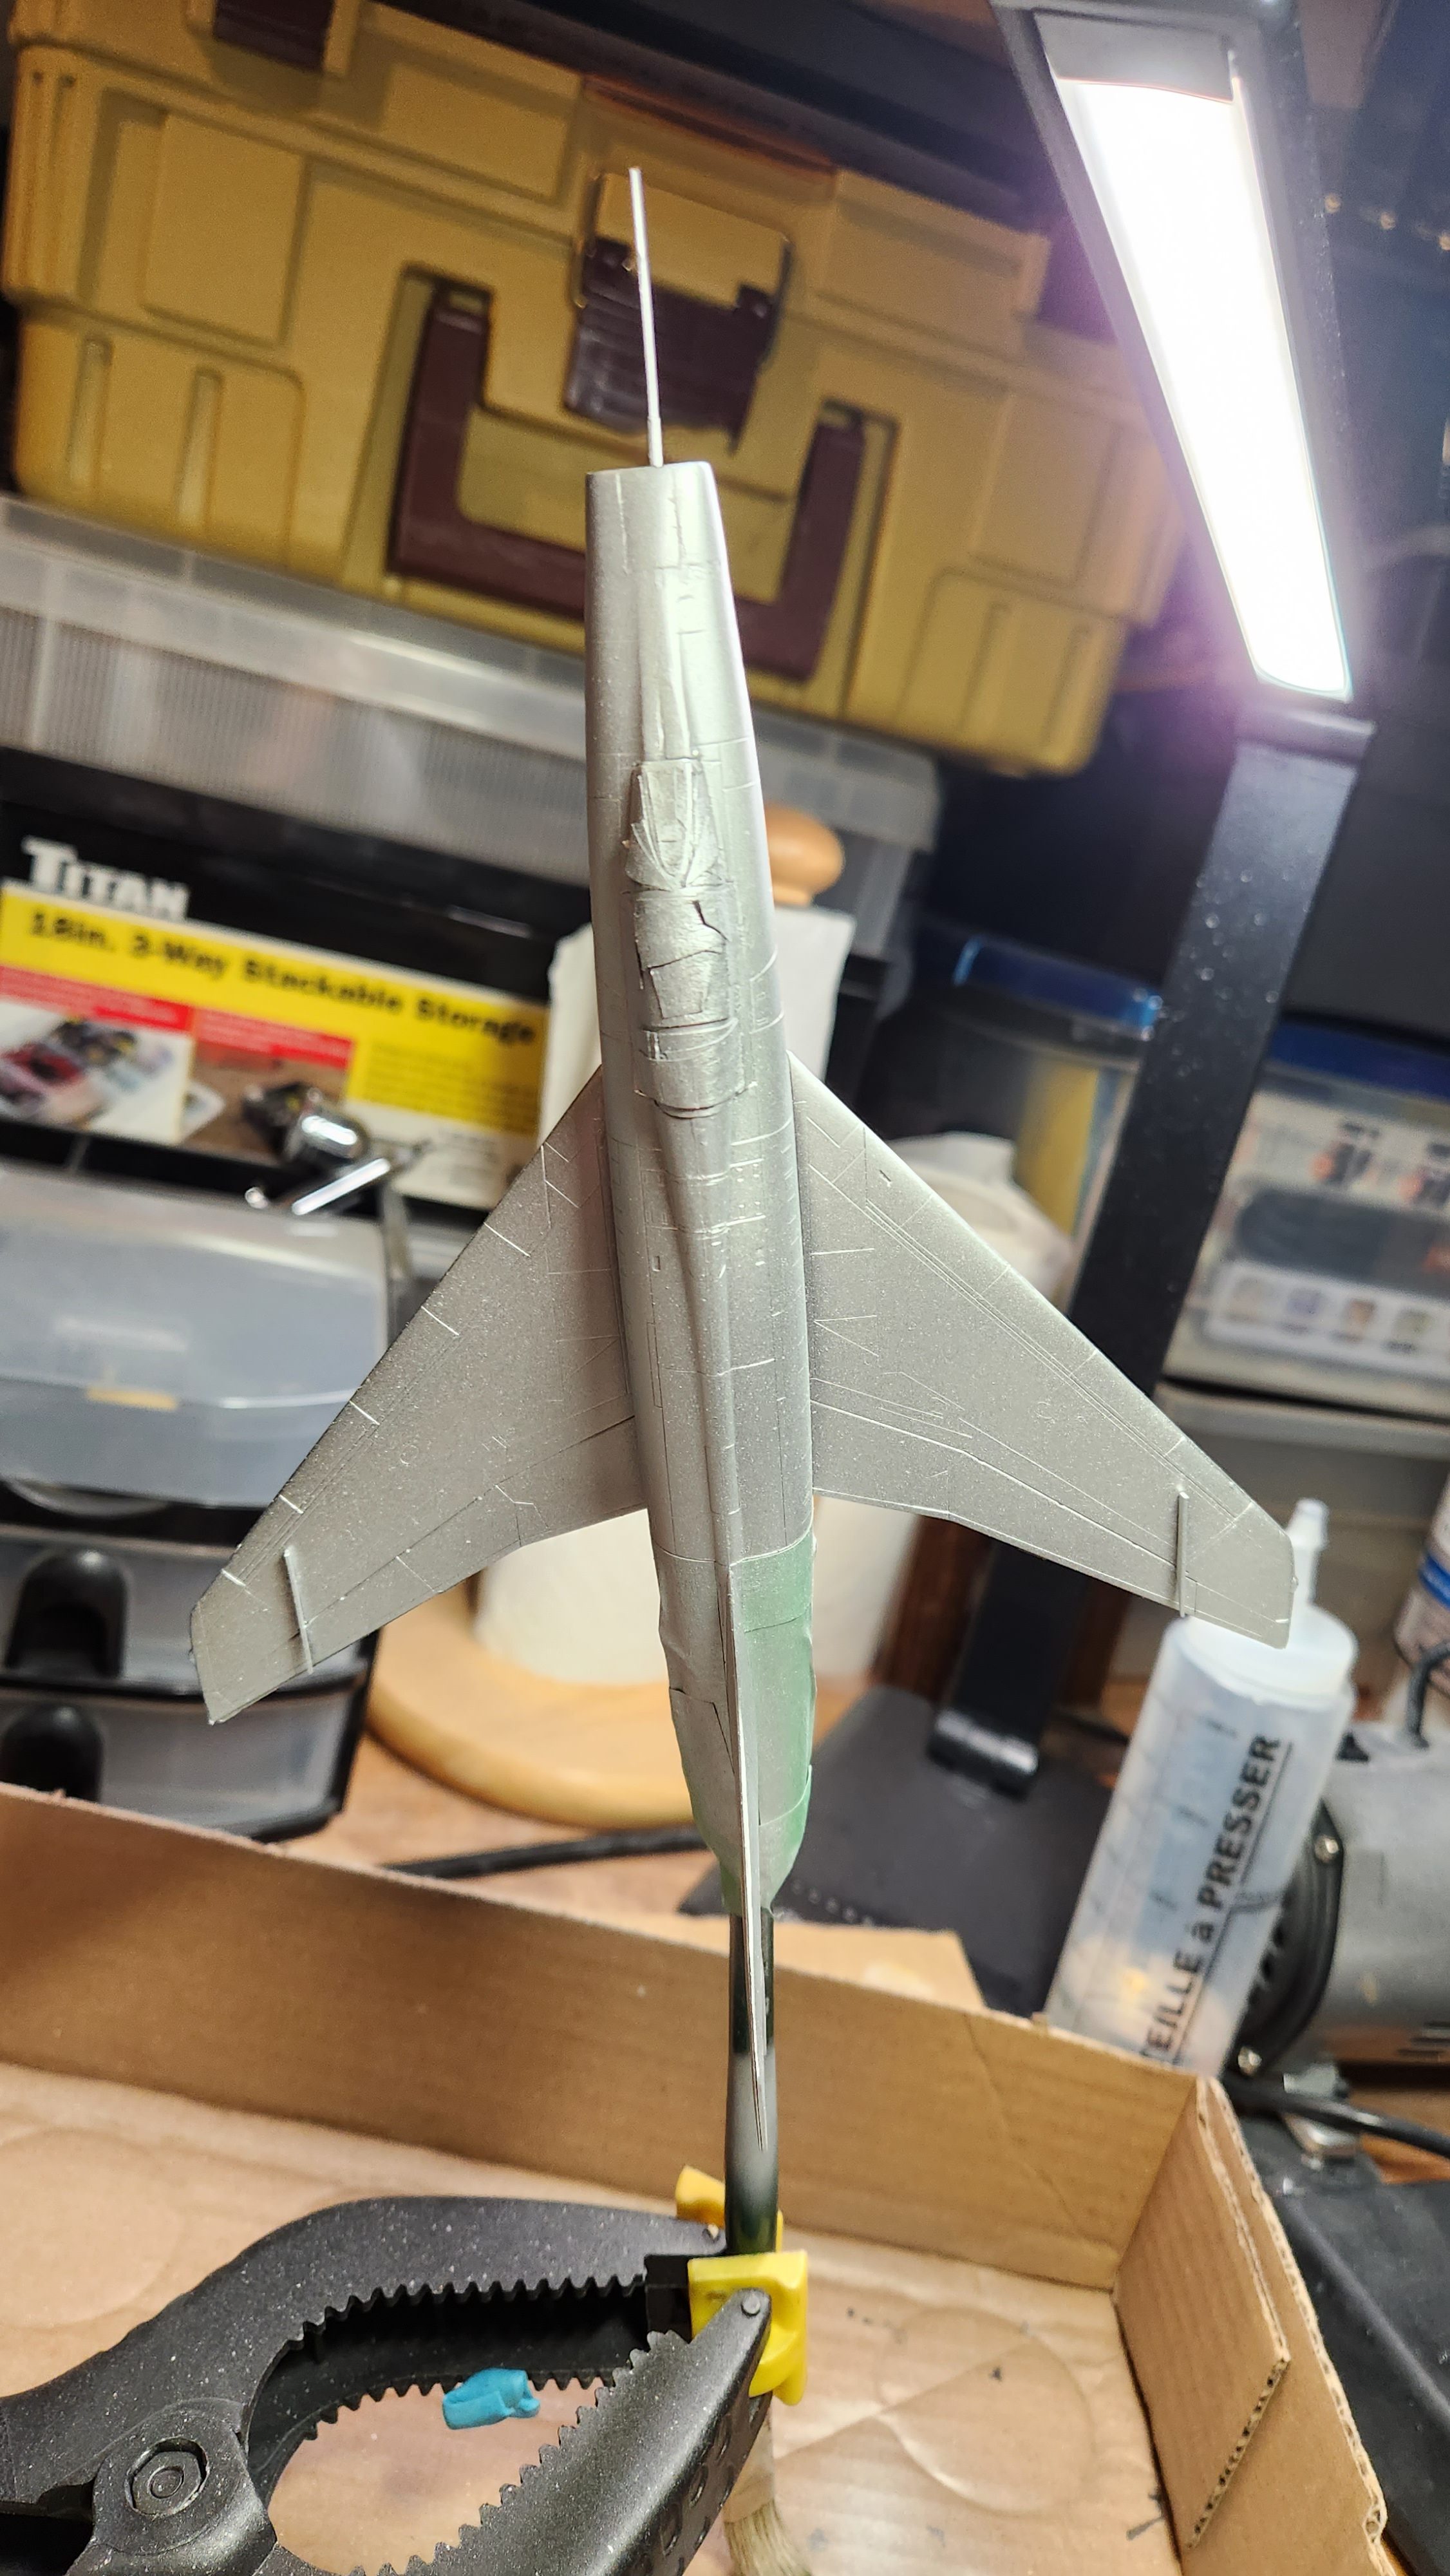
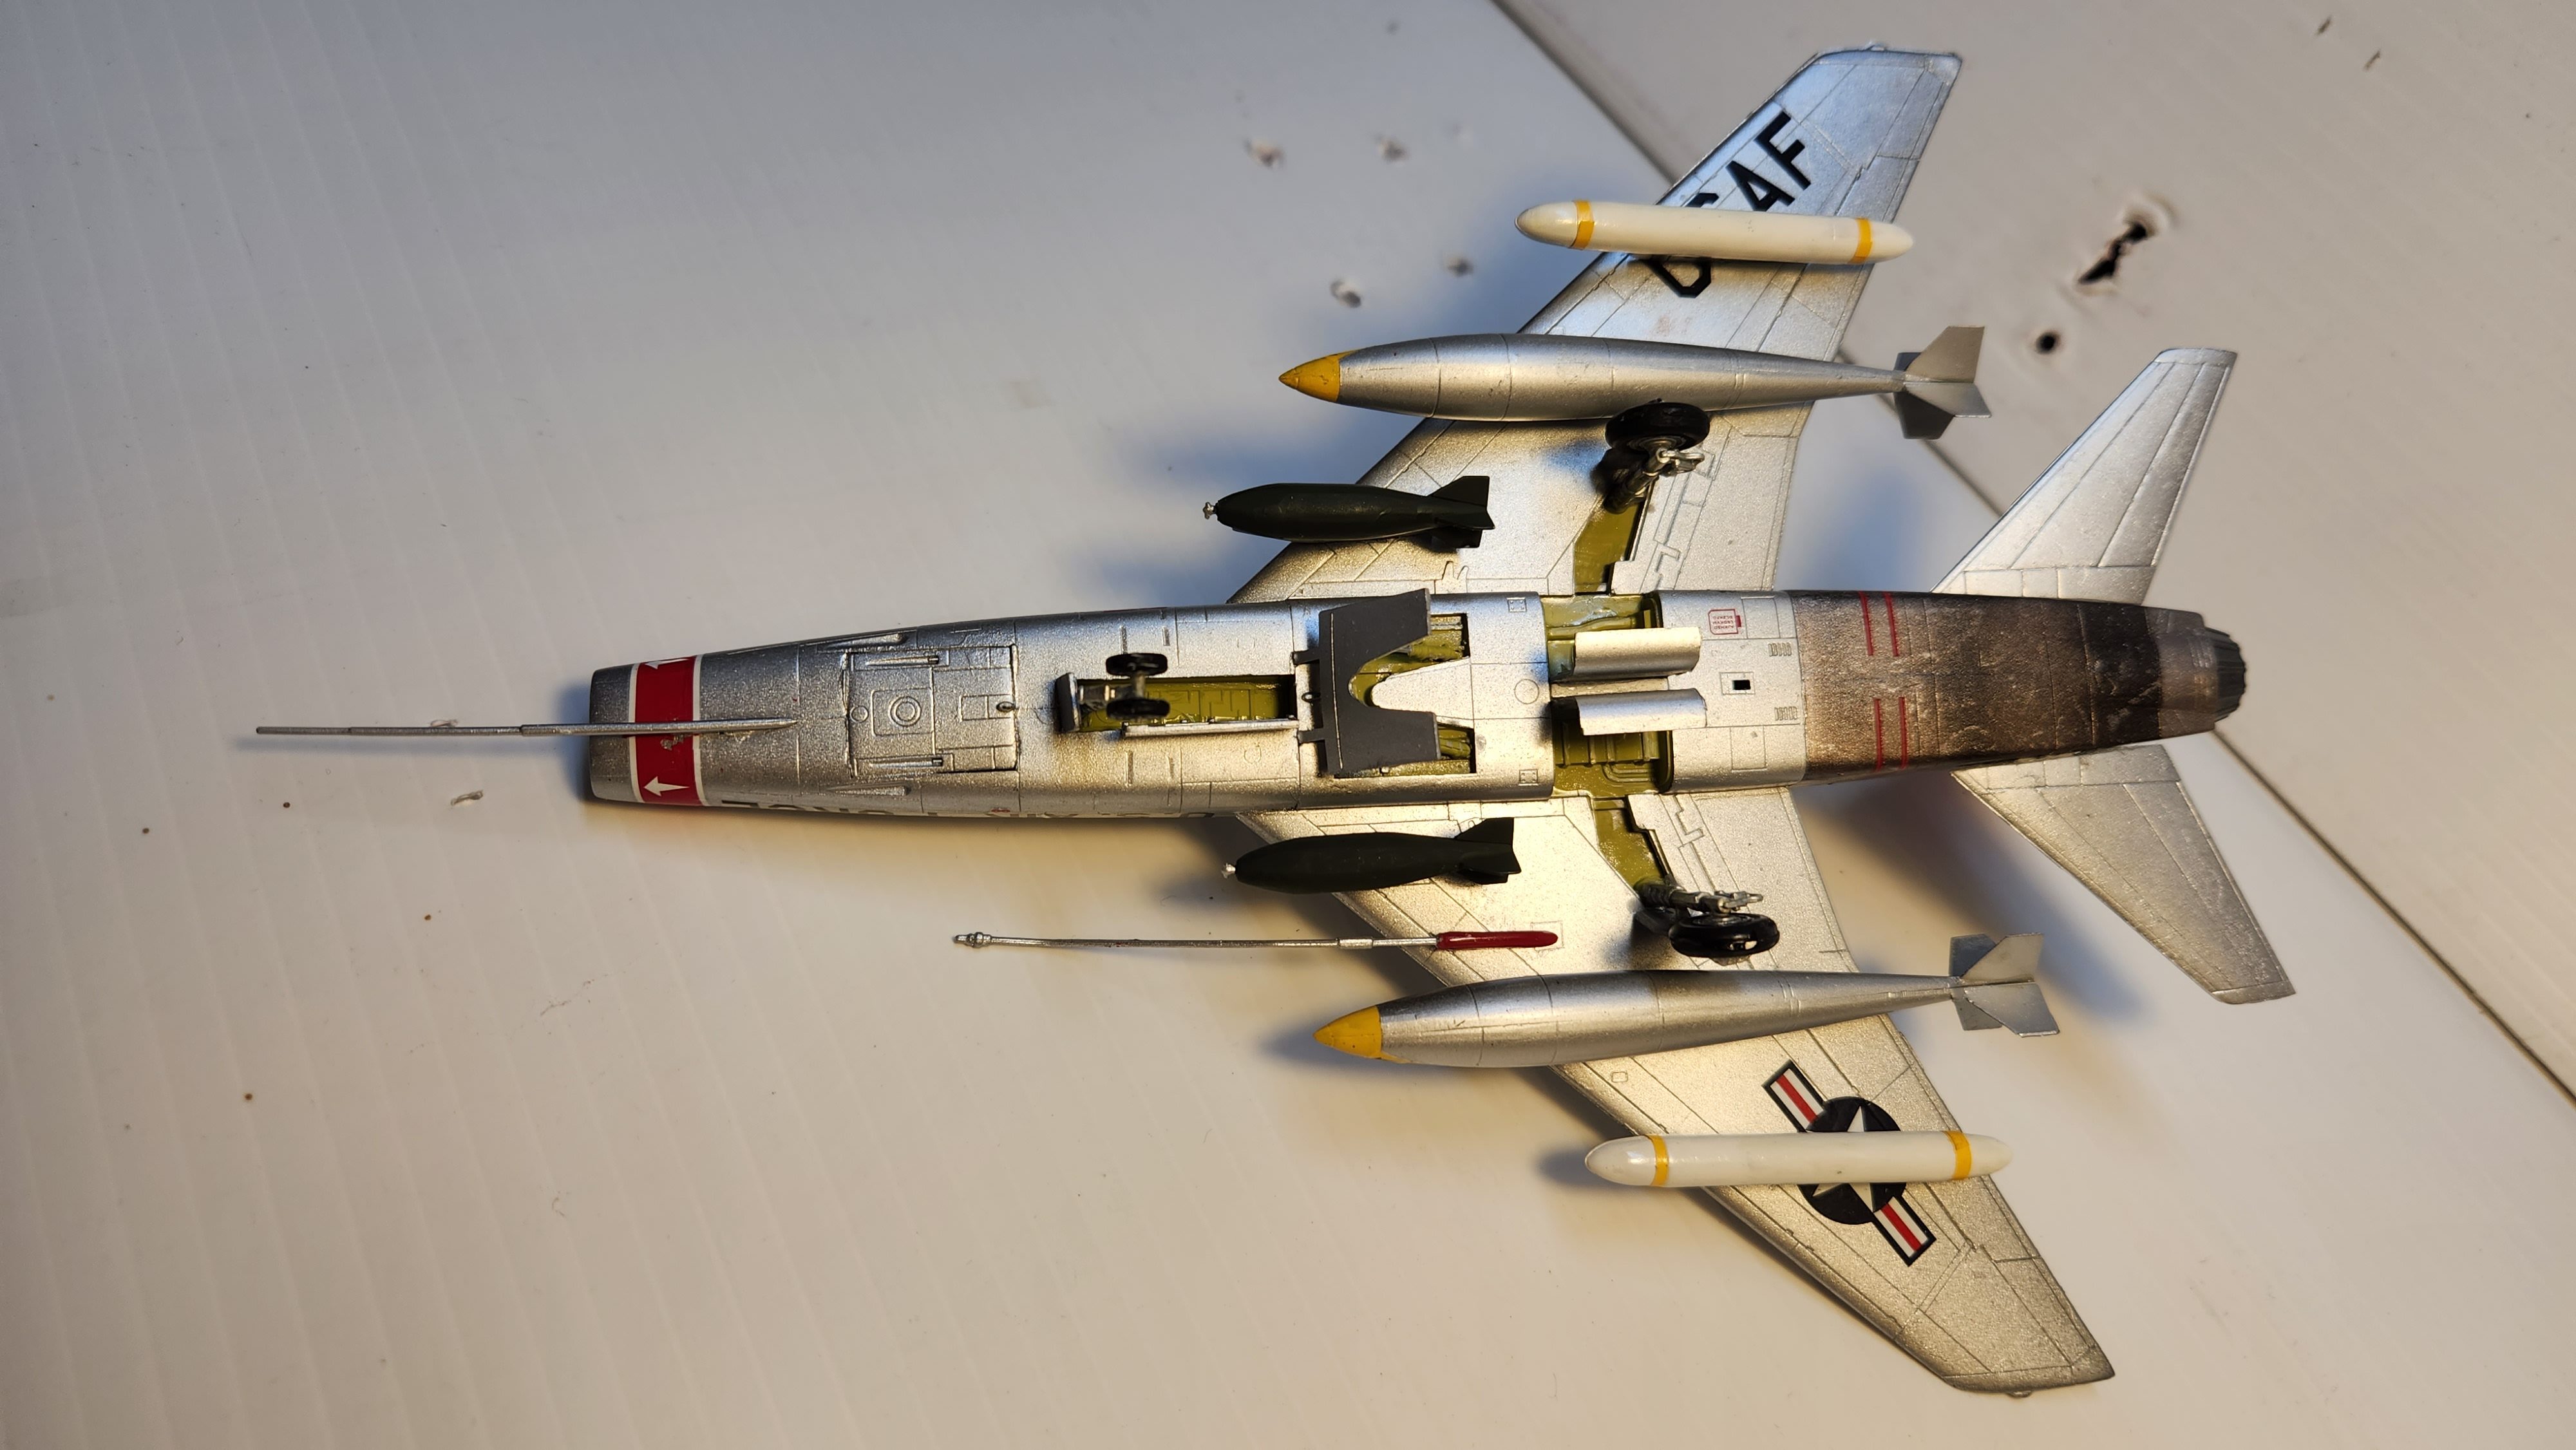
Here is the assembled fuselage and wings. Went together very well — just needed a little putting where it joined the body. Also a bit of trimming where the wings did not perfectly align.
Airbrushed Vallejo gloss black primer in preparation for a bare metal finish.
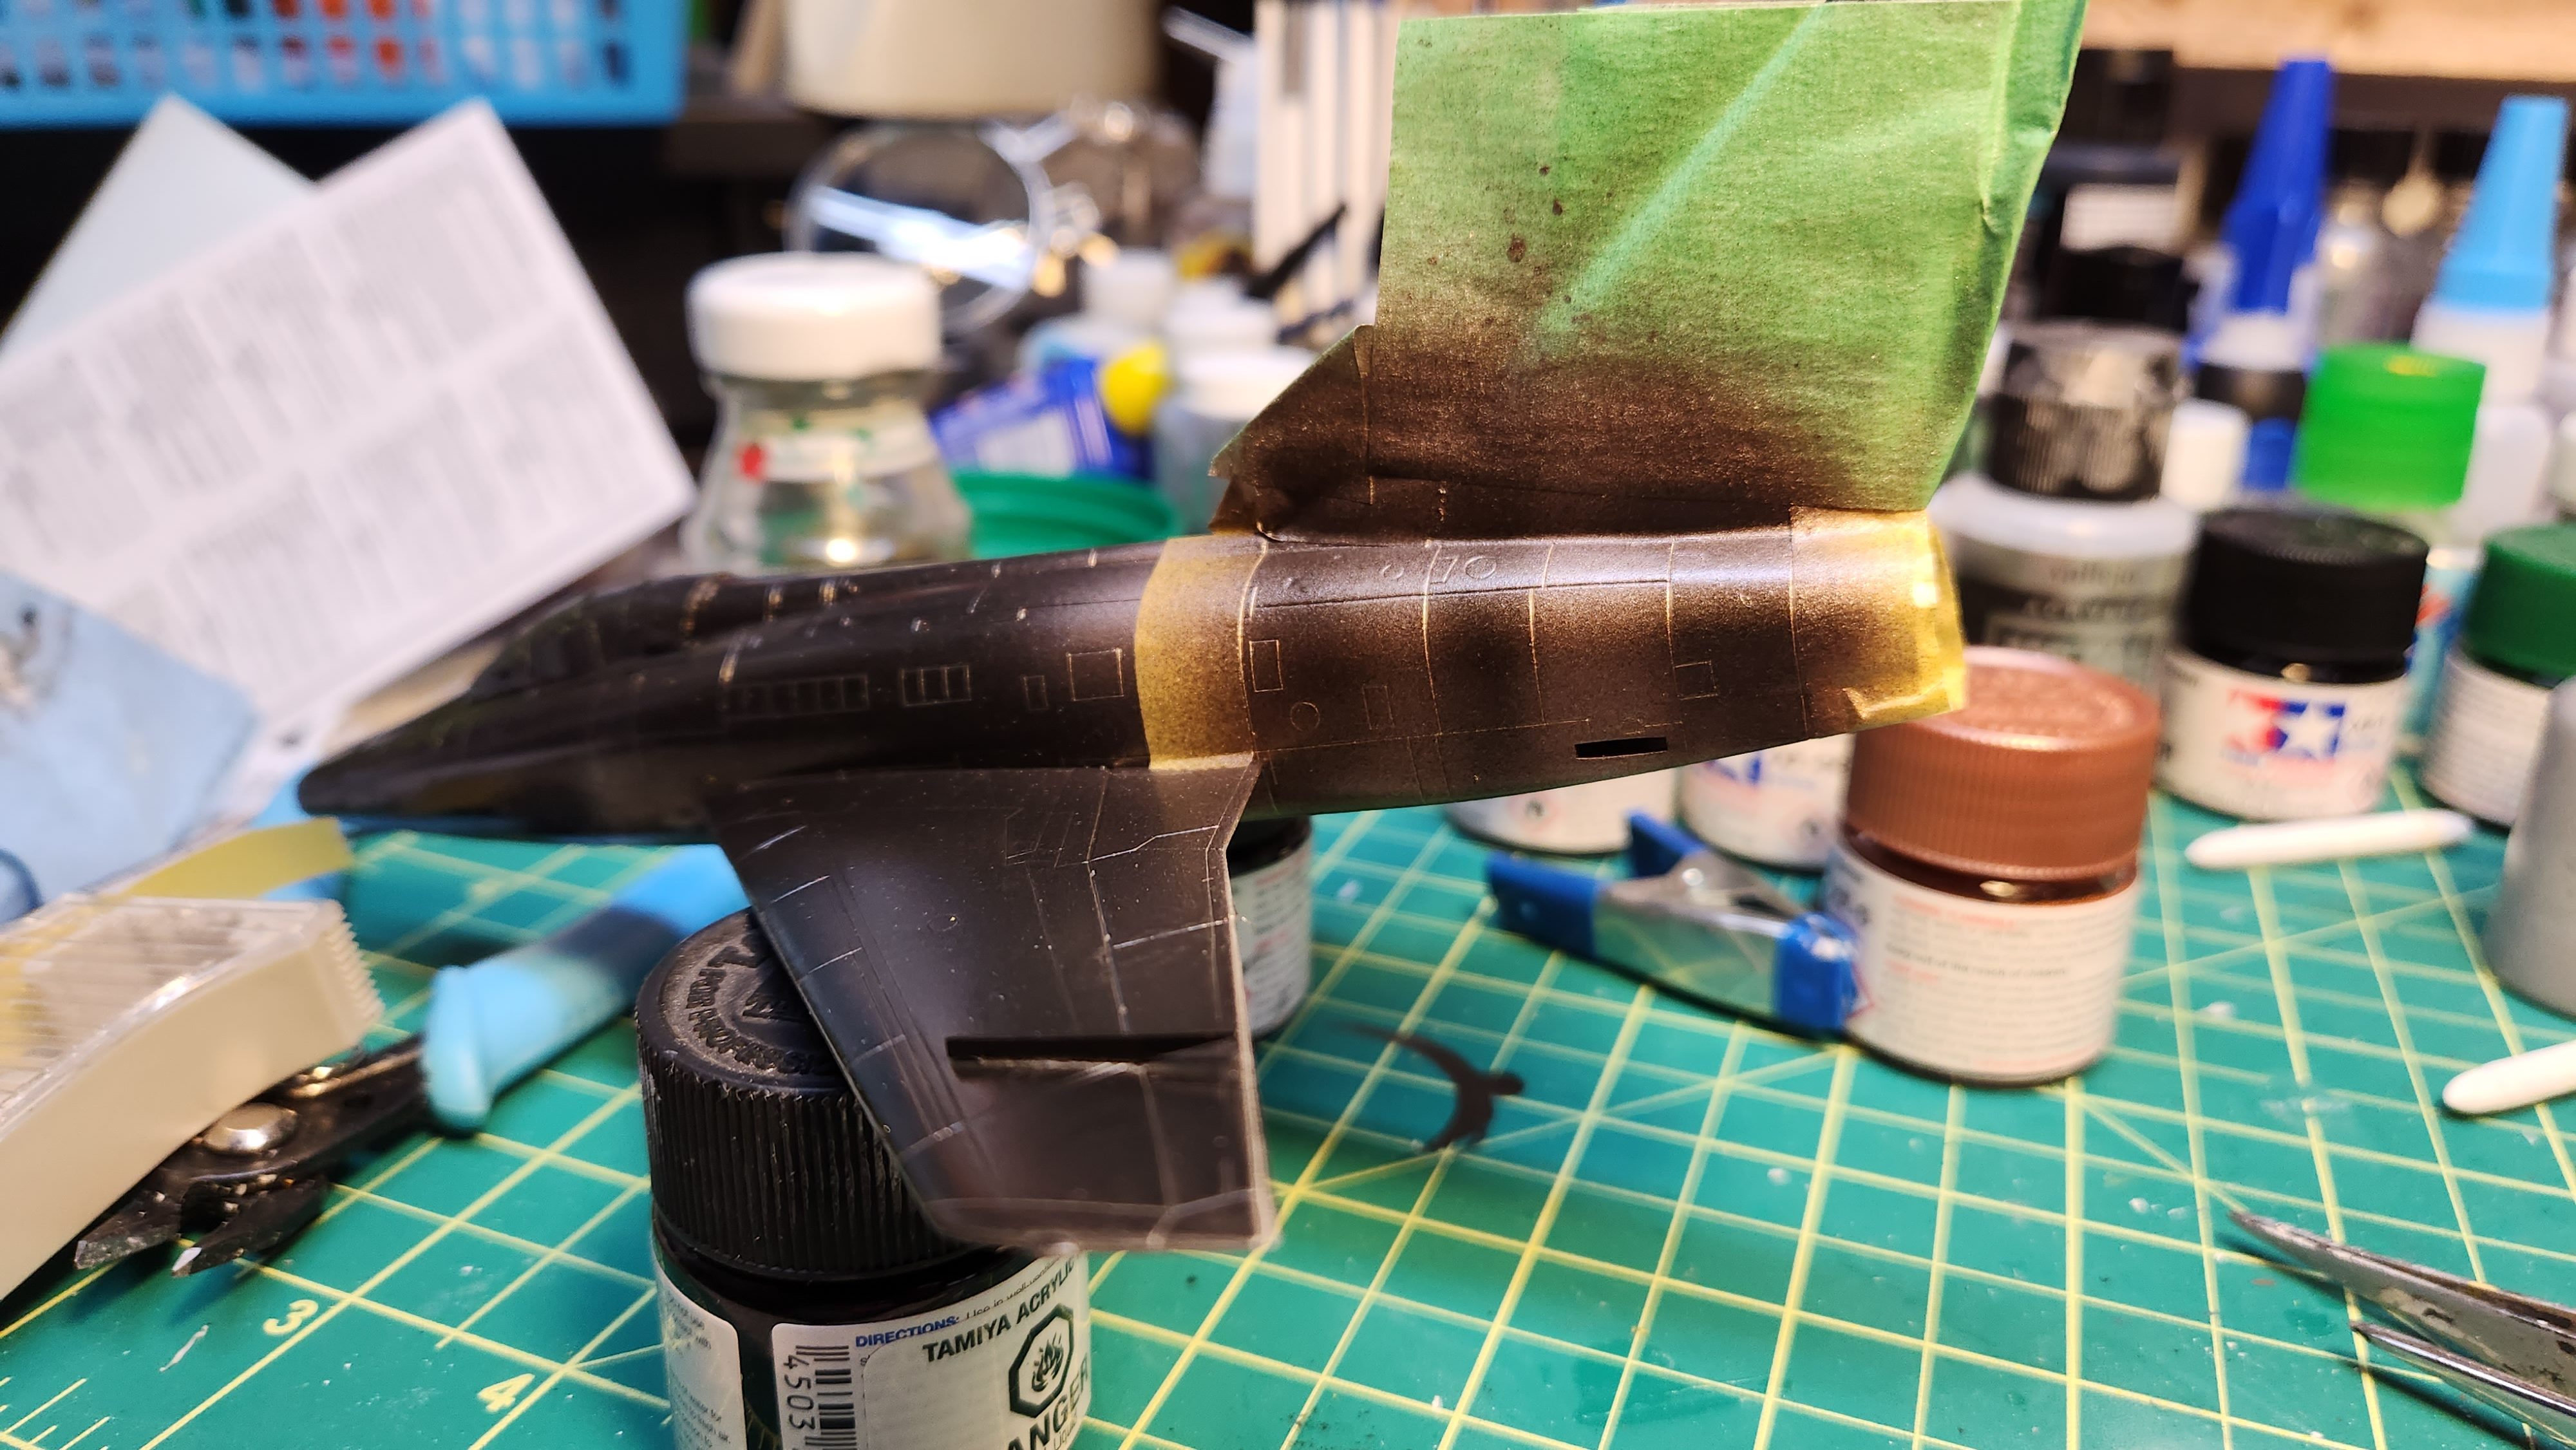
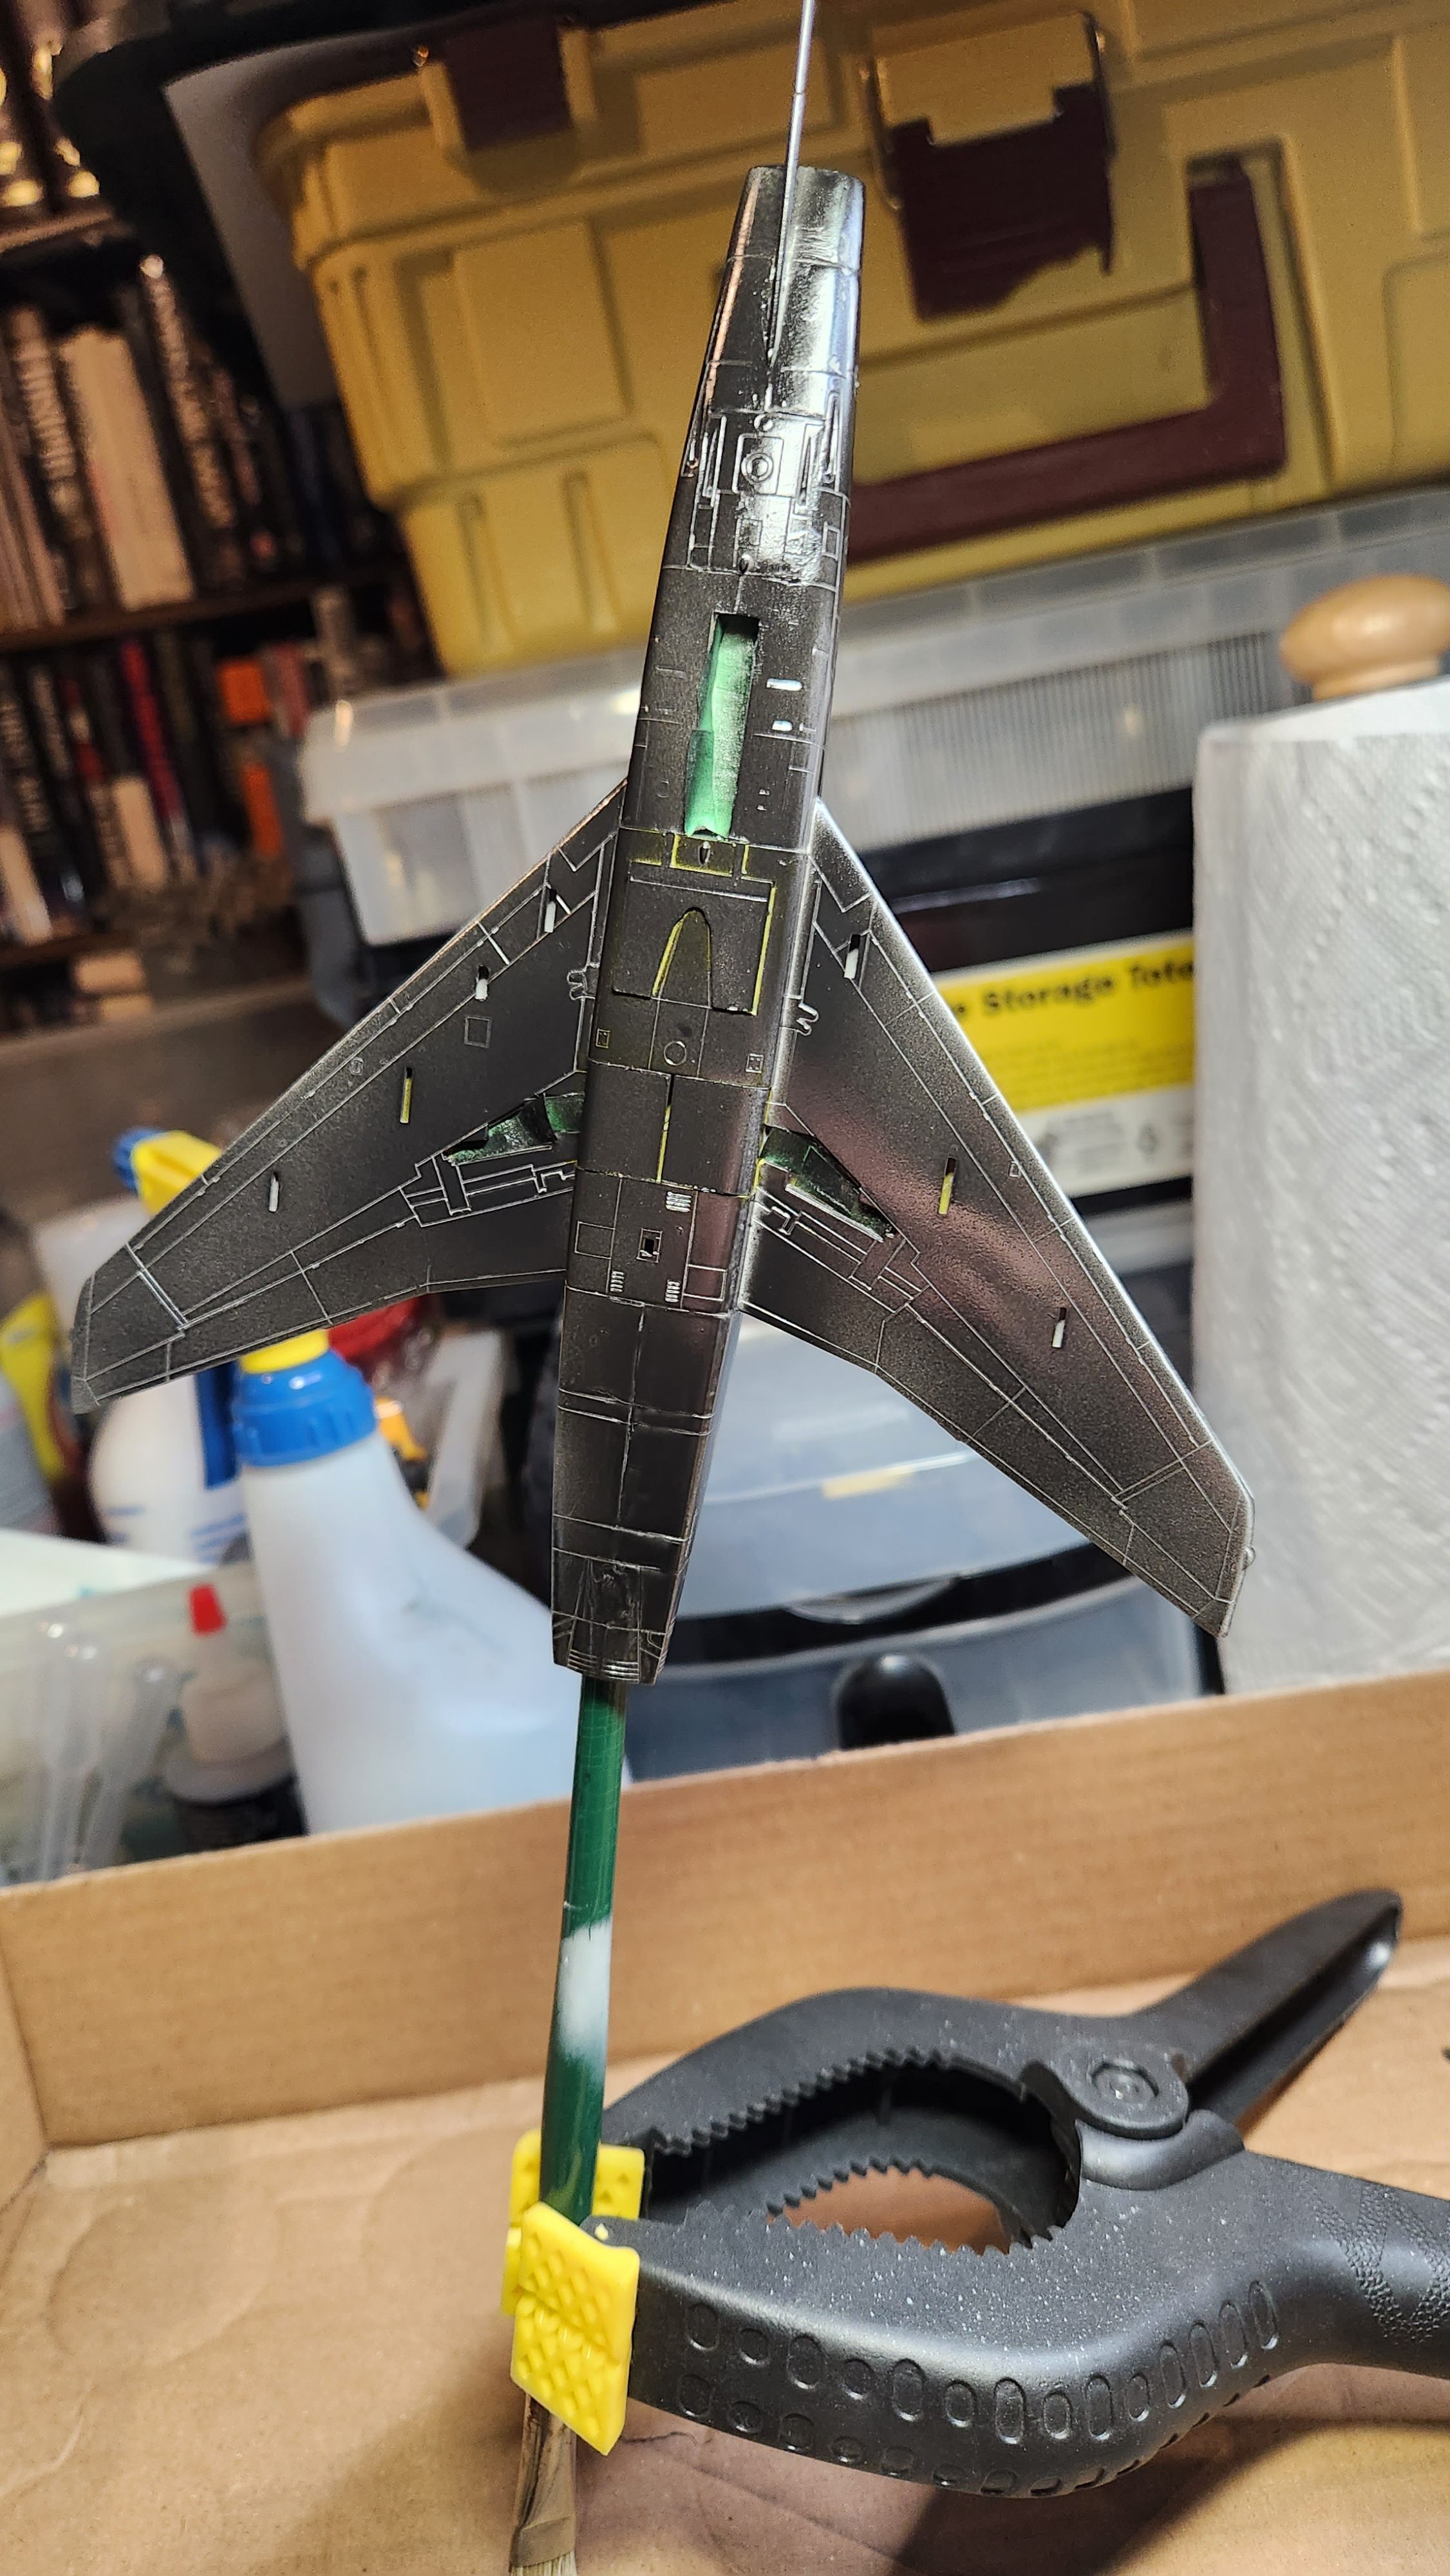
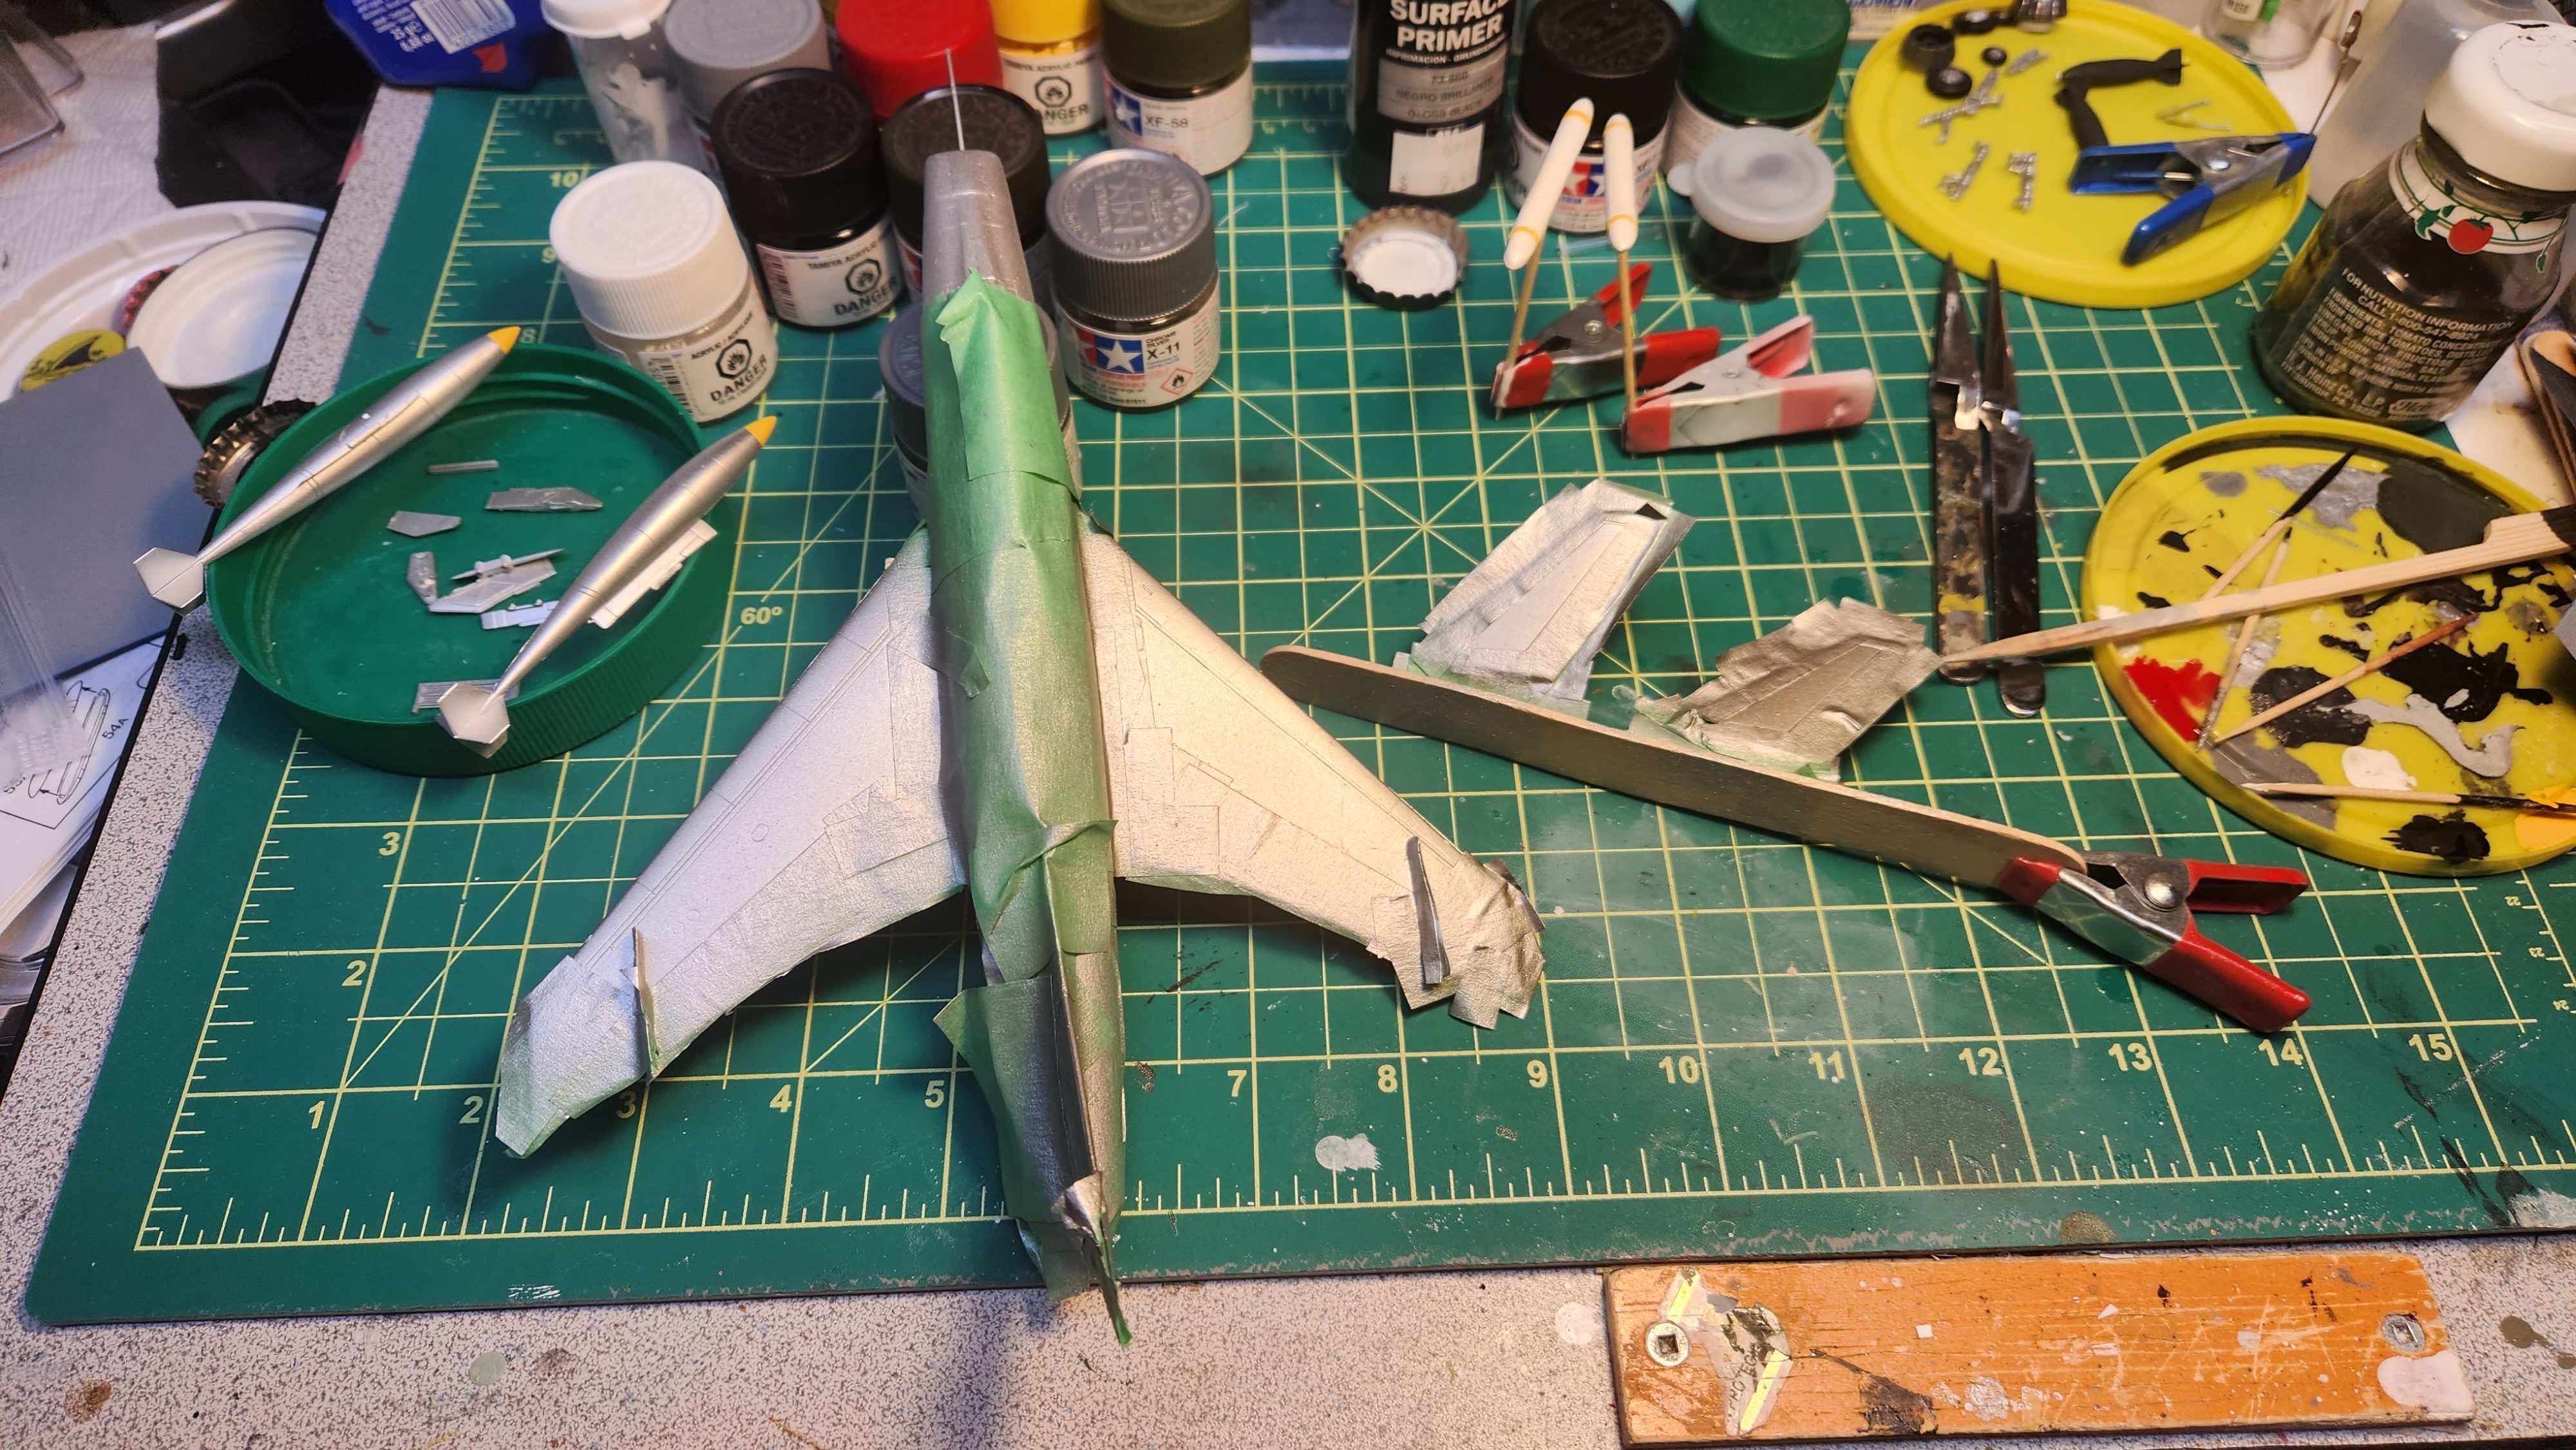
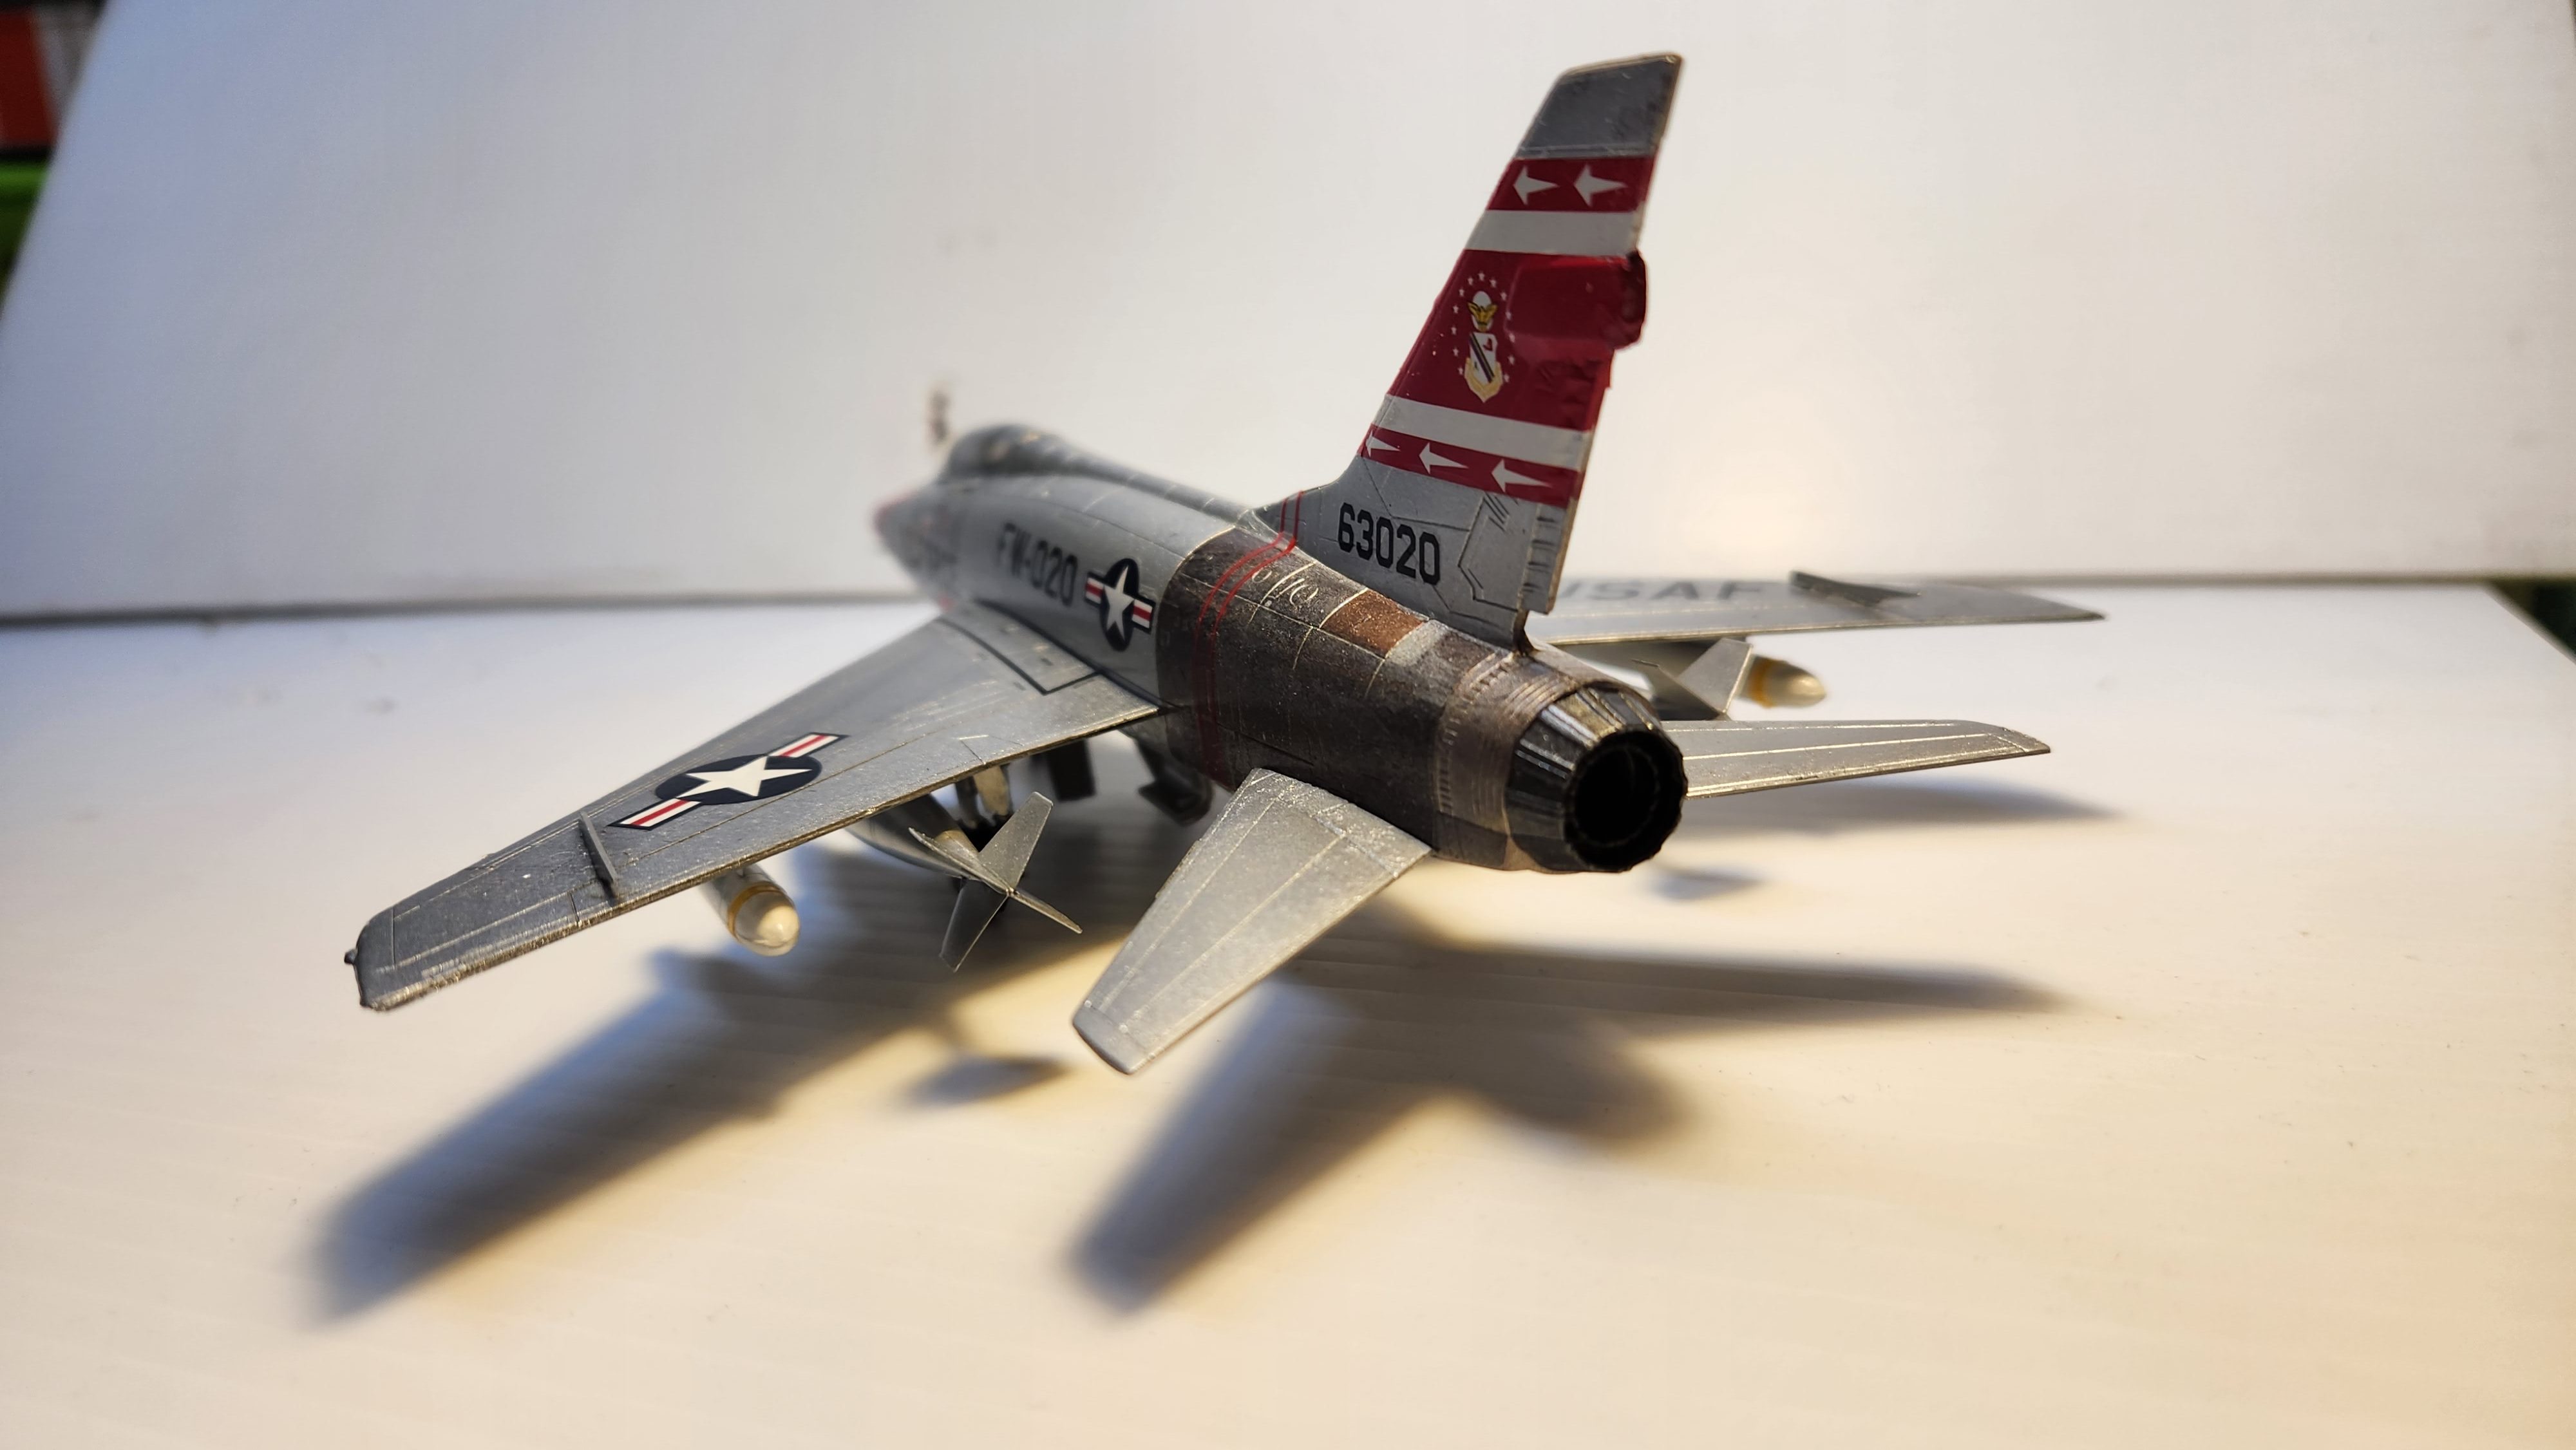
Here I am doing the weird engine section where the heat from the engine discolors the finish. Lots of different patterns and ideas about this, but I mixed some silver, gun metal, and copper to get the effect. Then this section got masked to do the rest of the aircraft.
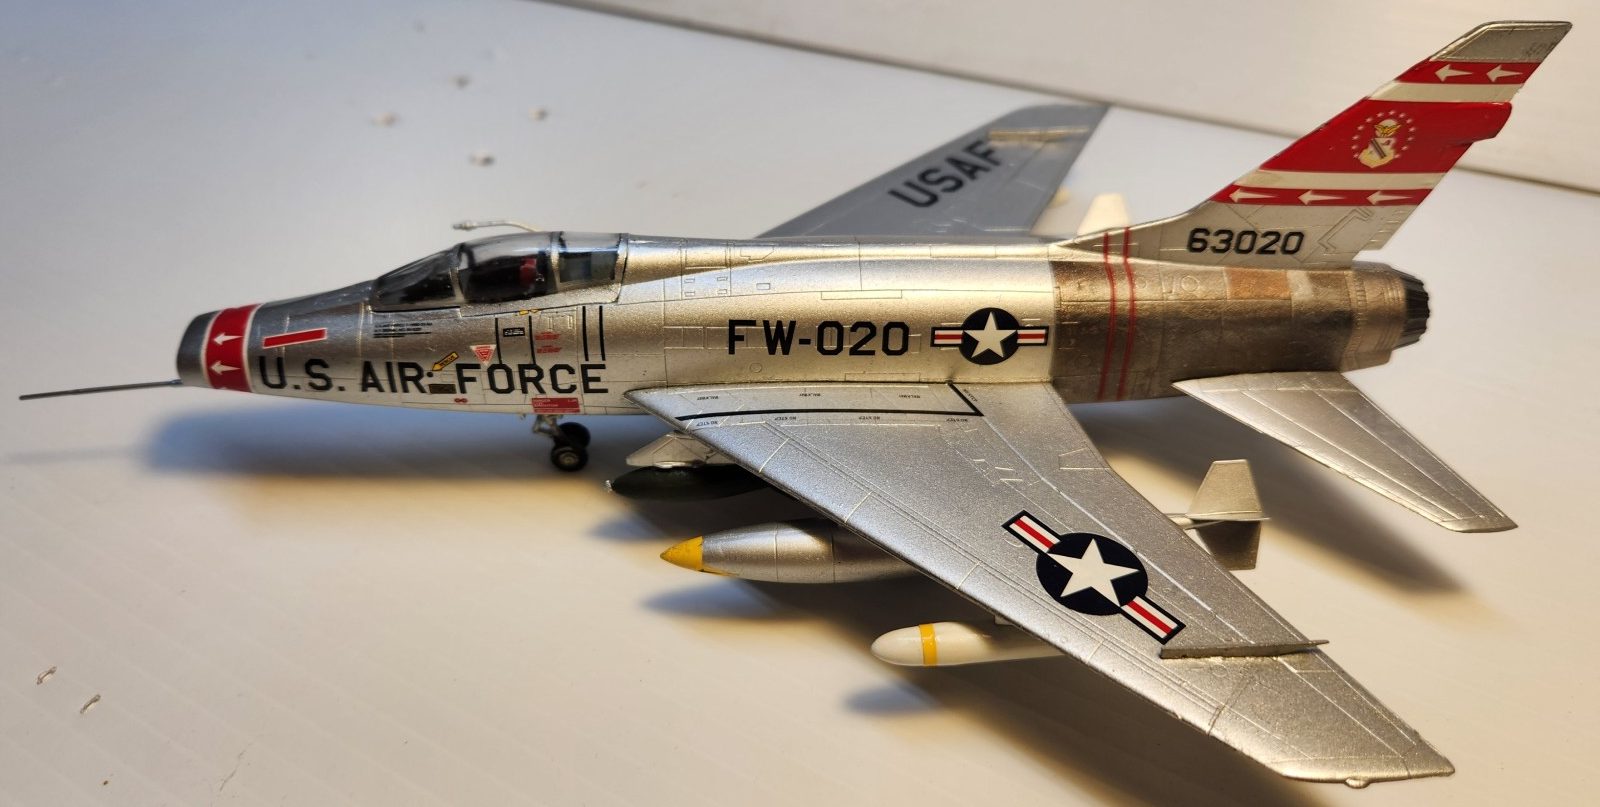
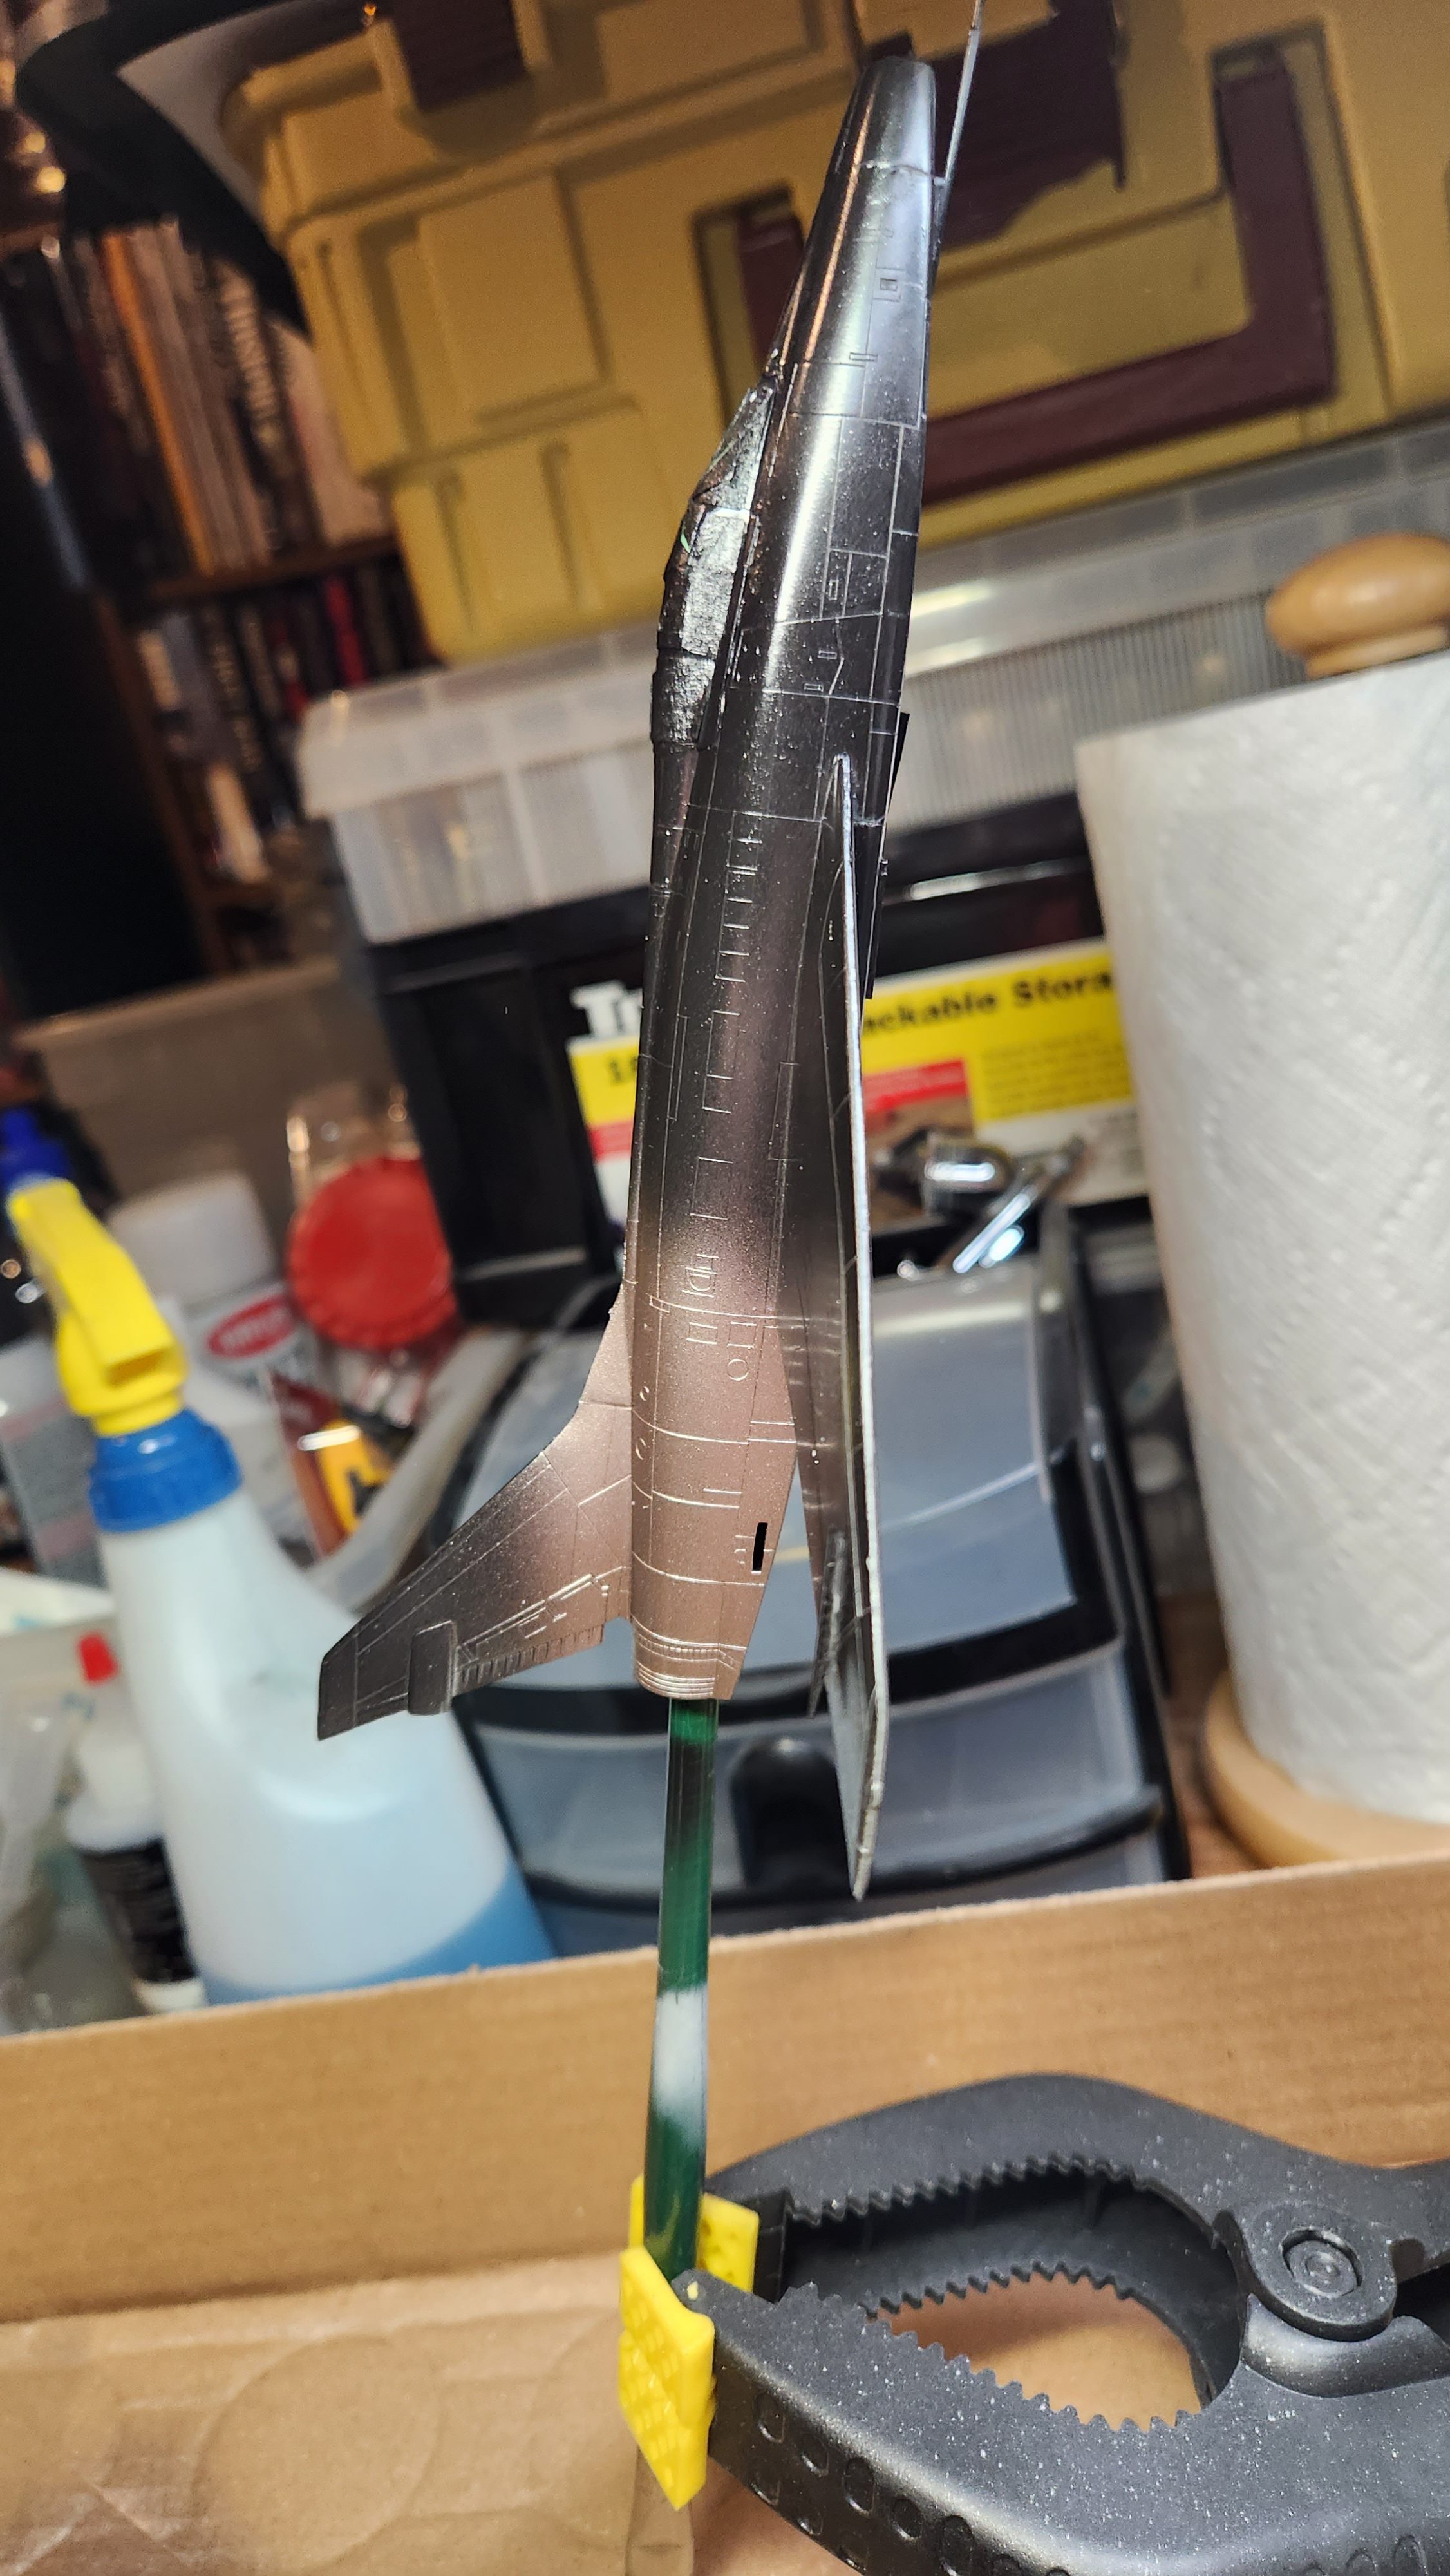
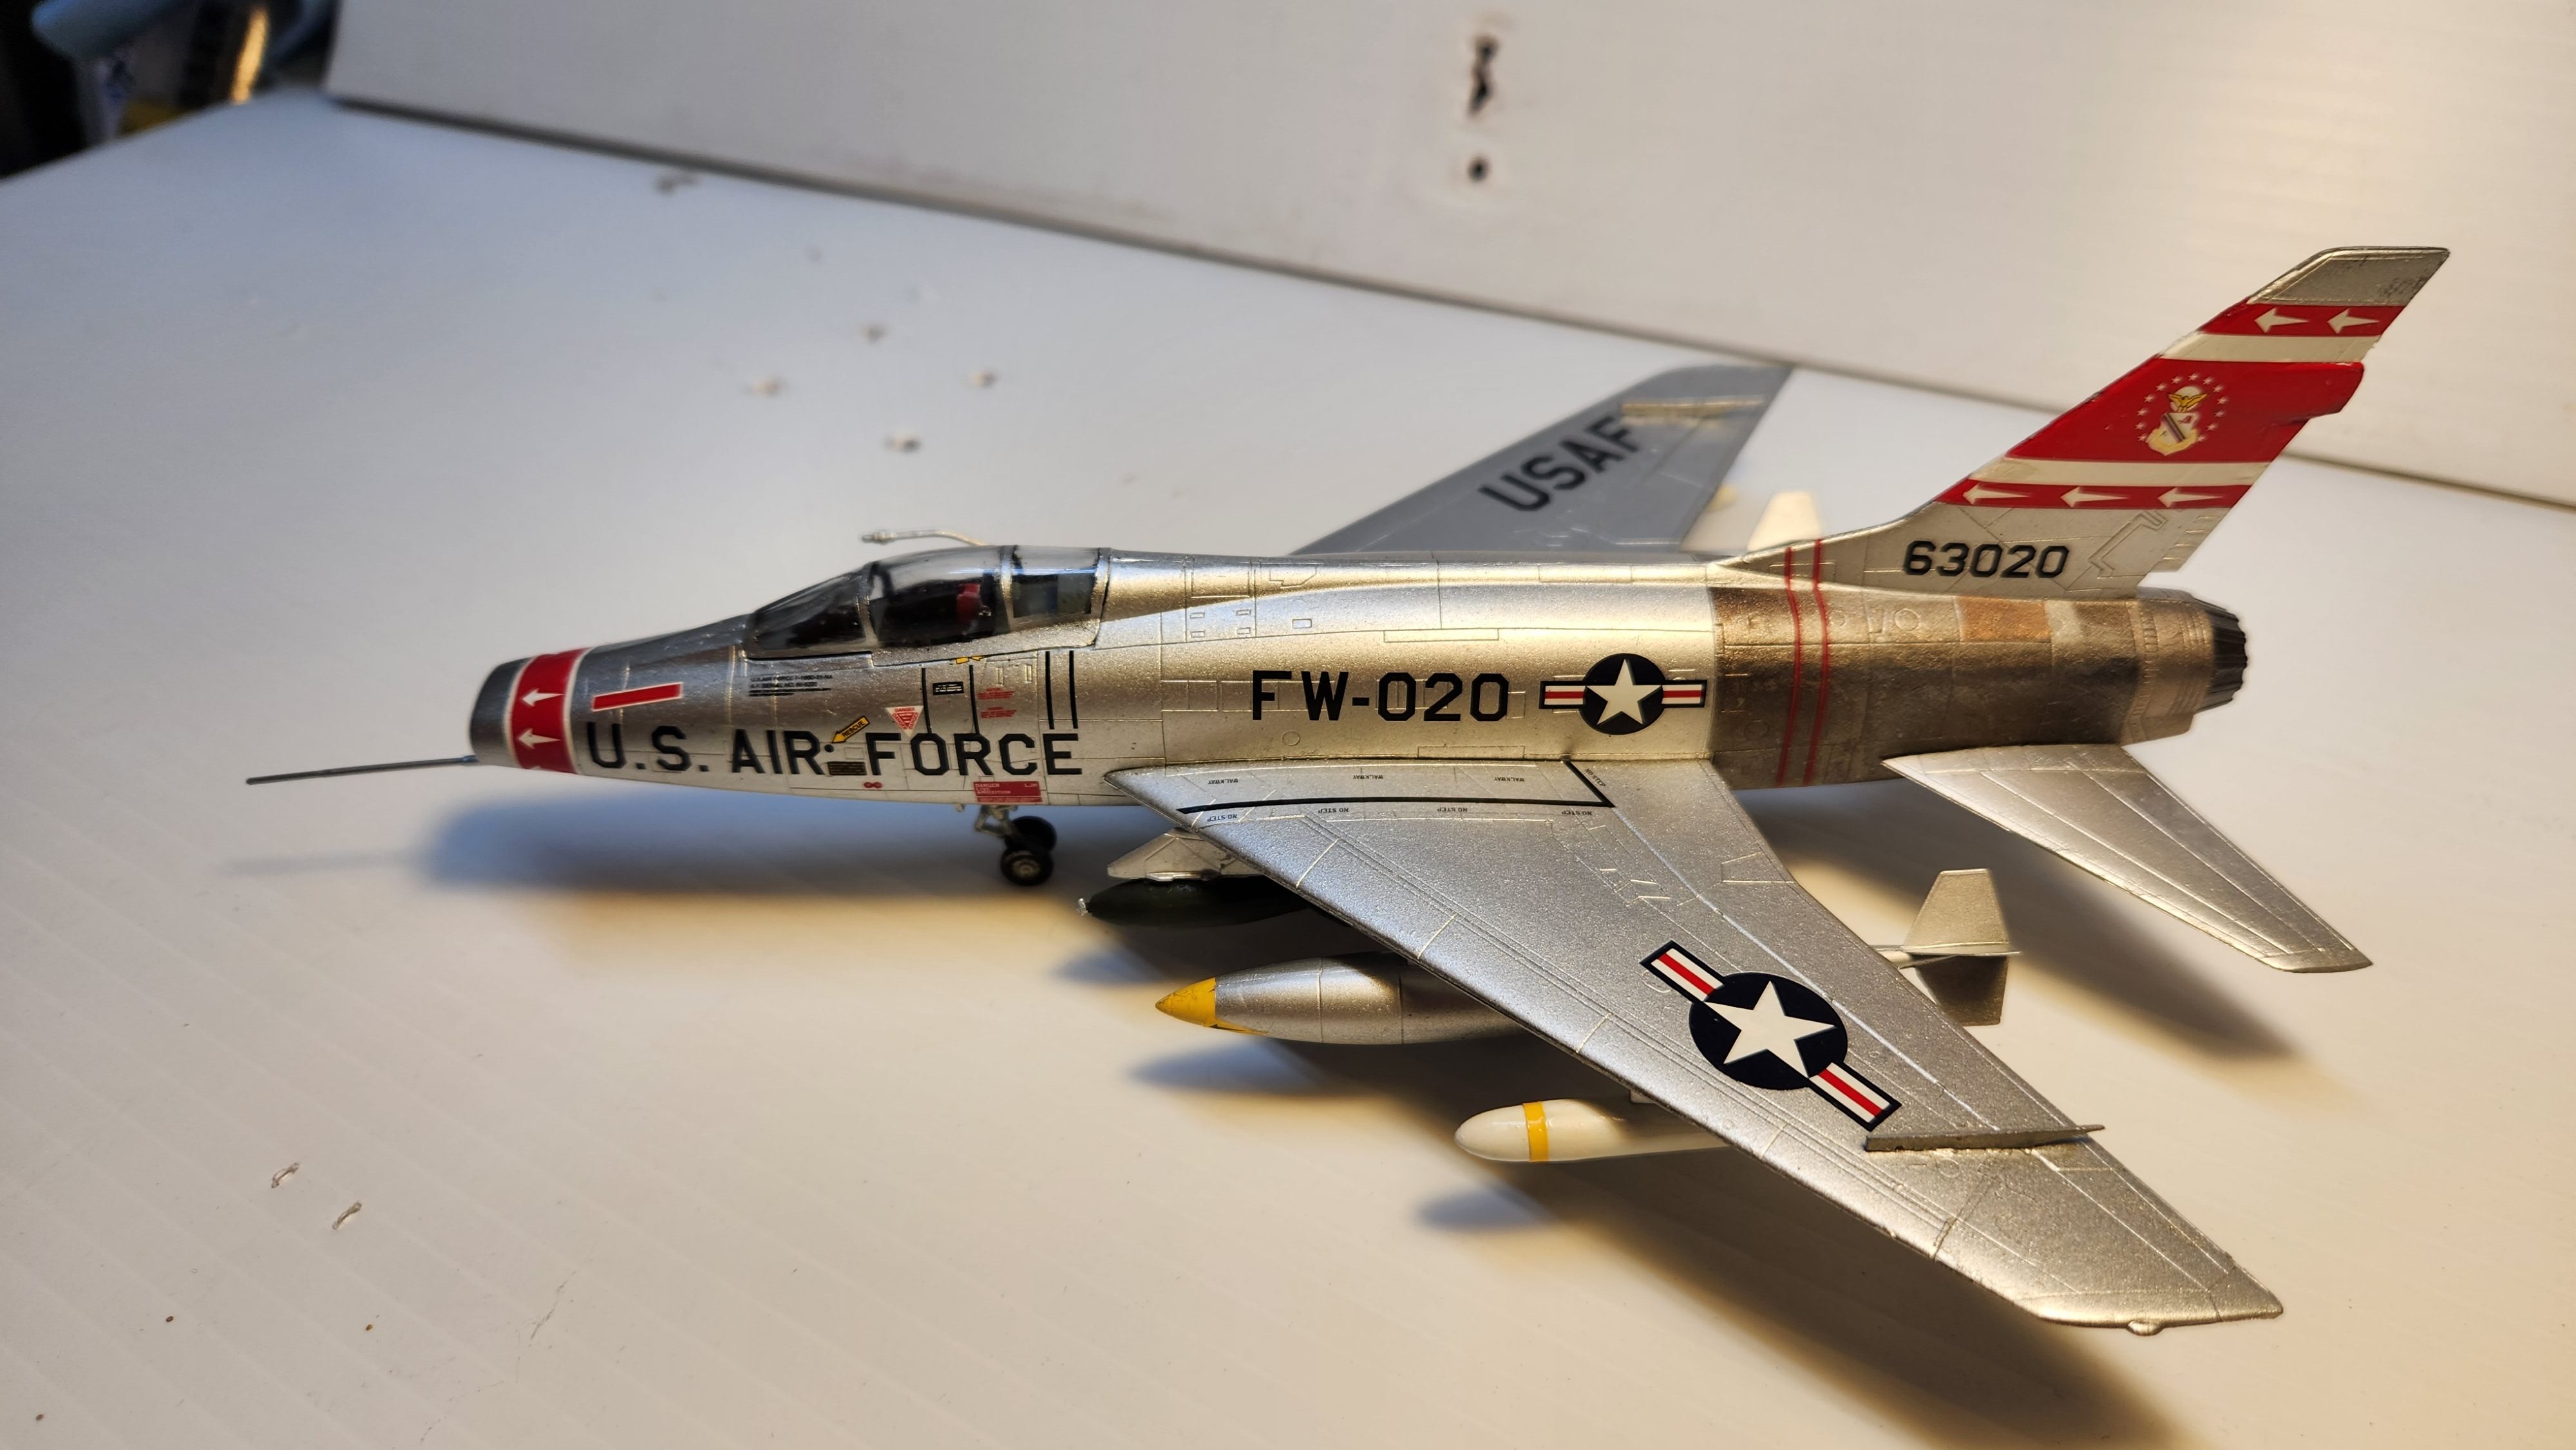
Painted the metal using Tamiya Chrome Silver. I considered using Alclad Aluminum, but I was worried about the primer being acrylic and Alclad being lacquer. After this, the first big mistake. I tried to mask off some panels to get a little variety in the metal finish.
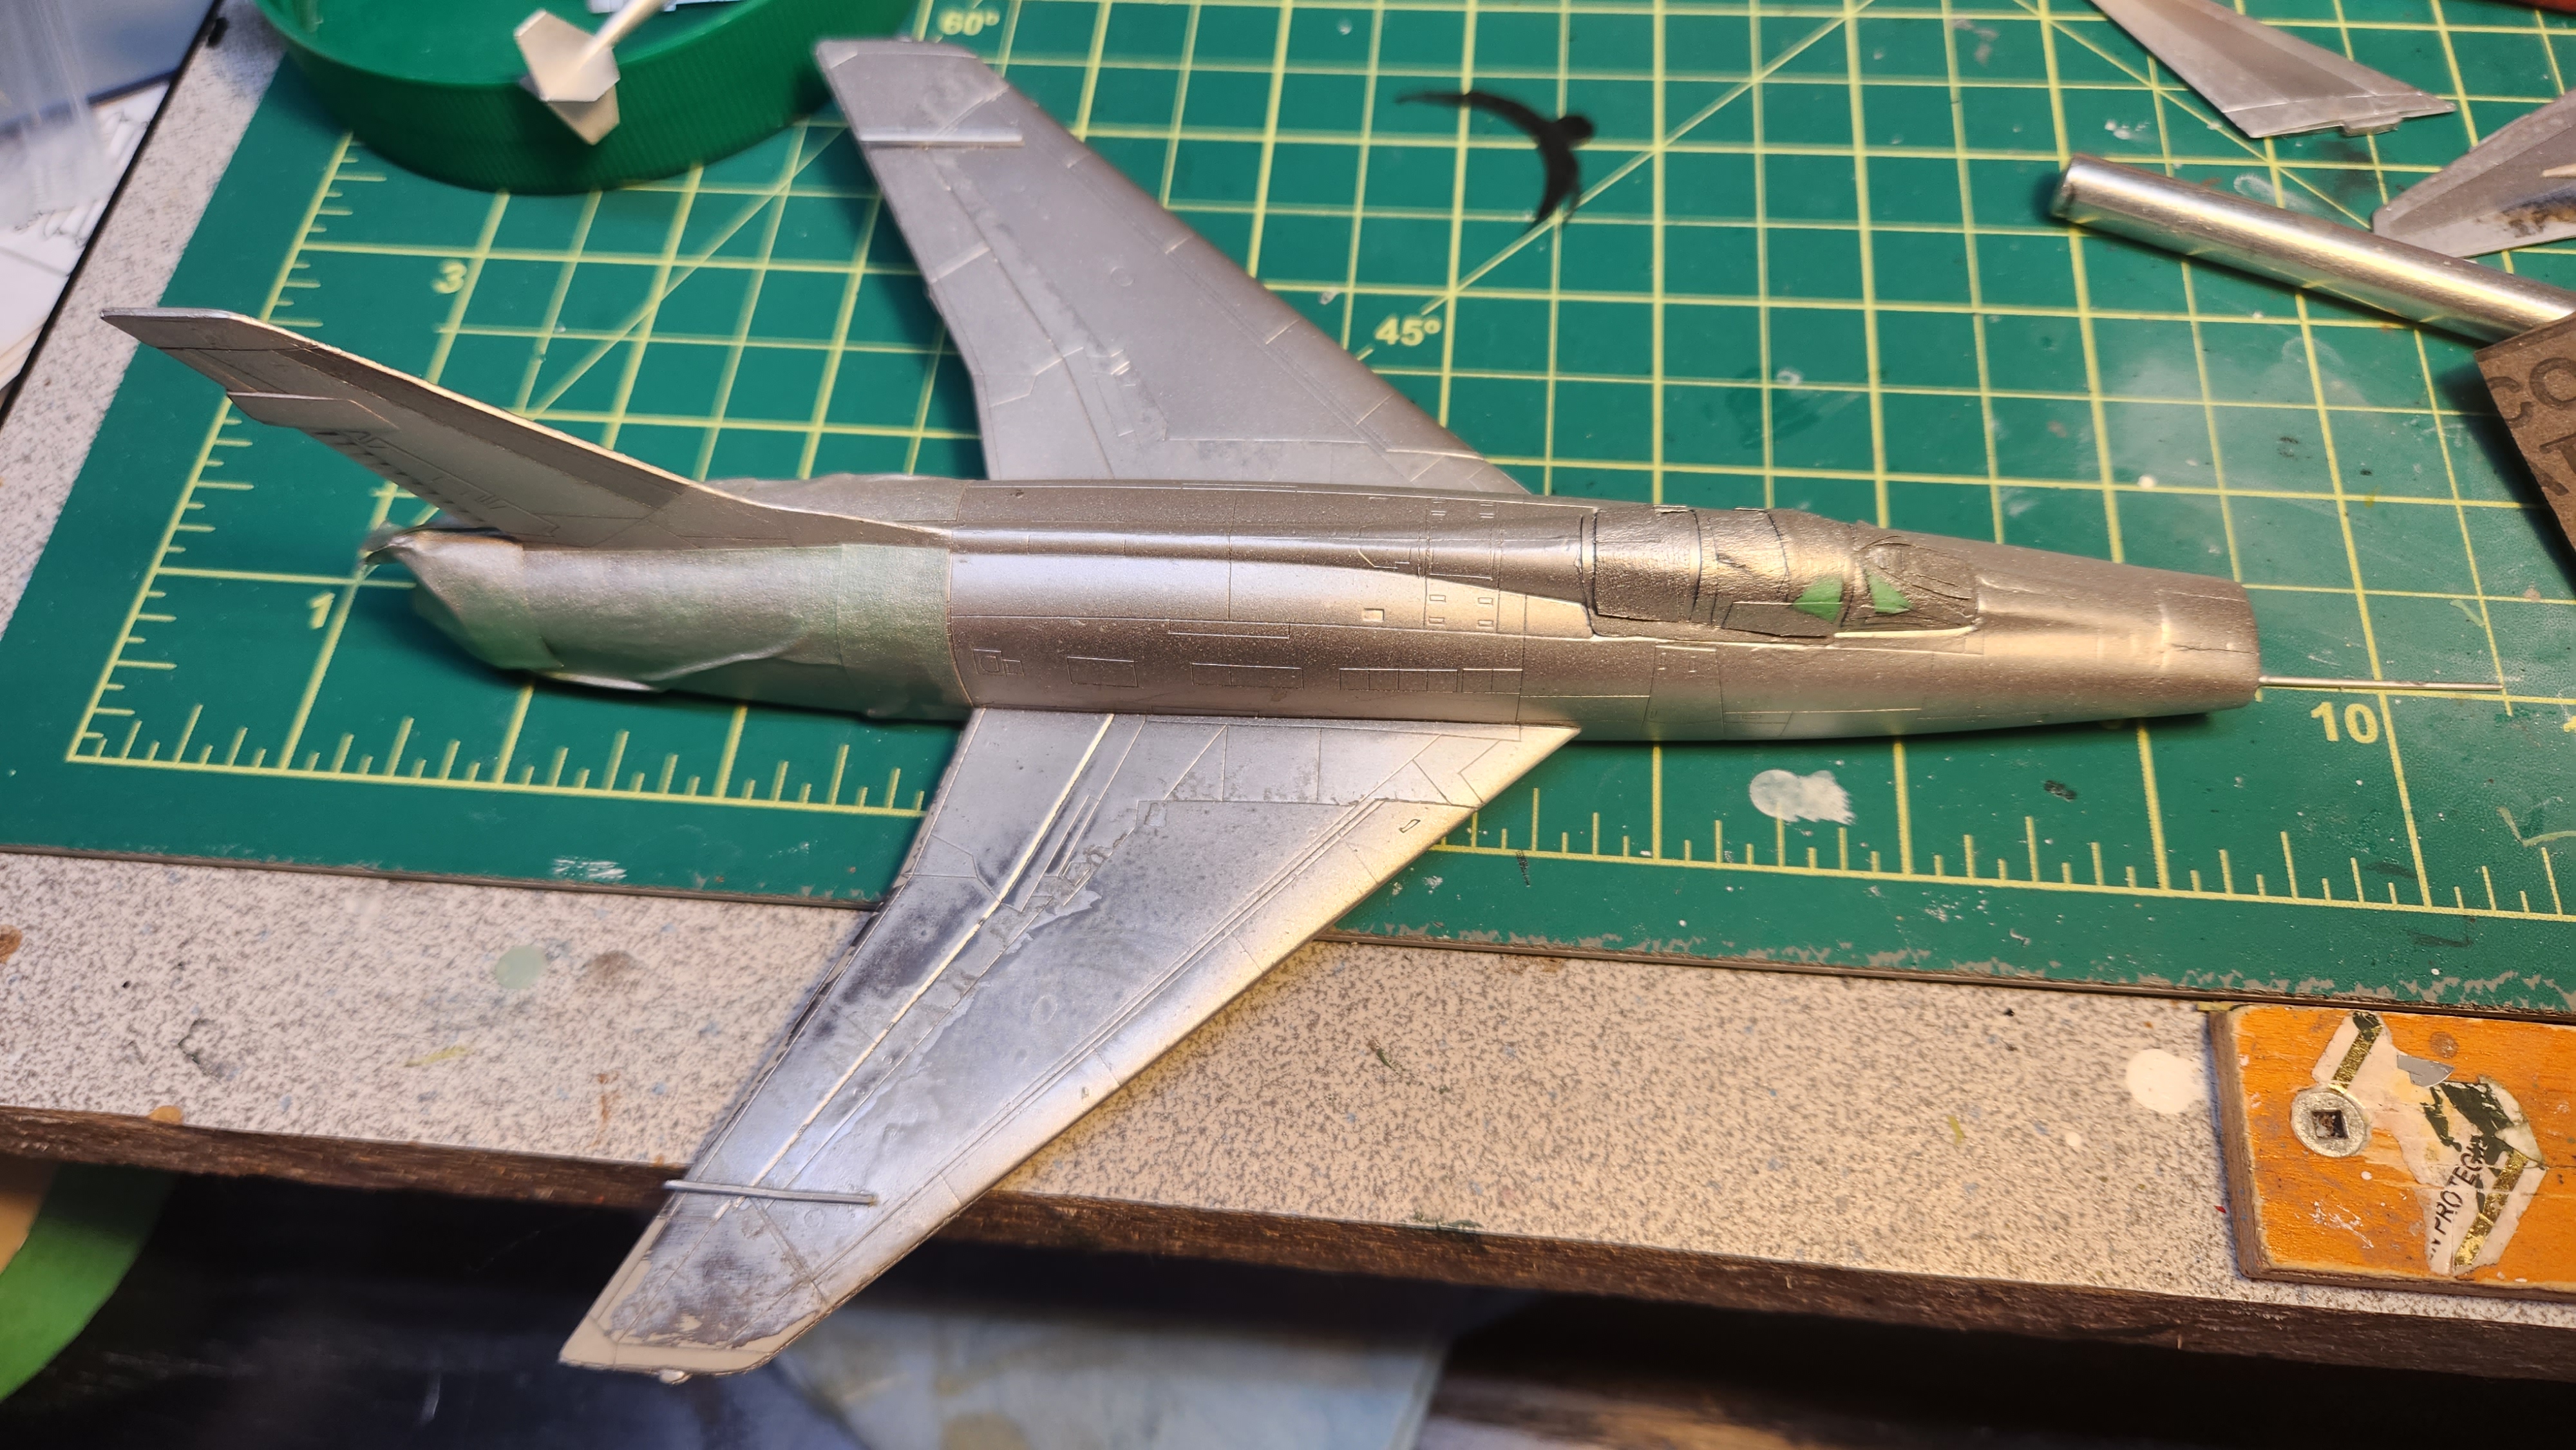
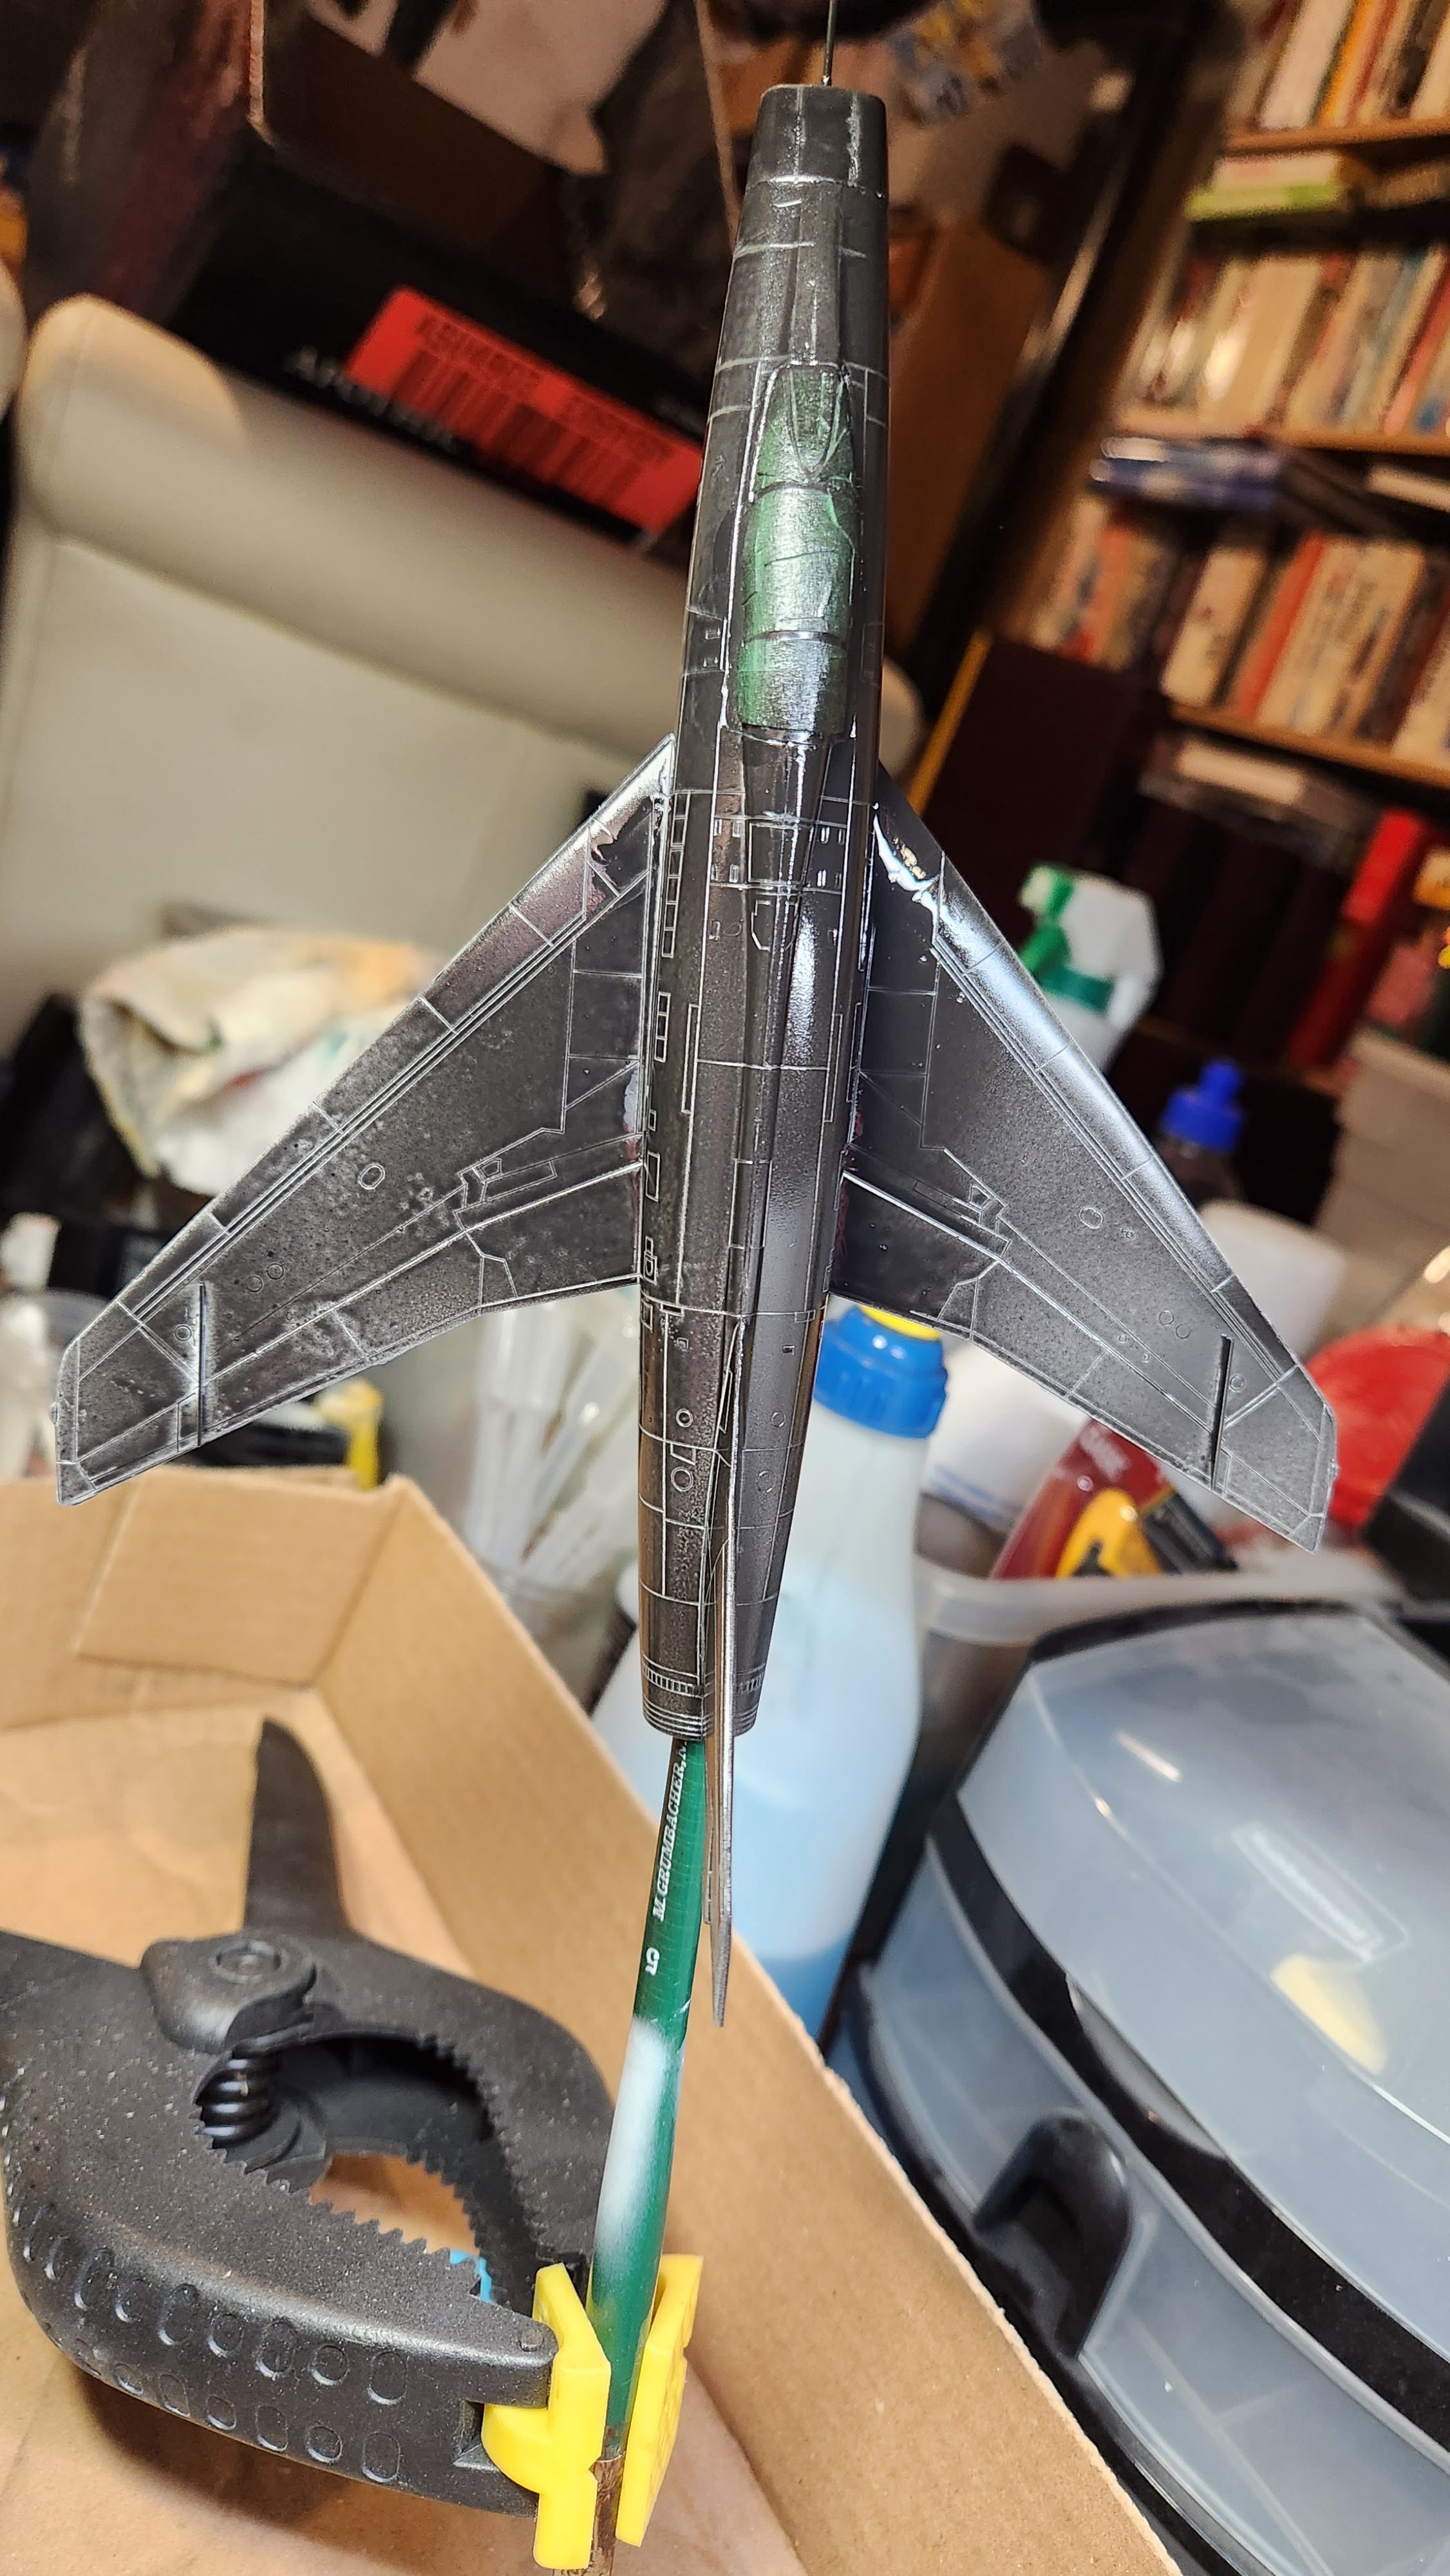
This did not go well. I tried some Vallejo Aluminum, but I think I thinned it too much for the airbrush. It bled under the masking and ruined the finish. I had to sand off the bad areas. Bare metal finish is completely unforgiving of any imperfections.
I re-sprayed with Chrome Silver. At this point, I gave up on trying the panel thing again.
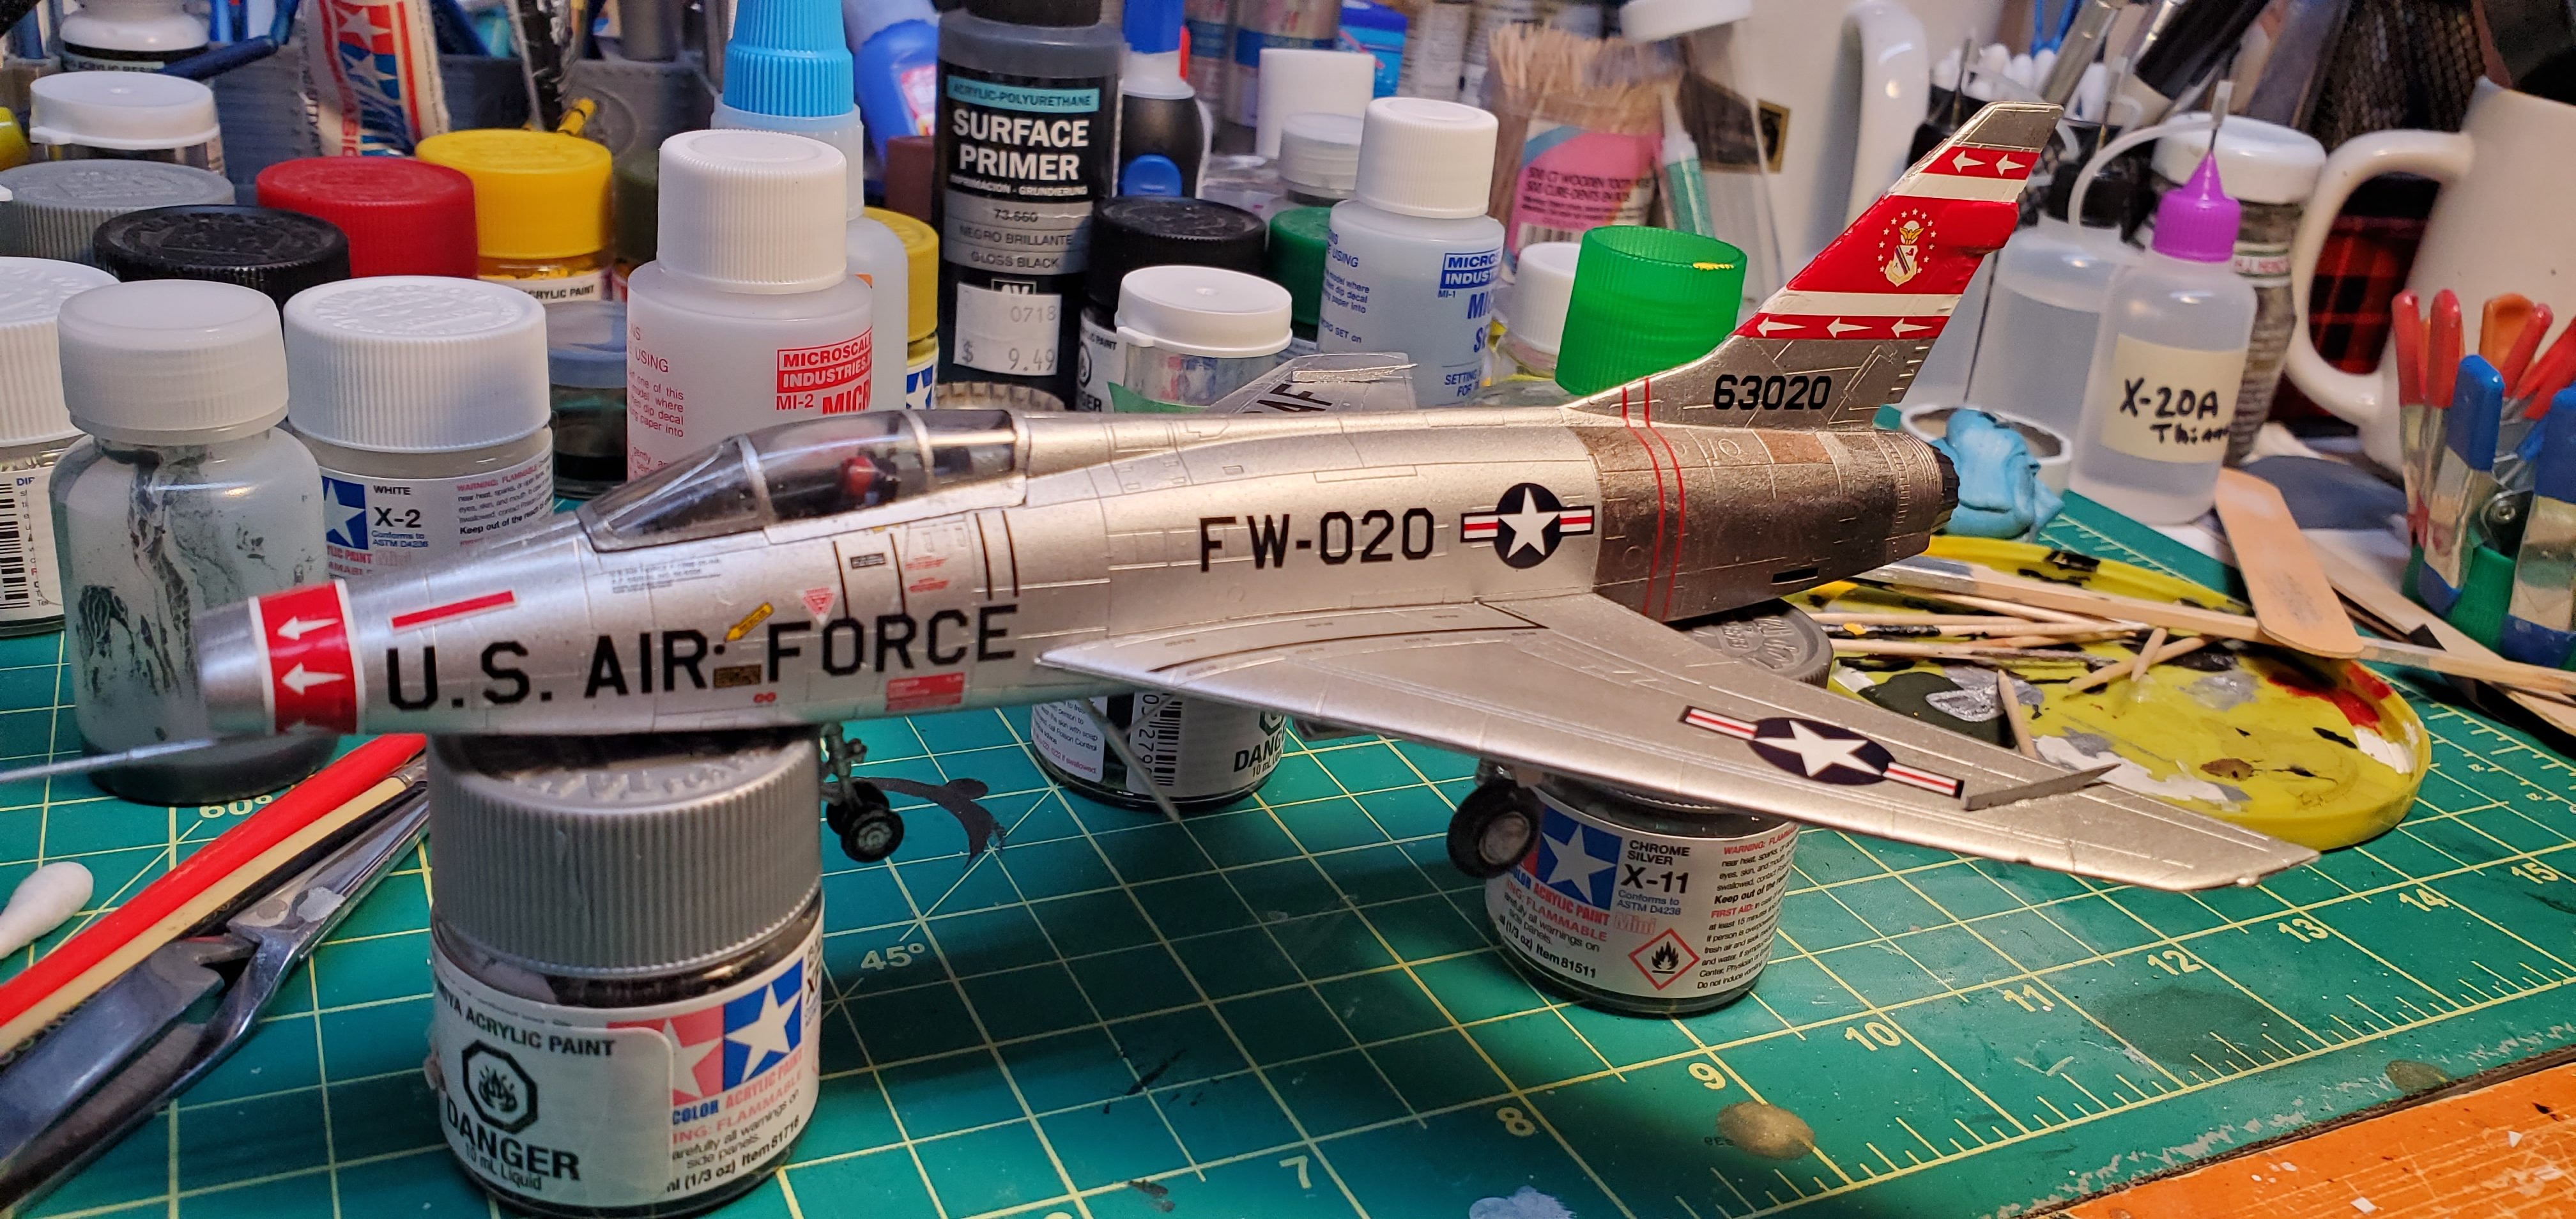
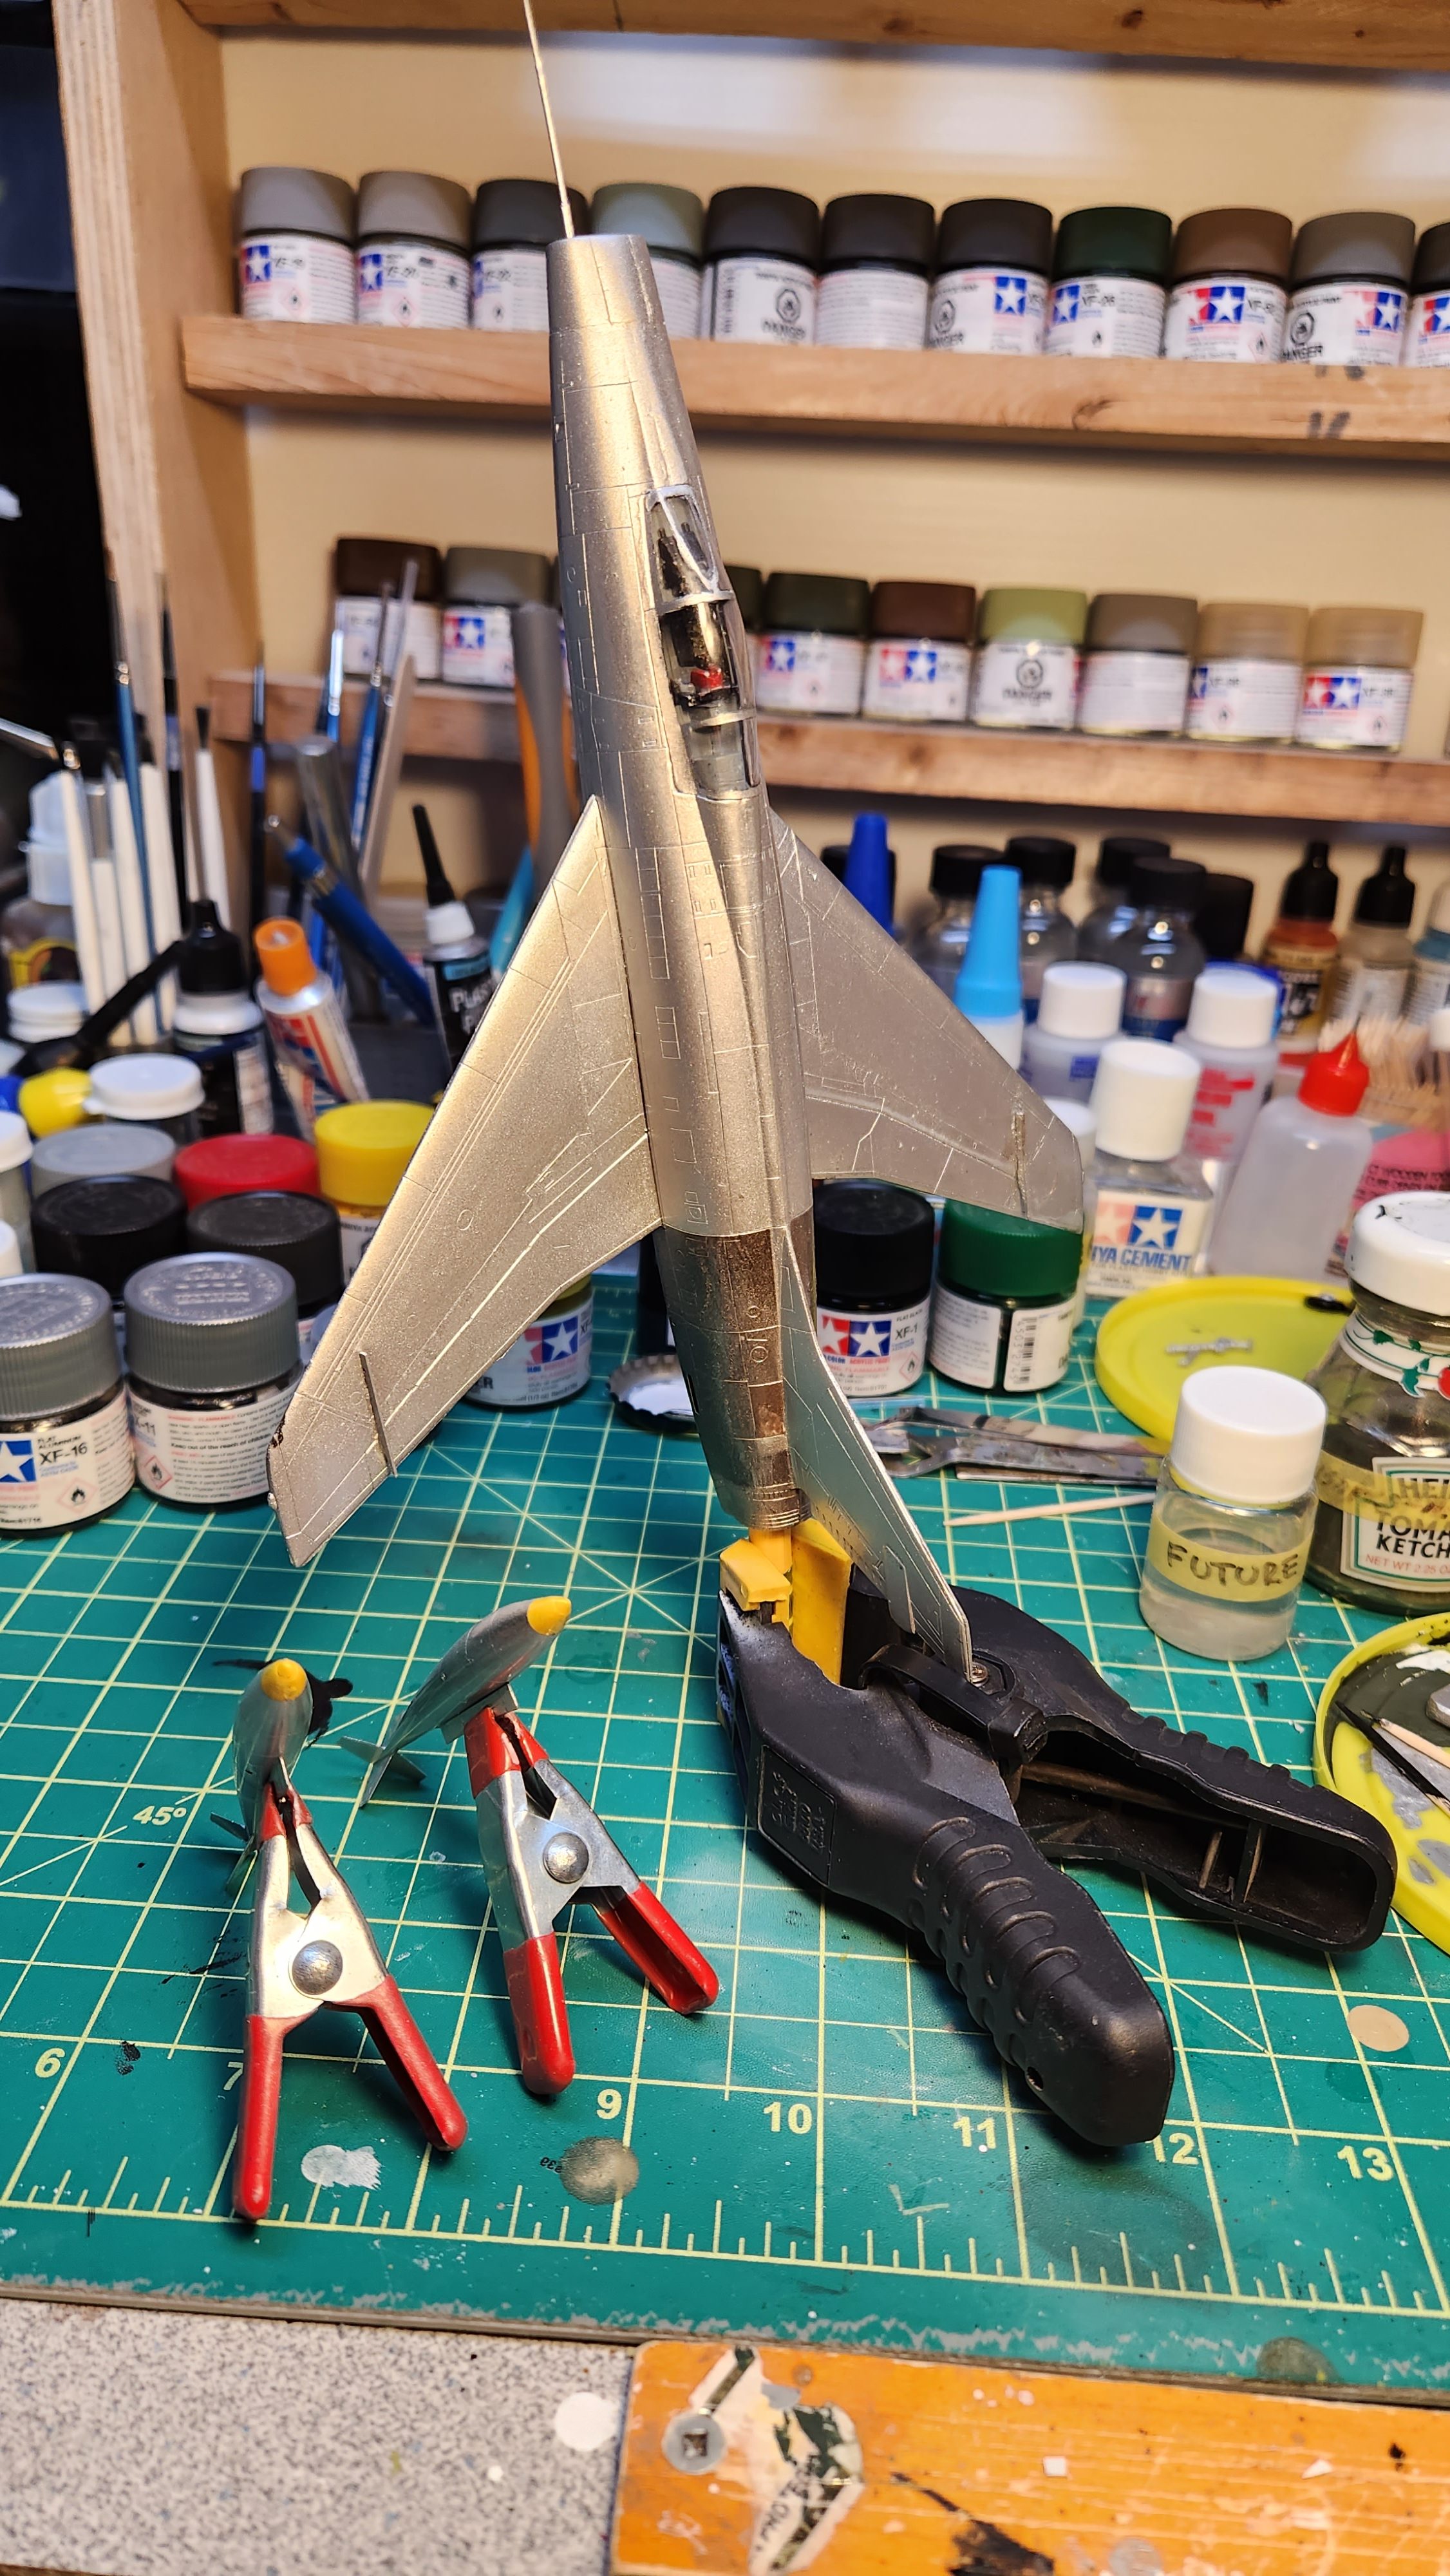
Decal time. Most of the decals were OK, but the red arrow ones for the nose and tail seemed unnaturally thick. I used MicroSol to try and soften them and get them to conform. In the end, I had to paint some of the tail. Luckily, the Tamiya Gloss Red was the EXACT same shade of red.
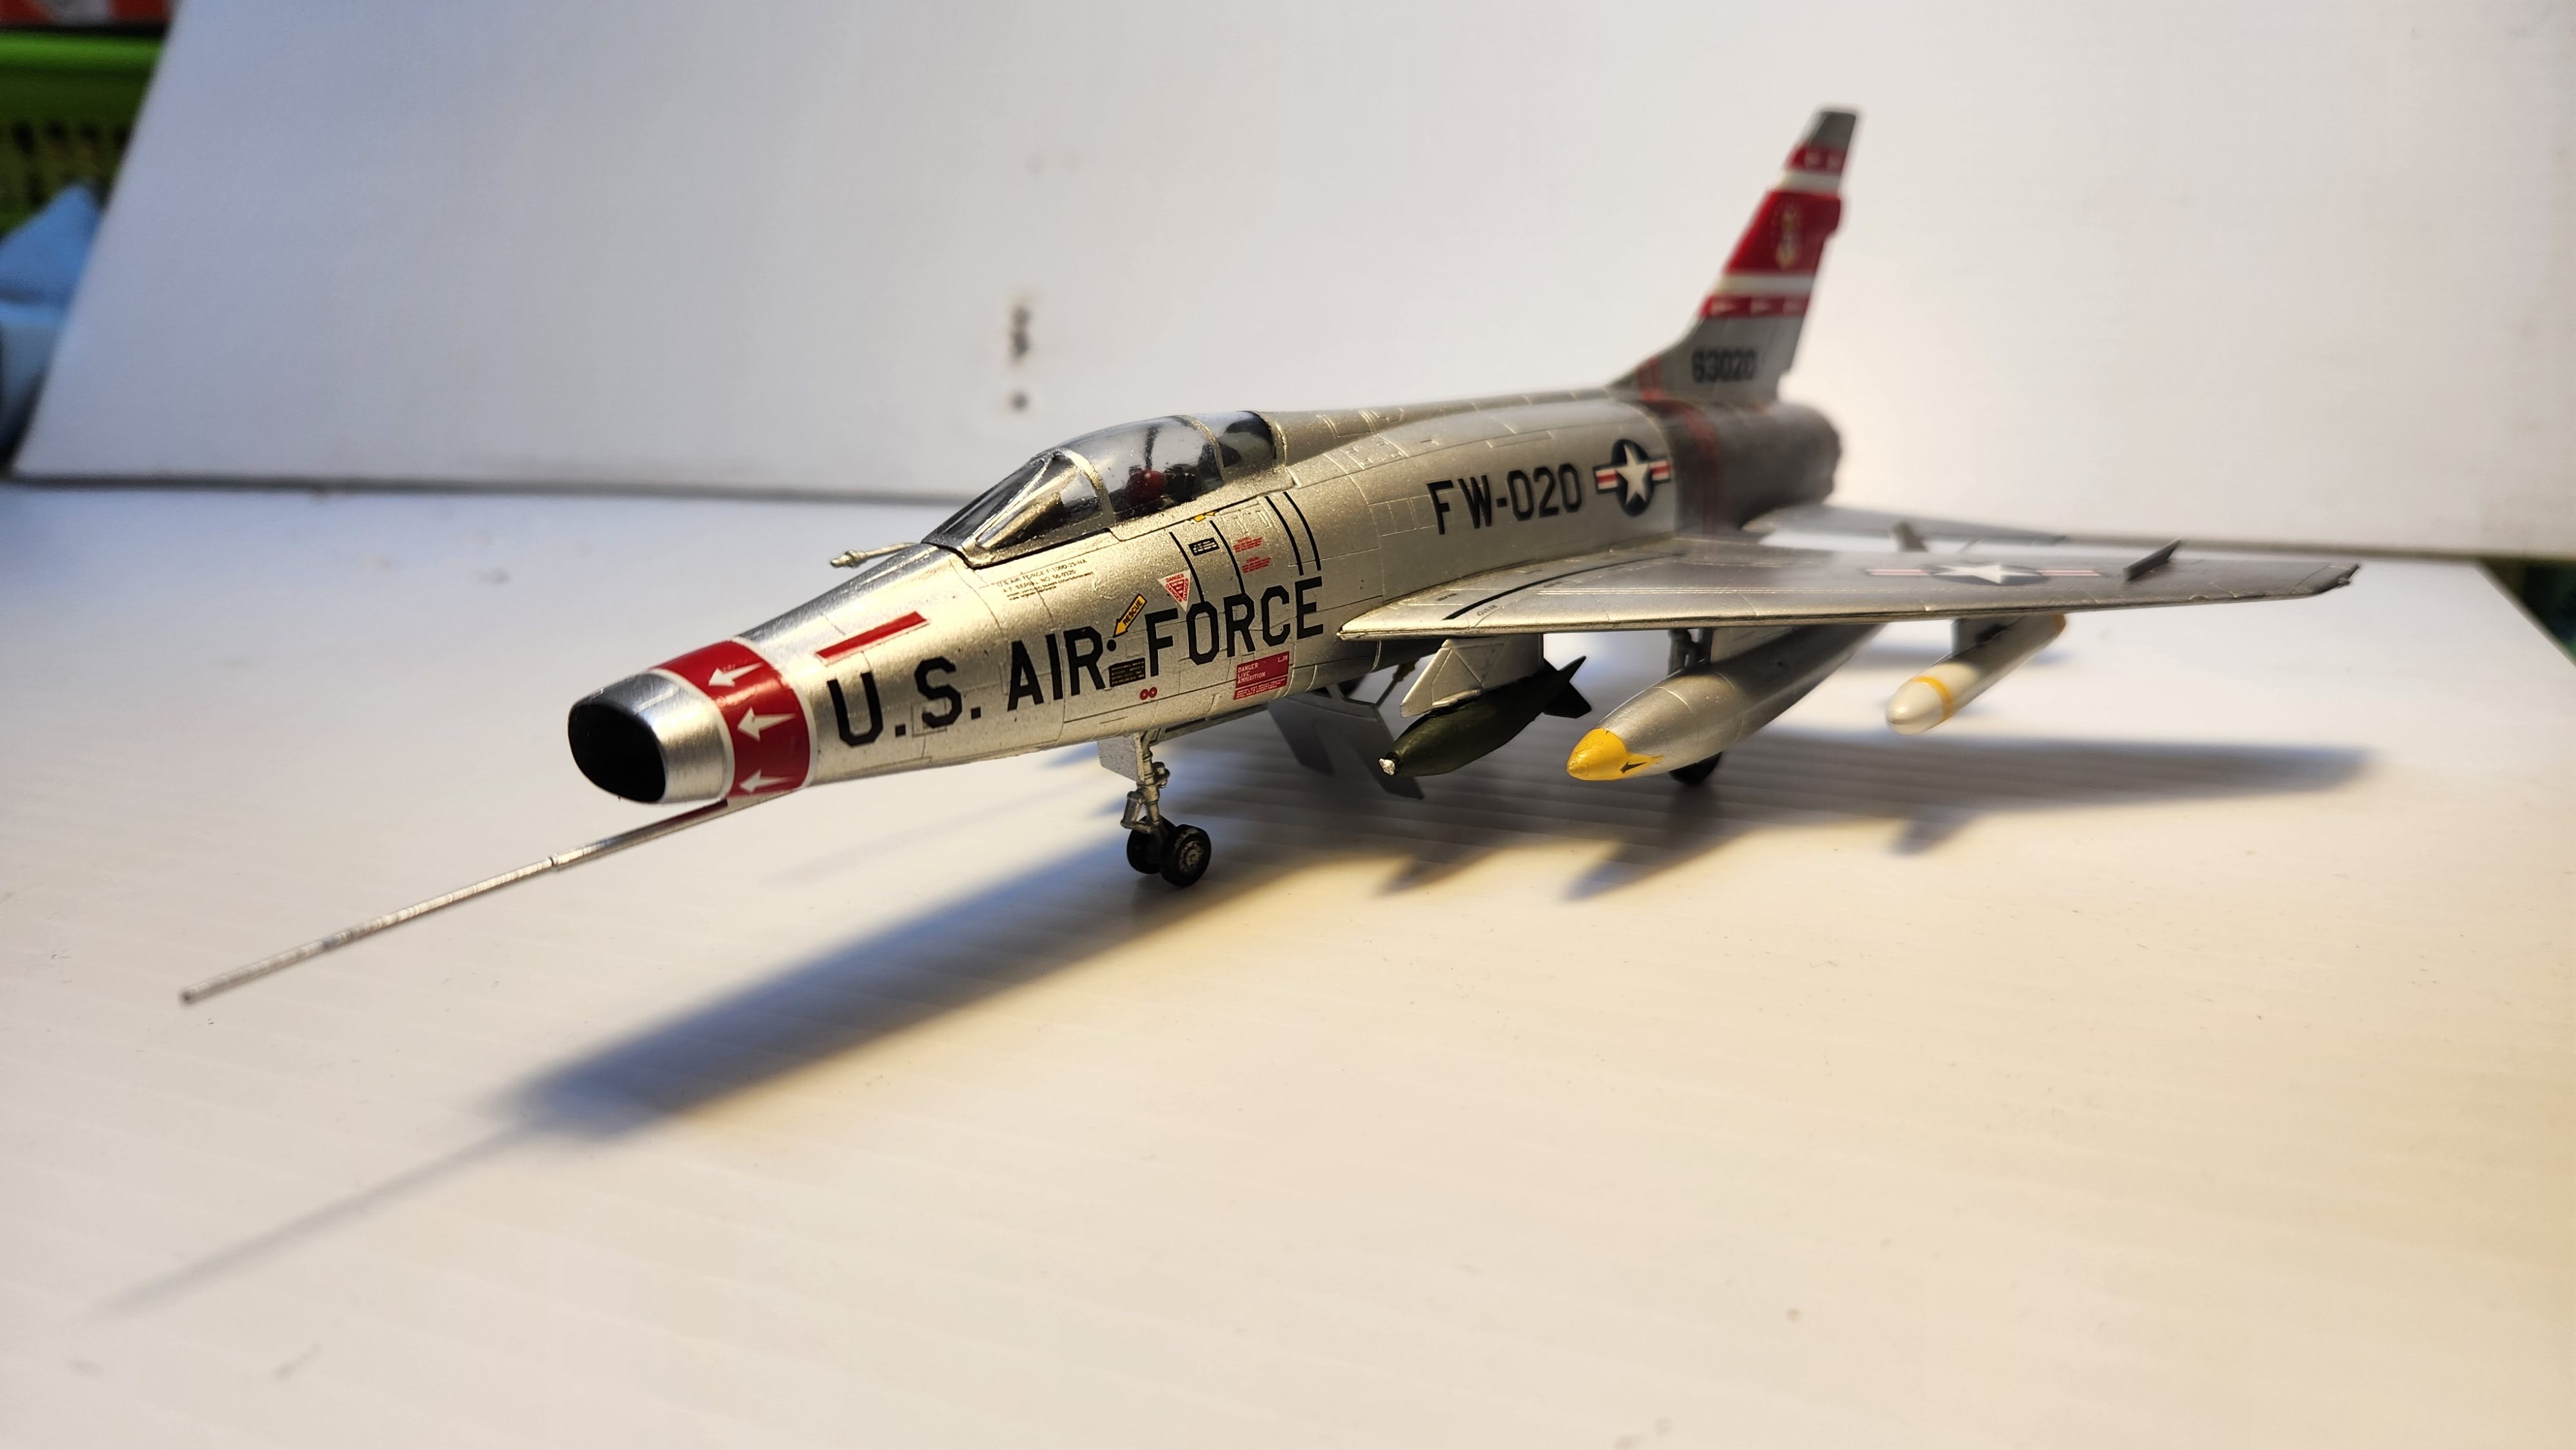
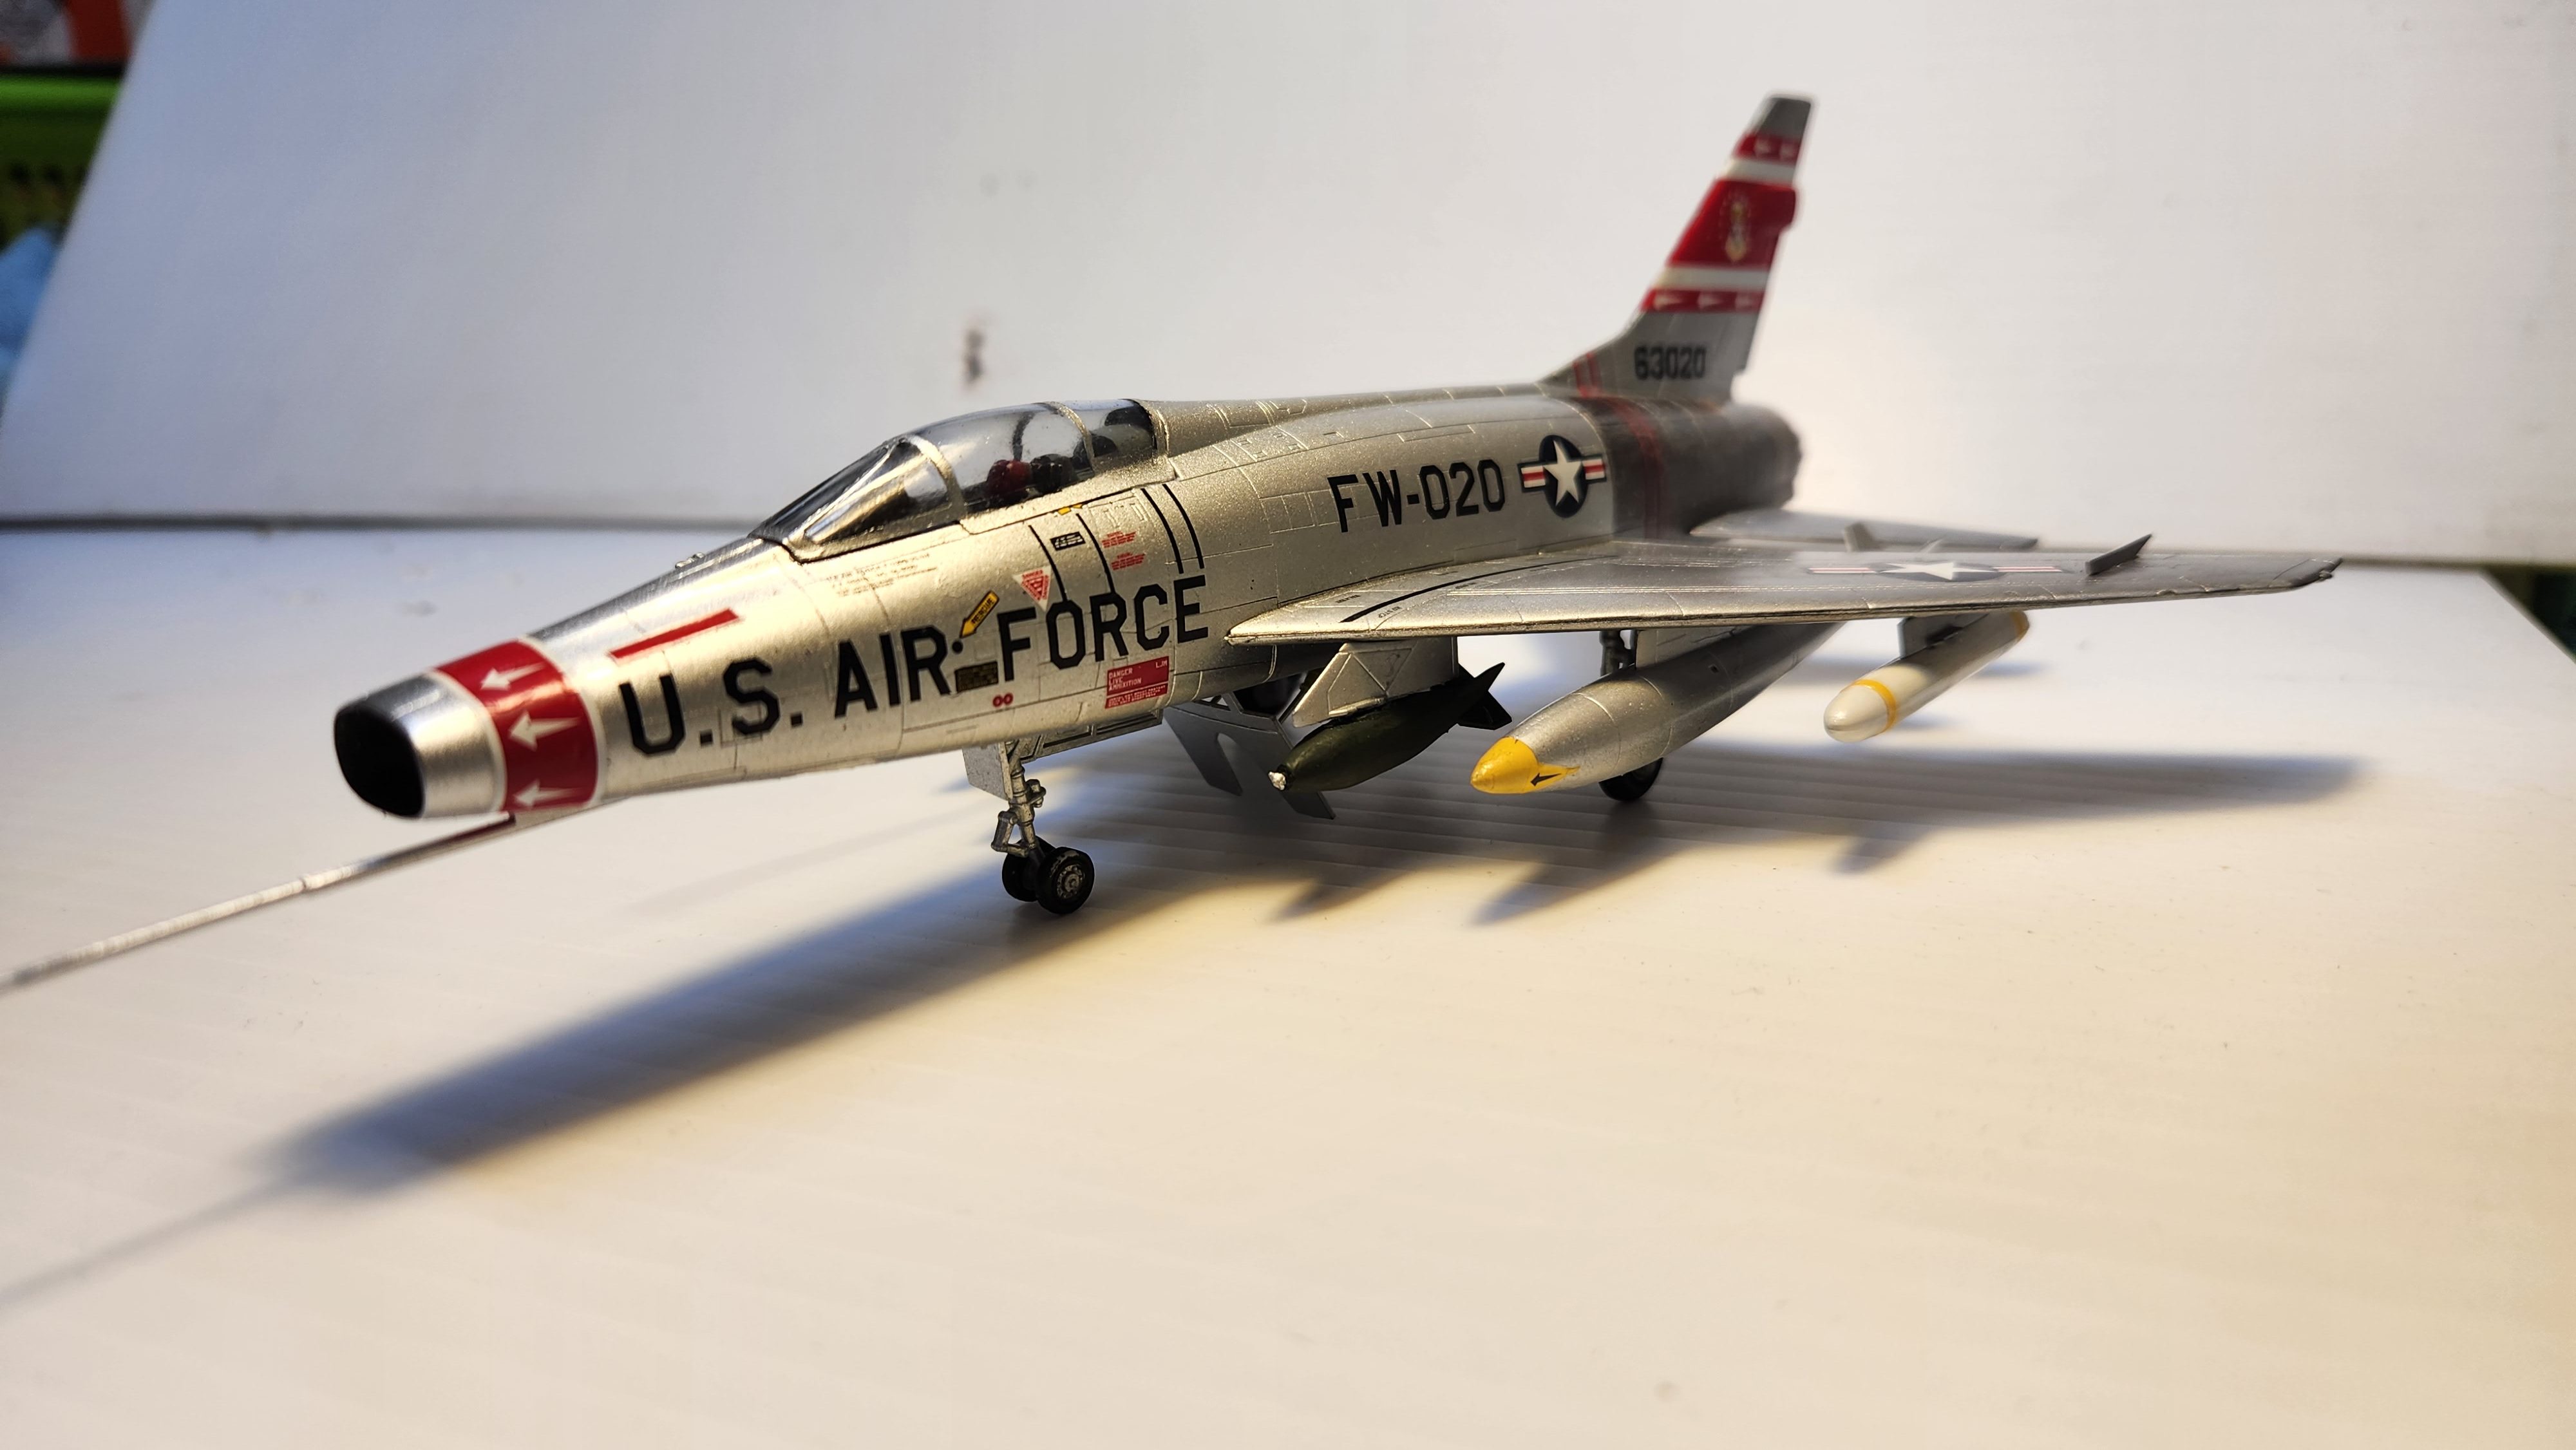
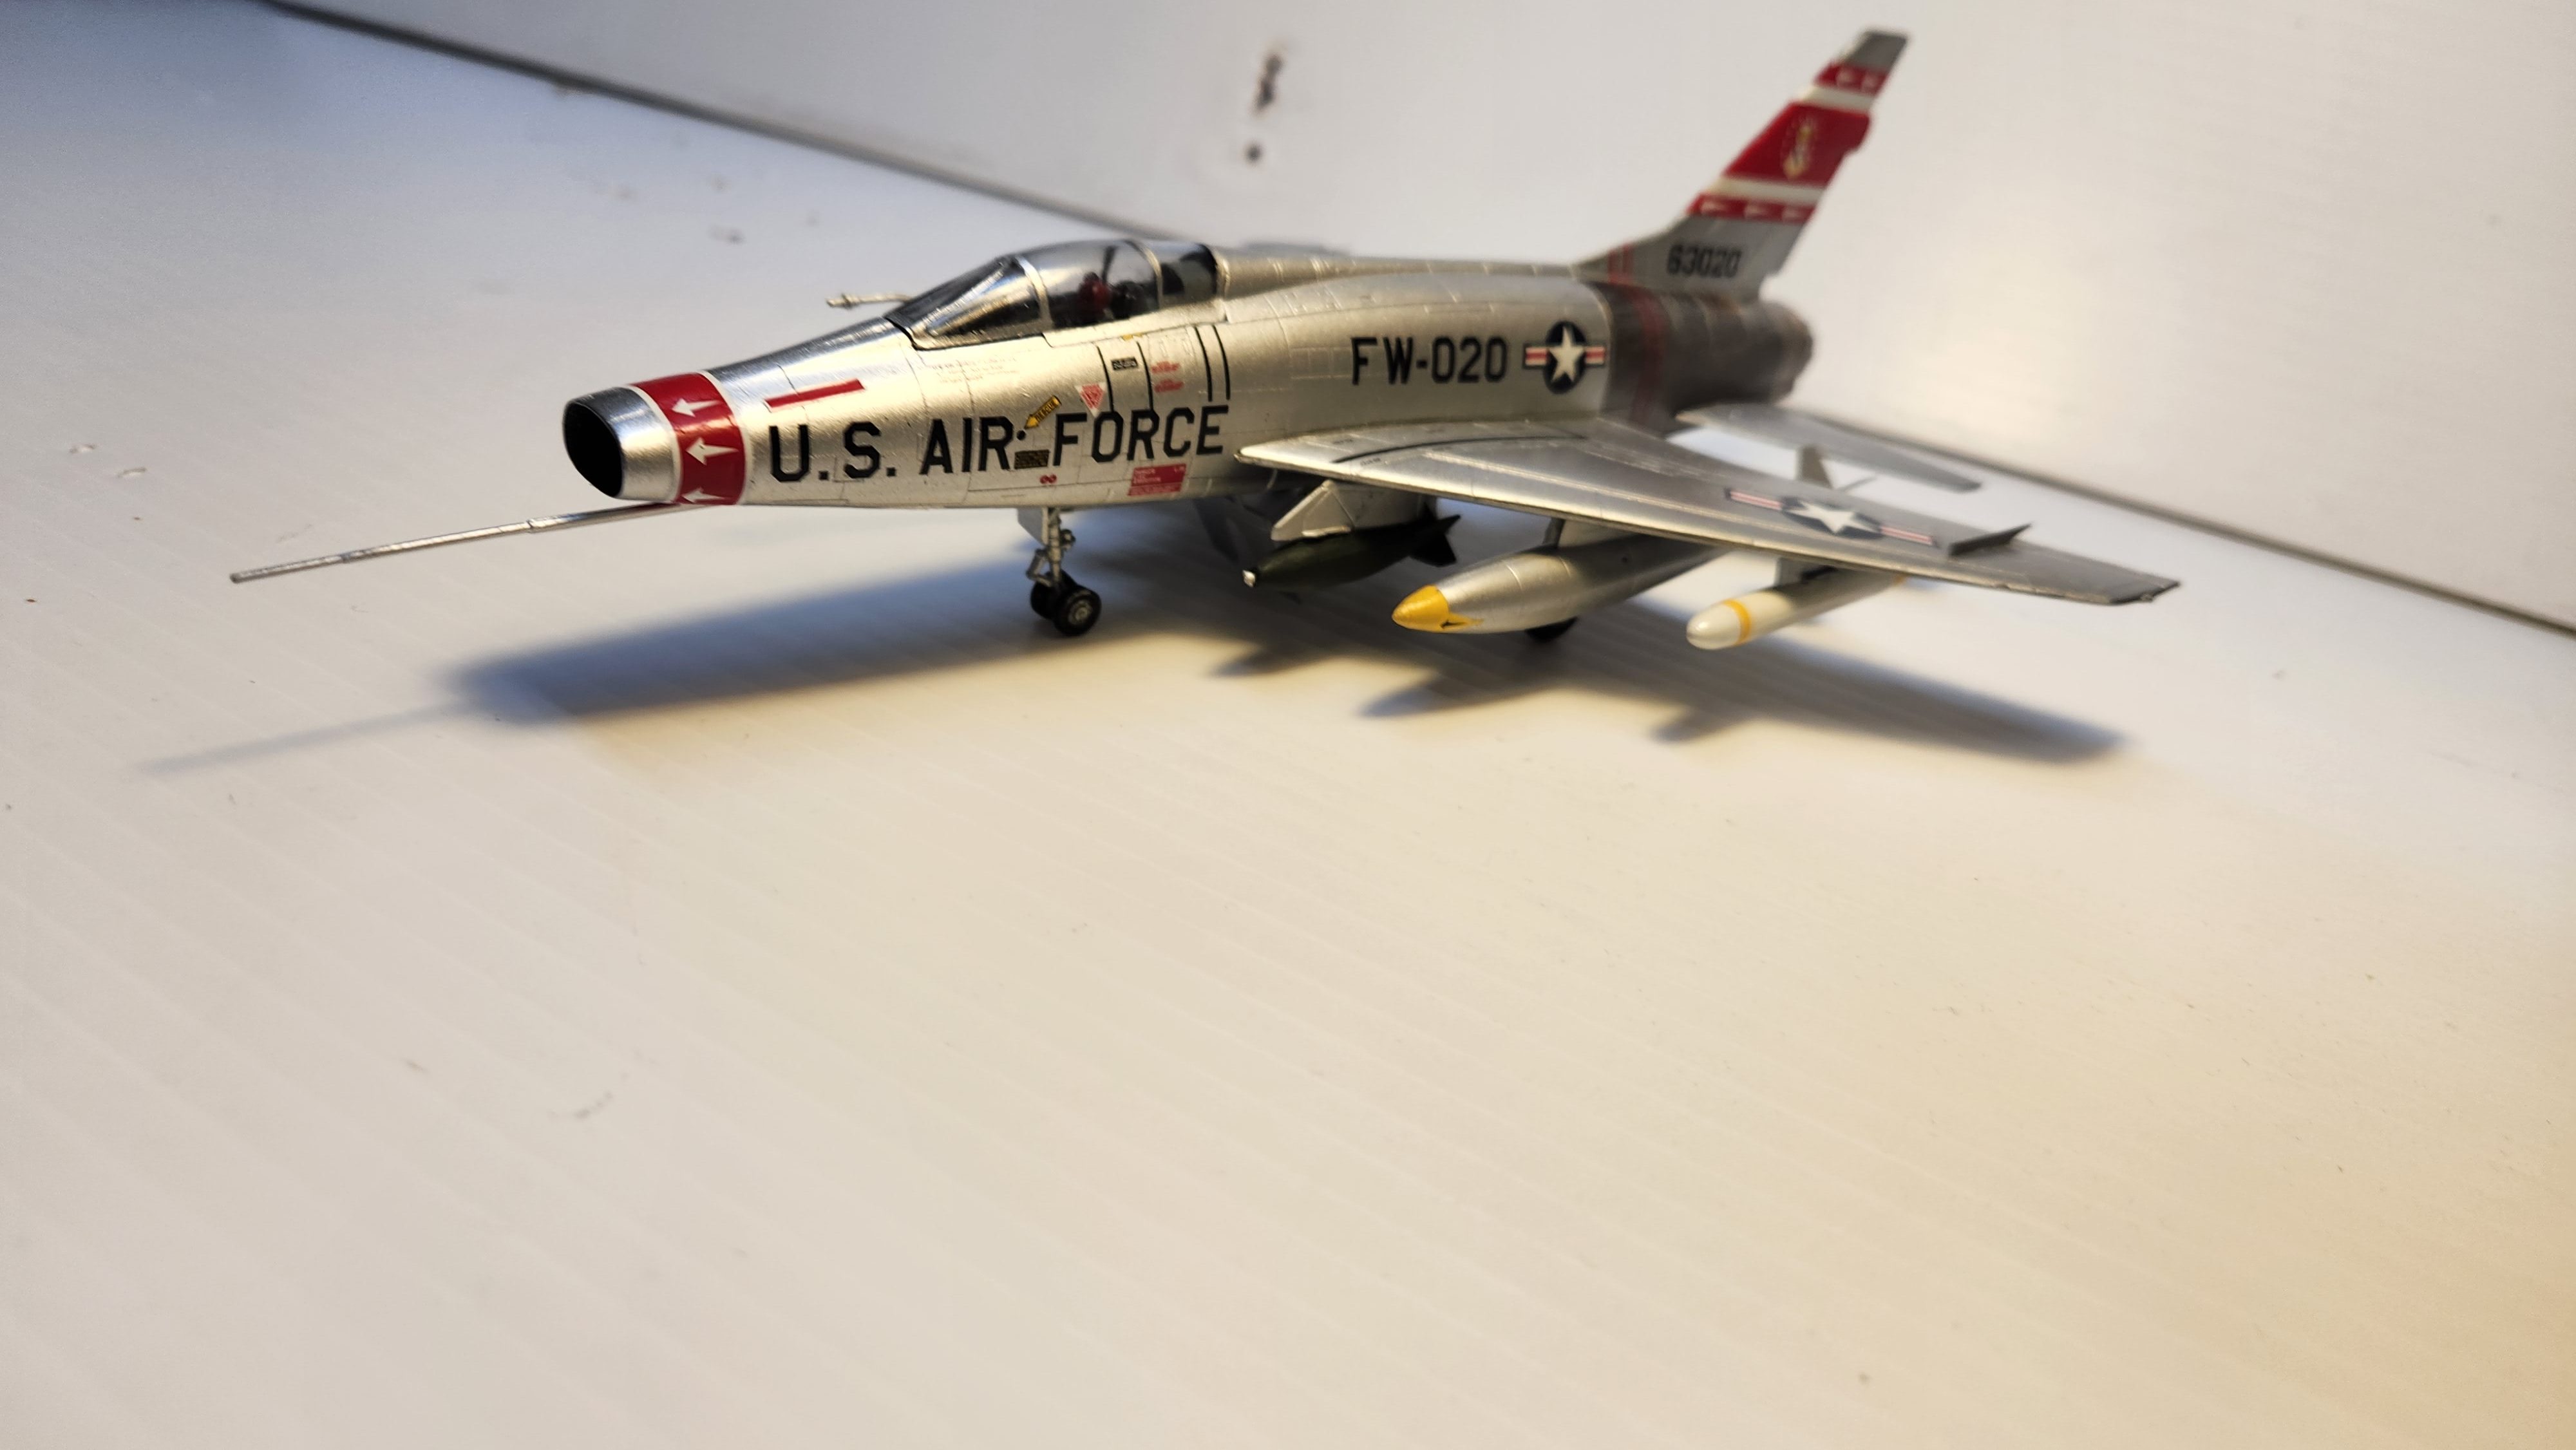
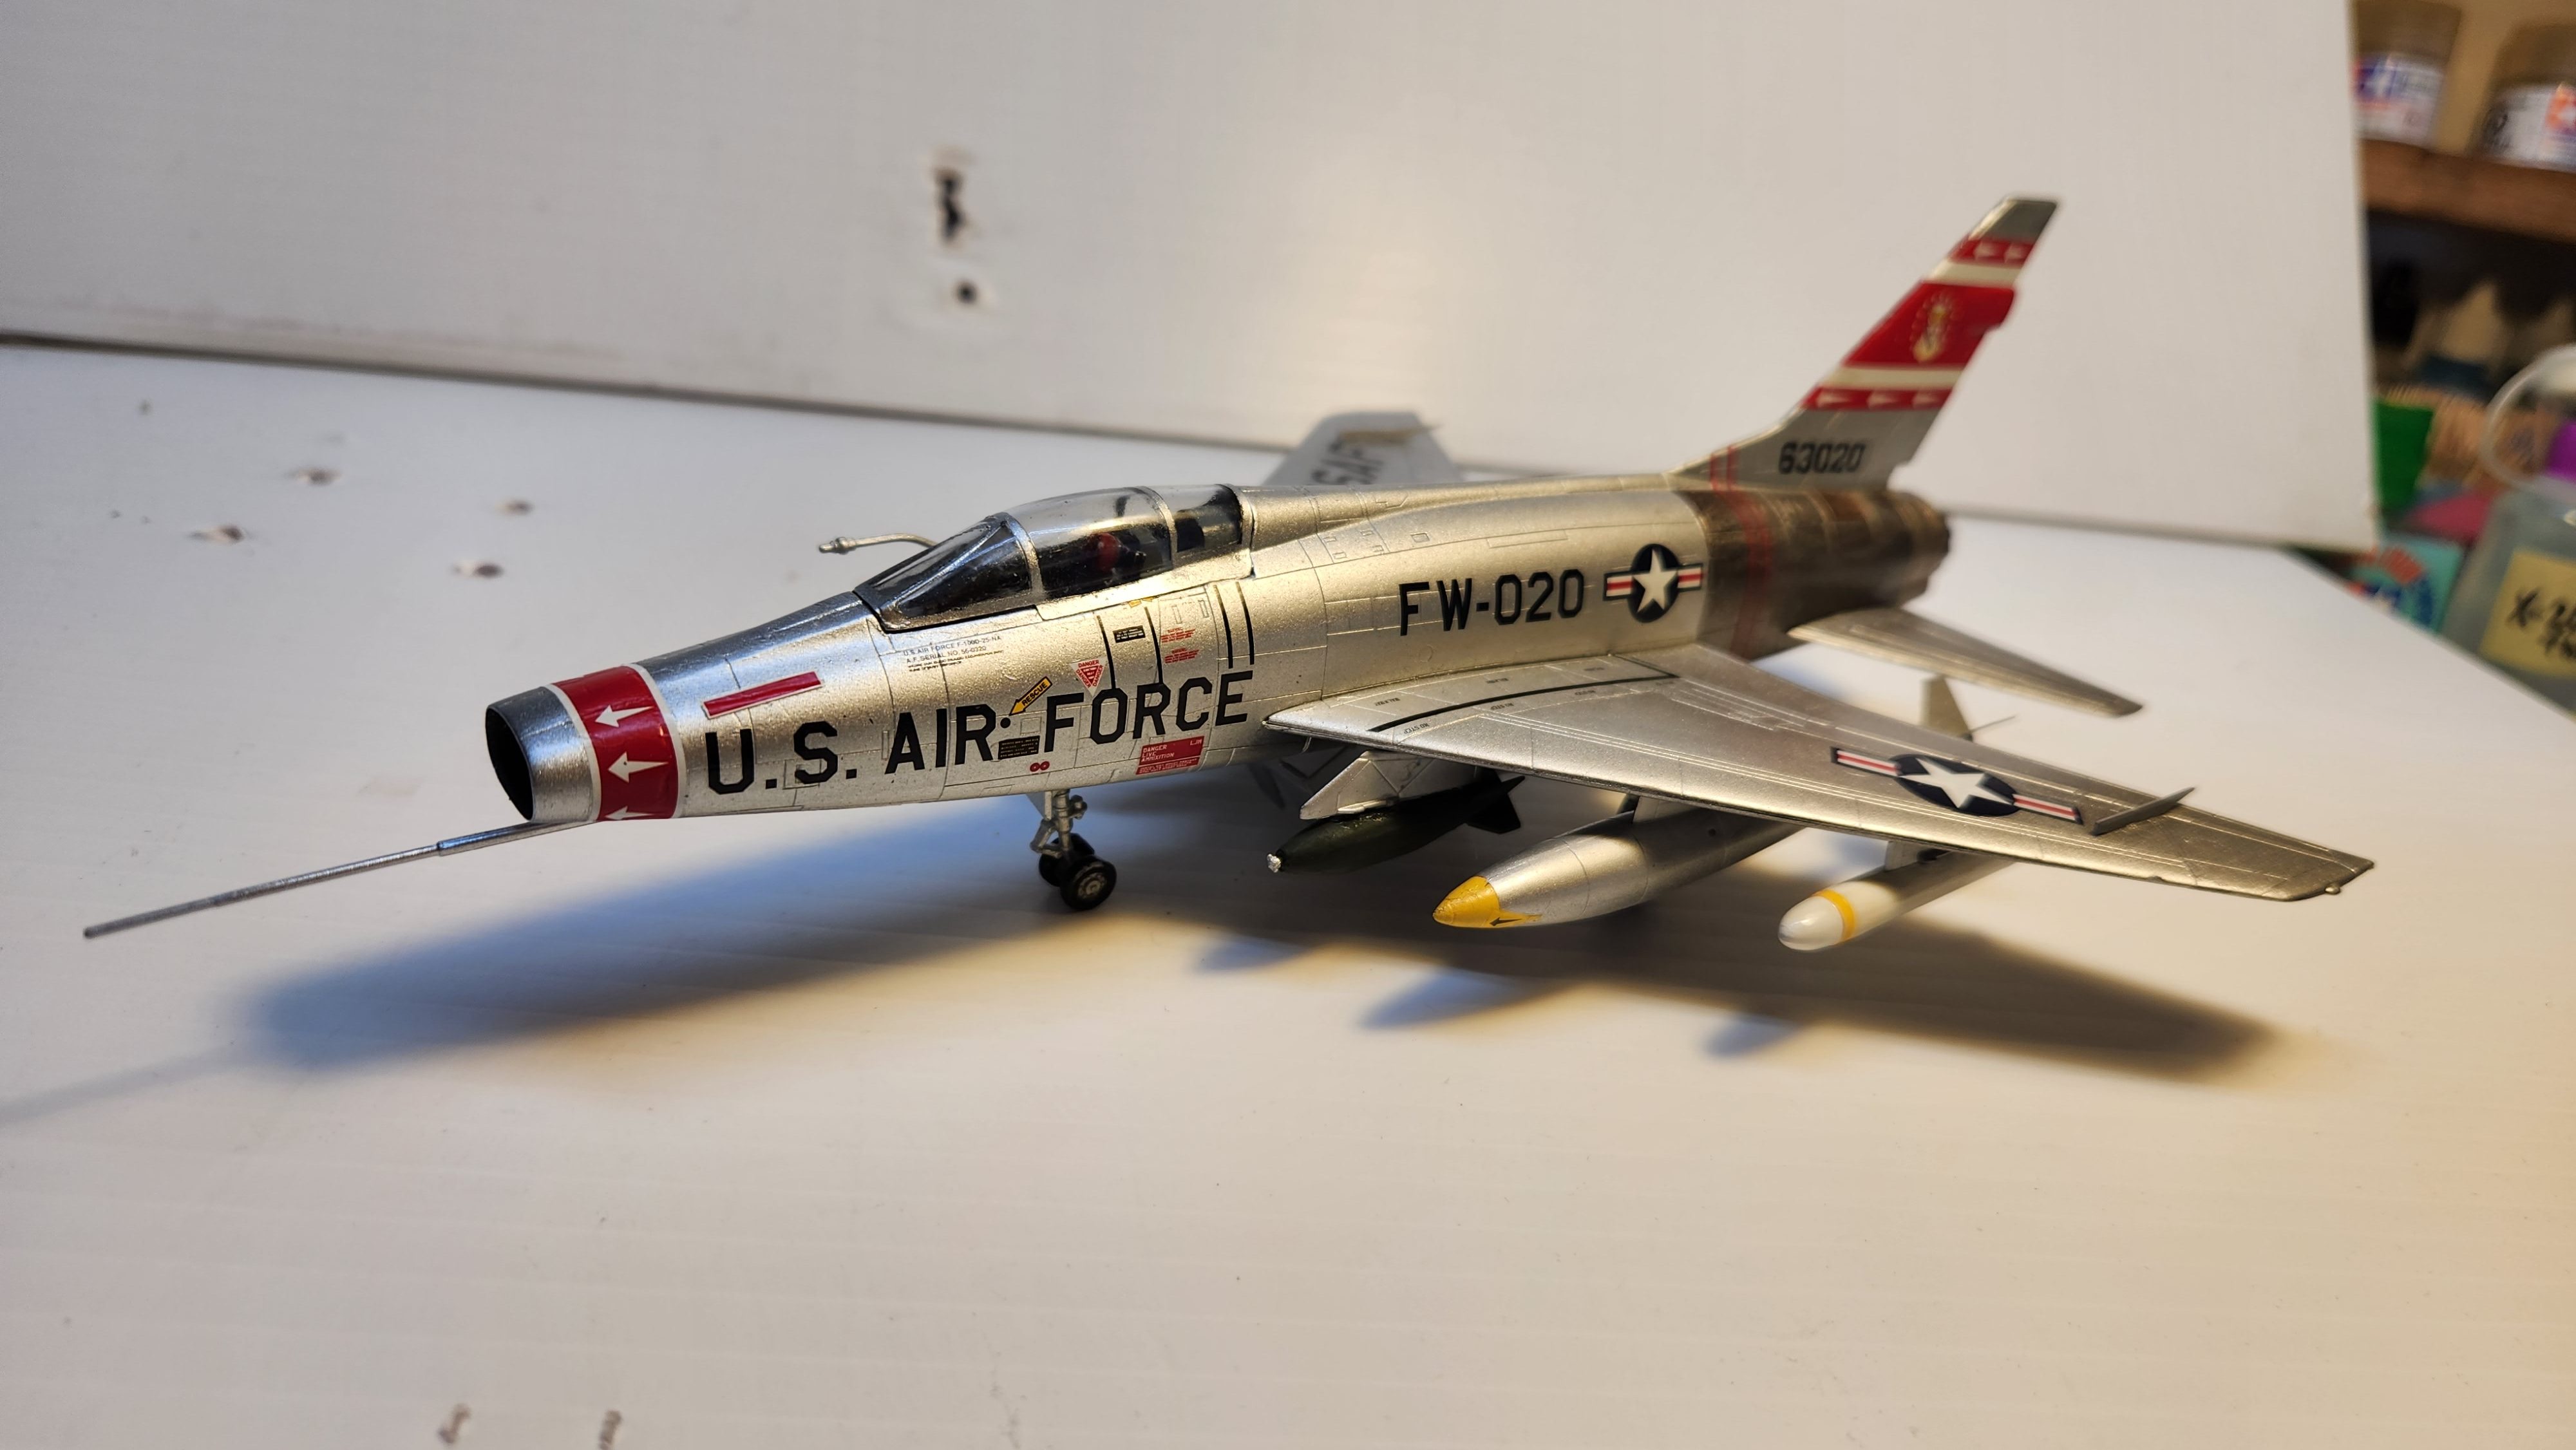
Here you can see that the canopy came out quite nicely. As usual, I wouldn’t consider this a great kit or a great build. Too many things went wrong, but it came out OK.
Paints

Tamiya Acrylic

X-1 Black
X-2 White
X-5 Green
X-7 Red
X-10 Gun Metal
X-11 Chrome Silver
XF-1 Flat Black
XF-2 Flat White
XF-3 Flat Yellow
XF-4 Yellow Green
XF-6 Copper
XF-16 Flat Aluminum
XF-58 Olive Green
XF-66 Light Grey

Vallejo Acrylic
73.660 Gloss Black Primer
50th Anniversary Of John Glenn’s Orbital Flight And Reflections On The Space Race
Plane of the Day, Northrop M2-F3 Lifting Body
