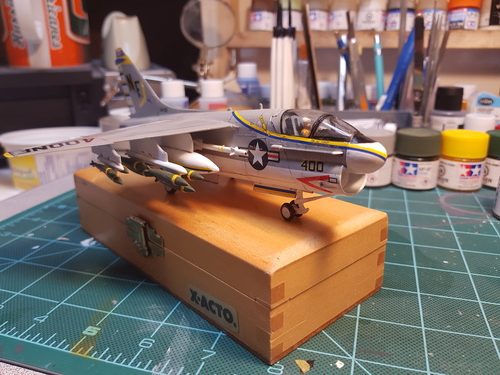
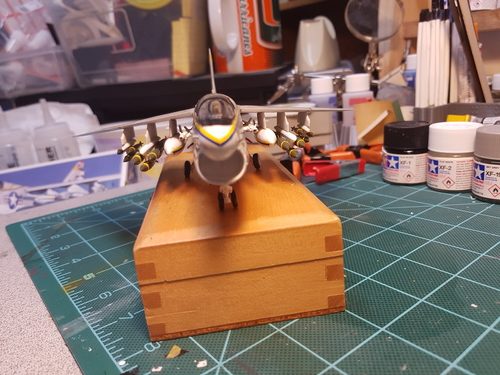
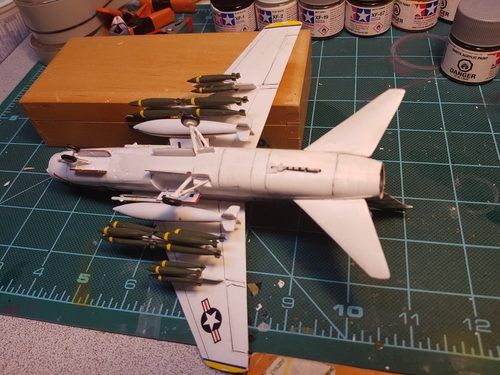
Hasegawa 1/72 LTV A-7A Corsair II
The Ling-Temco-Vought A-7 Corsair II was the little brother of the F-8 Crusader U.S. Navy carrier fighter. Designed to be a bomb truck, the A-7 flew for the U.S. Navy and Air Force. Its nickname was the “SLUF” for Short Little Ugly Fellow and it was used primarily to bomb targets in Vietnam. Corsairs served in the US armed forces until 1991 and served in other air forces of the world until 2014.
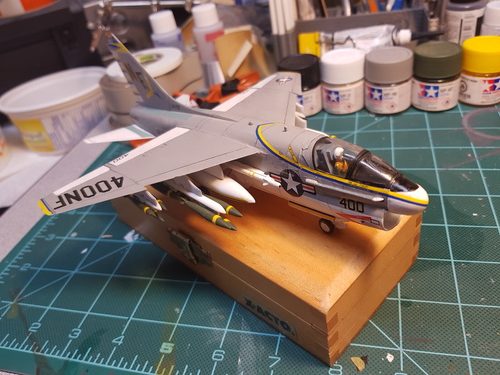
This kit is the Hasegawa 1/72 scale A-7A and I decided to build it in U.S. Navy colors and markings of the Vietnam era as per the box art.
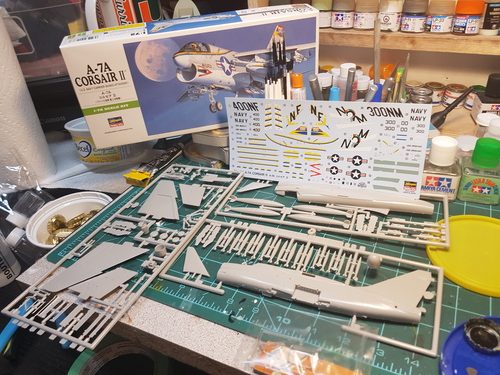
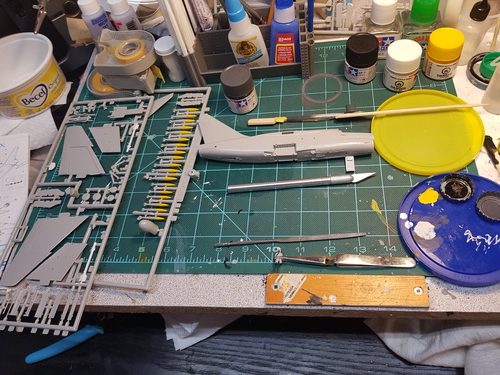
The kit is not too complicated. It lacks detail in the cockpit and has raised panel lines. Lots of bombs!
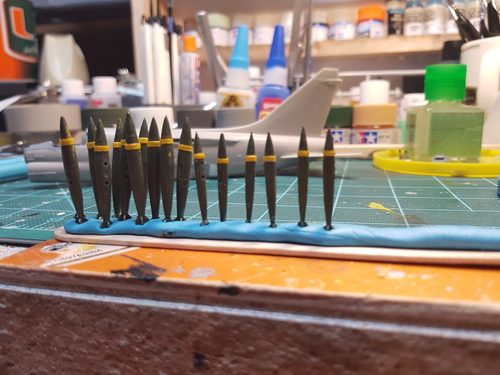
I tried masking the yellow lines on the bomb ordnance by painting them yellow, masking off the yellow, then painting the bombs NATO flat green. There was lots of paint bleed through the thin strips of masking tape.
So I painted some thin strips of masking tape yellow and used the tape itself as the stripes.
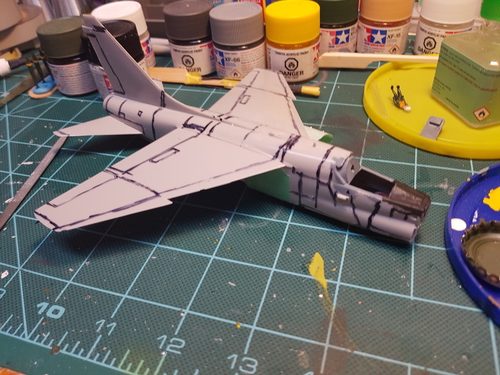
I thought I would try to highlight the panel lines prior to painting, so I used a Sharpie to mark up the lines. It didn’t really work as I thought, I ended up airbrushing most evidence of these lines out.
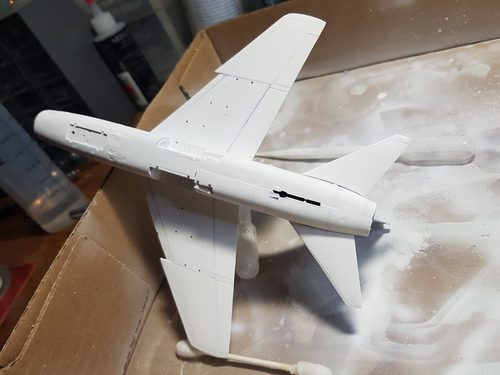
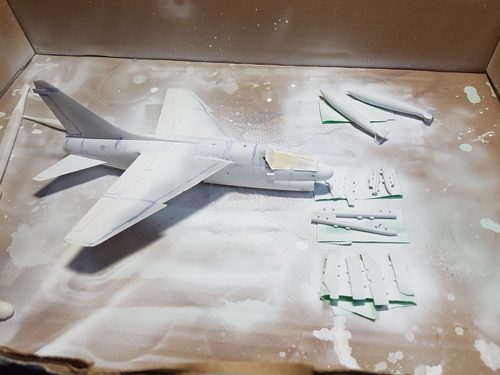 I then airbrushed the lower half and the flaps flat white.
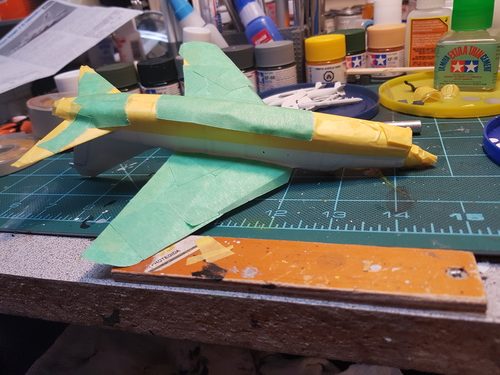
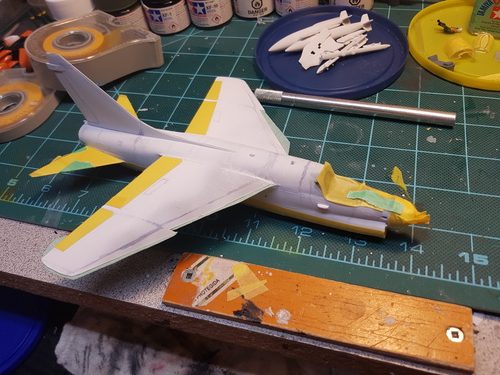 I masked off the areas to remain white.
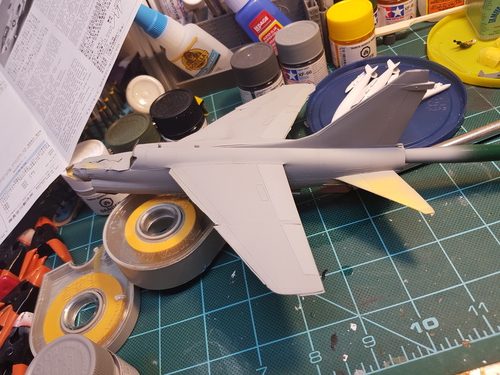 I airbrushed the aircraft light grey.
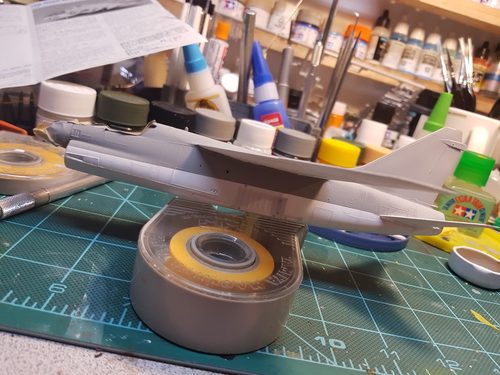
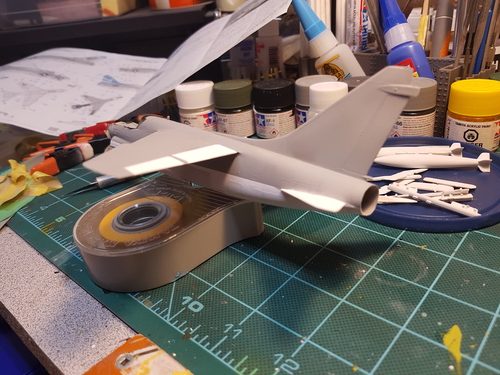 After removing the masking tape, the clean lines are visible.
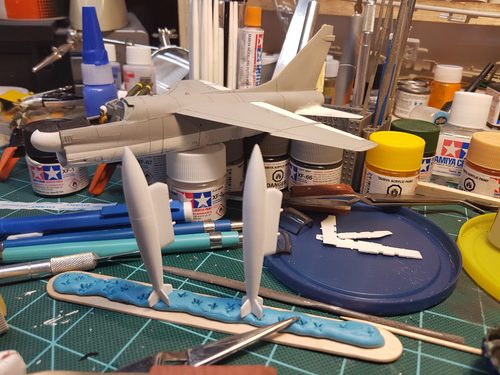 I put the pilot and his seat in place and painted the anti-glare panel. I also used a 0.5 and 0.3 mechanical pencil to highlight the panel lines.
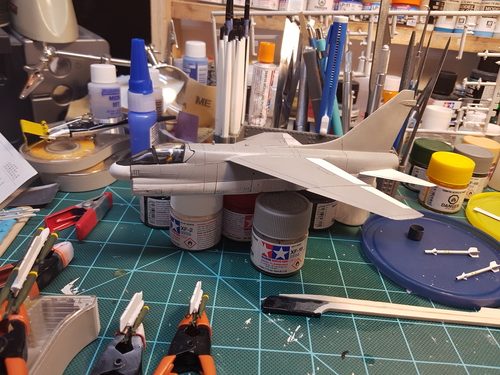 I used a combination of a metal ruler and Dymo tape as a straight edge guide to mark the panel lines.
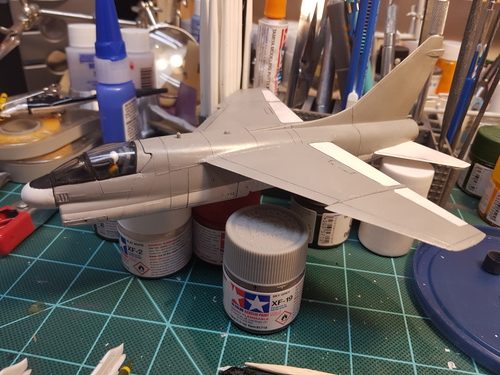 Time for a coat of Future floor polish to prepare the surfaces for decals!
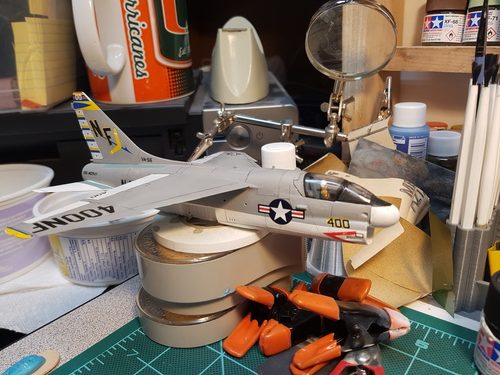 Decals were in great shape — no issues.
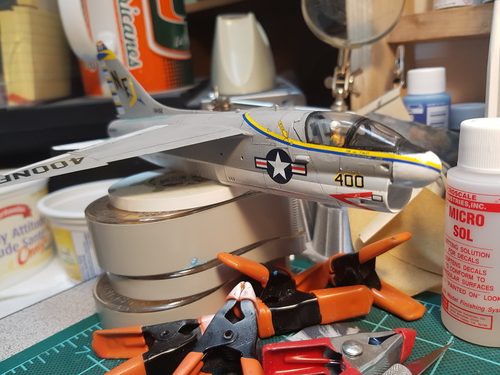 Wrapping the yellow and blue stripe decal was a little tricky. Using MicroSol decal solution helped the decals adhere to the contours of the surface. I sealed the decals on with another coat of Future.
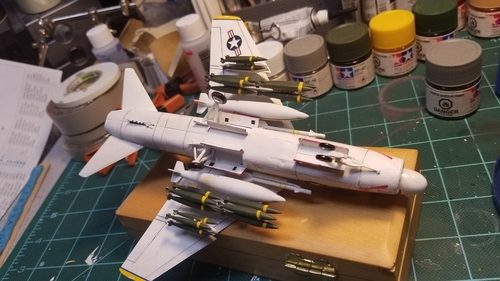 Added the armament and landing gear — I don’t imagine you would want to see this guy coming in your direction! For the wheels, I used a technical pen with archival ink to do the tires, or at least to do the tough parts around the wheel hubs, then painted the rest of the tire black. Masking tires has always been a challenge for me.
Tamiya Paints
XF-1 Flat Black
XF-2 Flat White
XF-3 Flat Yellow
XF-15 Flat Flesh
XF-19 Sky Grey
XF-26 Deep Green
XF-66 Light Grey
XF-67 NATO Green
X-7 Red
