Airfix 1/72 Hawker-Siddeley Harrier GR3
The Hawker Siddeley Harrier is a legendary aircraft in the annals of aviation. The “Kestrel” prototype first flew in the early 60’s and production Harriers were delivered to RAF squadrons in 1969. The Harrier is able to take off and land vertically due to the movable nozzles of its Rolls Royce Pegasus engine. It enables the aircraft to be operated in forward areas, from the decks of ships, and on airfields that are too short for high performance jets.
The GR3 is an improved version of the Harrier featuring a laser-targeting system in the nose, an improved engine, and electronic-countermeasure systems.
This variant of the Harrier was deployed by the RAF in the Falklands War, operating from the HMS Hermes and from land bases once the beachhead was established.
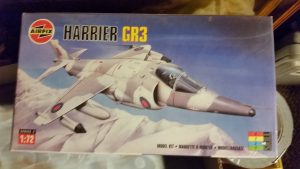
Here is the box for the Airfix 1/72 GR3 Harrier. Overall, a really good kit. Nice fit, easy to assemble. Not too many tricky areas.
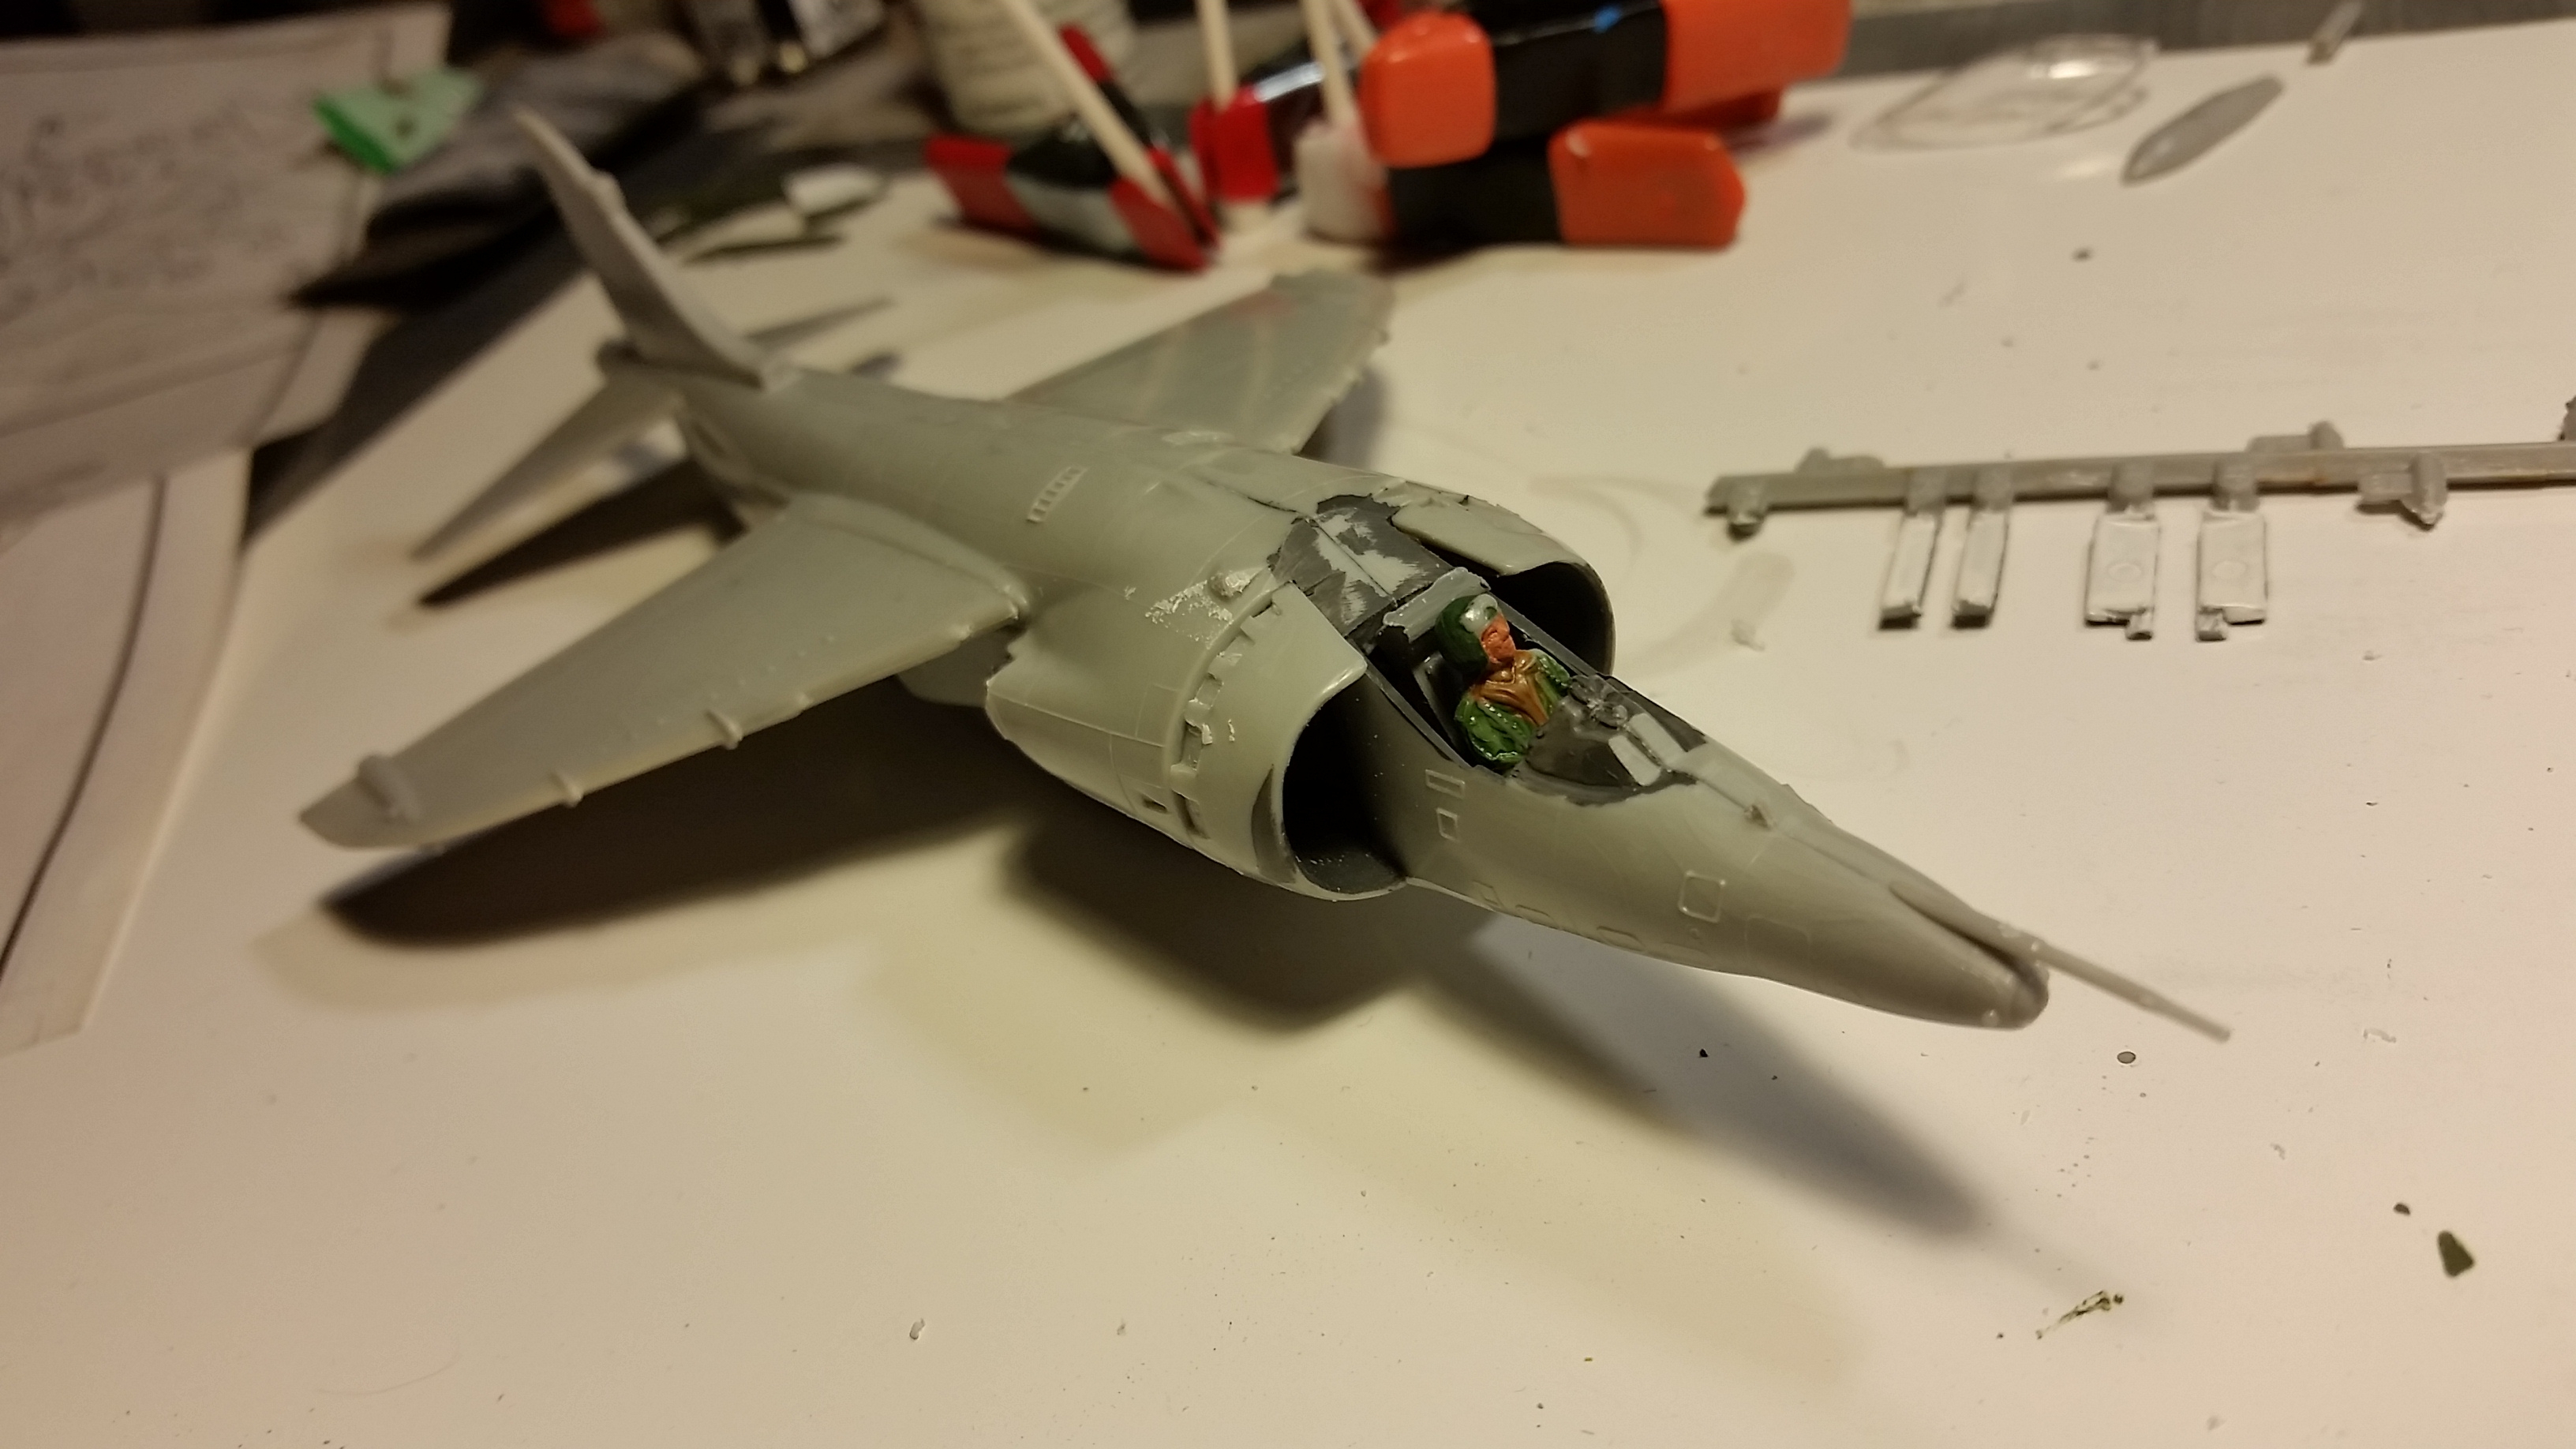
Here is the fuselage assembled with the seam filled in and sanded. The interior has been painted in a dark grey (Tamiya XF-24) and the outside with sky grey (Tamiya XF-19).
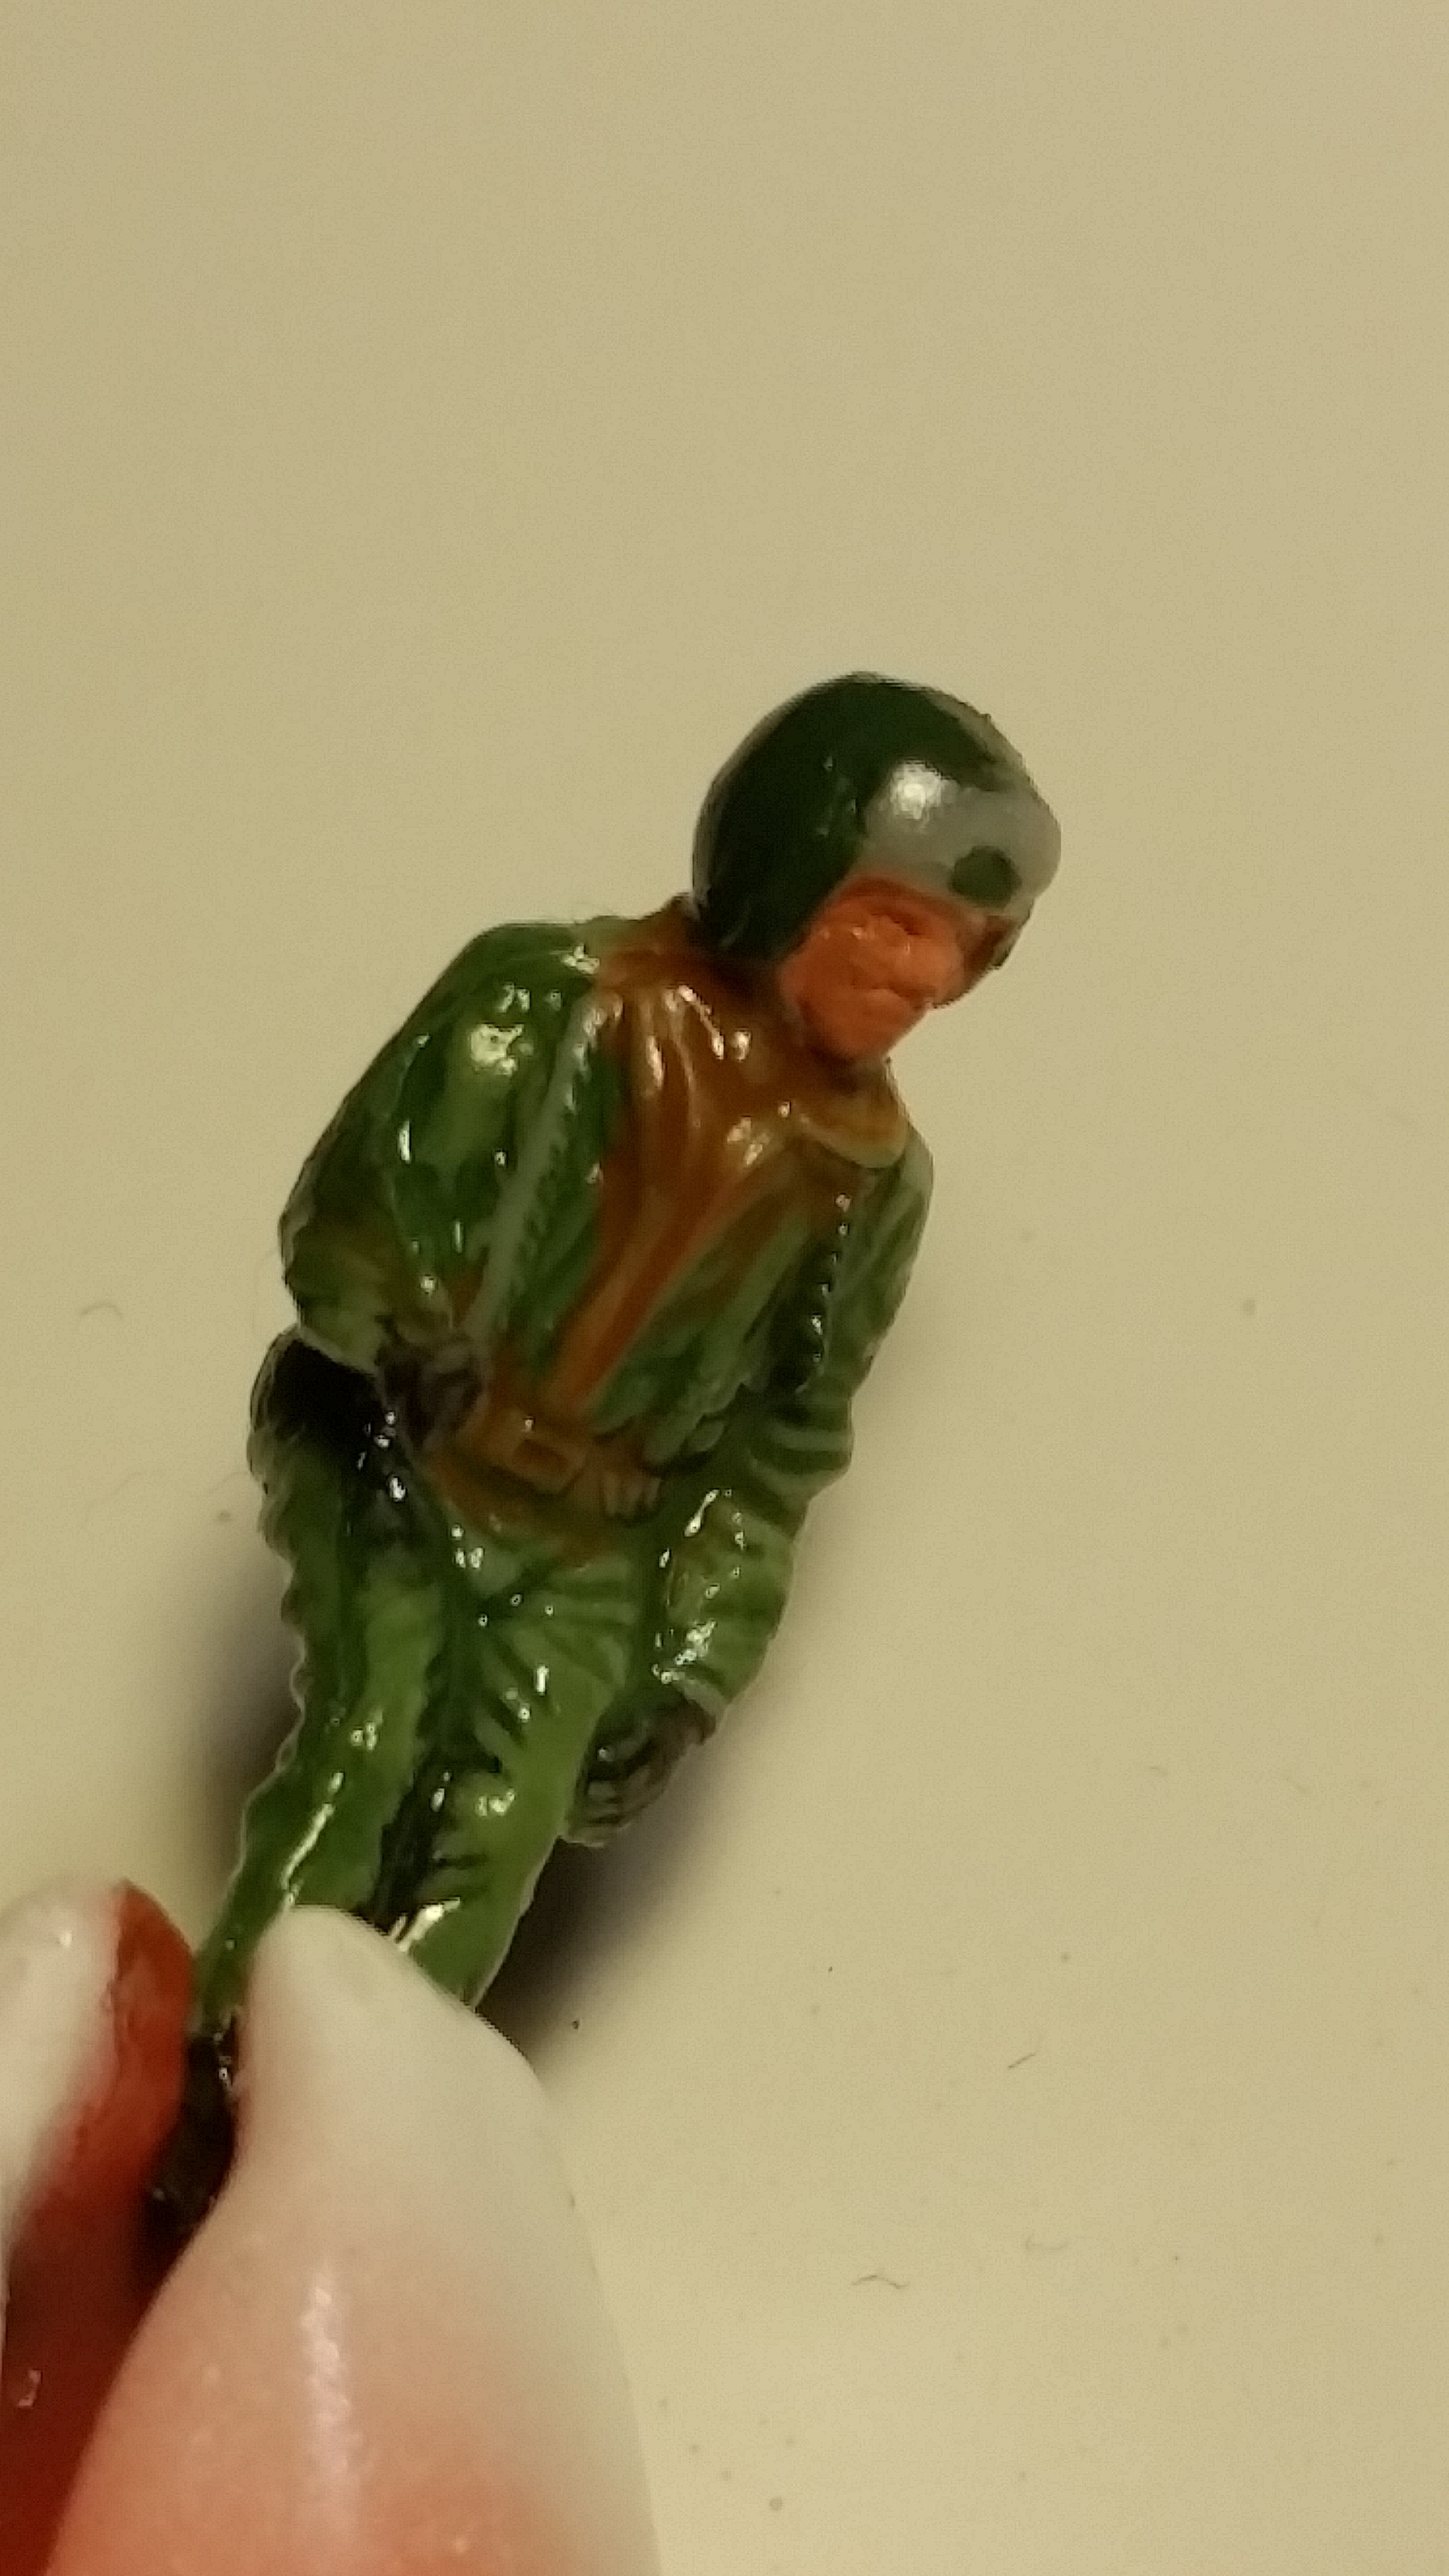
Here is the little pilot, painted with a variety of Testors and Humbrol enamels (silver, flat olive green, matt dark green, matt brown, flat black, flat light tan).
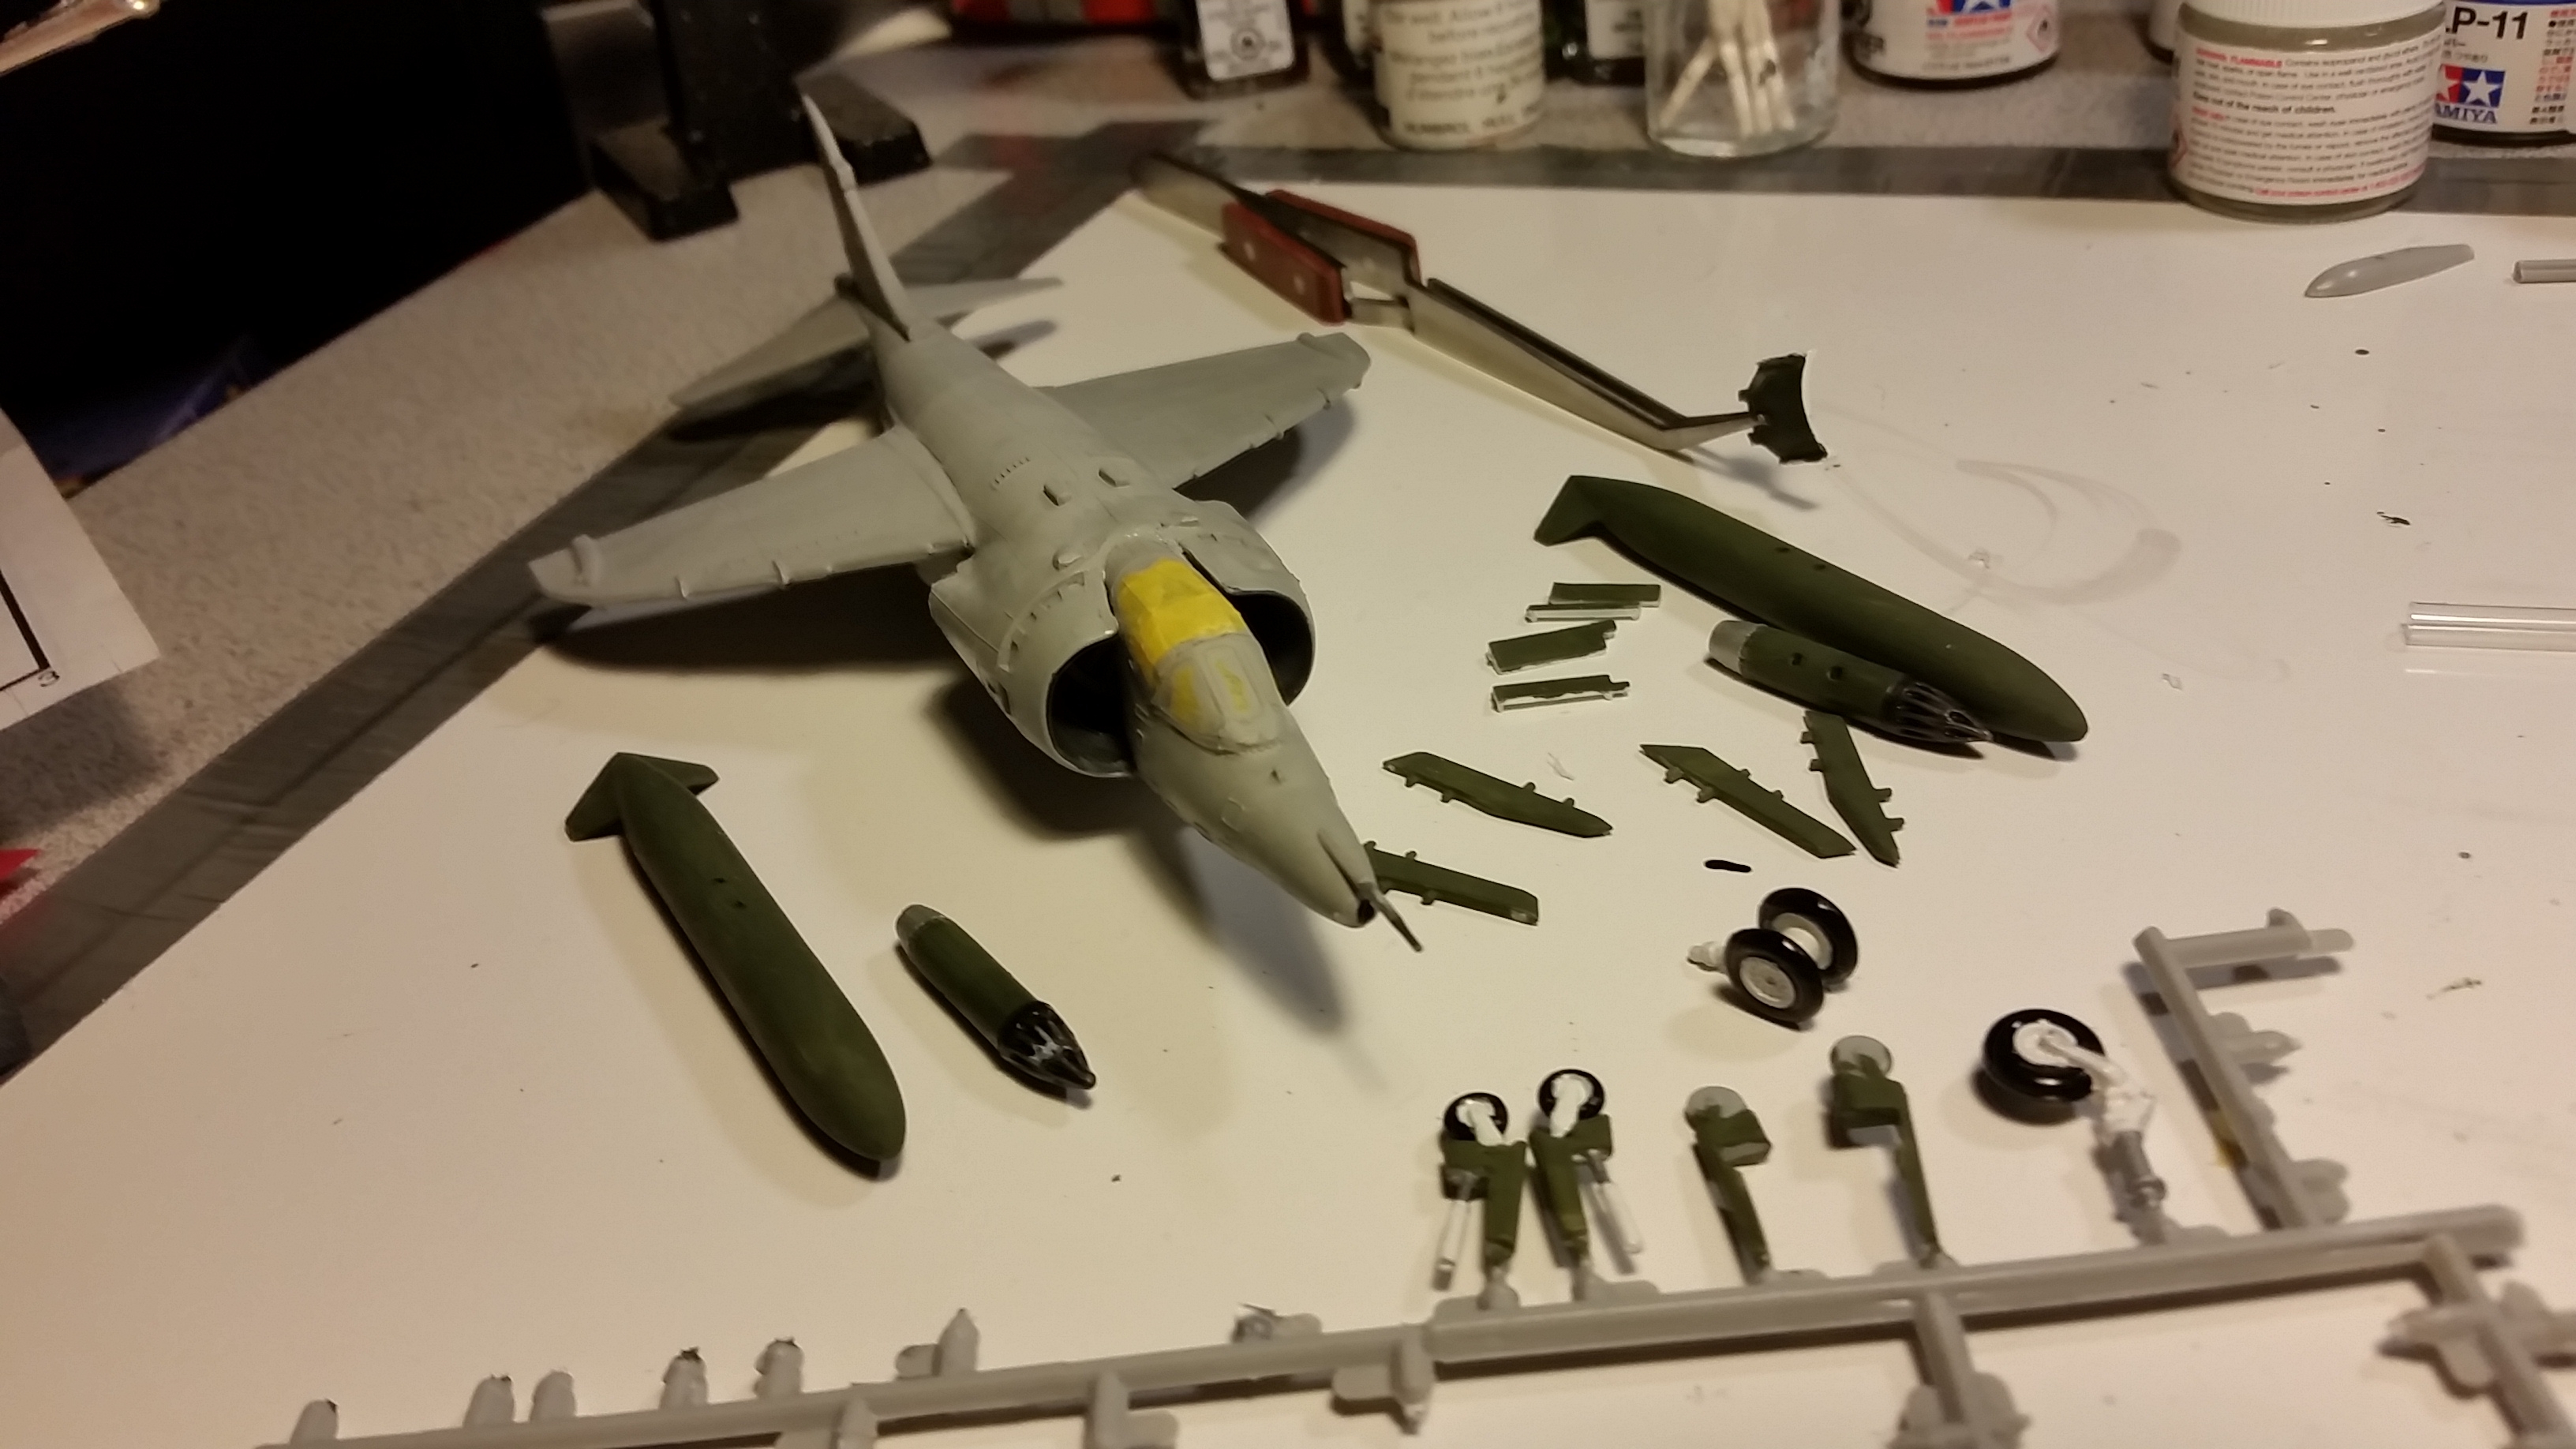
The wing stores and pylons have been painted in NATO Green (Tamiya XF-67) in anticipation of the camouflage scheme to come. The canopy has been masked with Tamiya masking tape. You can also see the landing gear painted on the sprue. I tend to paint tires with a gloss black (in this case Tamiya X-1).
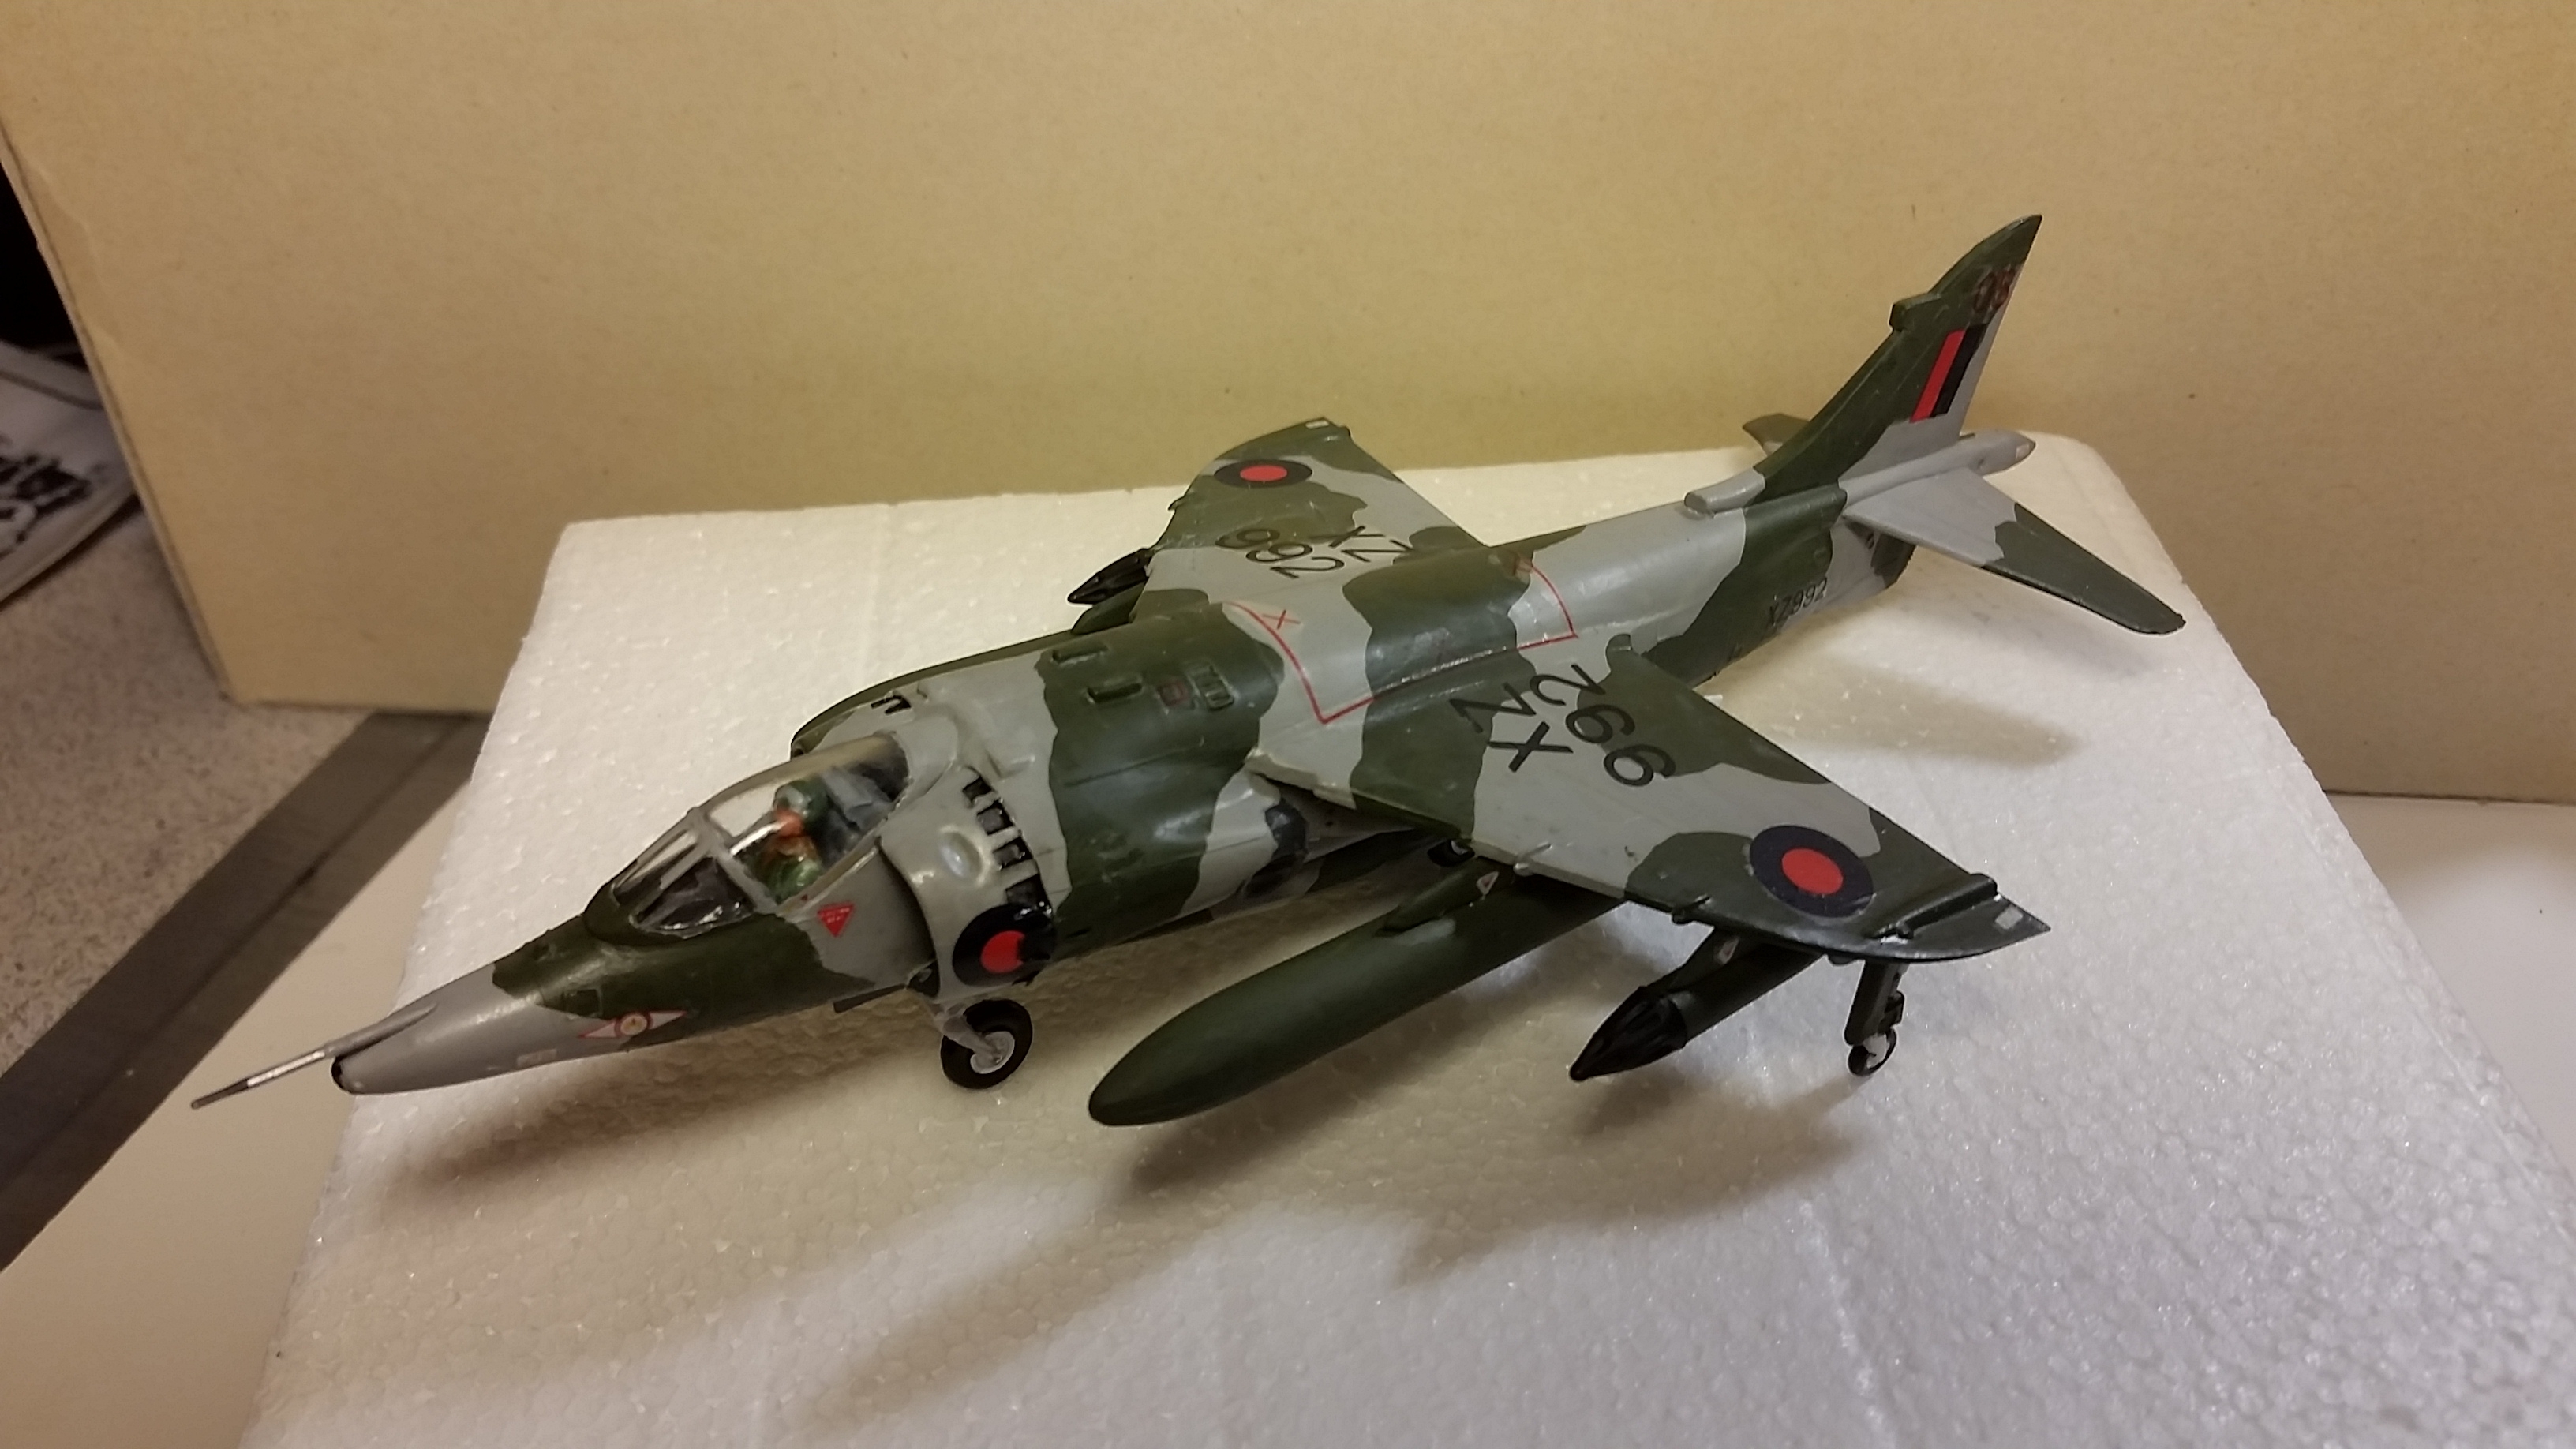
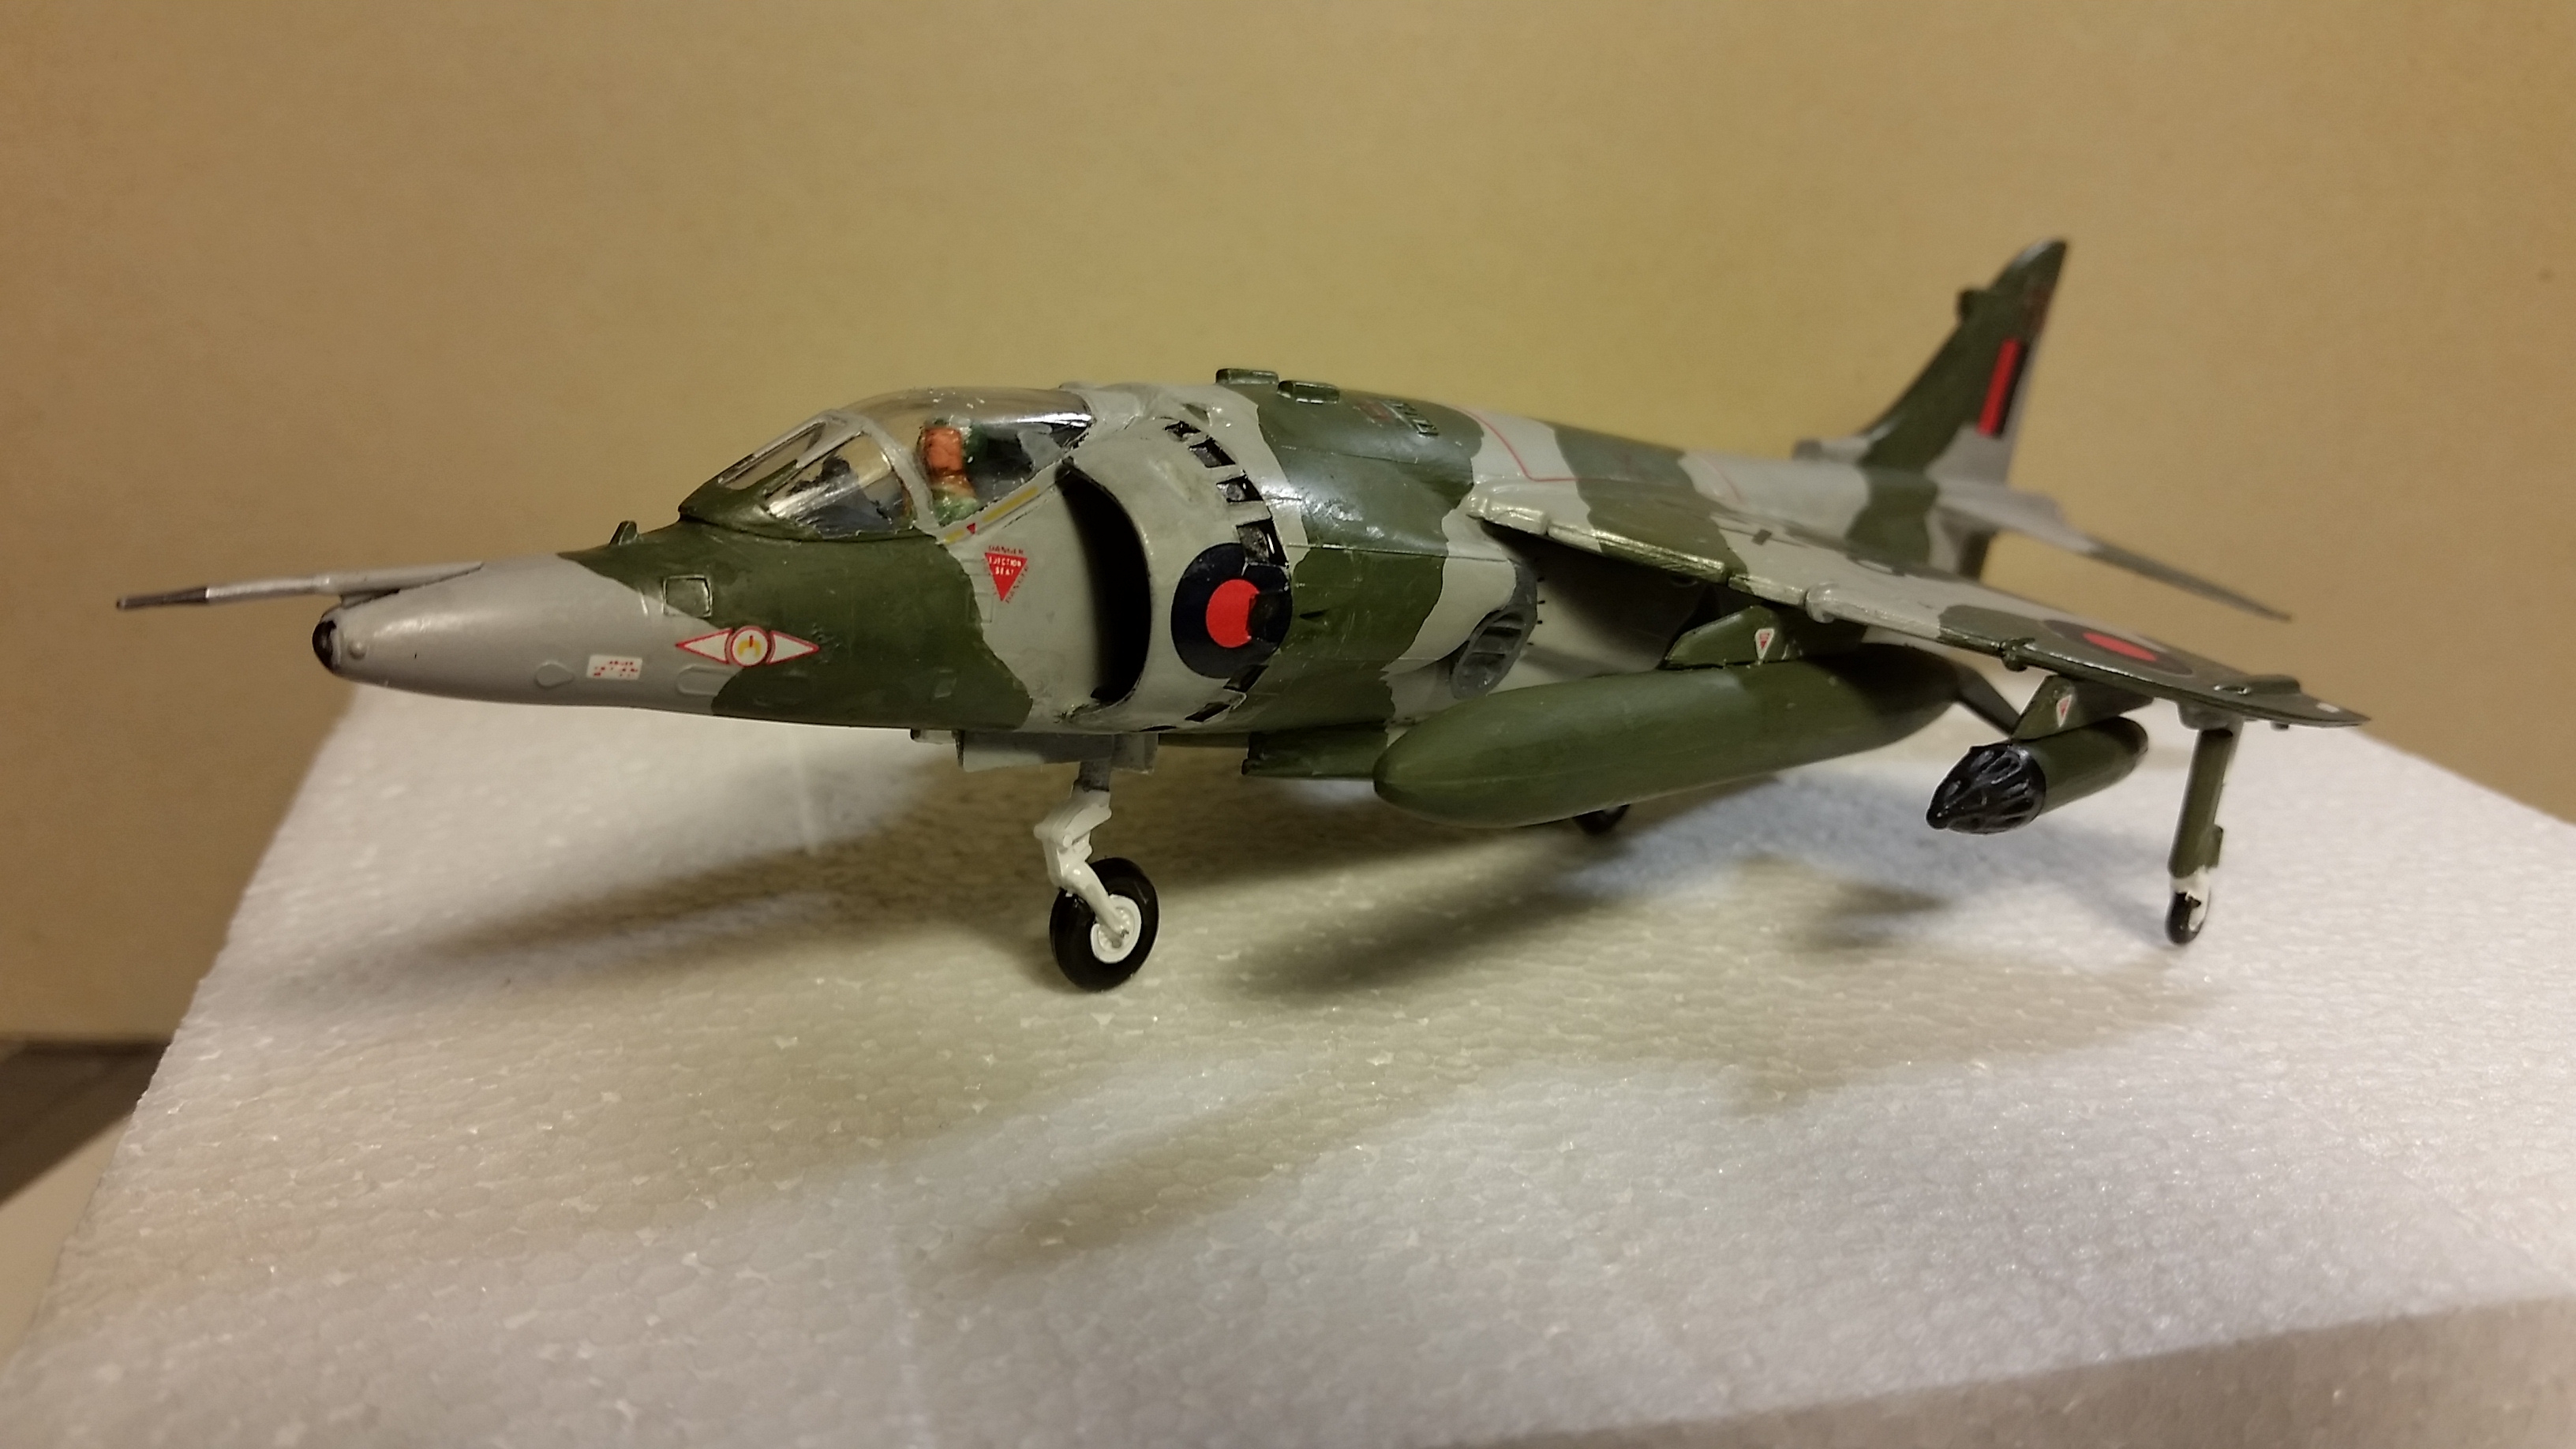
Here is the finished kit with the camouflage pattern added and the decals applied. I used Micro-Sol decal set to get the decals to conform. This was especially important where the roundels on the engine intakes overlap the vents. I painted the vents with Tamiya Panel Accent, but that didn’t really get the dark black color to make it look like a cut out, so I thinned out some gloss black and used that. I didn’t cut the decals where the vents were for fear of ruining them.
I did a coat of Future after applying the decals, then again tried the Vallejo Matt Varnish 70.520 to restore the flat color. I thinned the finish quite a bit with water (50-50?) and even so, it still left some white residue that I could not get rid of despite repeated wettings and rubbing down. Still looking for a good way to “flatten” out the paint job after applying the glossy clear coat.
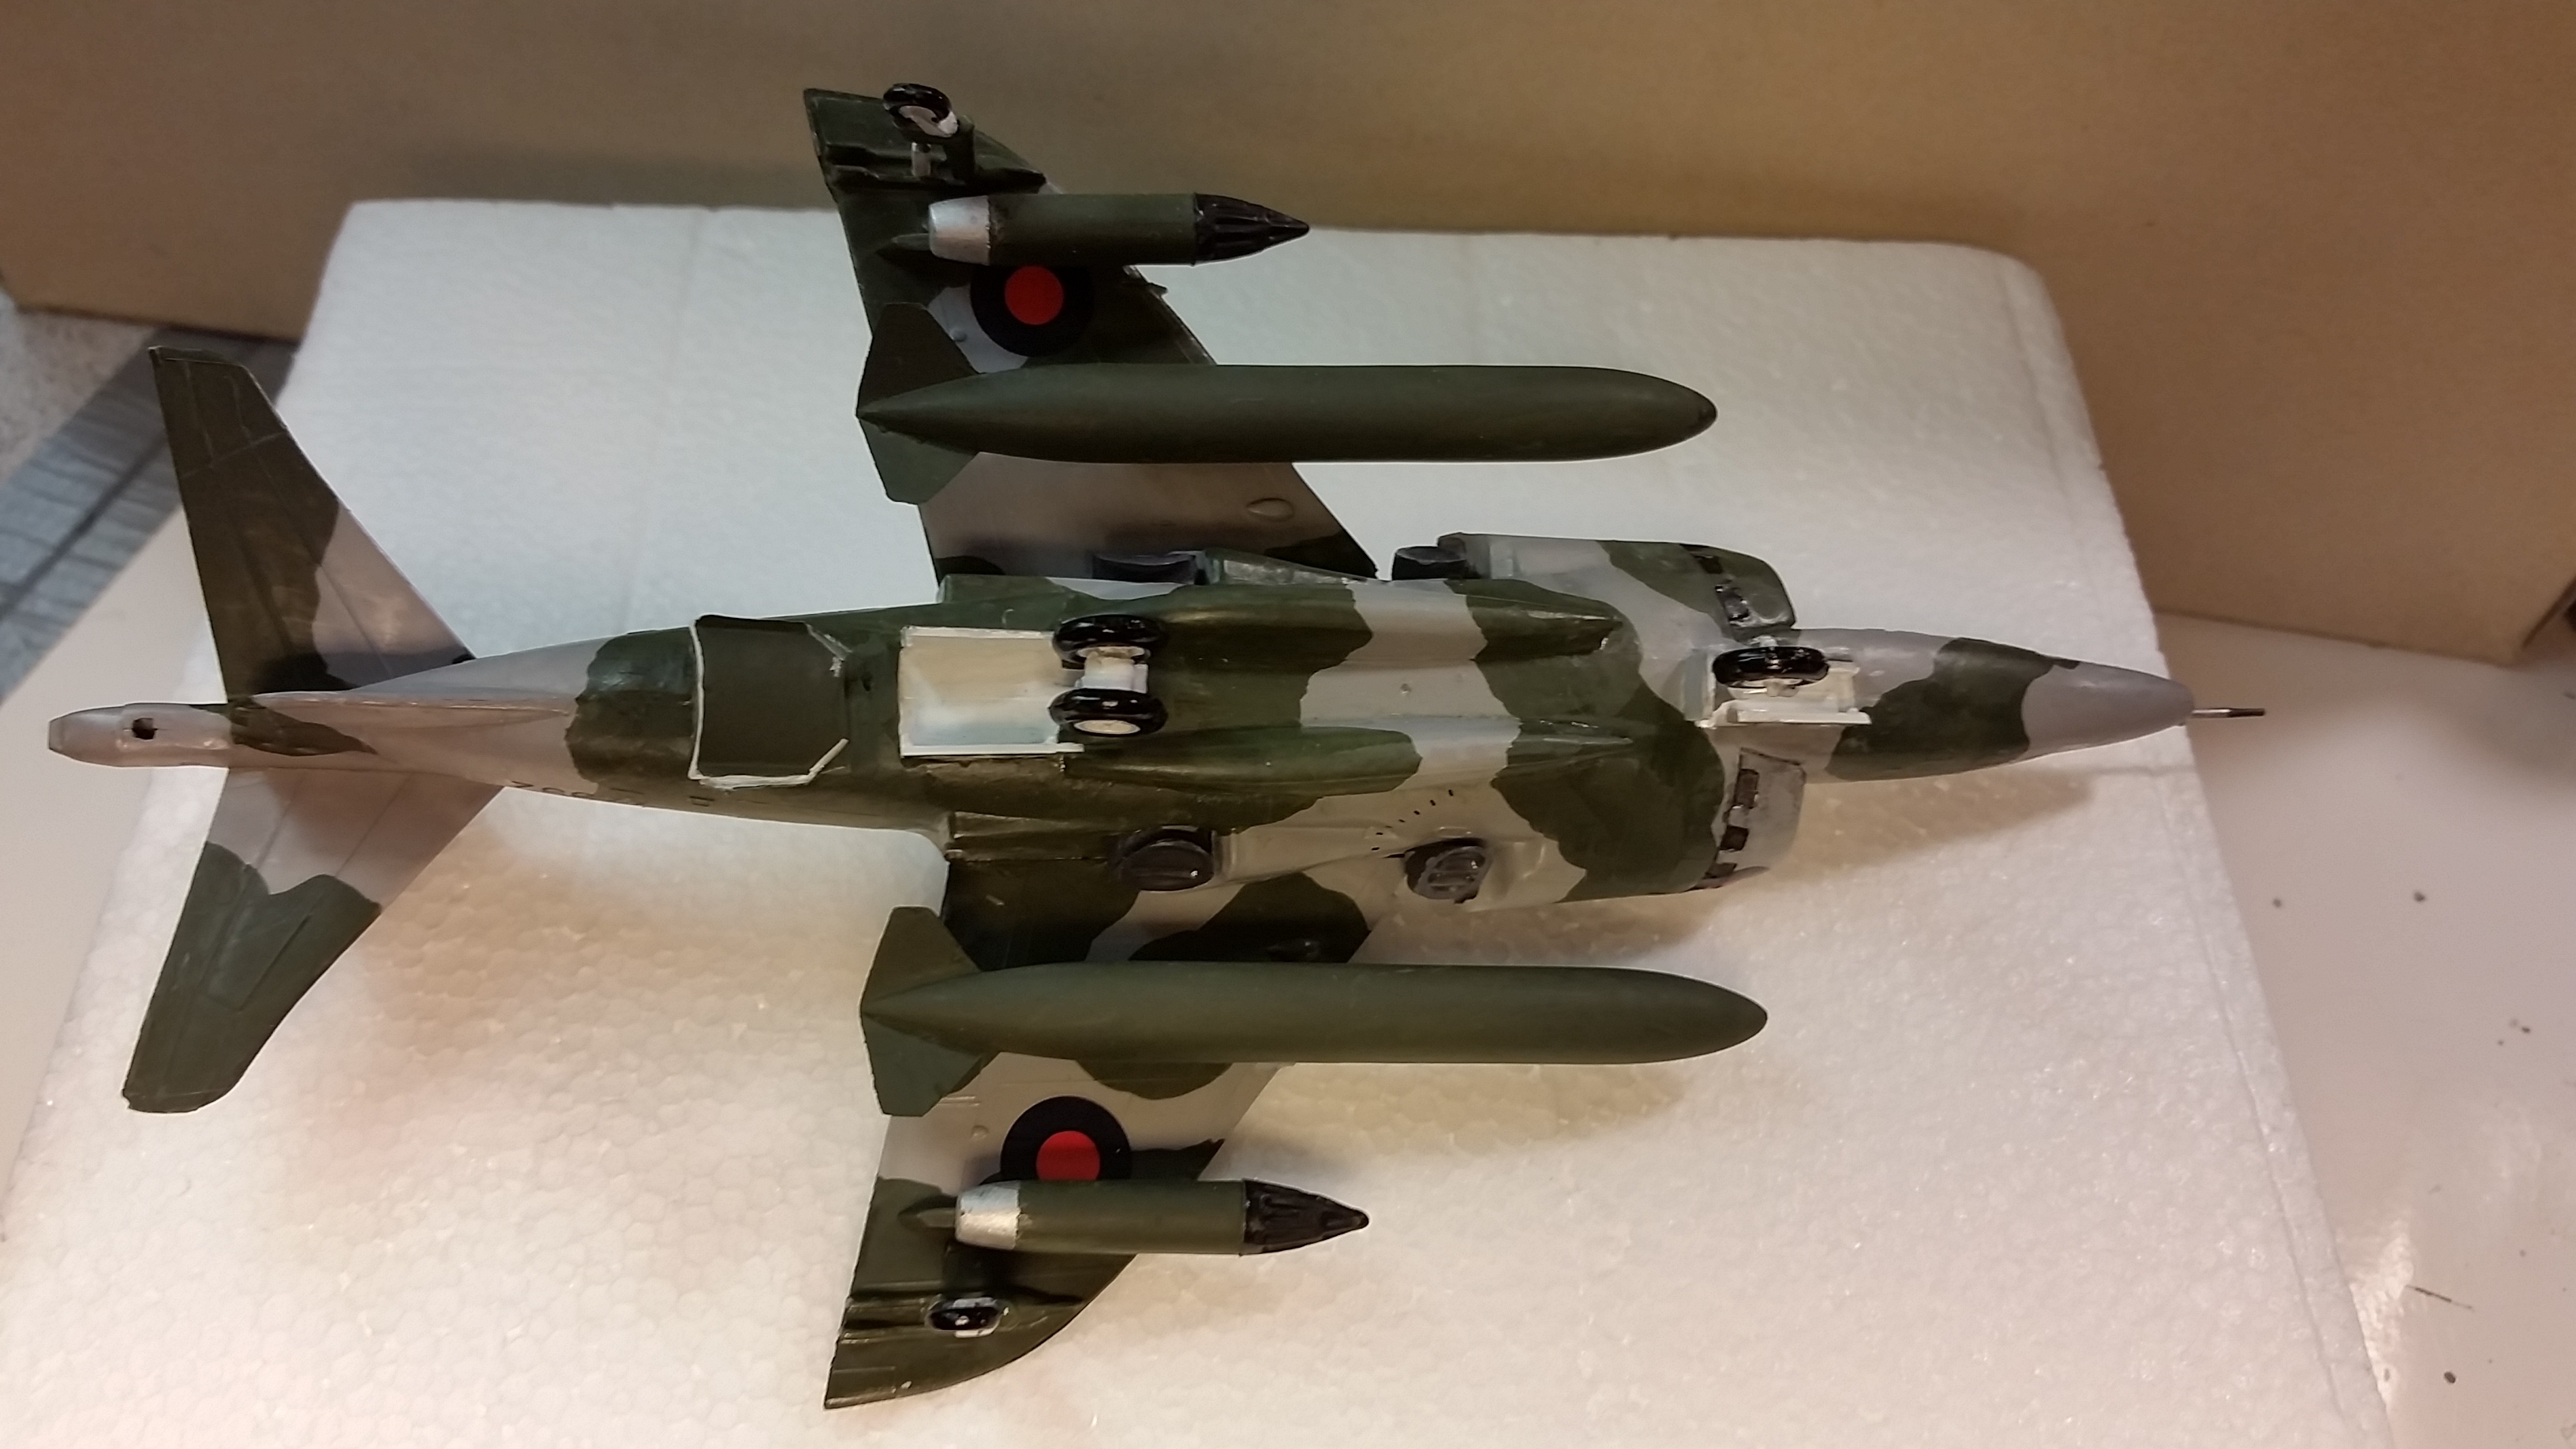
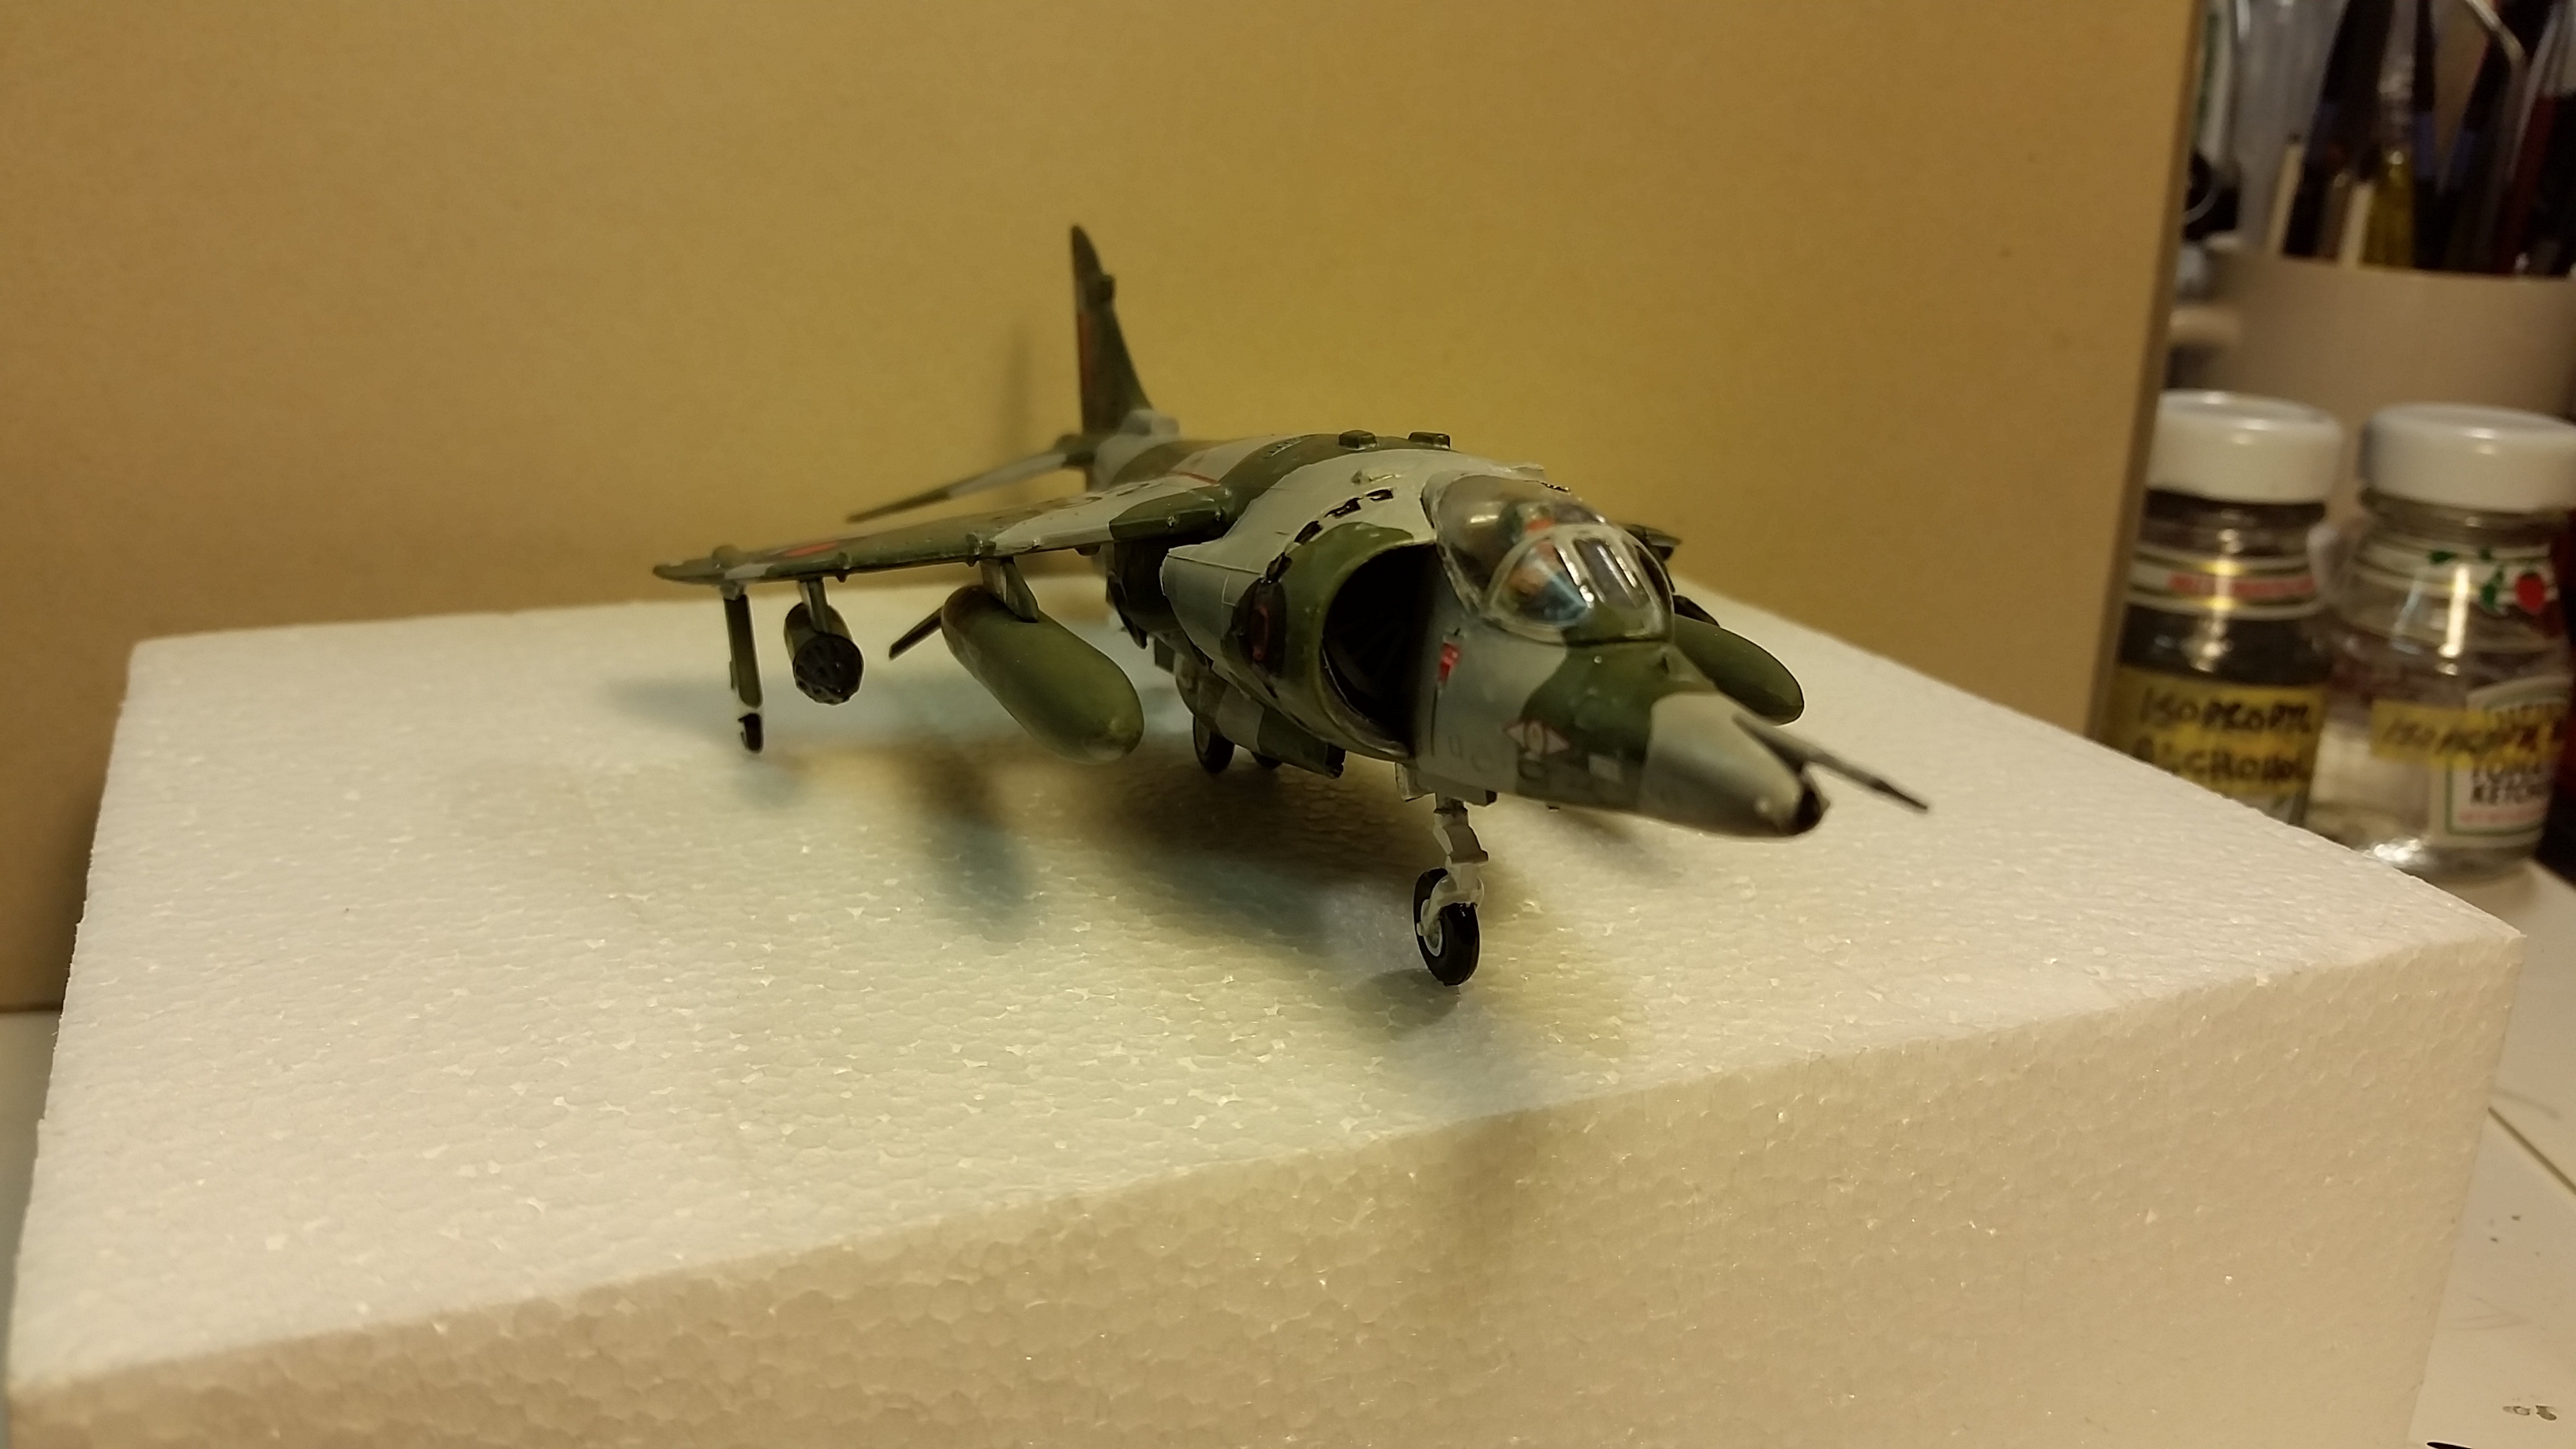
The underwing stores were a bit tricky. The drop tanks did not line up straight when glued into the supplied pylon holes, so I sheared off one of the pylon pegs to adjust them. I added a little diluted flat black to make the landing gear look a bit weathered.
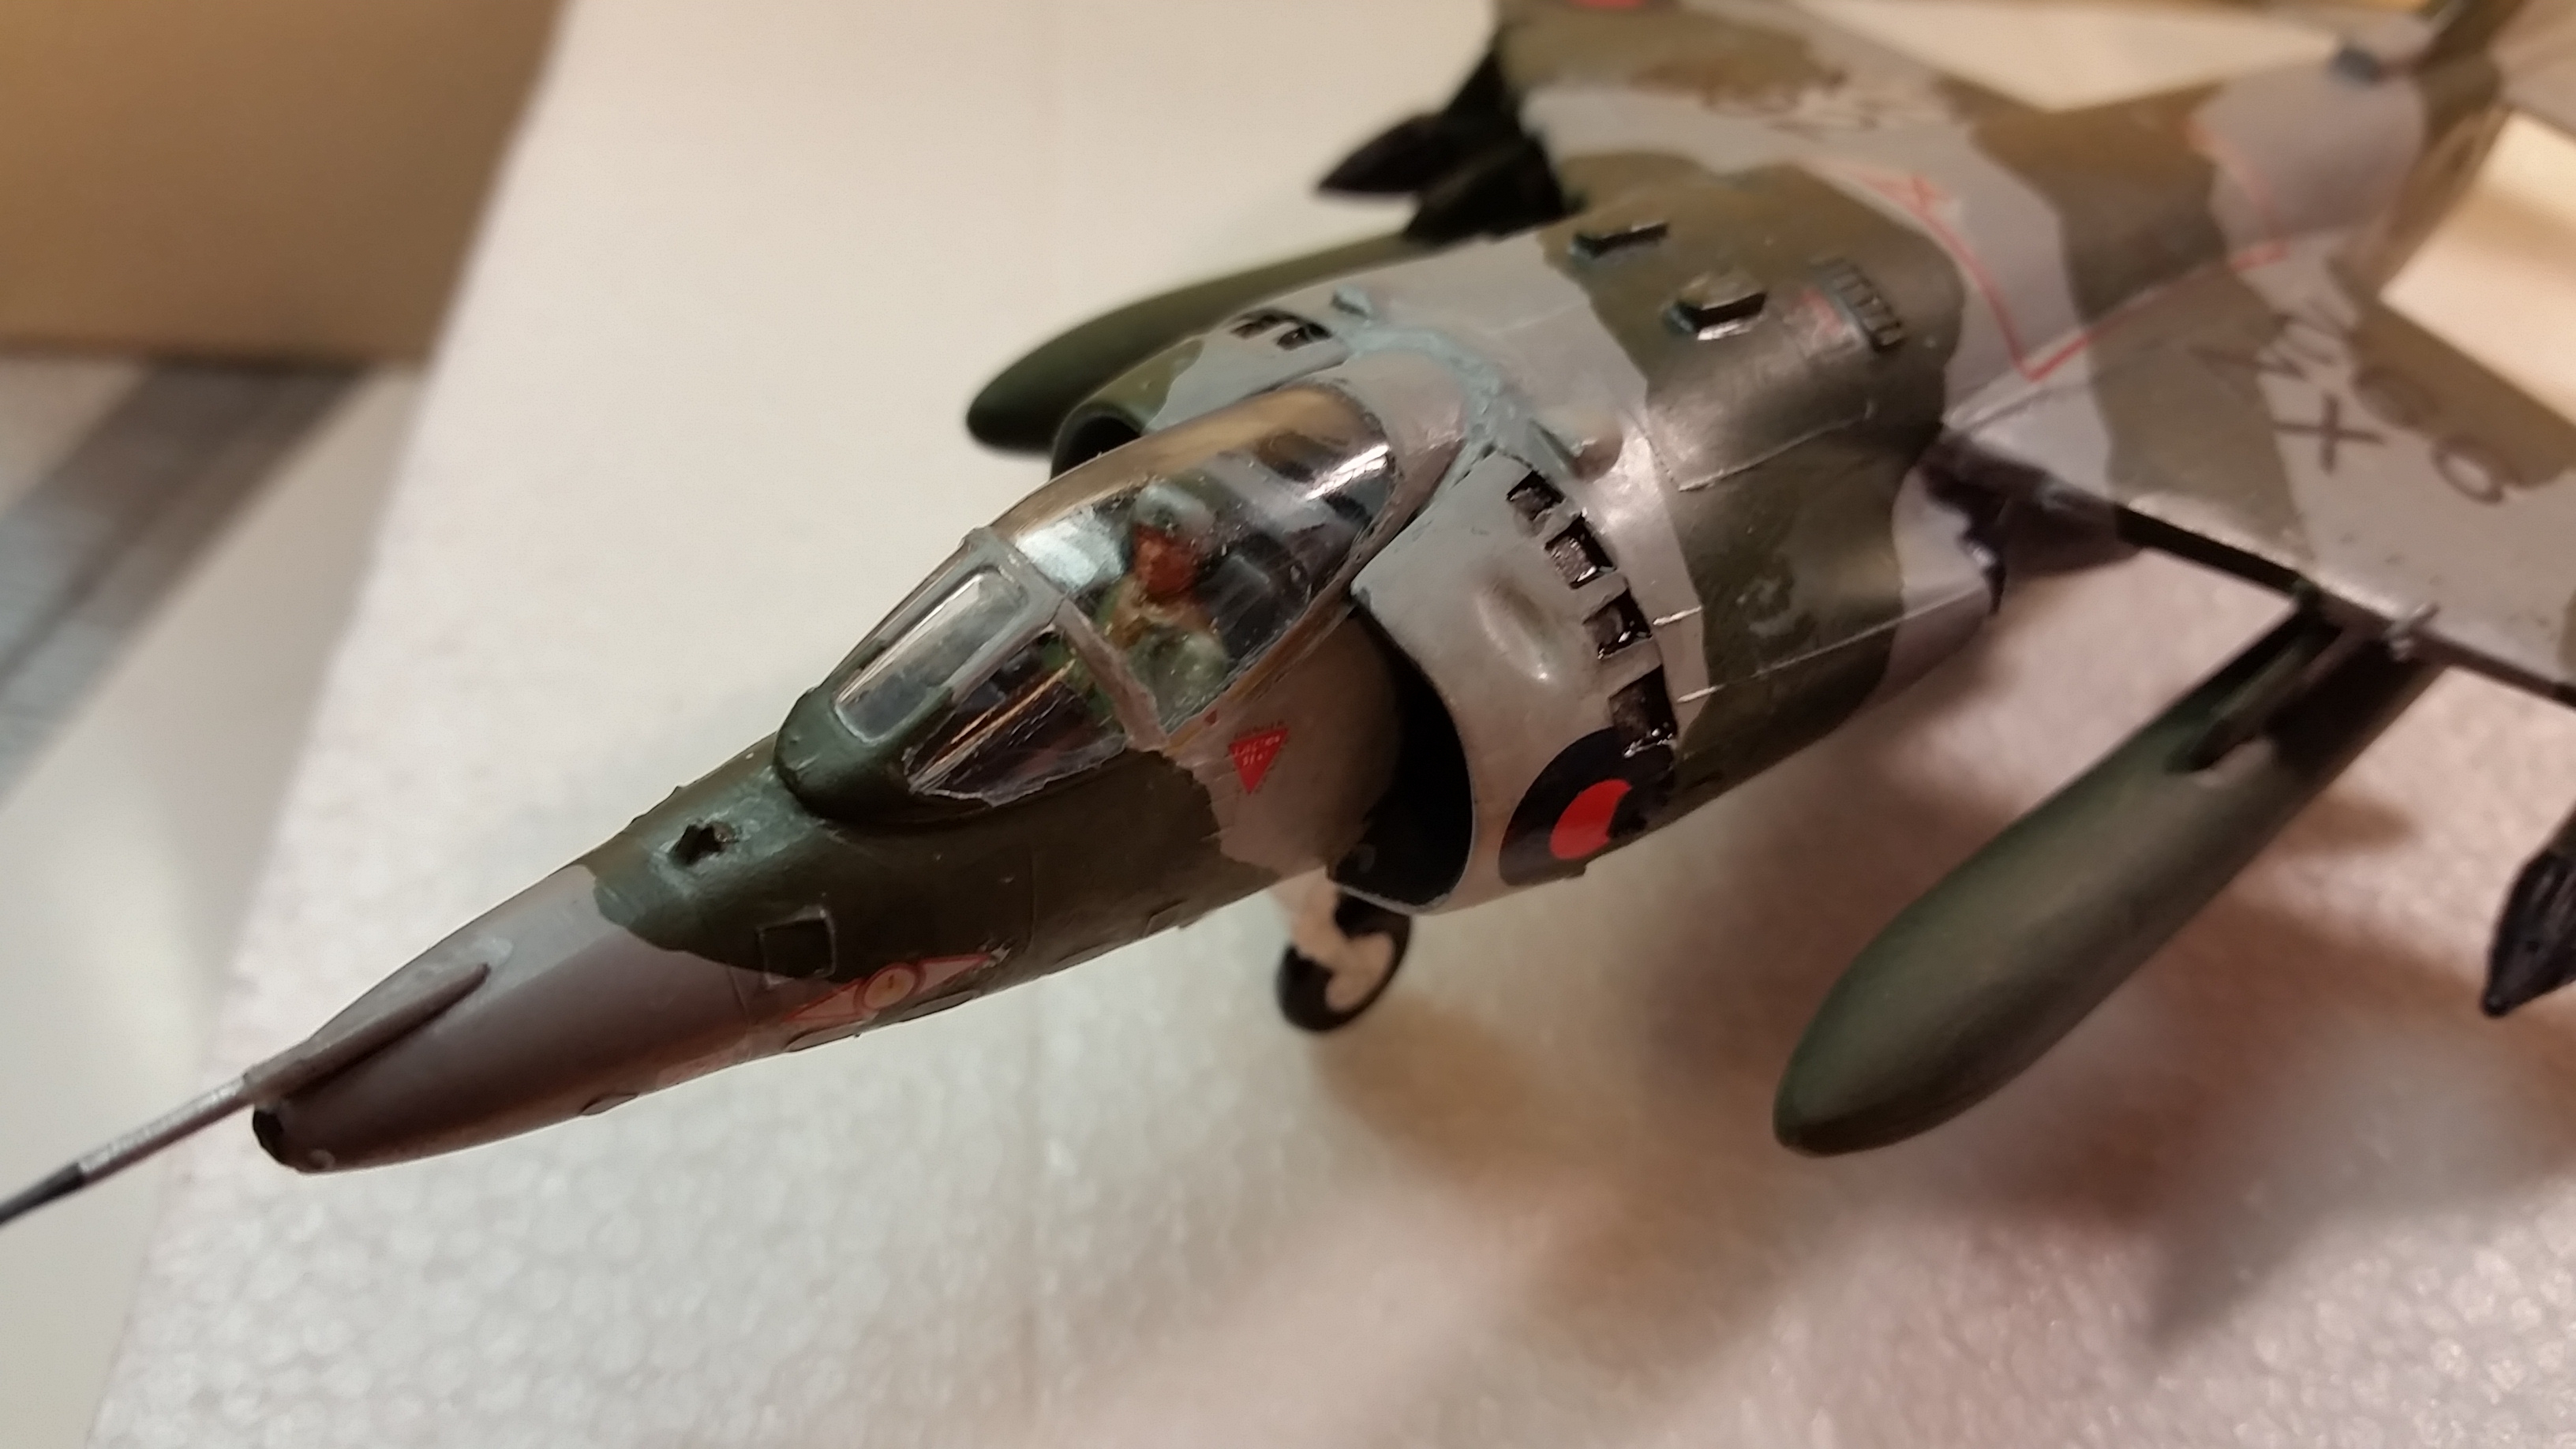
Once again, canopy painting has been my nemesis. I used Tamiya acrylics and scraped away excess with a toothpick and dental tools. Still not happy with the result. I still feel there must be a better masking tape for this purpose that won’t bleed.

Monogram 1/72 Panavia Tornado
Plane of the Day, Northrop T-38 Talon