[1/72] Italeri Canadair CF-5A Freedom Fighter
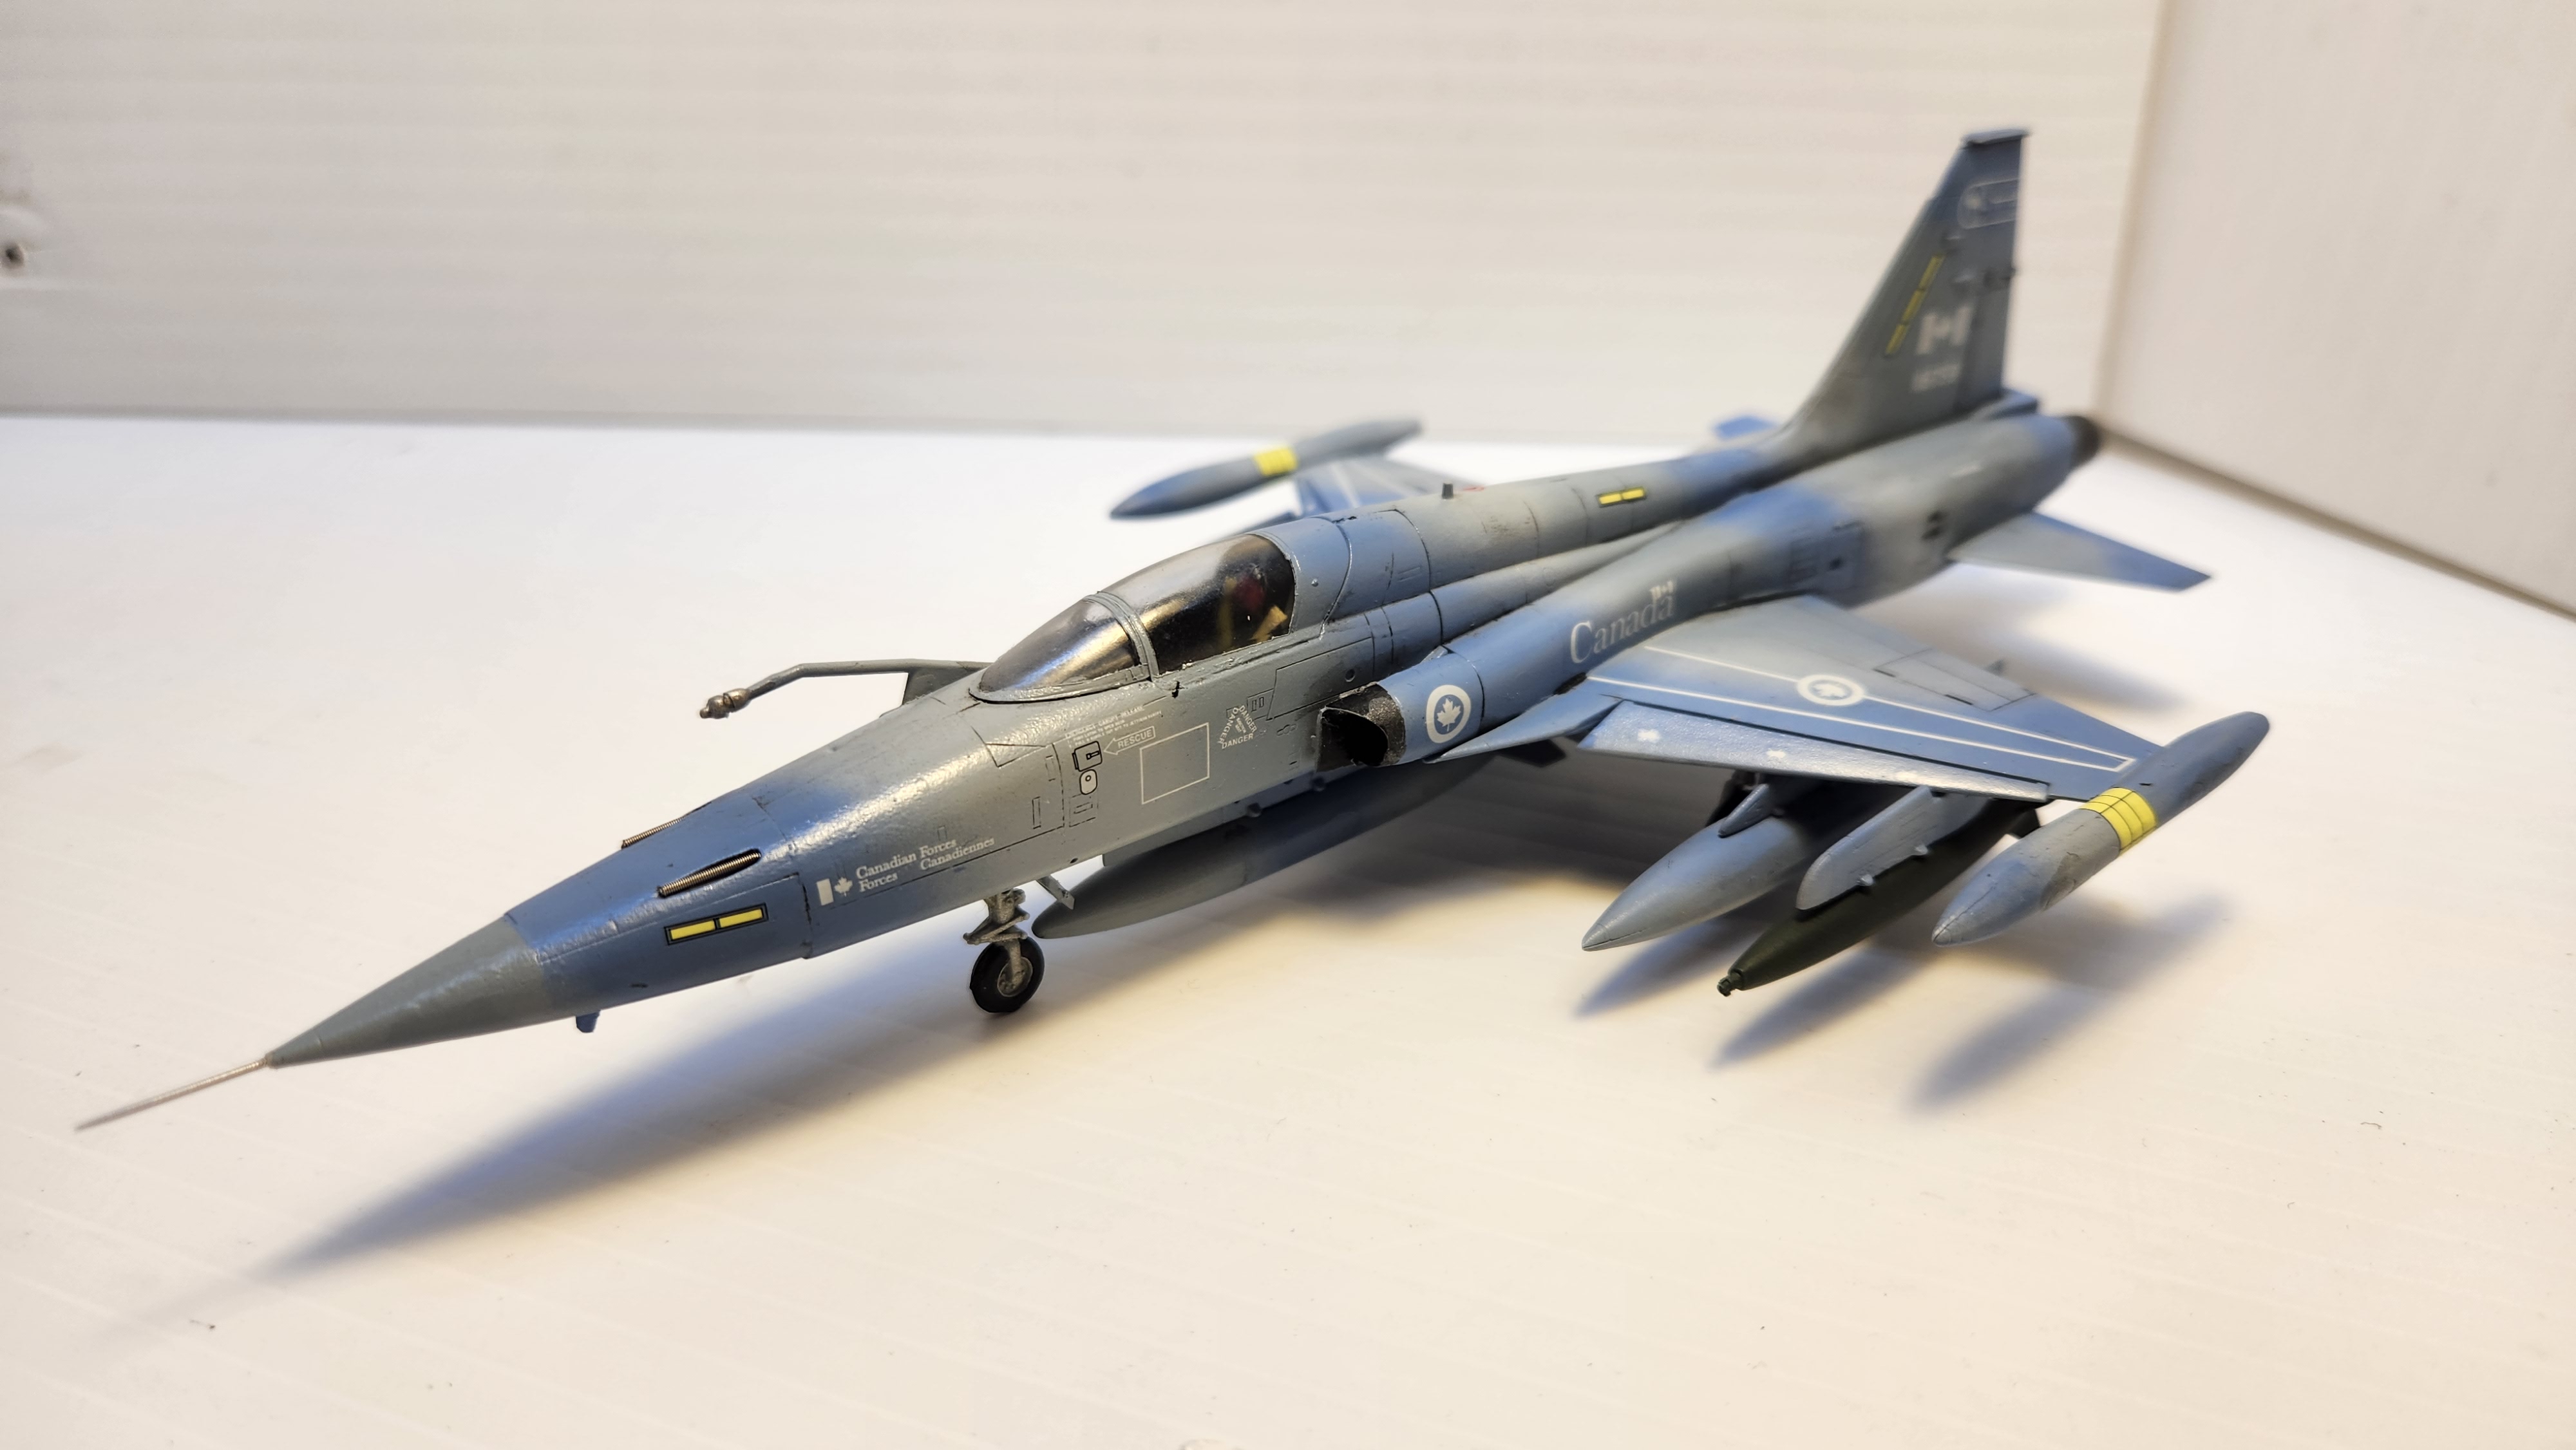
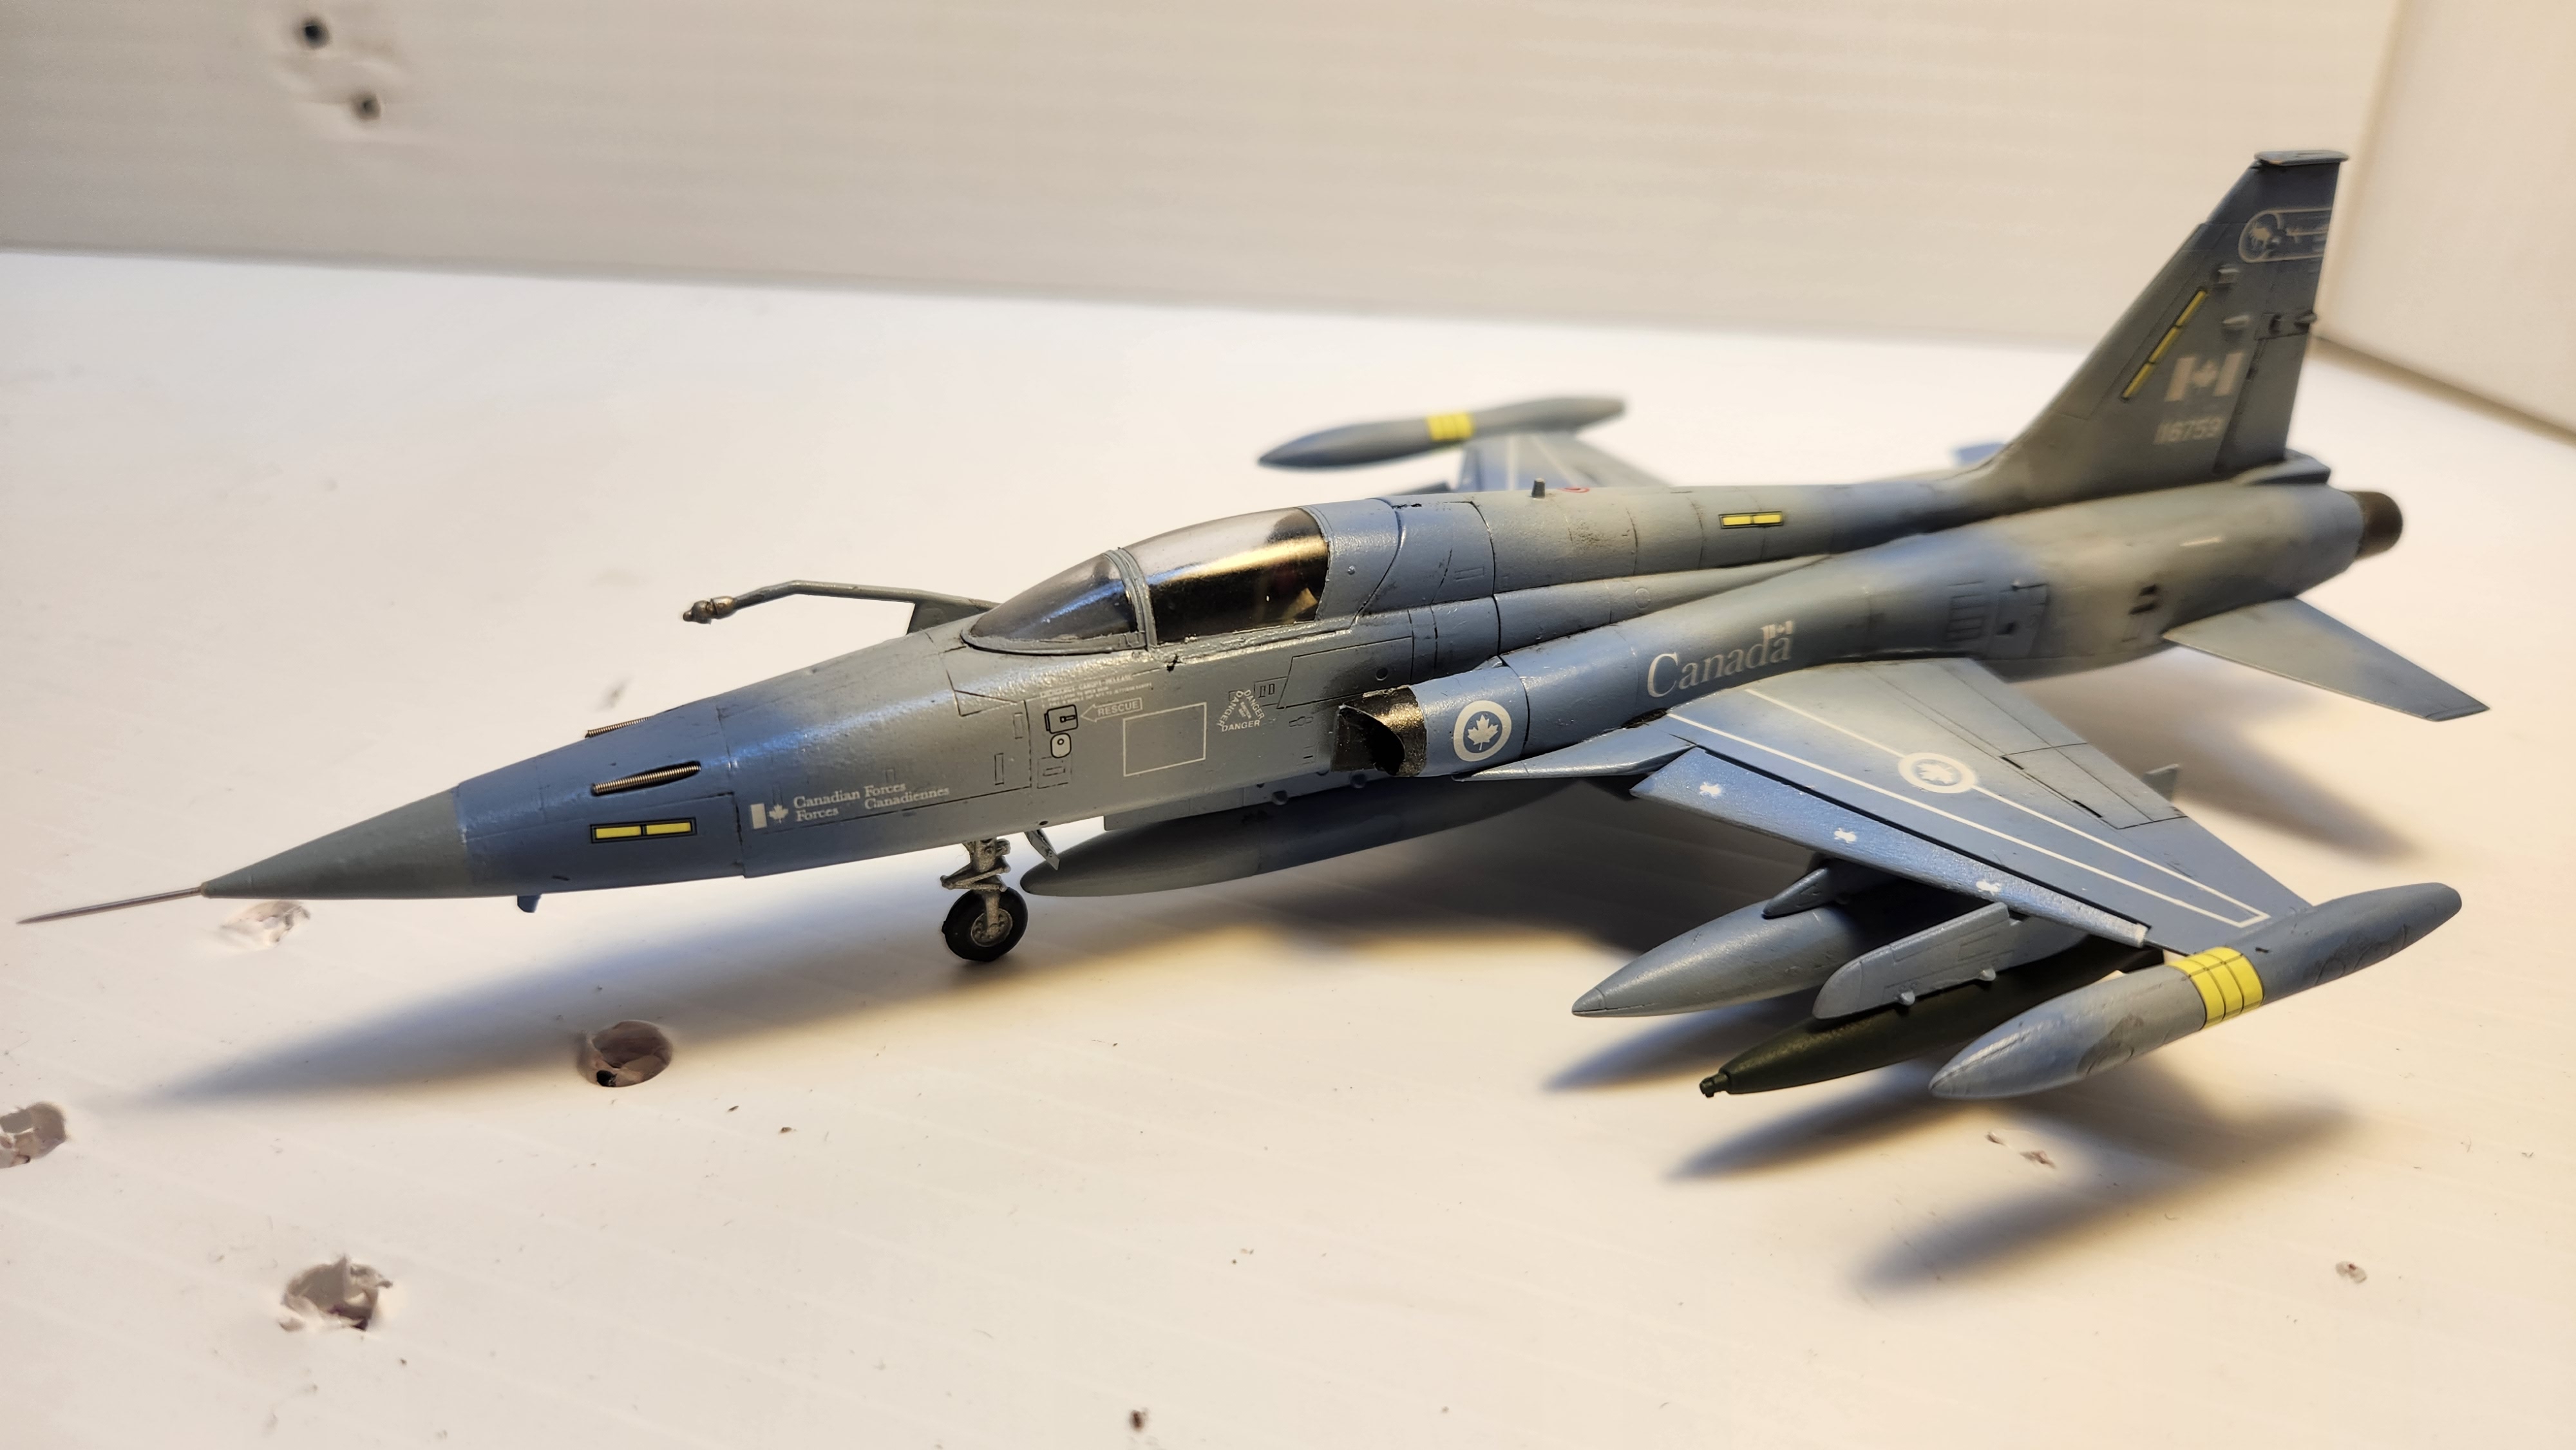
The CF-5A was a version of the Northrop F-5 built by Canadair under license. This small single seat fighter served in the RCAF as well as being sold to other countries like ther Netherlands, Turkey, Venezuela, and Botswana. You can read more about the Canadair version here.
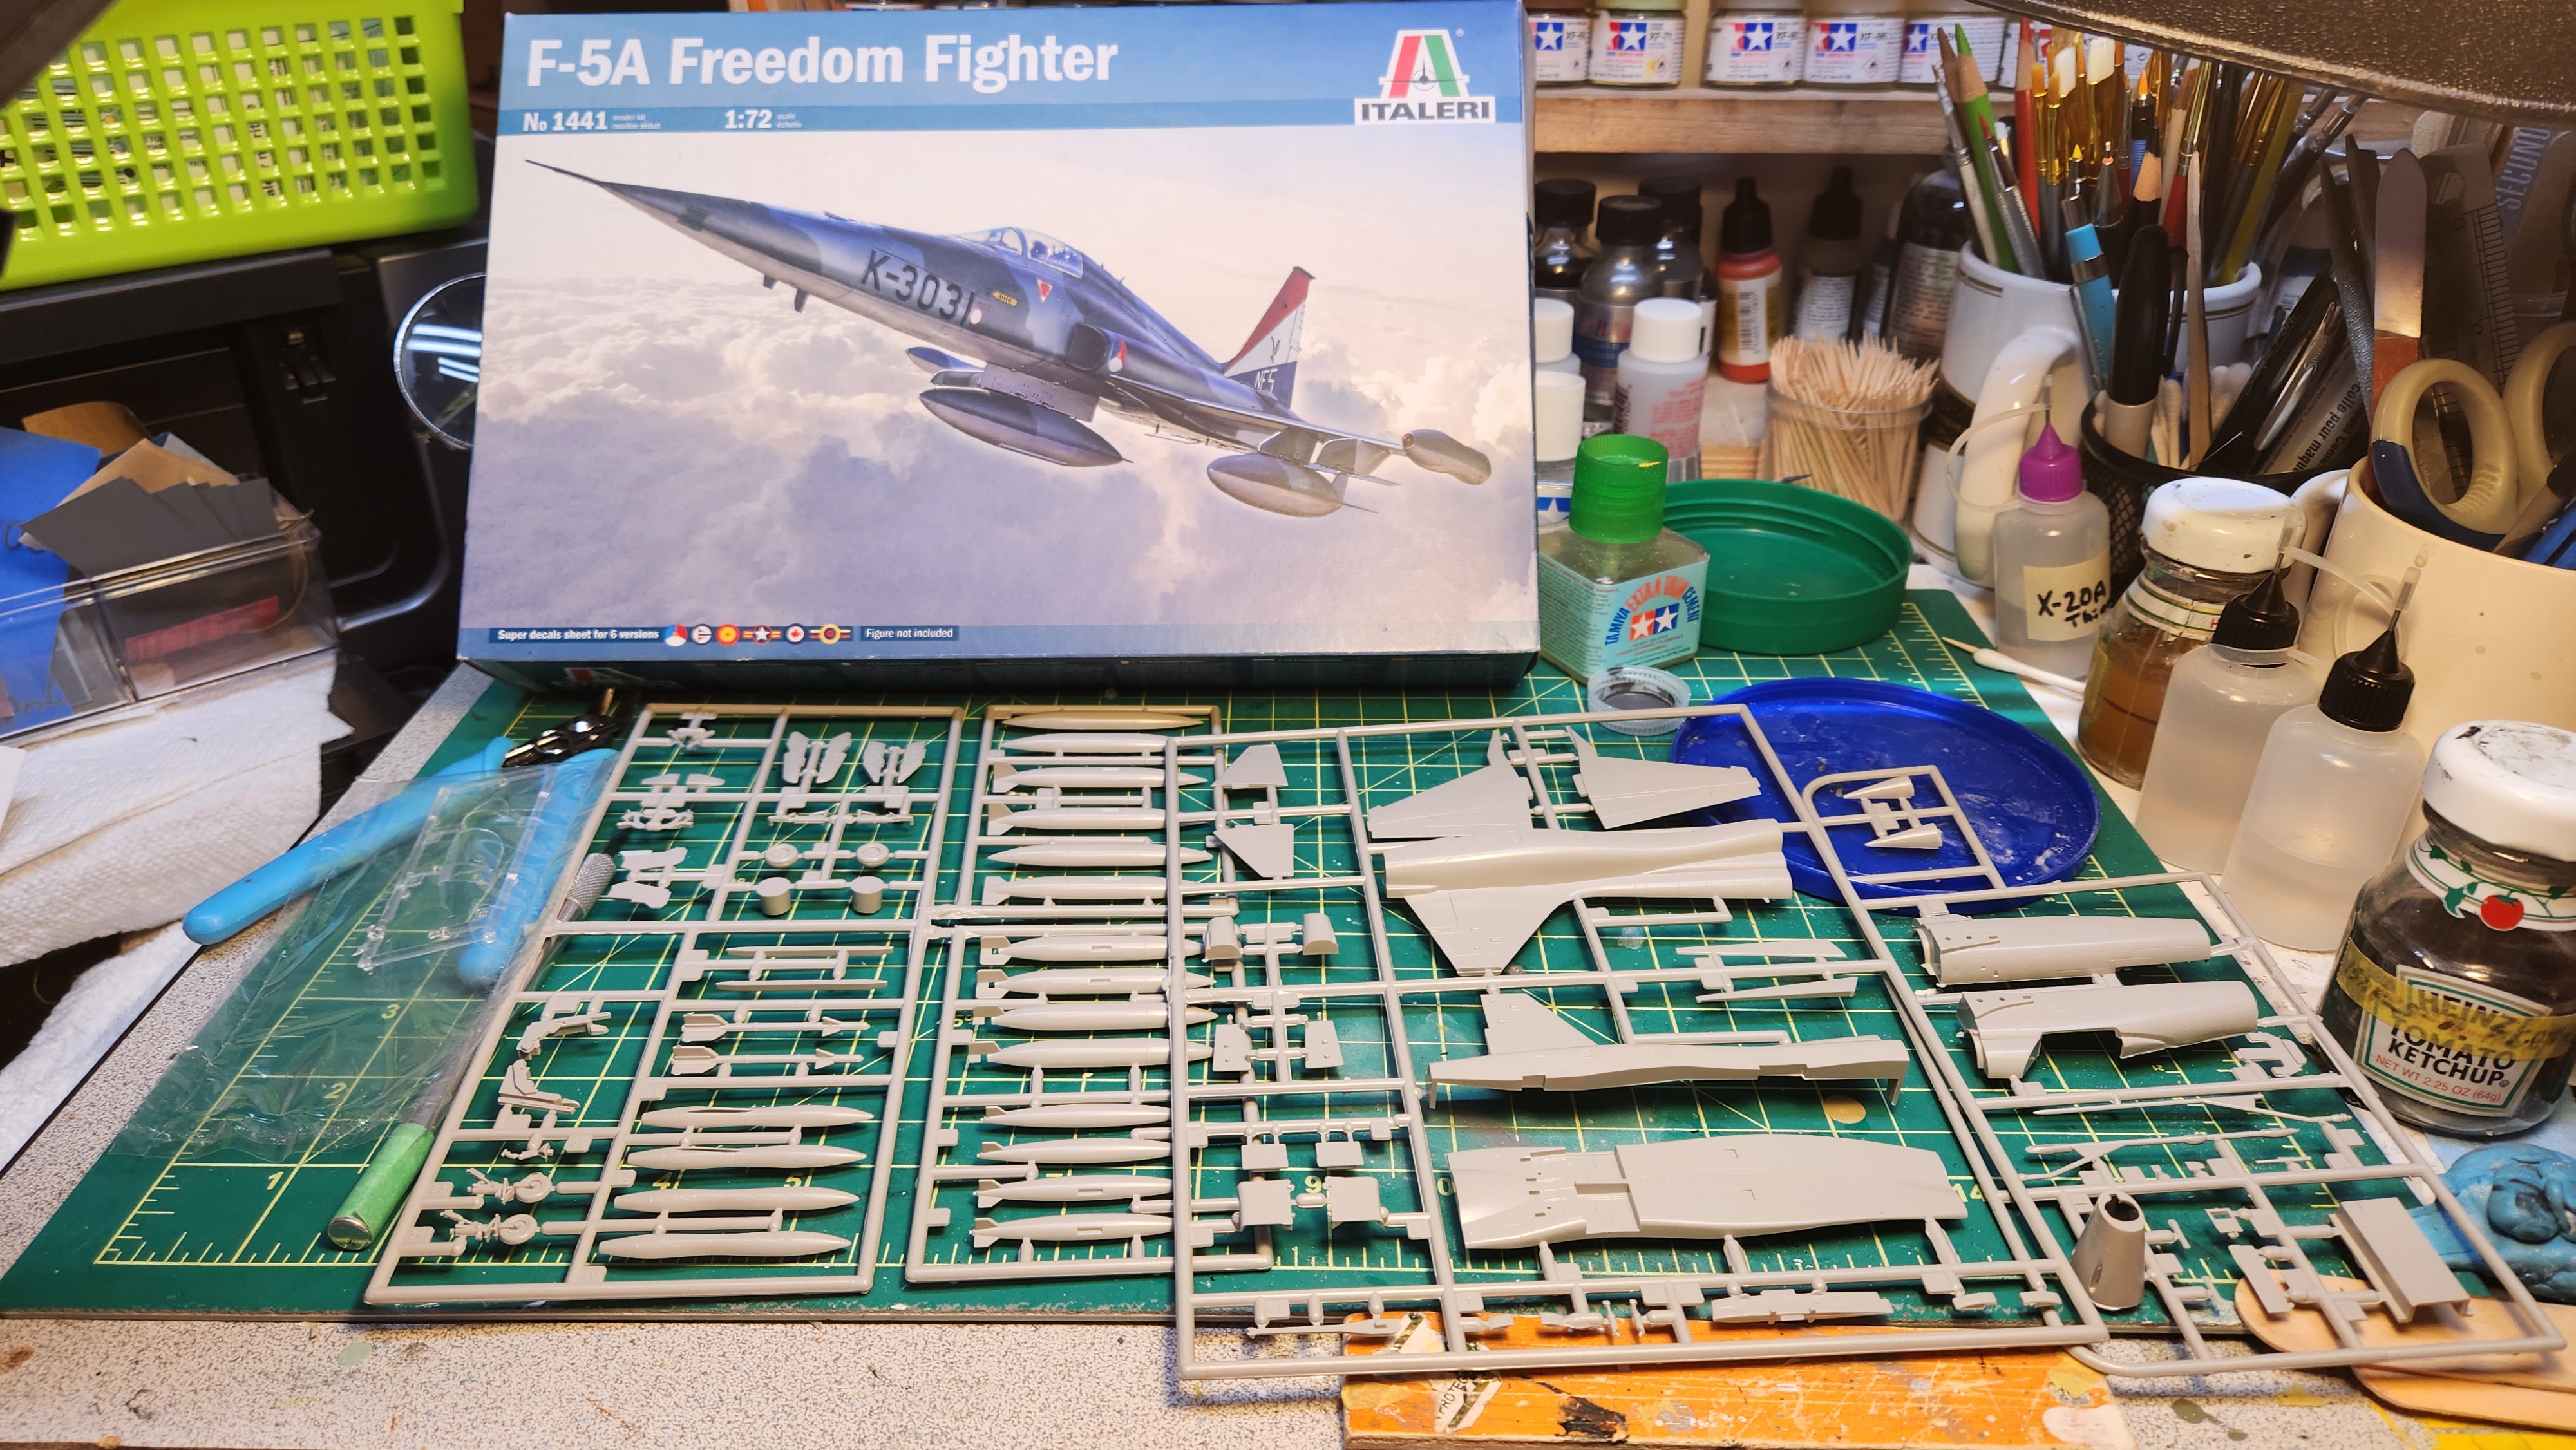
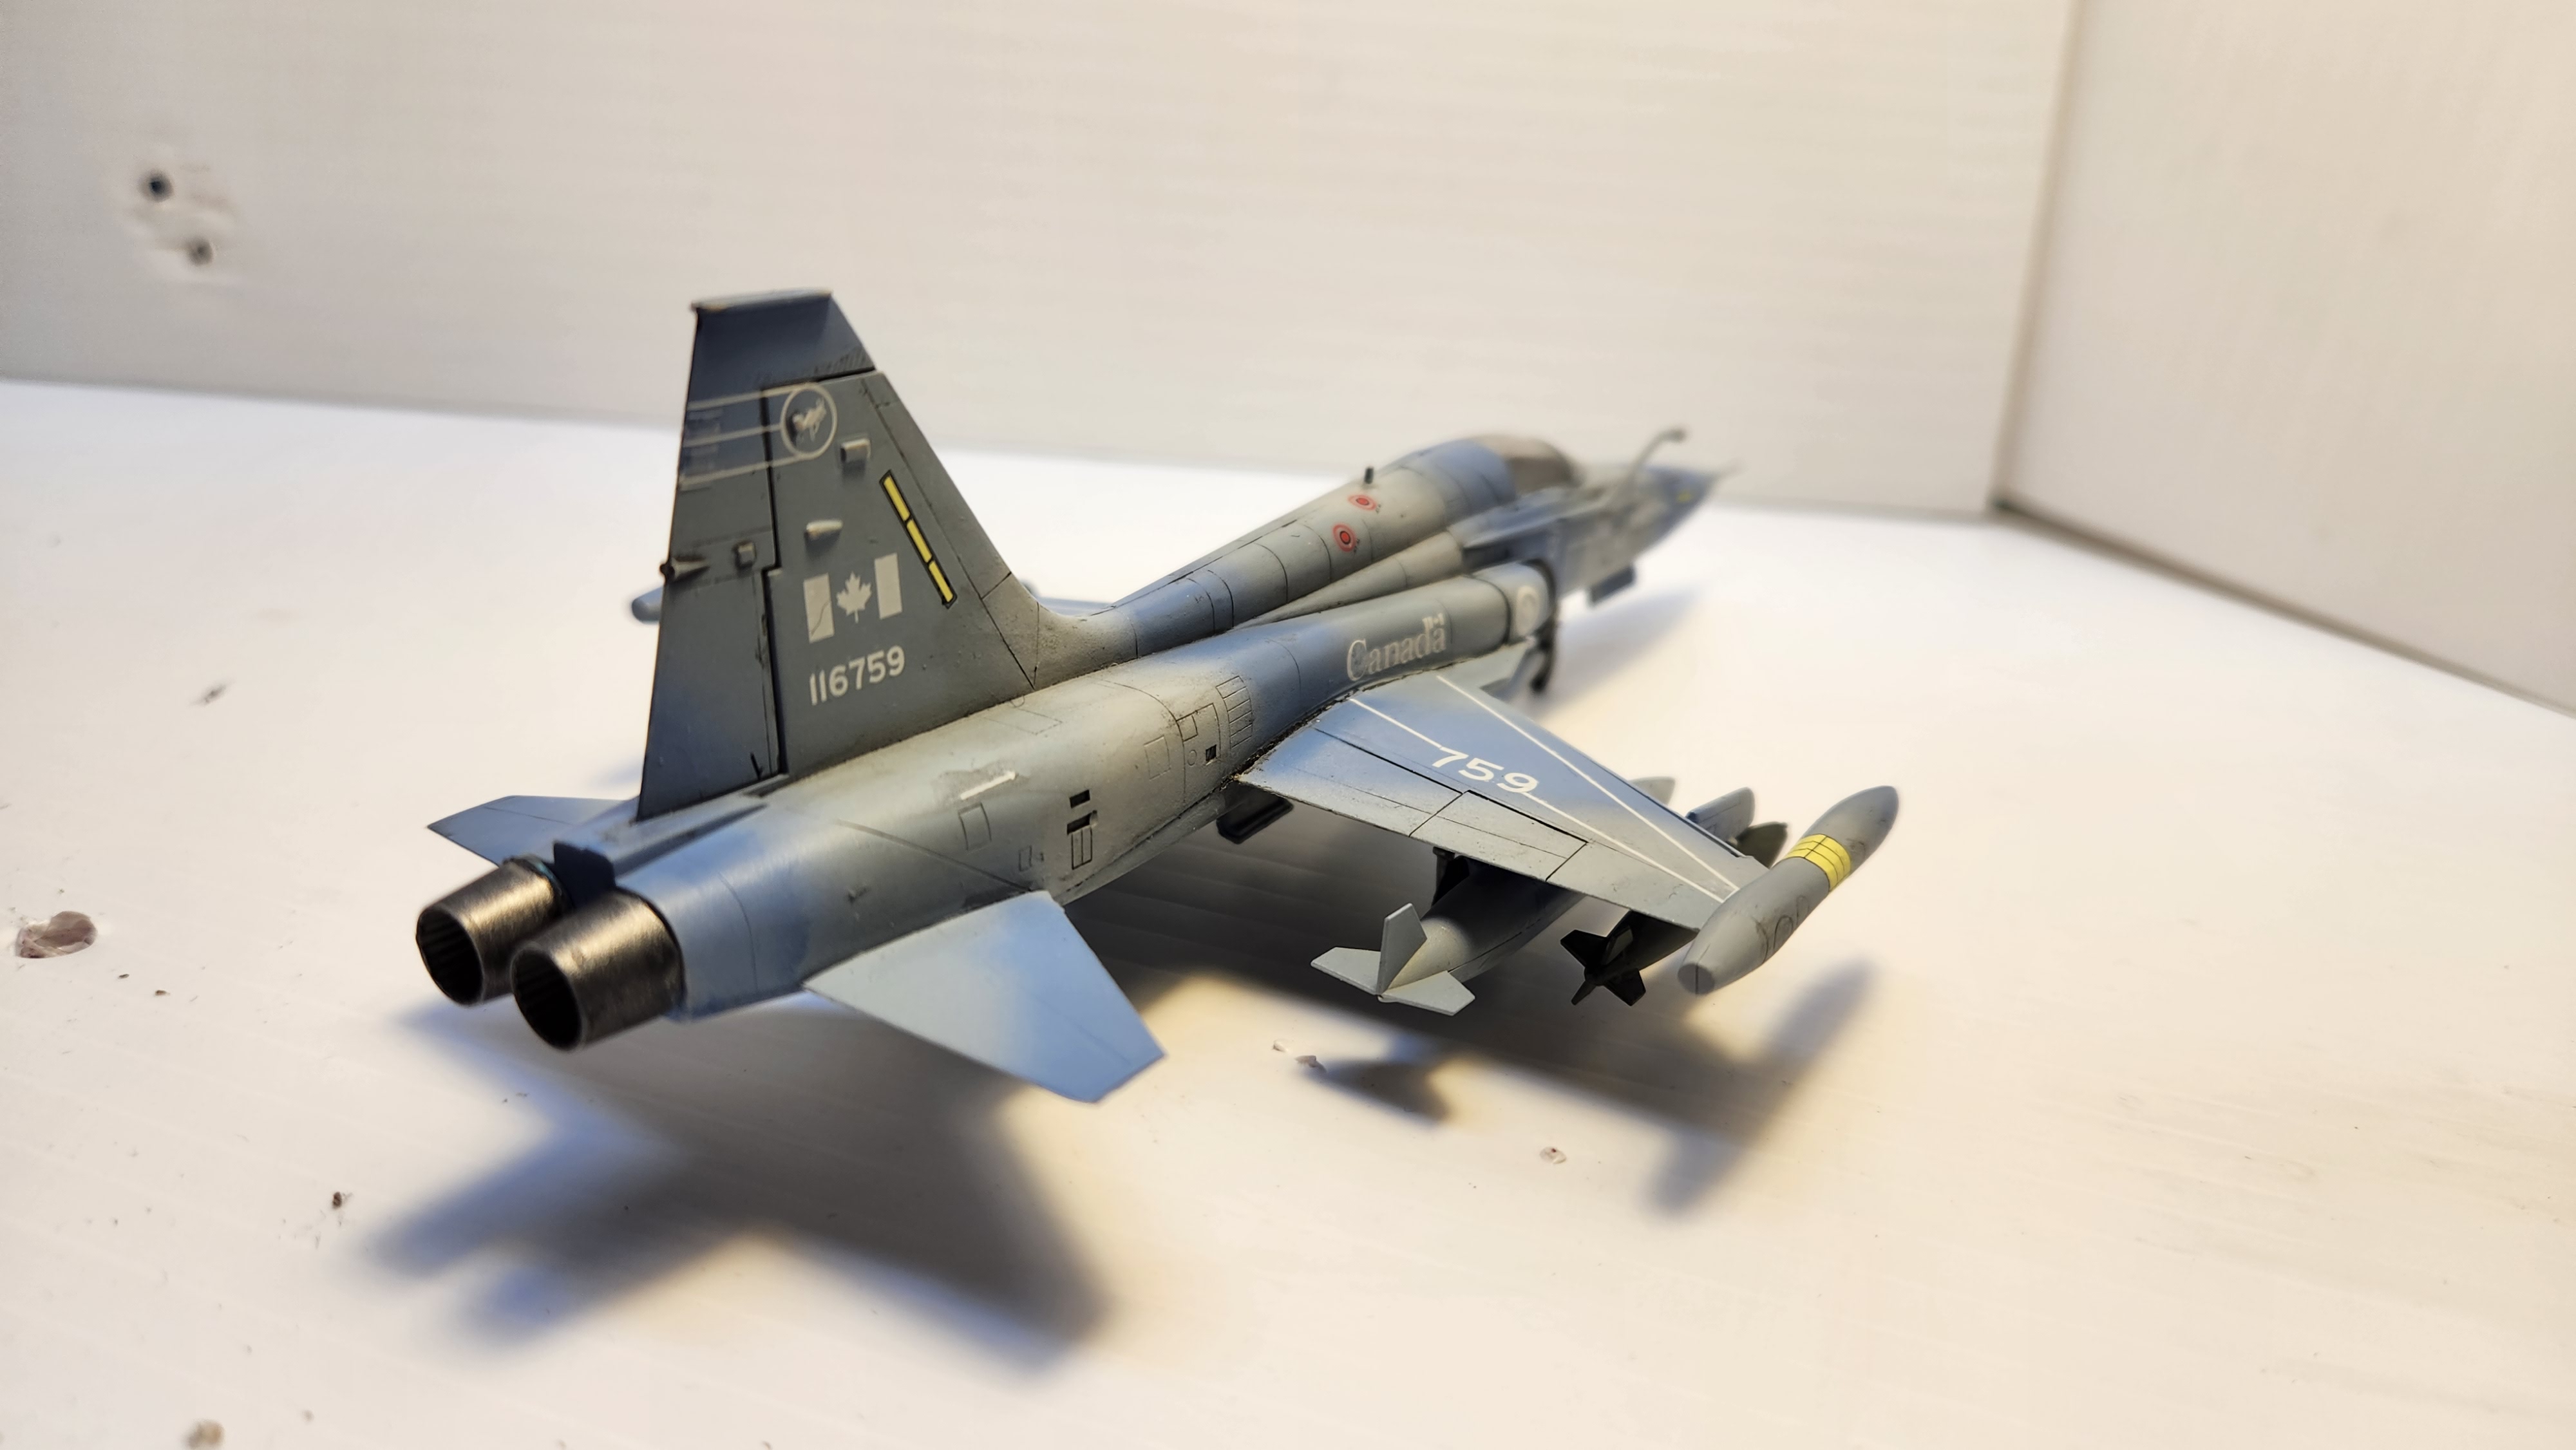
This is the Italeri kit which comes with markings for the 419 Moose Squadron based in Cold Lake Alberta and painted with a very neat winter camo scheme.
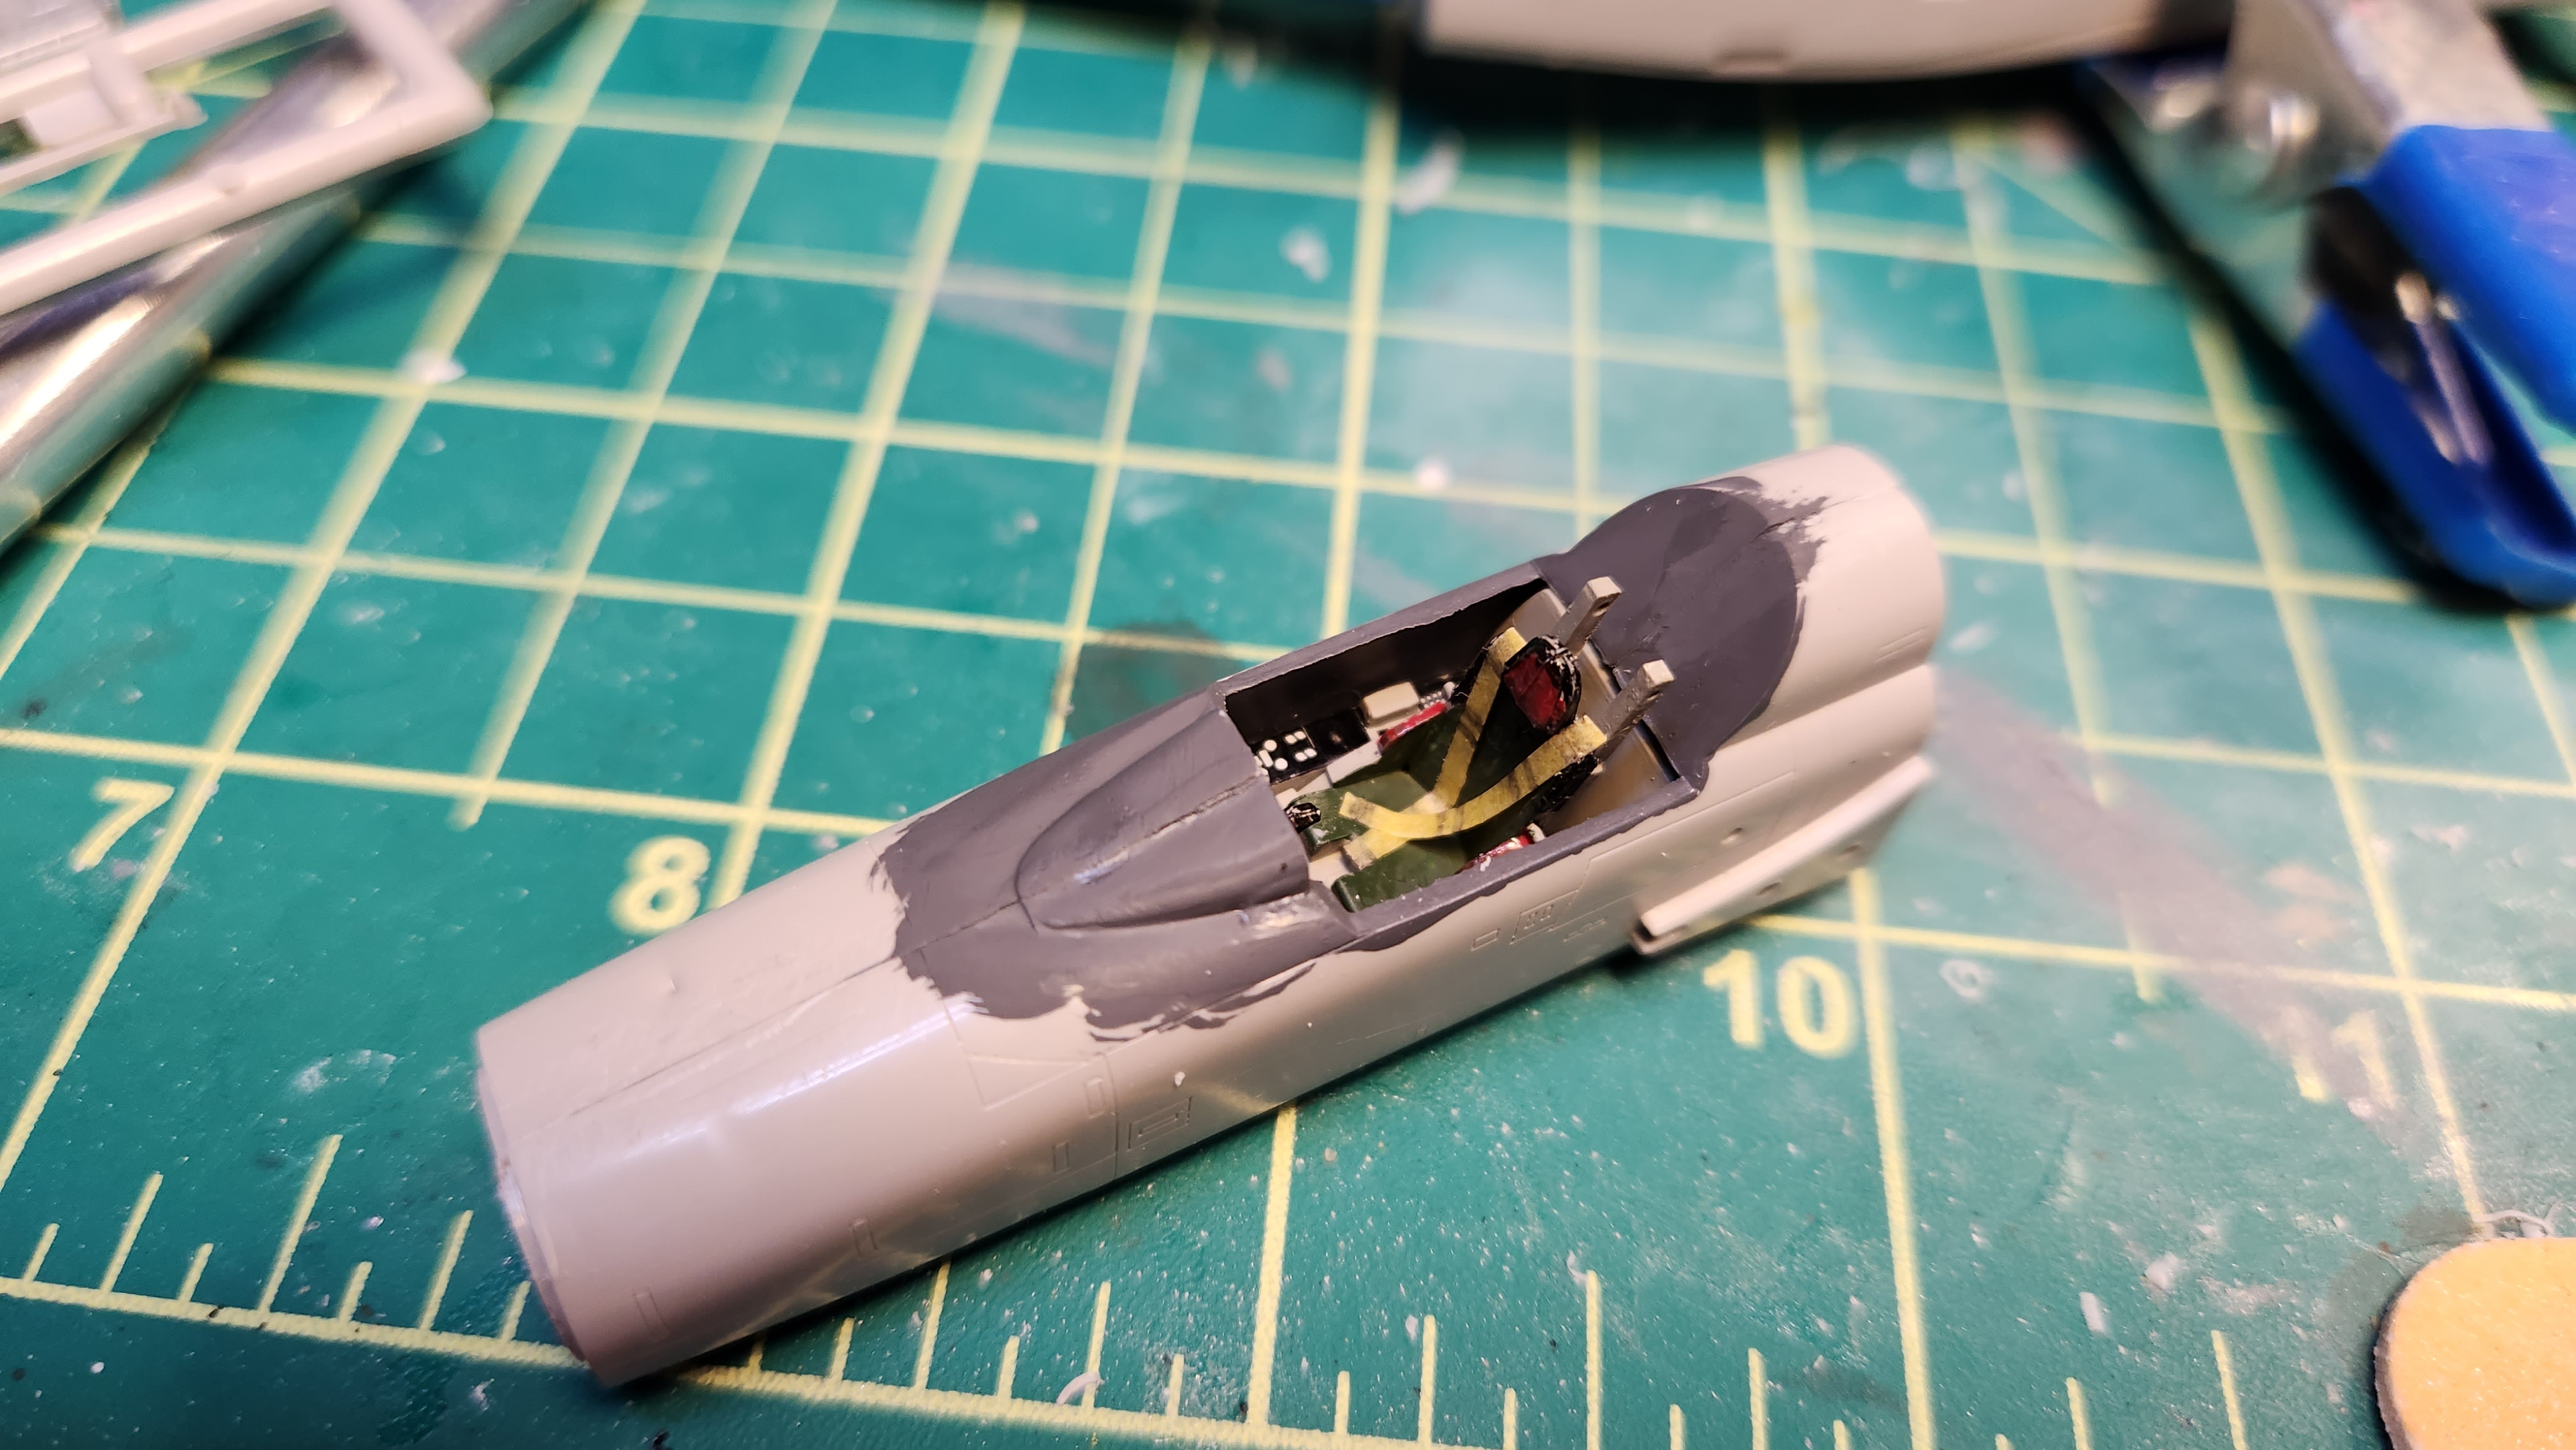
Here is the cockpit — I made some seatbelts from masking tape.
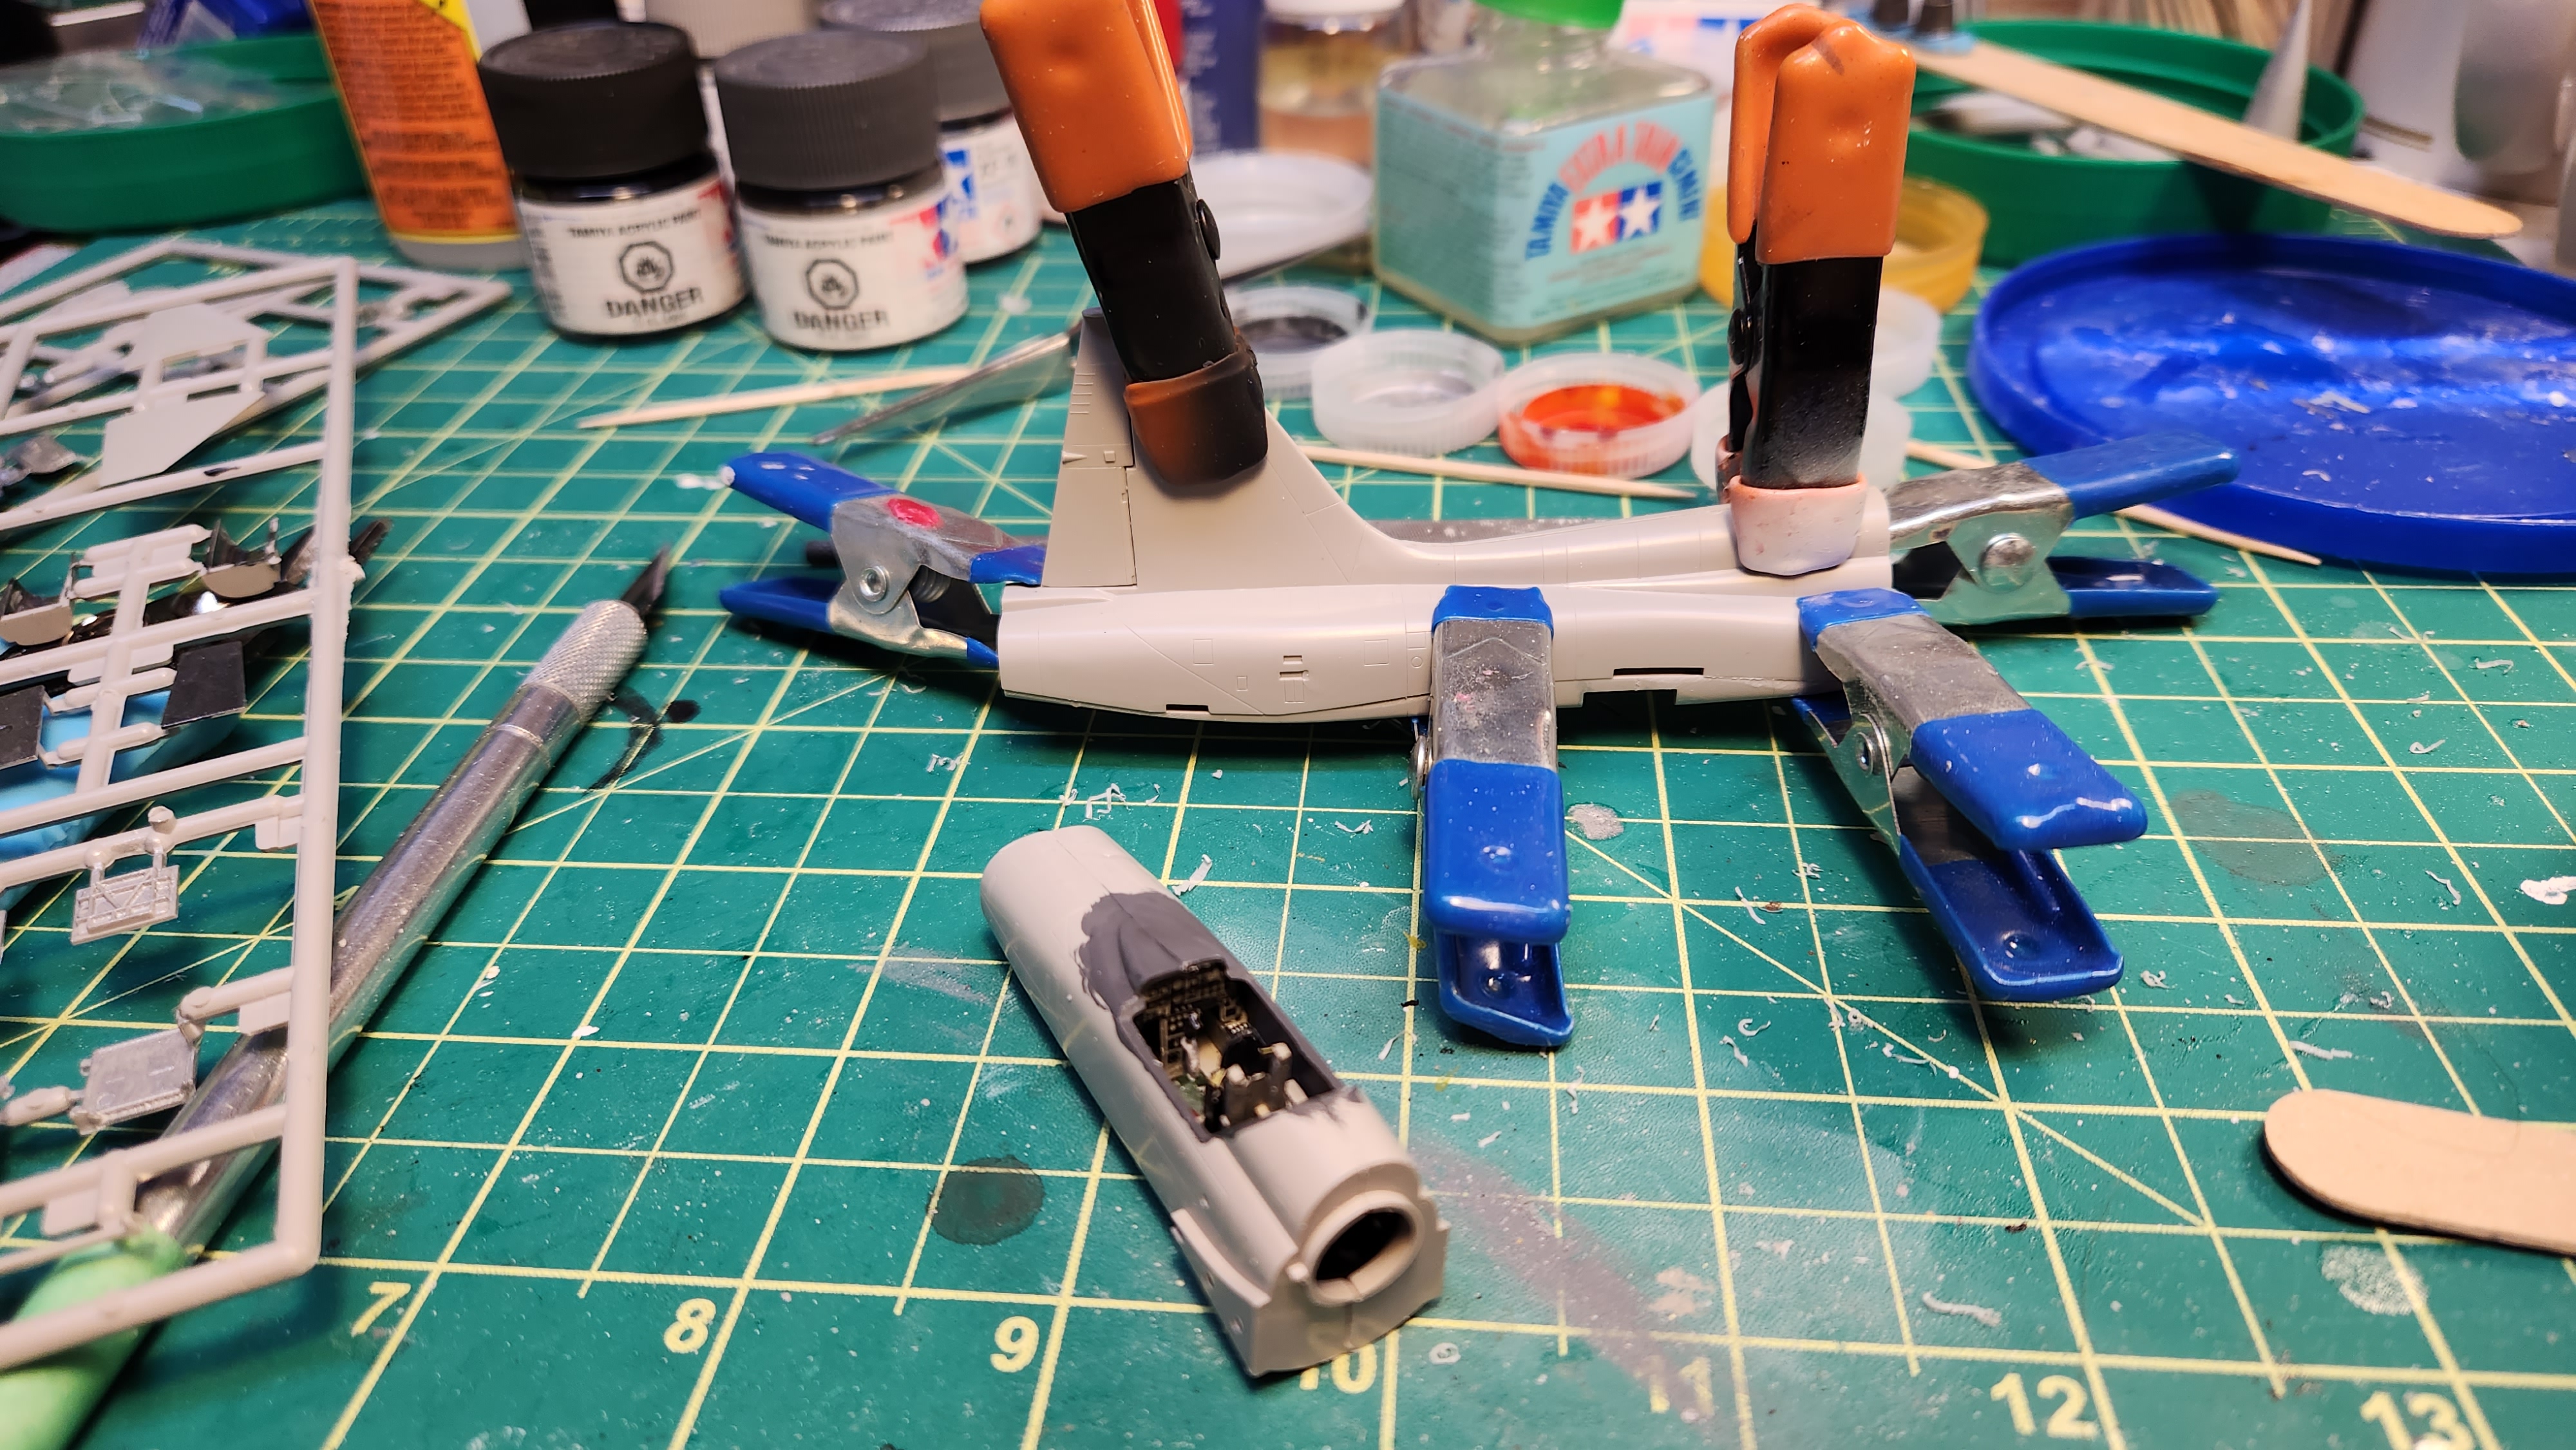
The fit of this kit was good but not great.
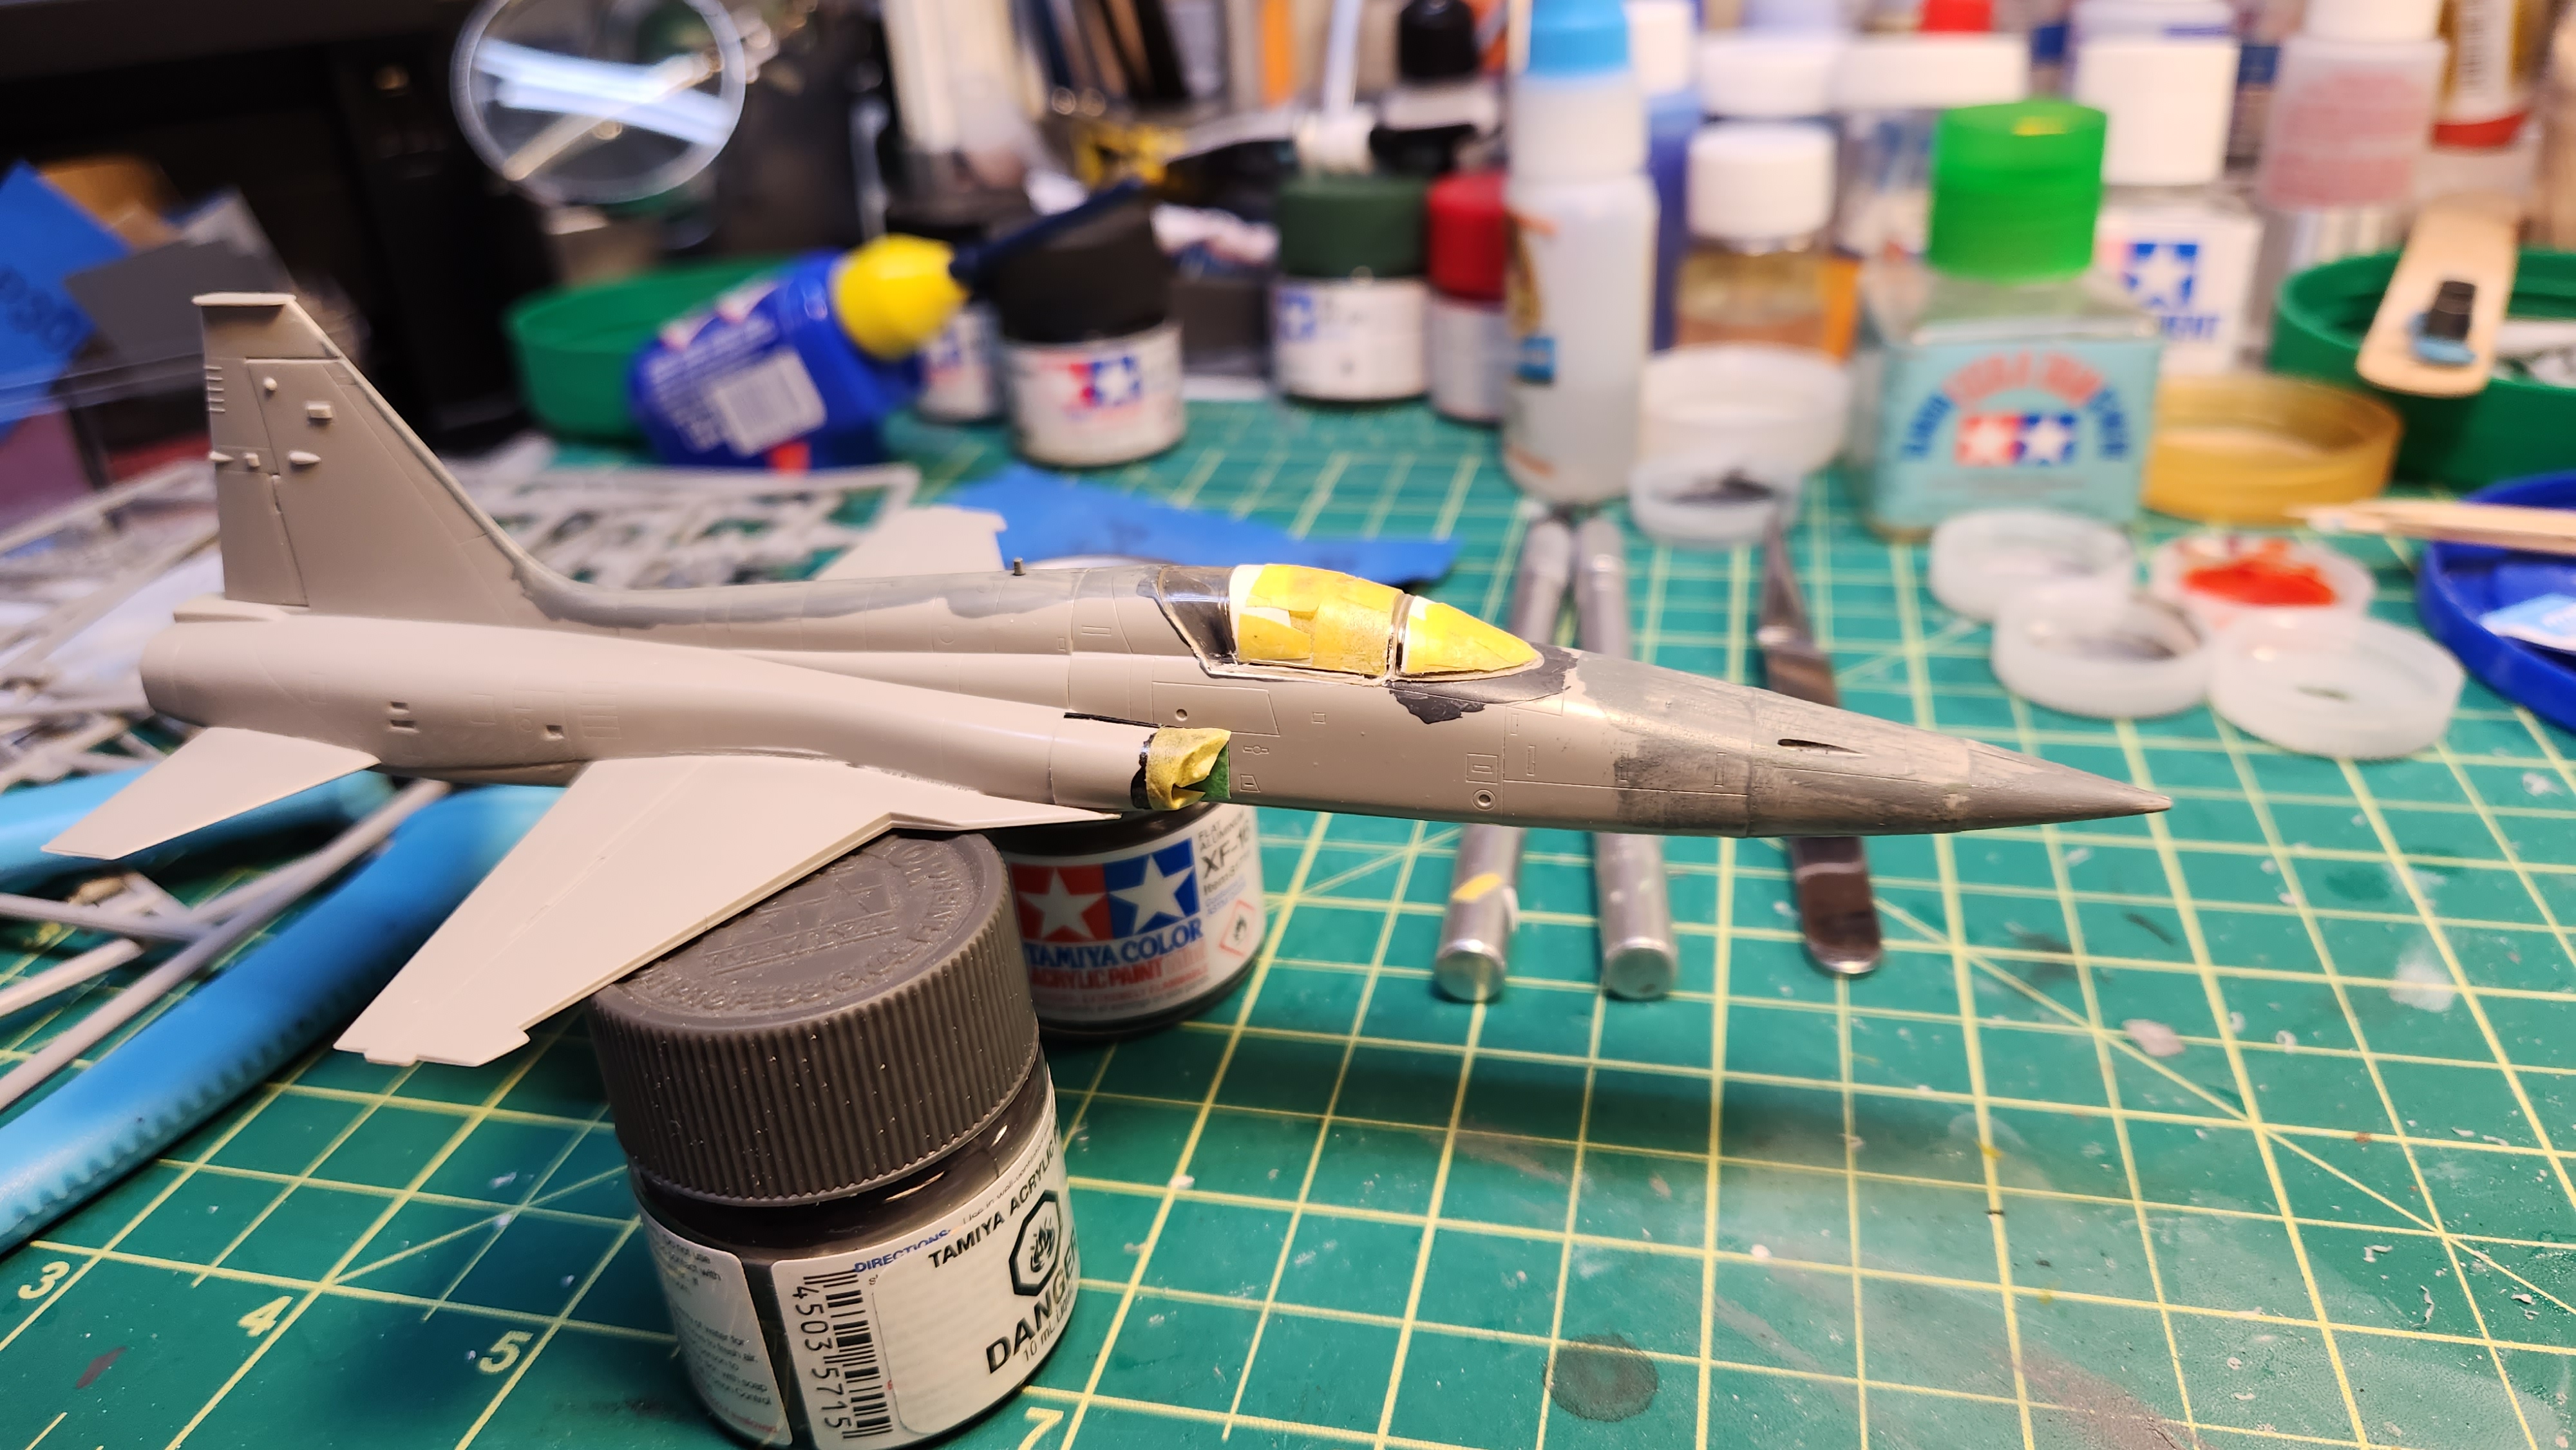
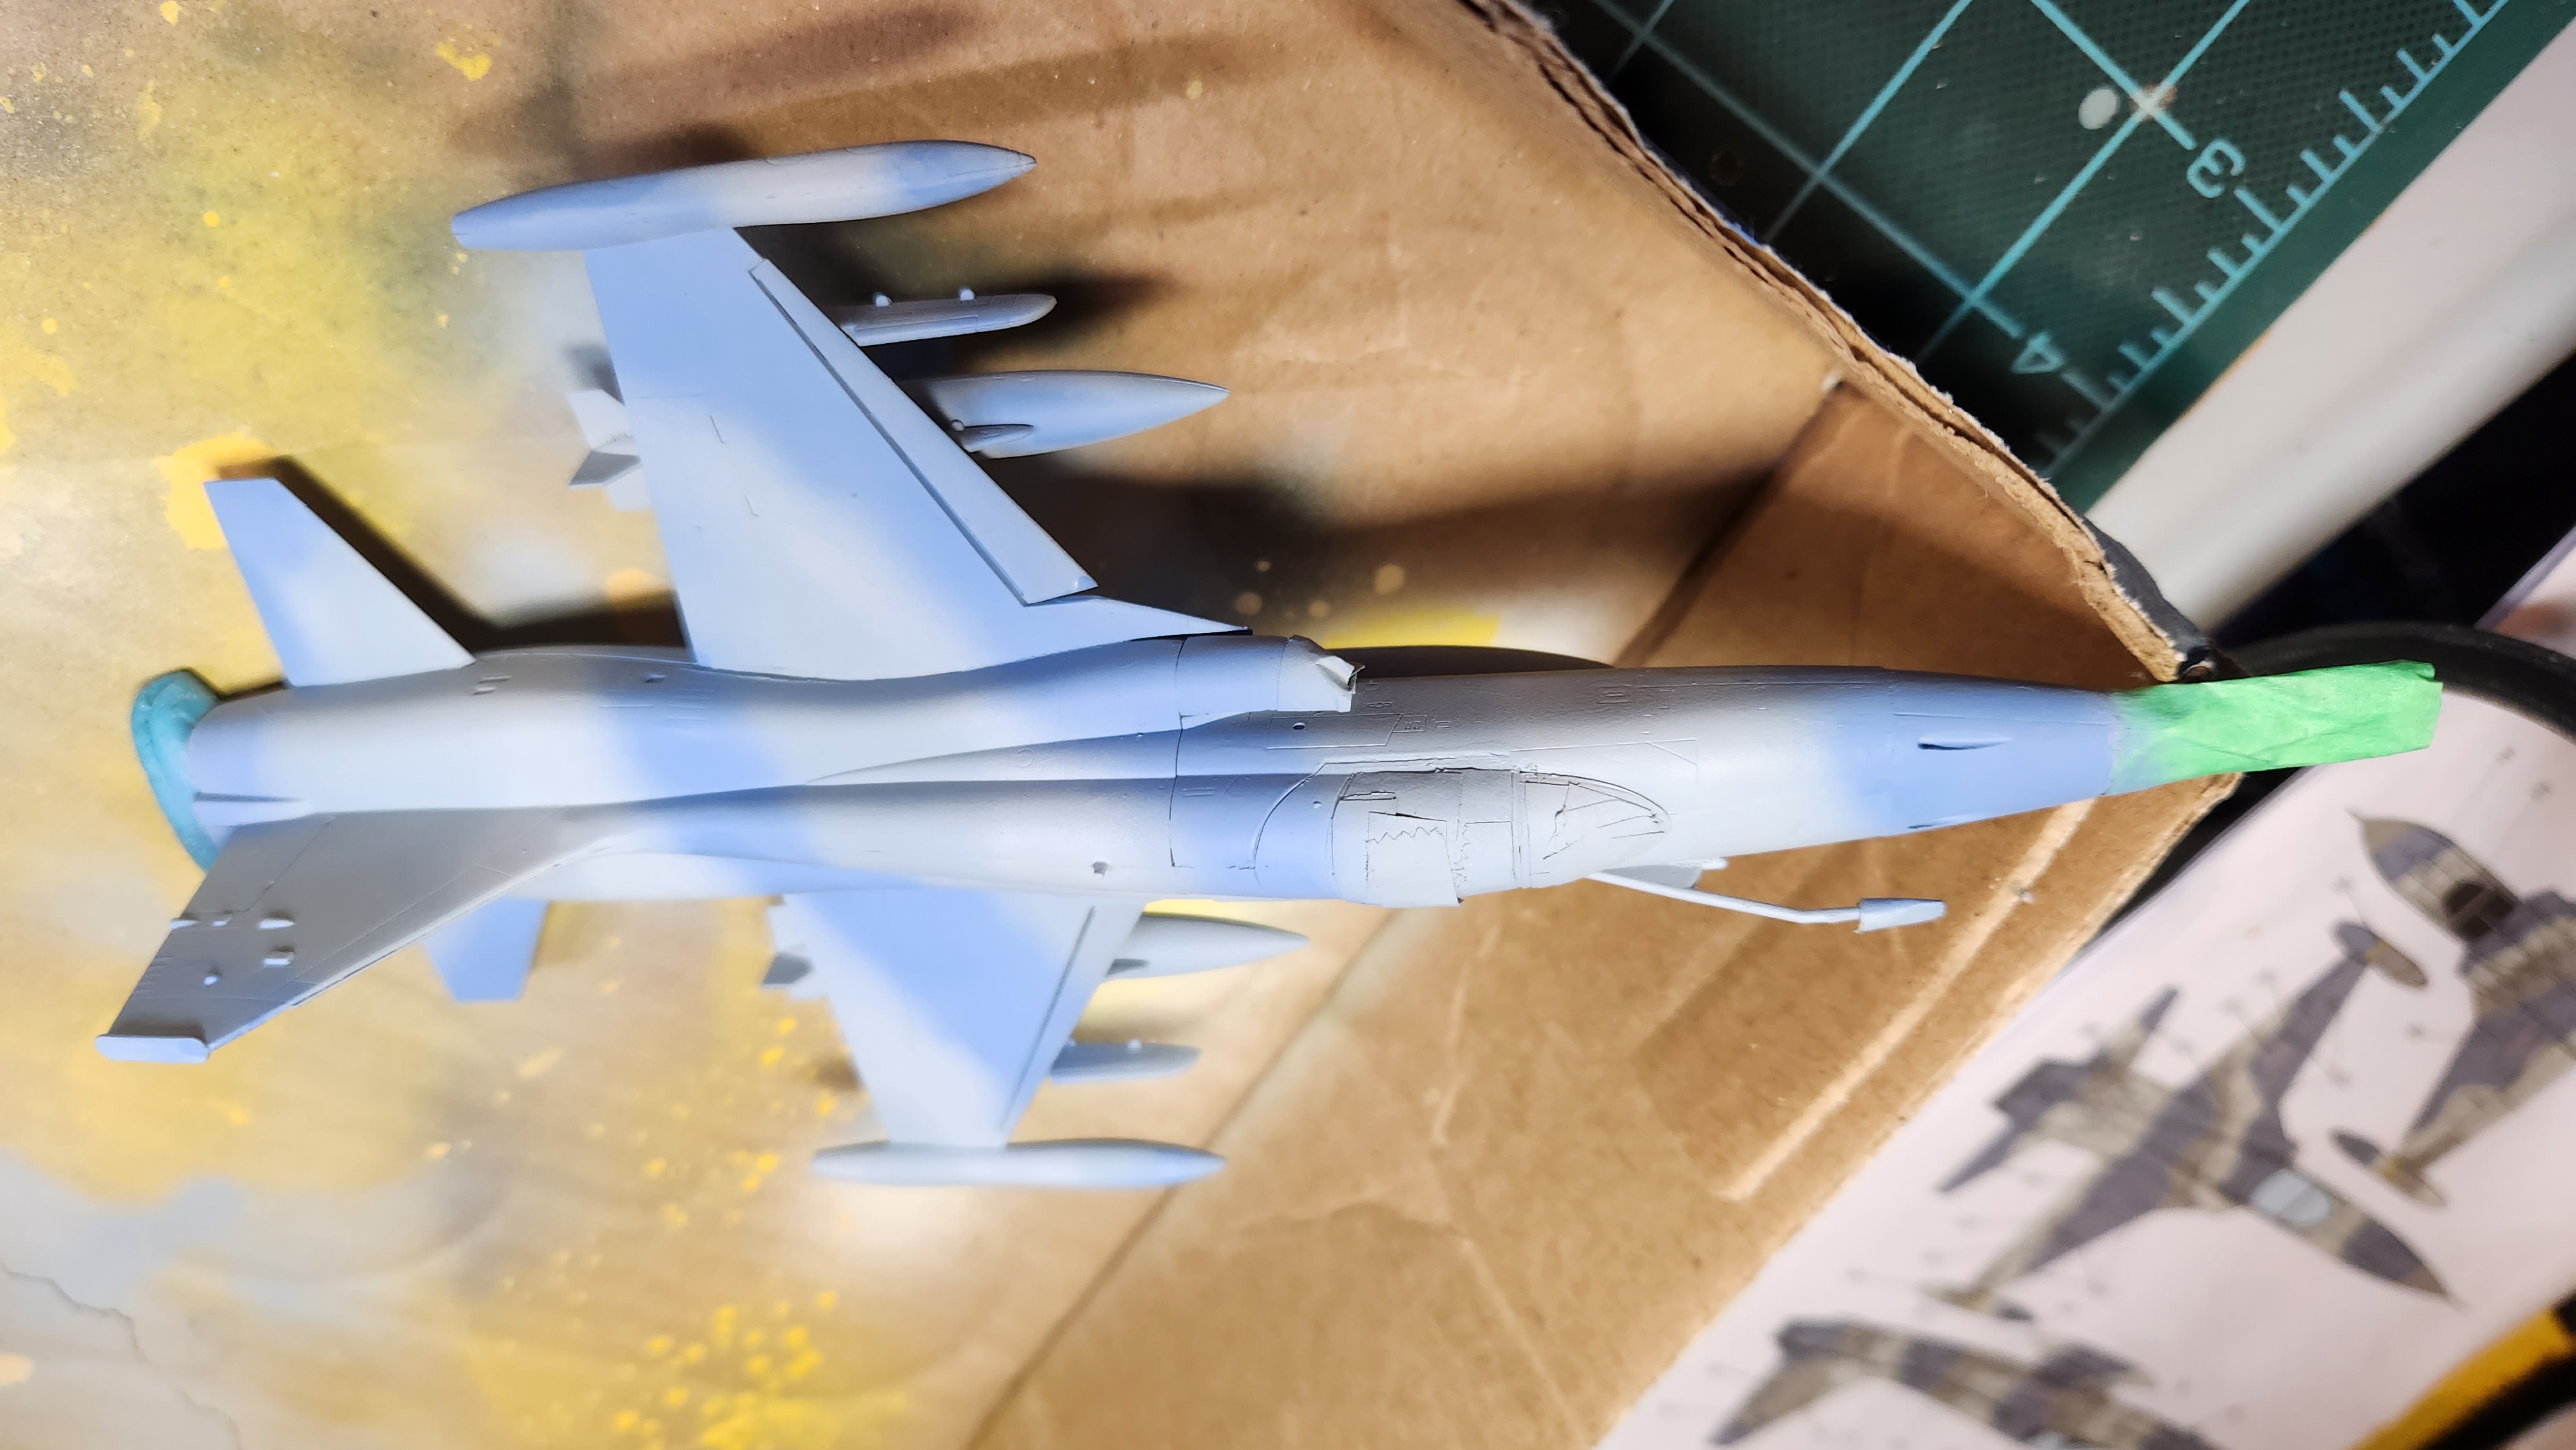
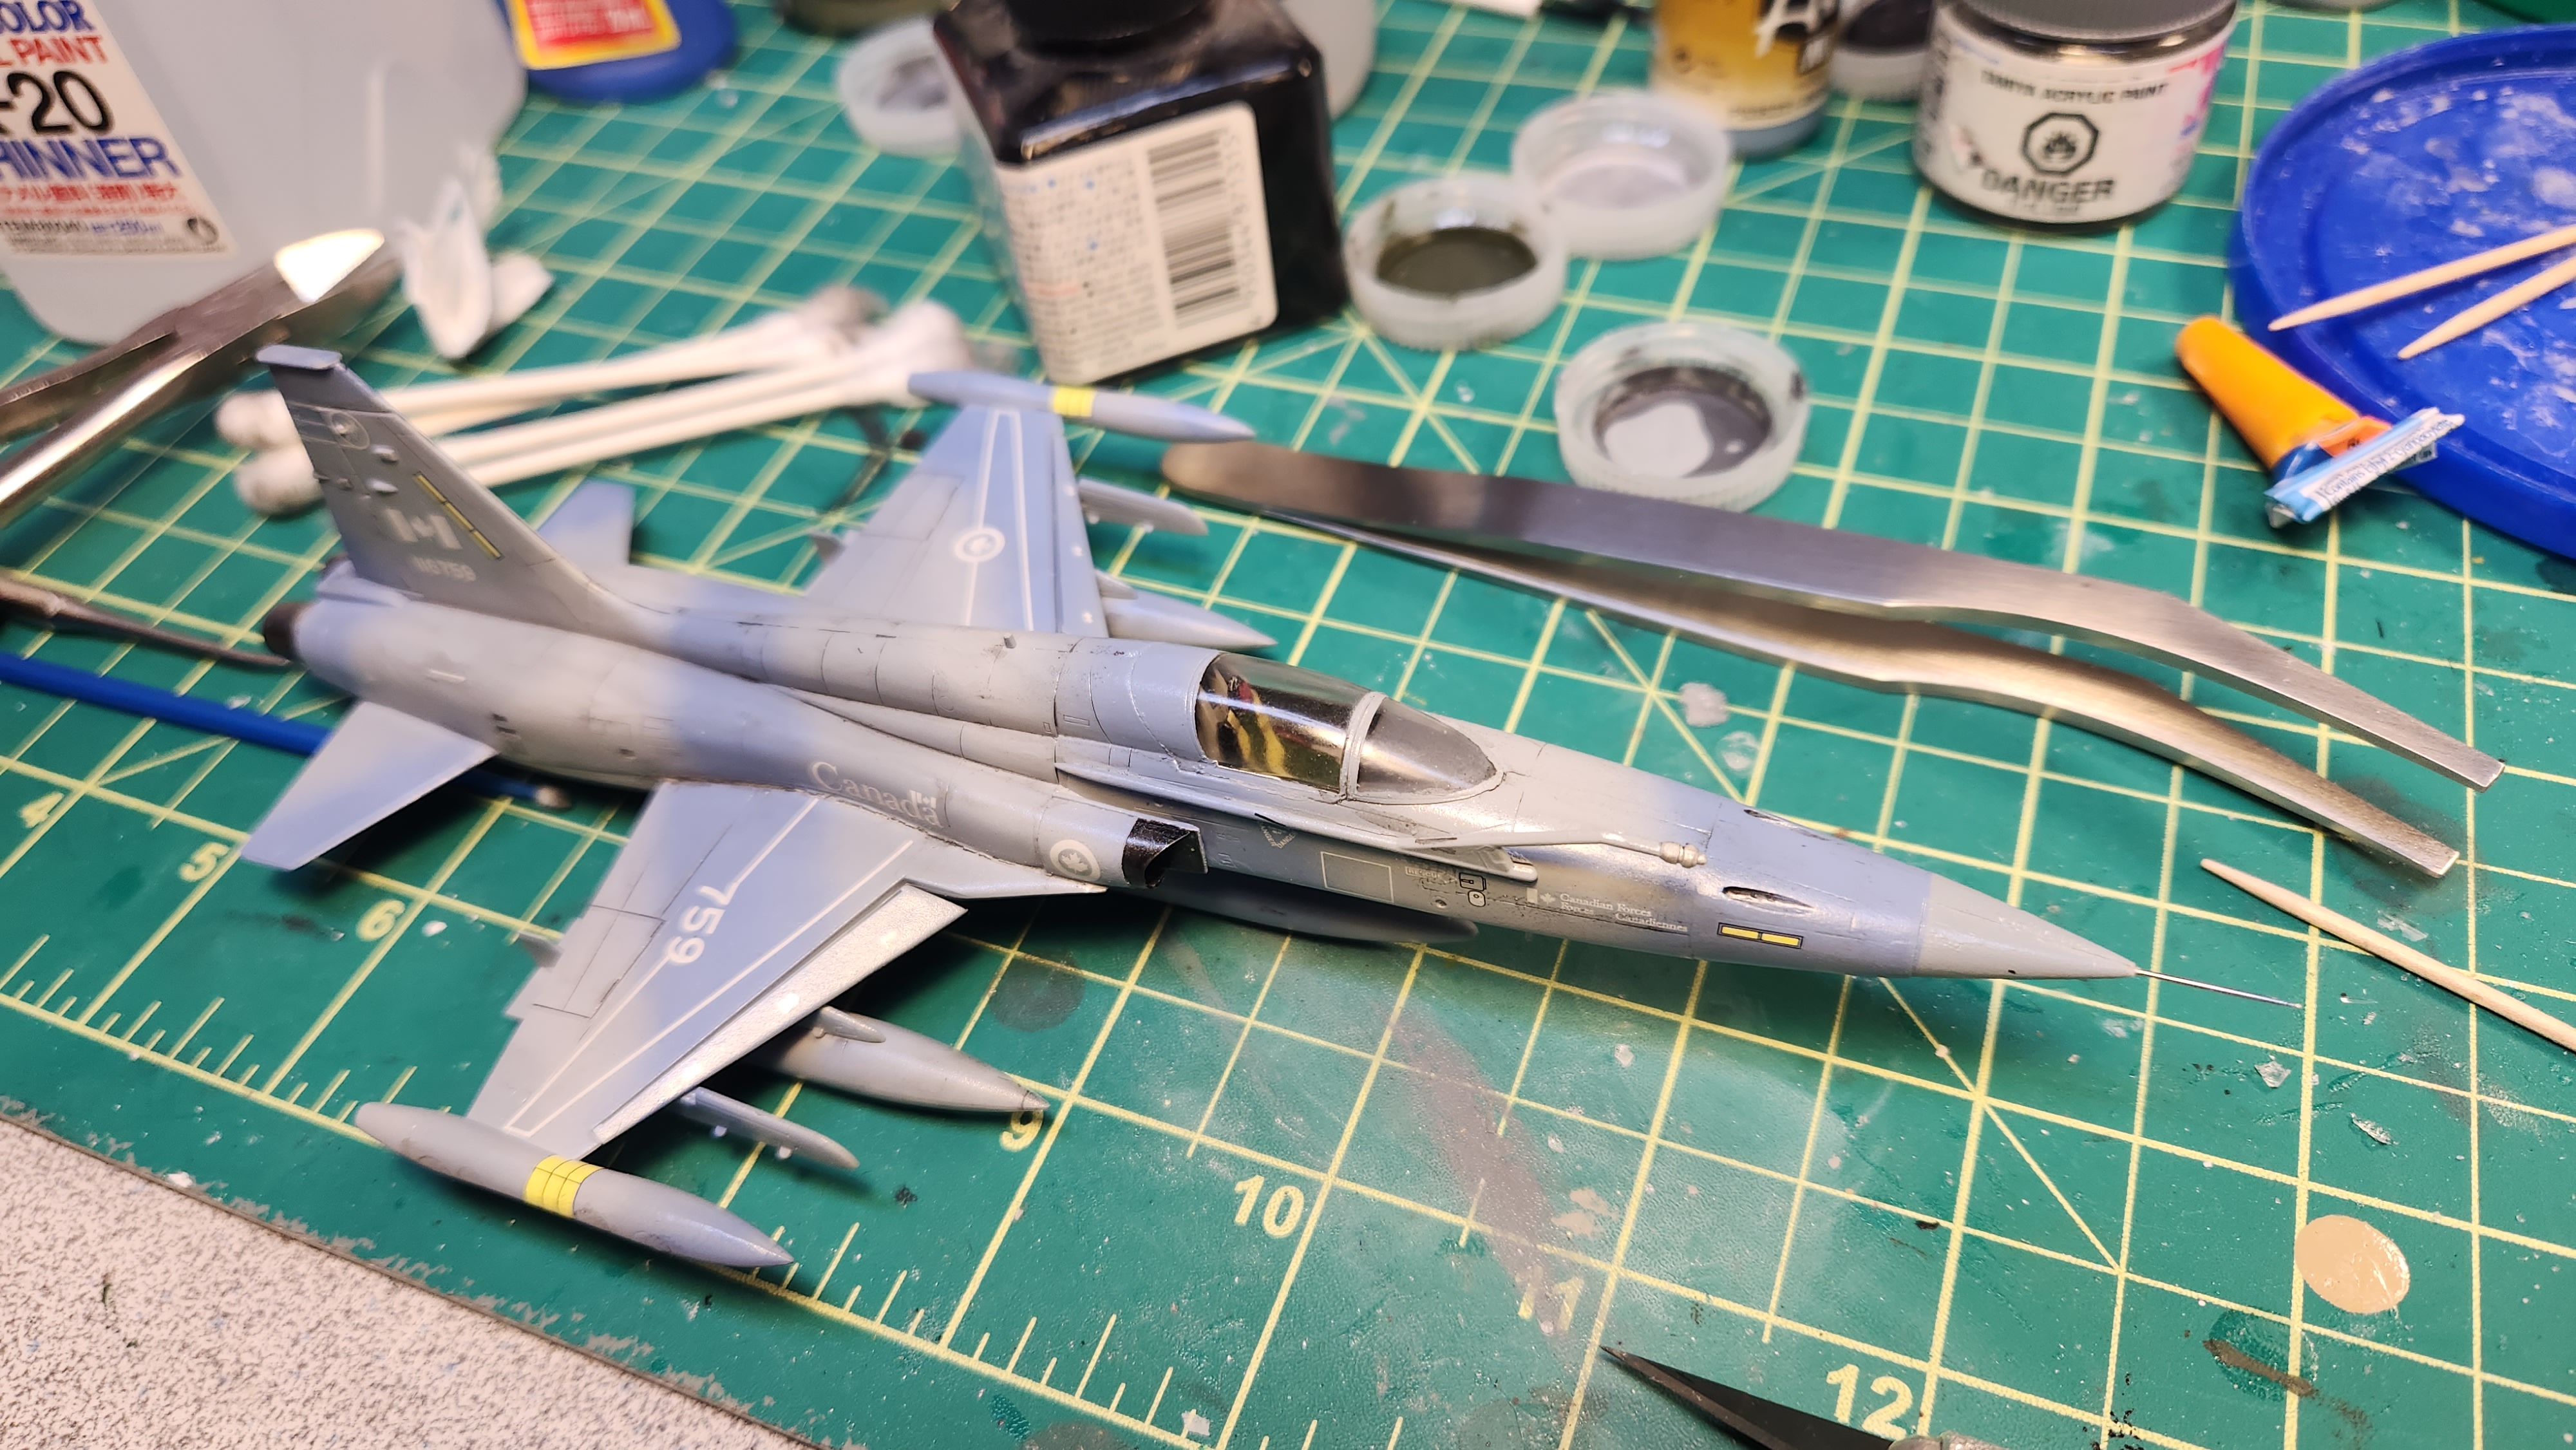
One wing really needed some filling and sanding at the seam as did the nose area. I’ve got the intakes painted black and masked off and the canopy has been masked.
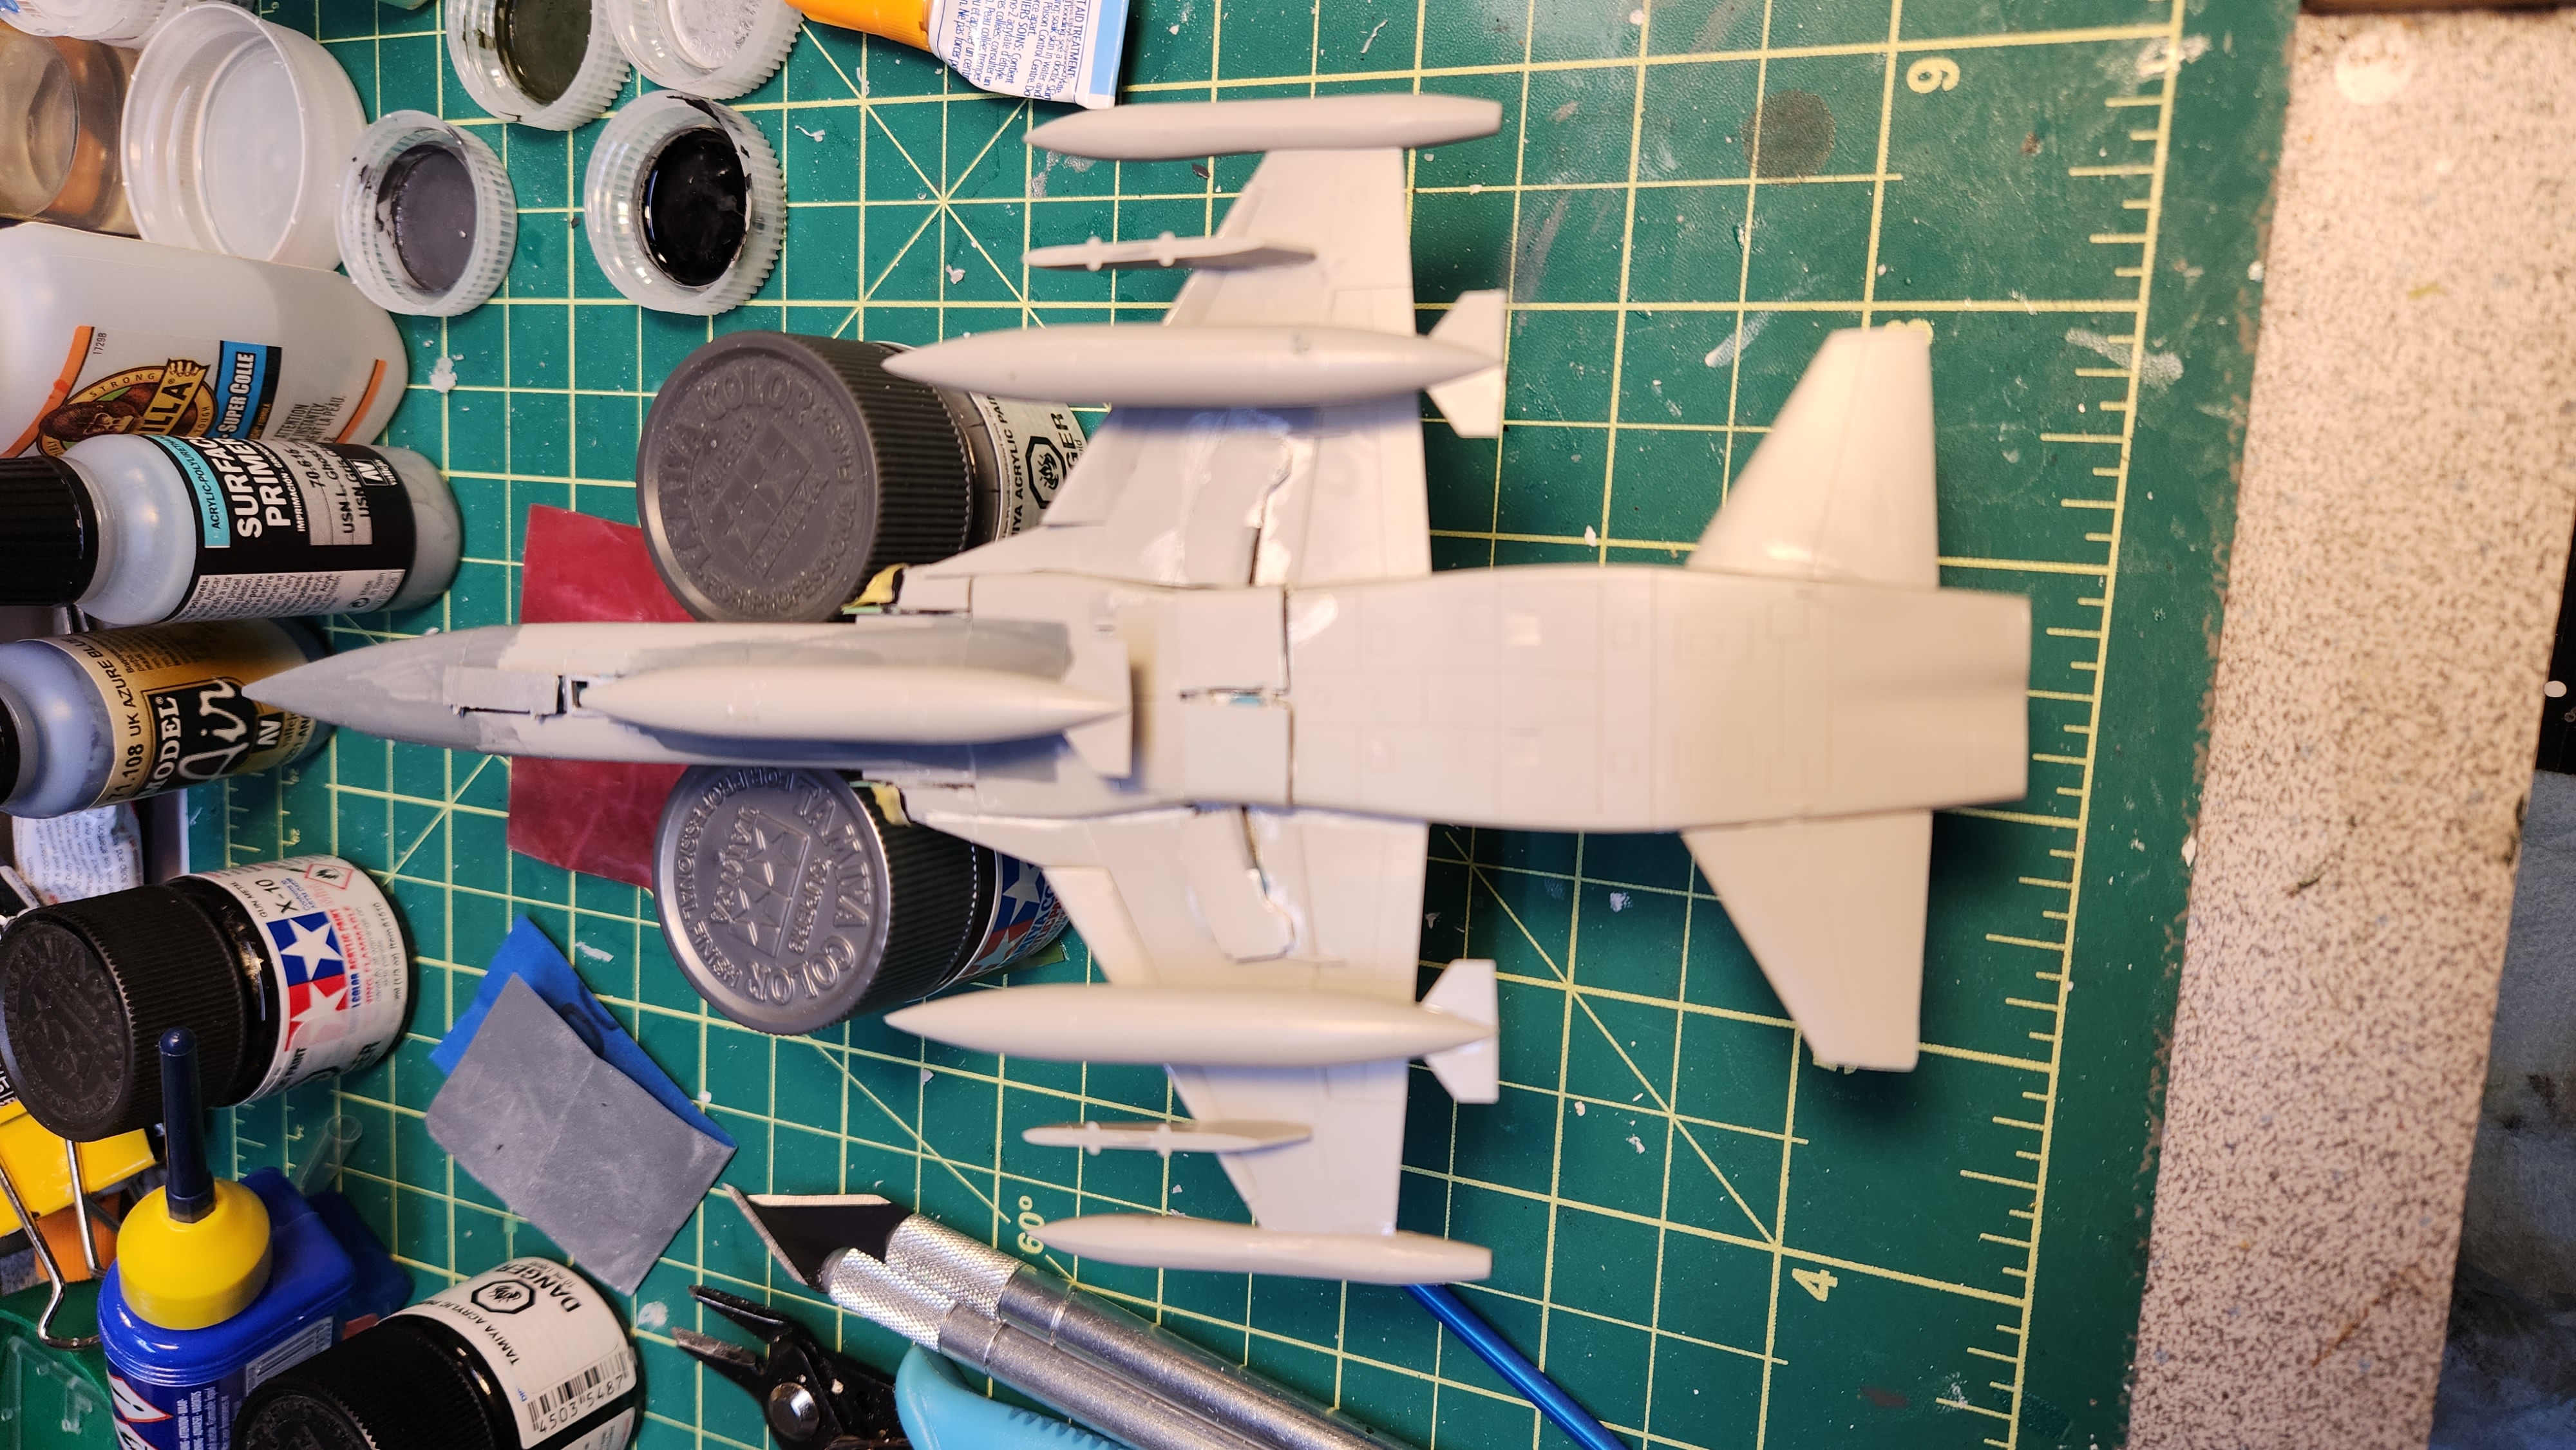
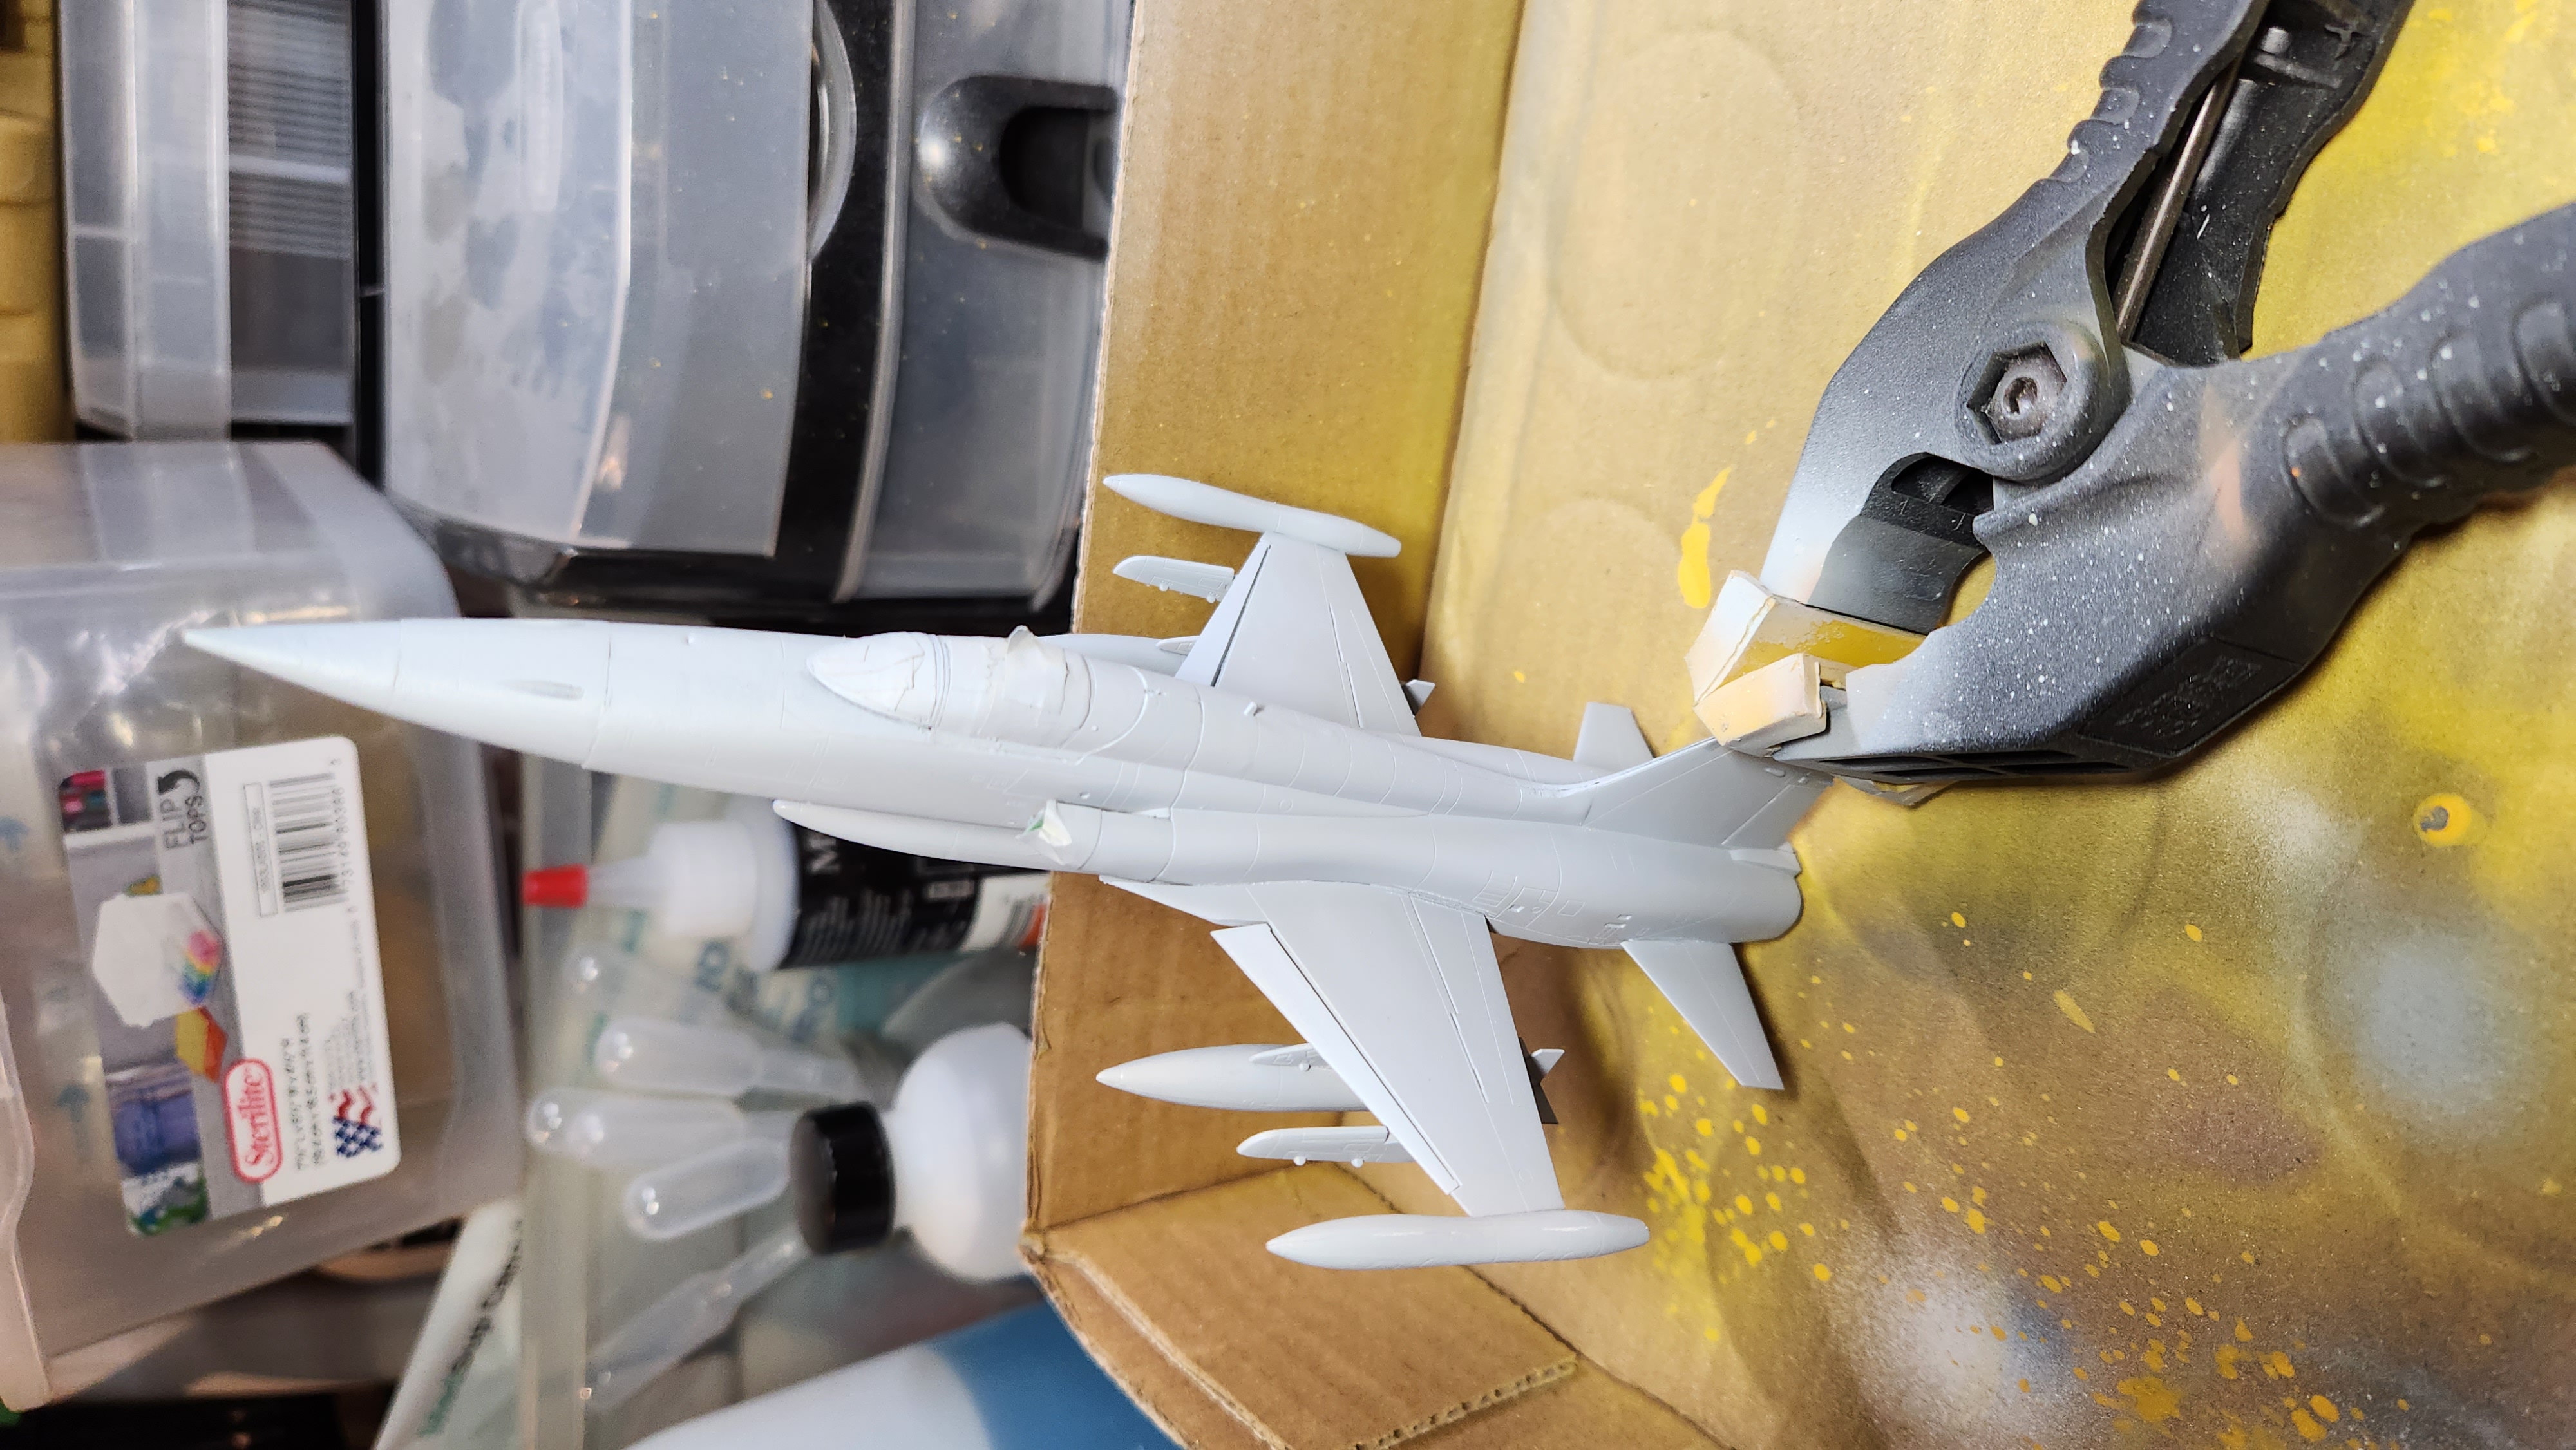
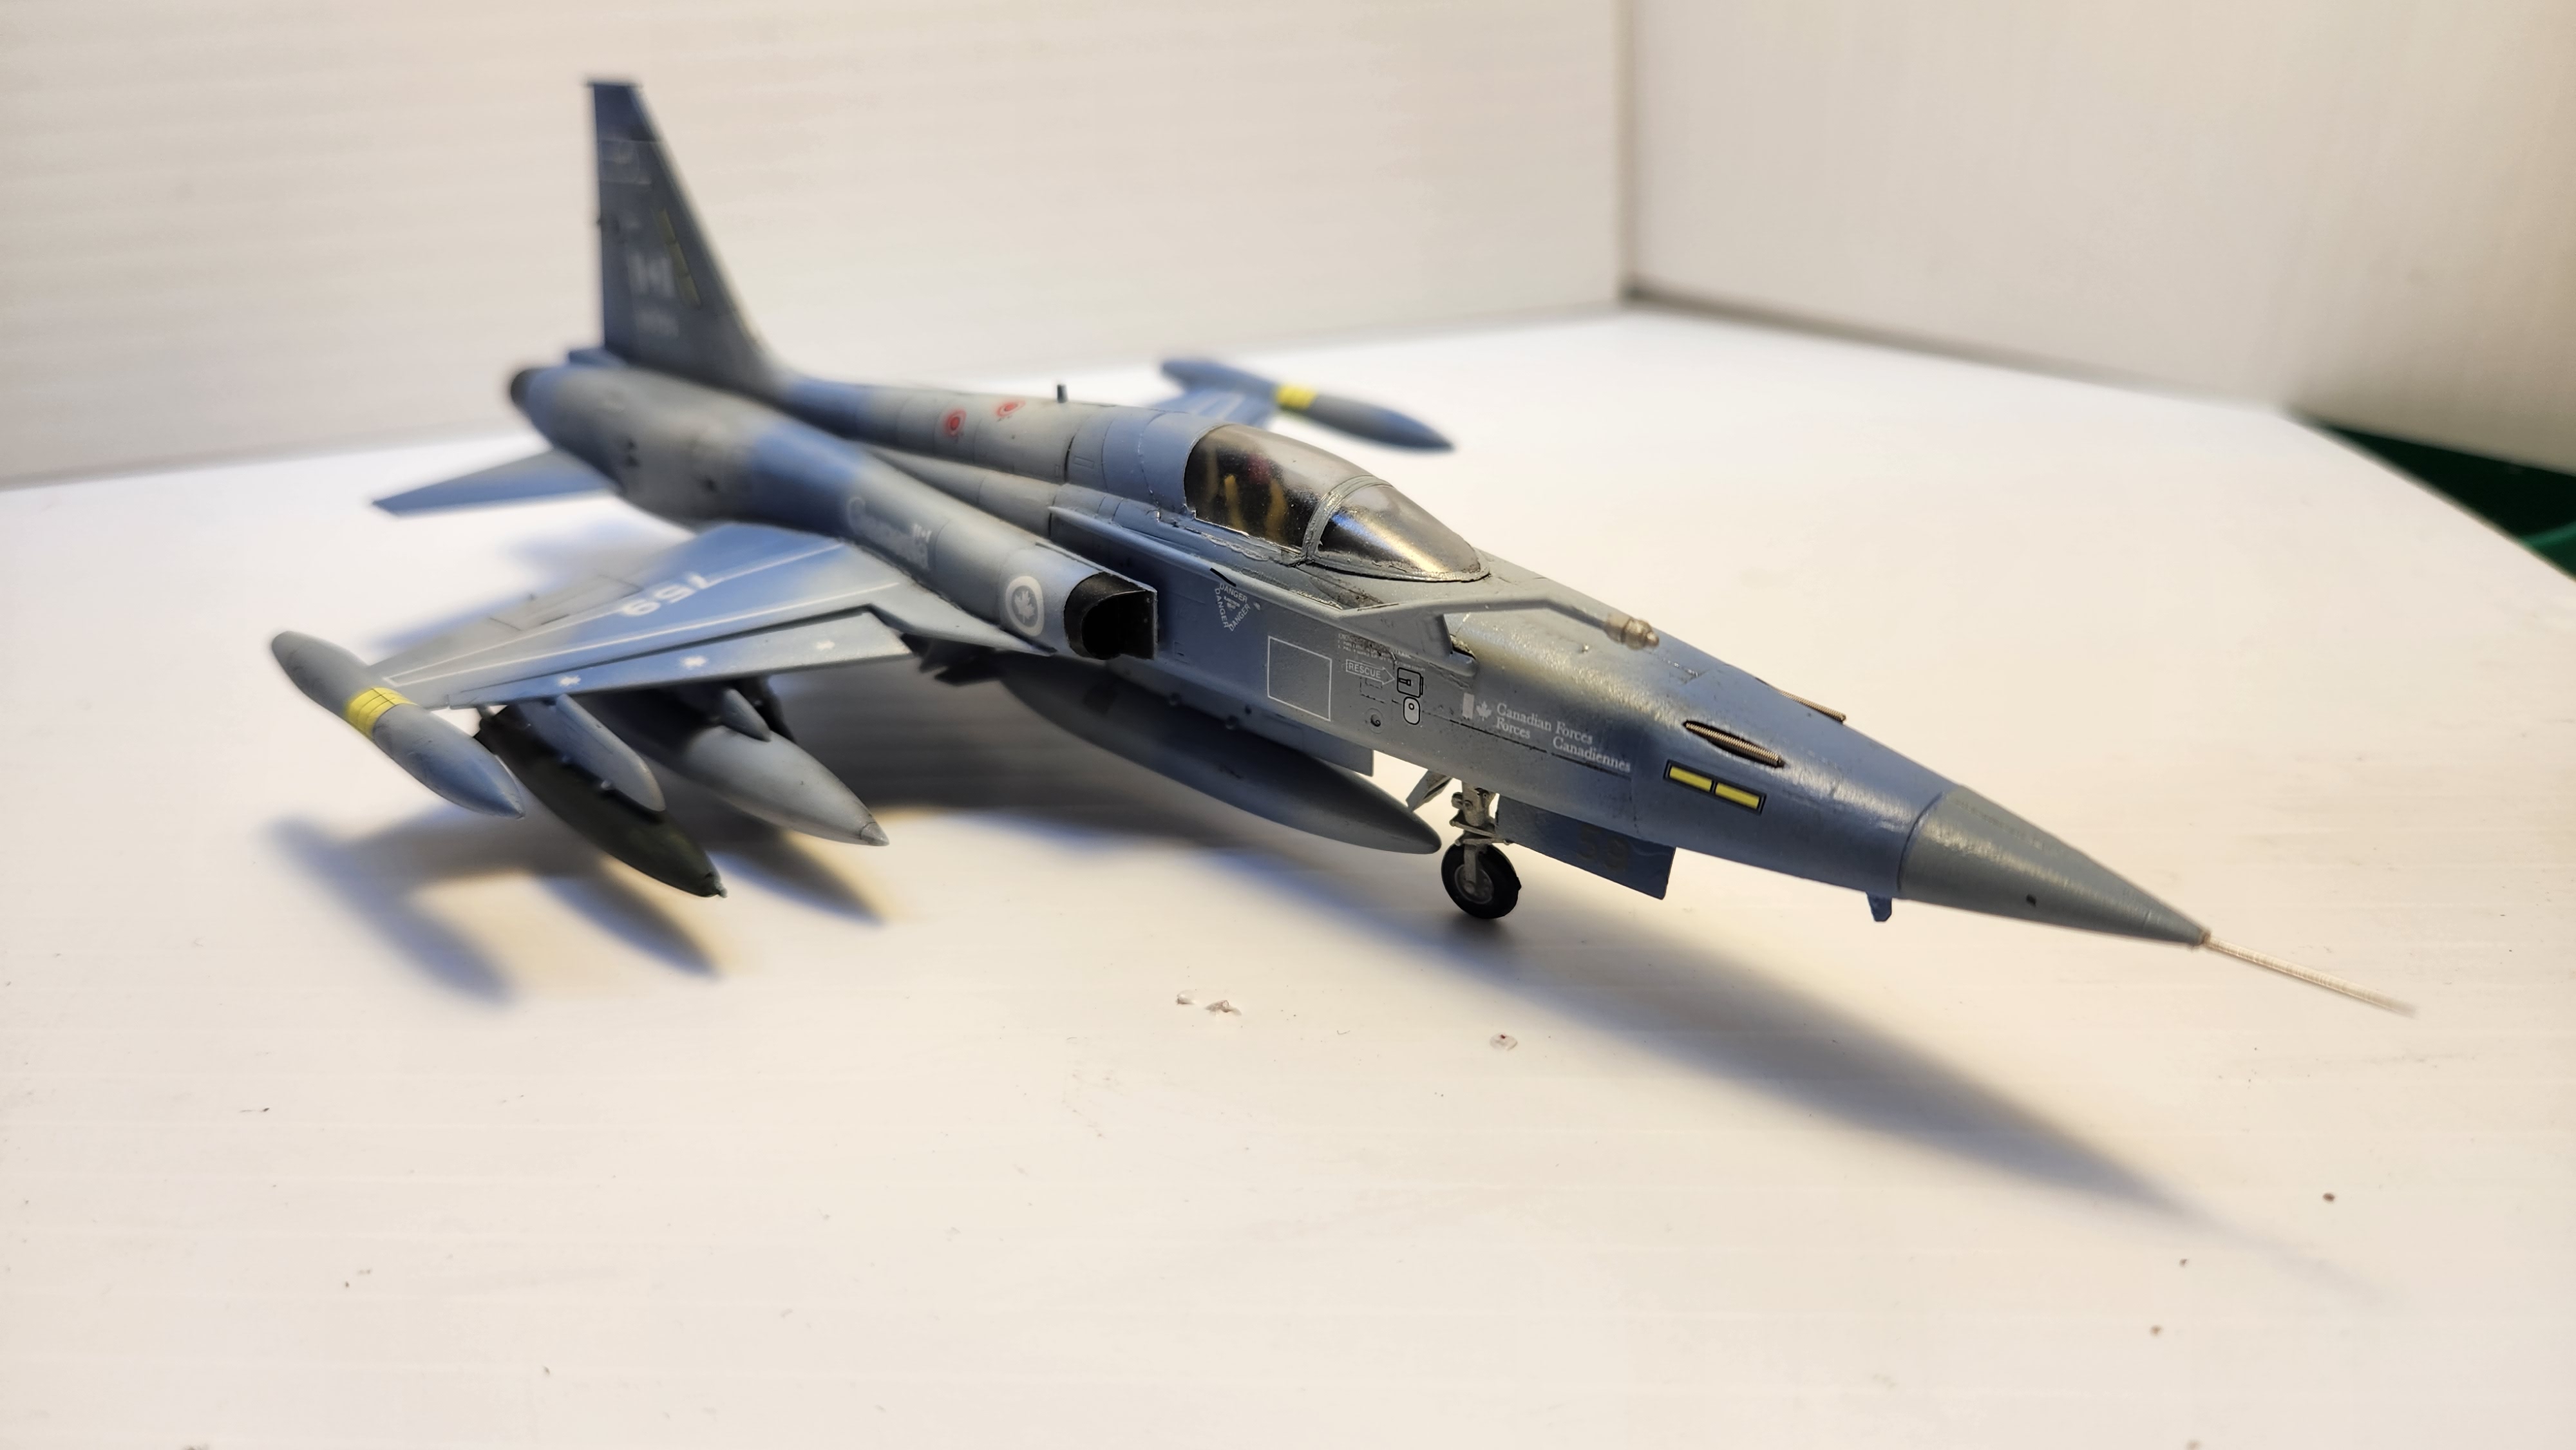
Assembled and added thedrop tanks and put the landing gear doors on with blue tac for airbrushing.
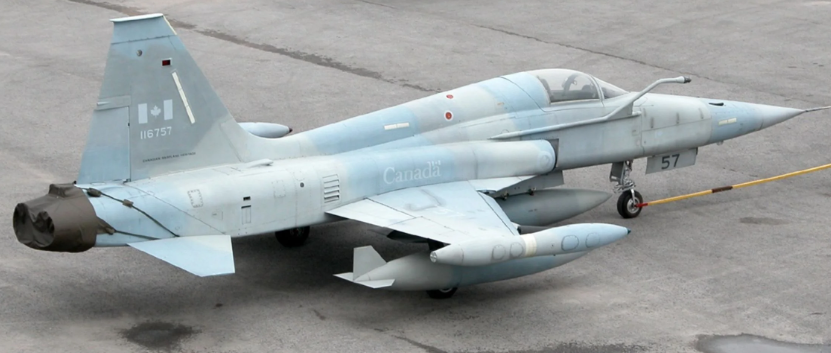
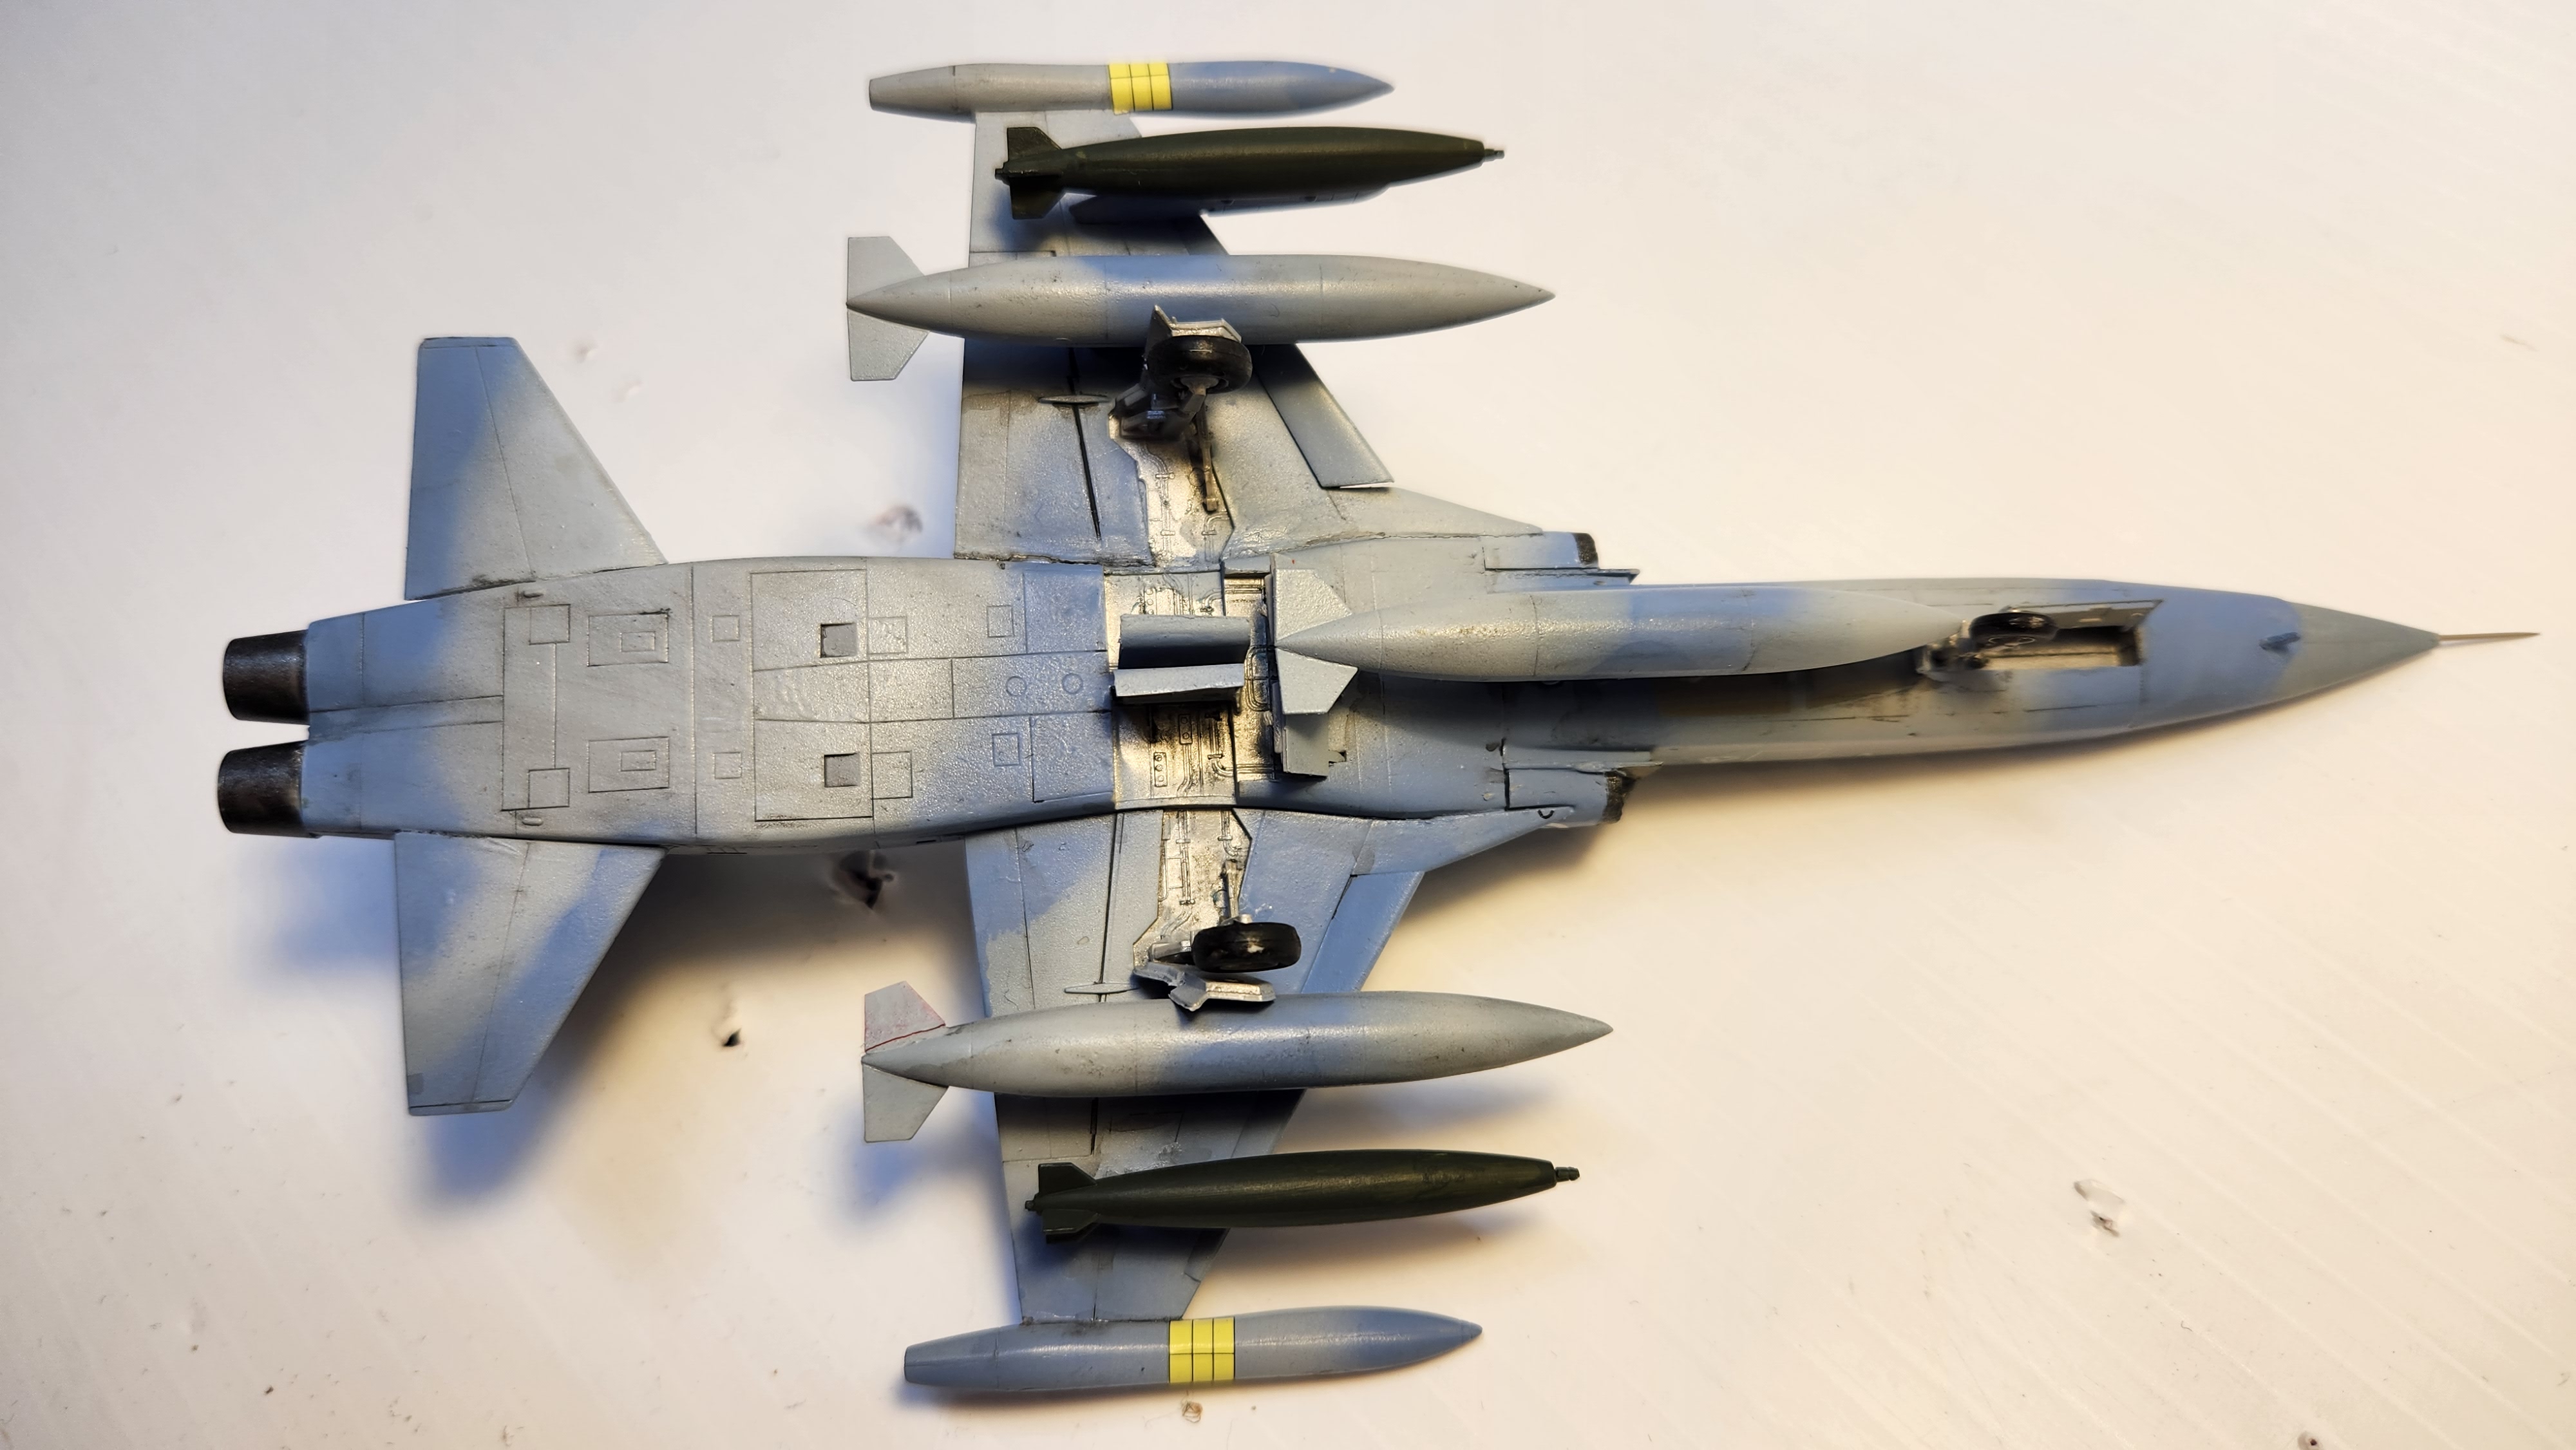
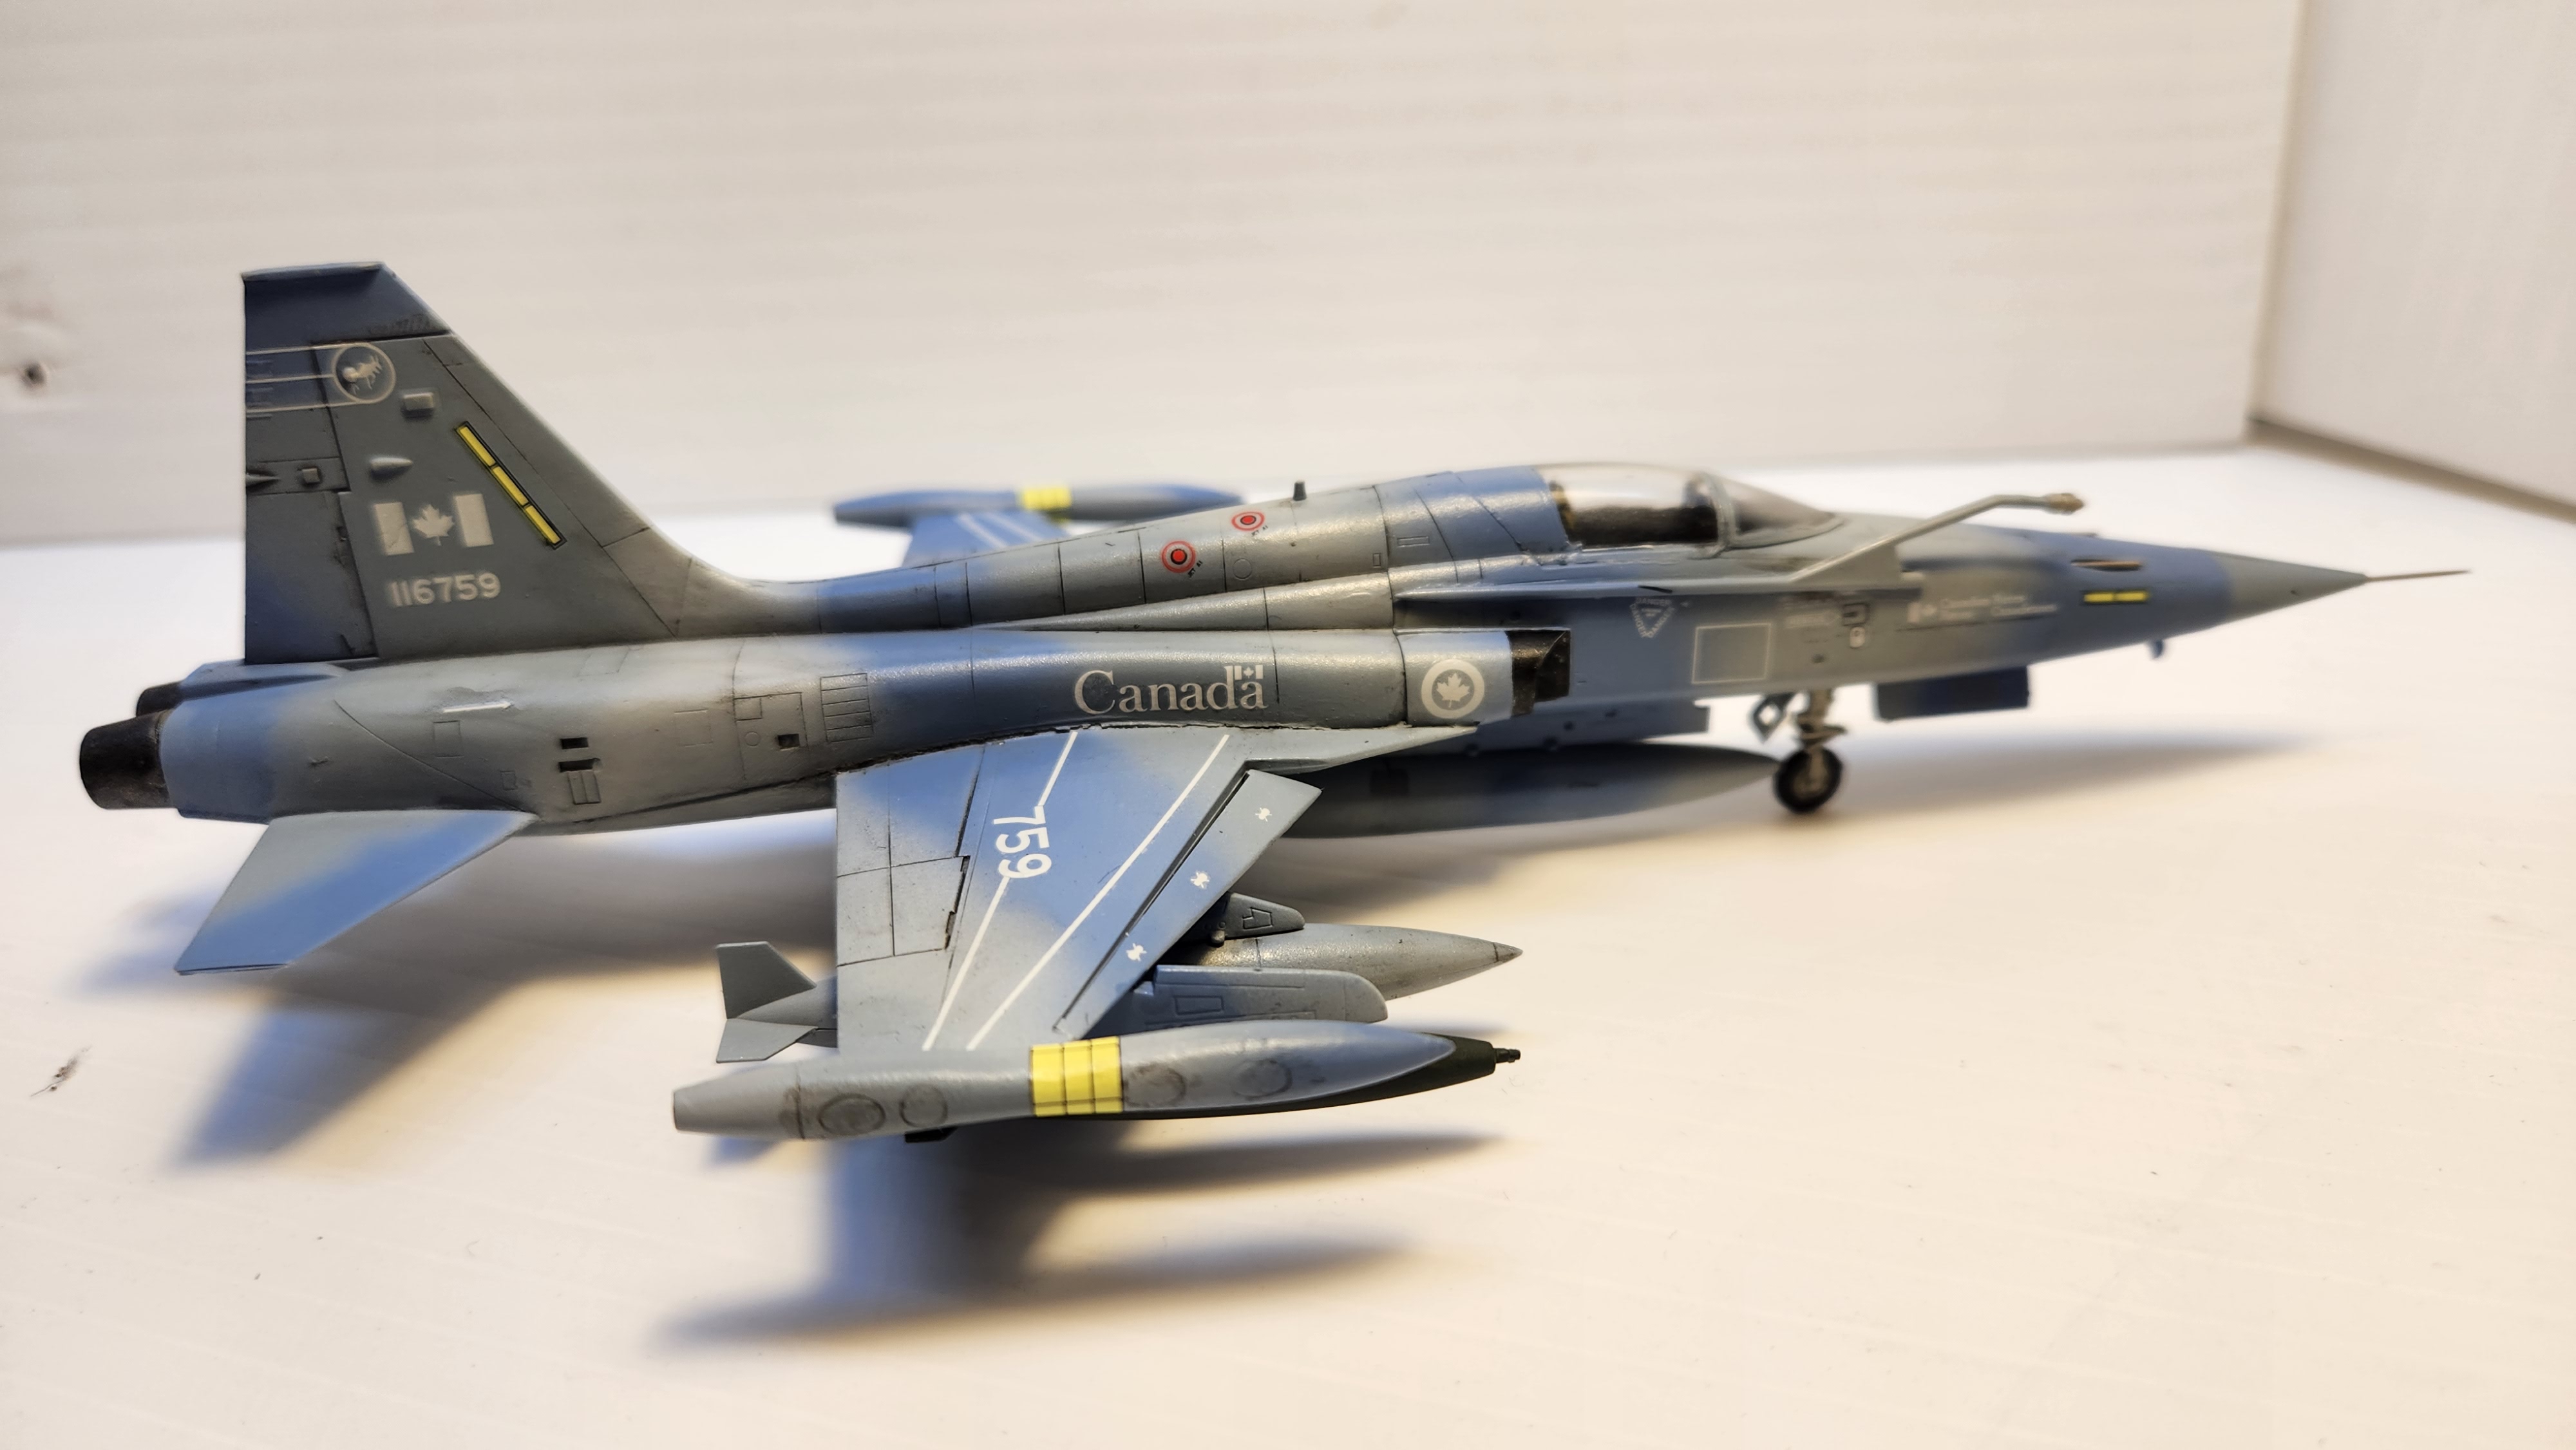
Here is a reference photo for the camo scheme I was going for. The grey, dark grey and bluish grey are very subtle. They also painted the aircraft with the drop tanks attached and the bottom is also camouflage.
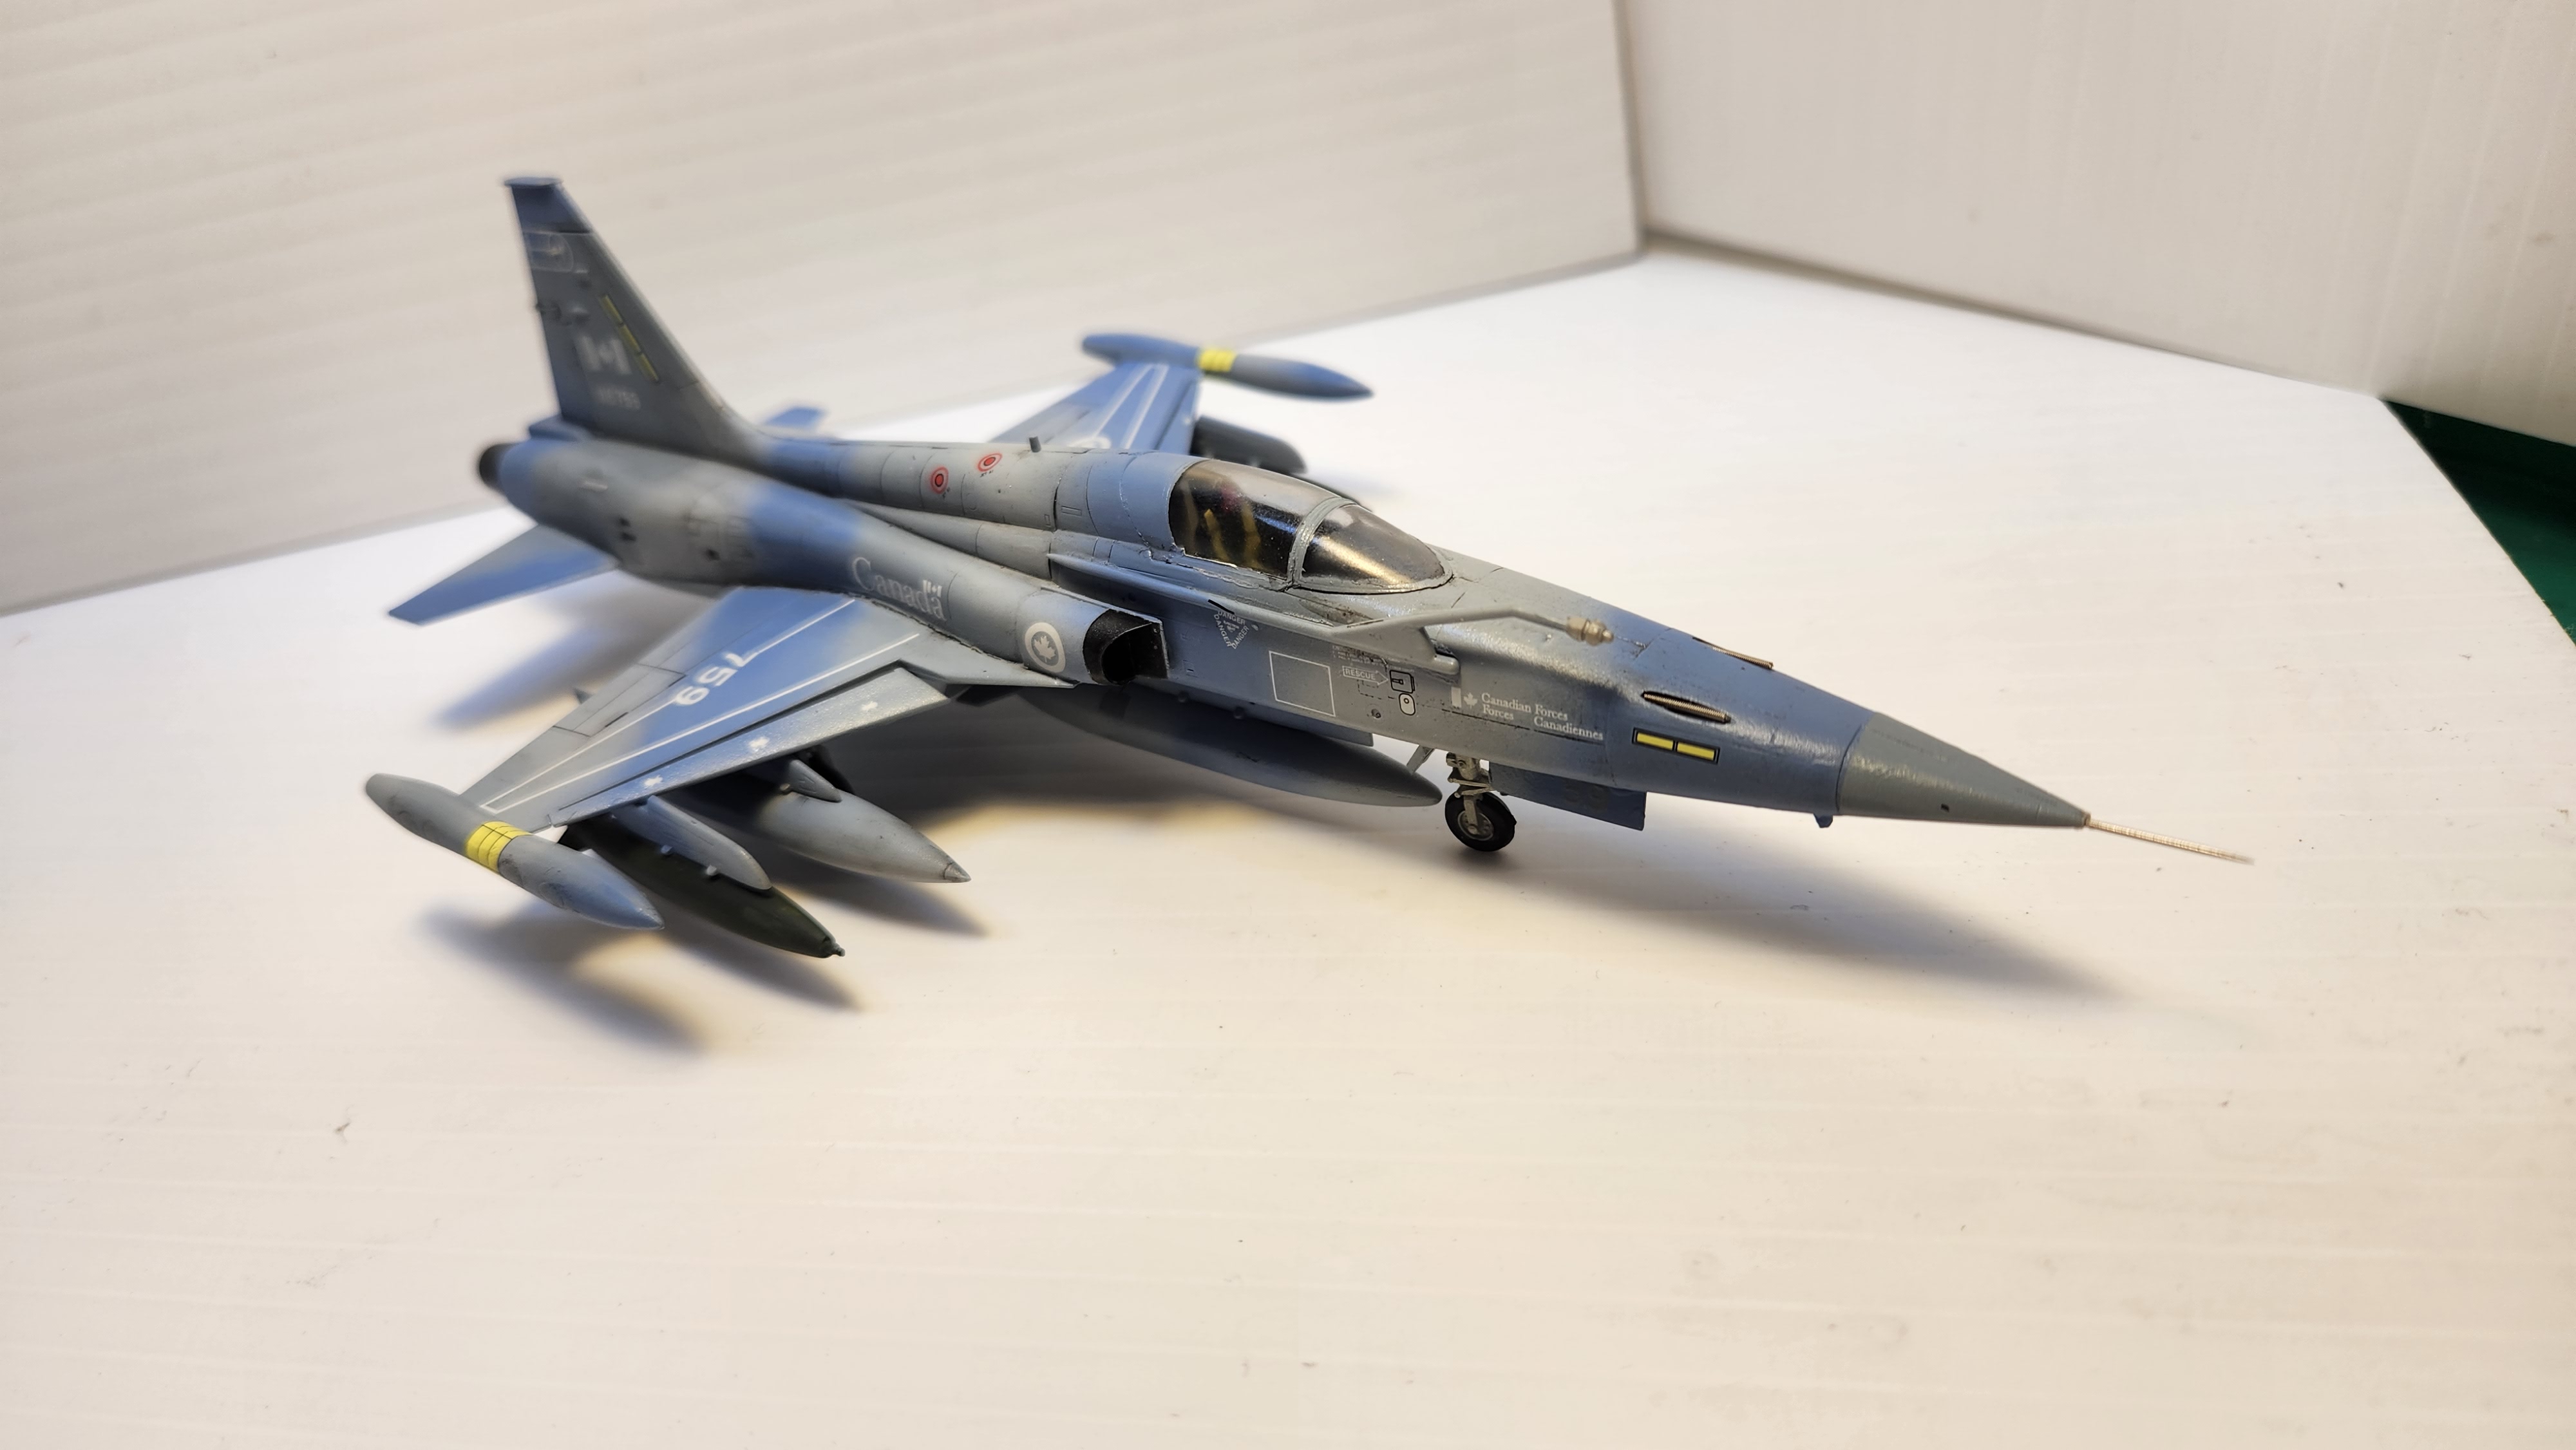
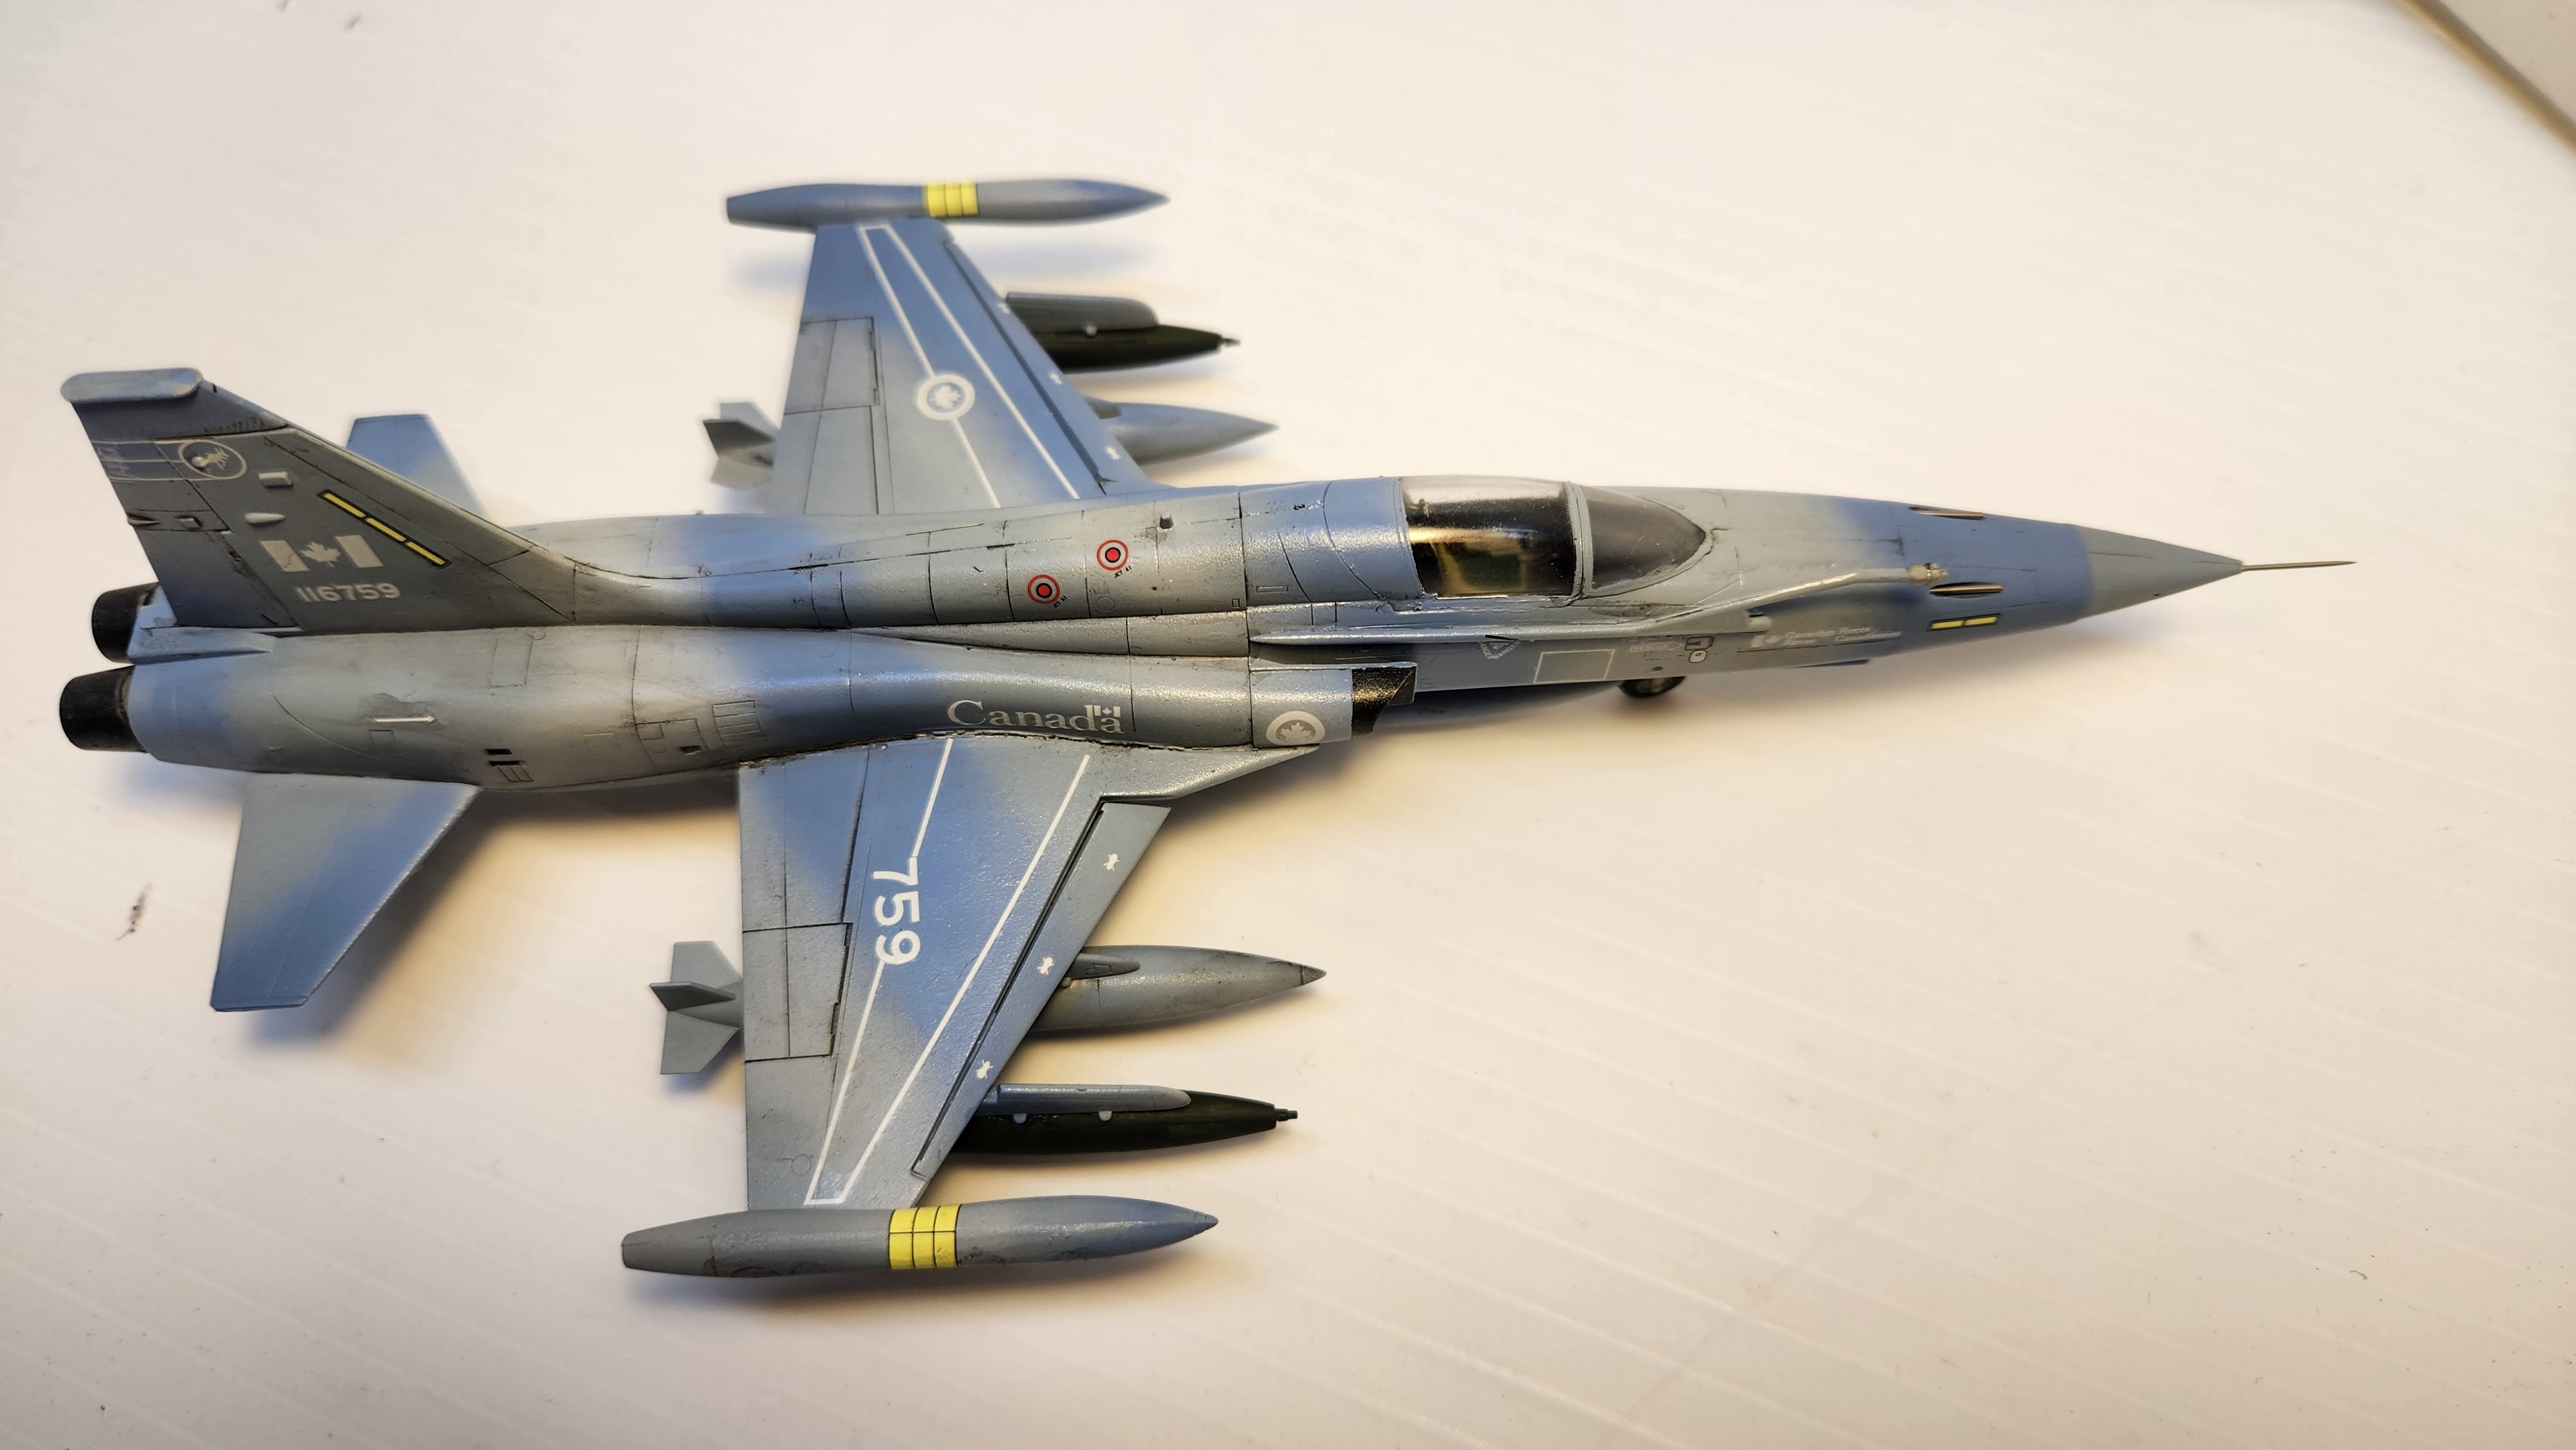
For the camo scheme, I painted the aircraft using Vallejo Light Ghost Grey arcylic polyurethane. I then did the Vallejo Dark Ghost grey parts (which are not that darker than the light, but, in fact, do look quite a bit like the actual aircraft). I then used UK Azure Blue mixed with a little Dark Ghost Grey for the bluish grey color.
Have to give a shout-out to the Vallejo colors. You can use them right out of the bottle for airbrushing without thinning and they provide great coverage. I was a little worried about the light ghost grey “polyurethane”, but it didn’t smell and the airbrush cleaned up with the usual Windex and rubbing alcohol steps I use for any other acrylic paint. I am going to consider priming models with this in the future.
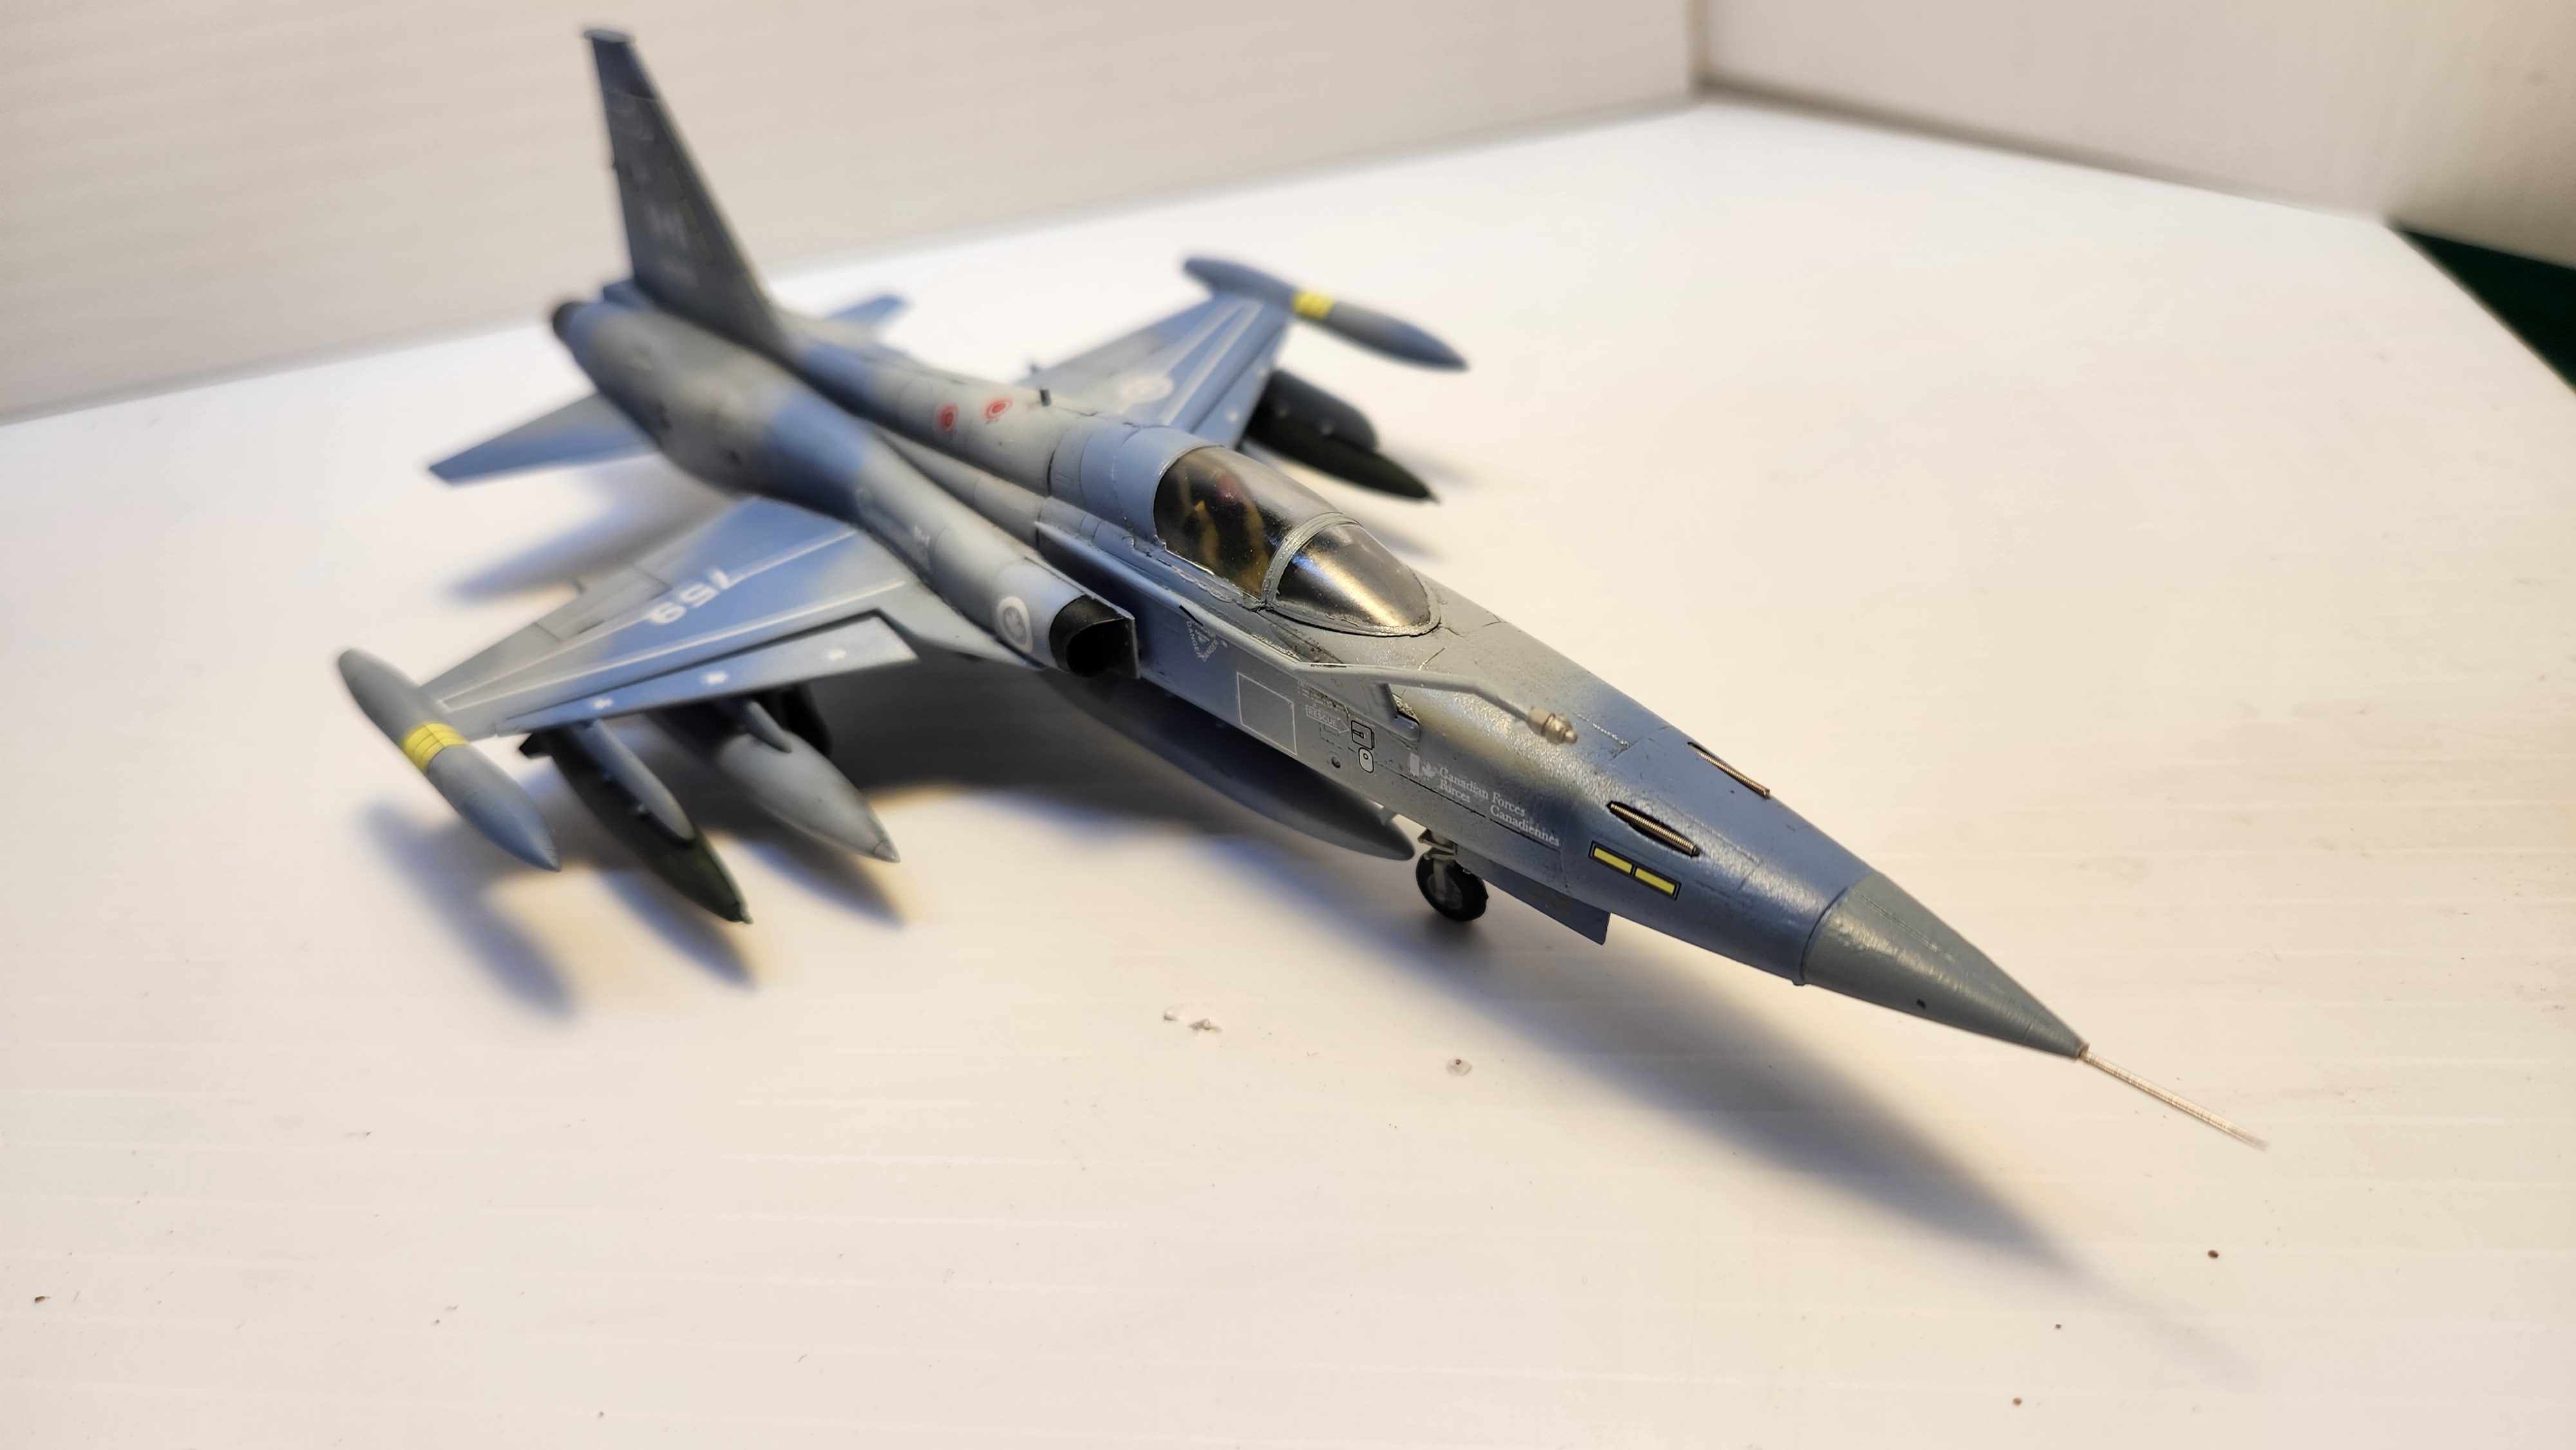
You can see the dark grey and light grey are only subtly different. After his, I did a quick airbrush coat of Future to make a surface for the decals.
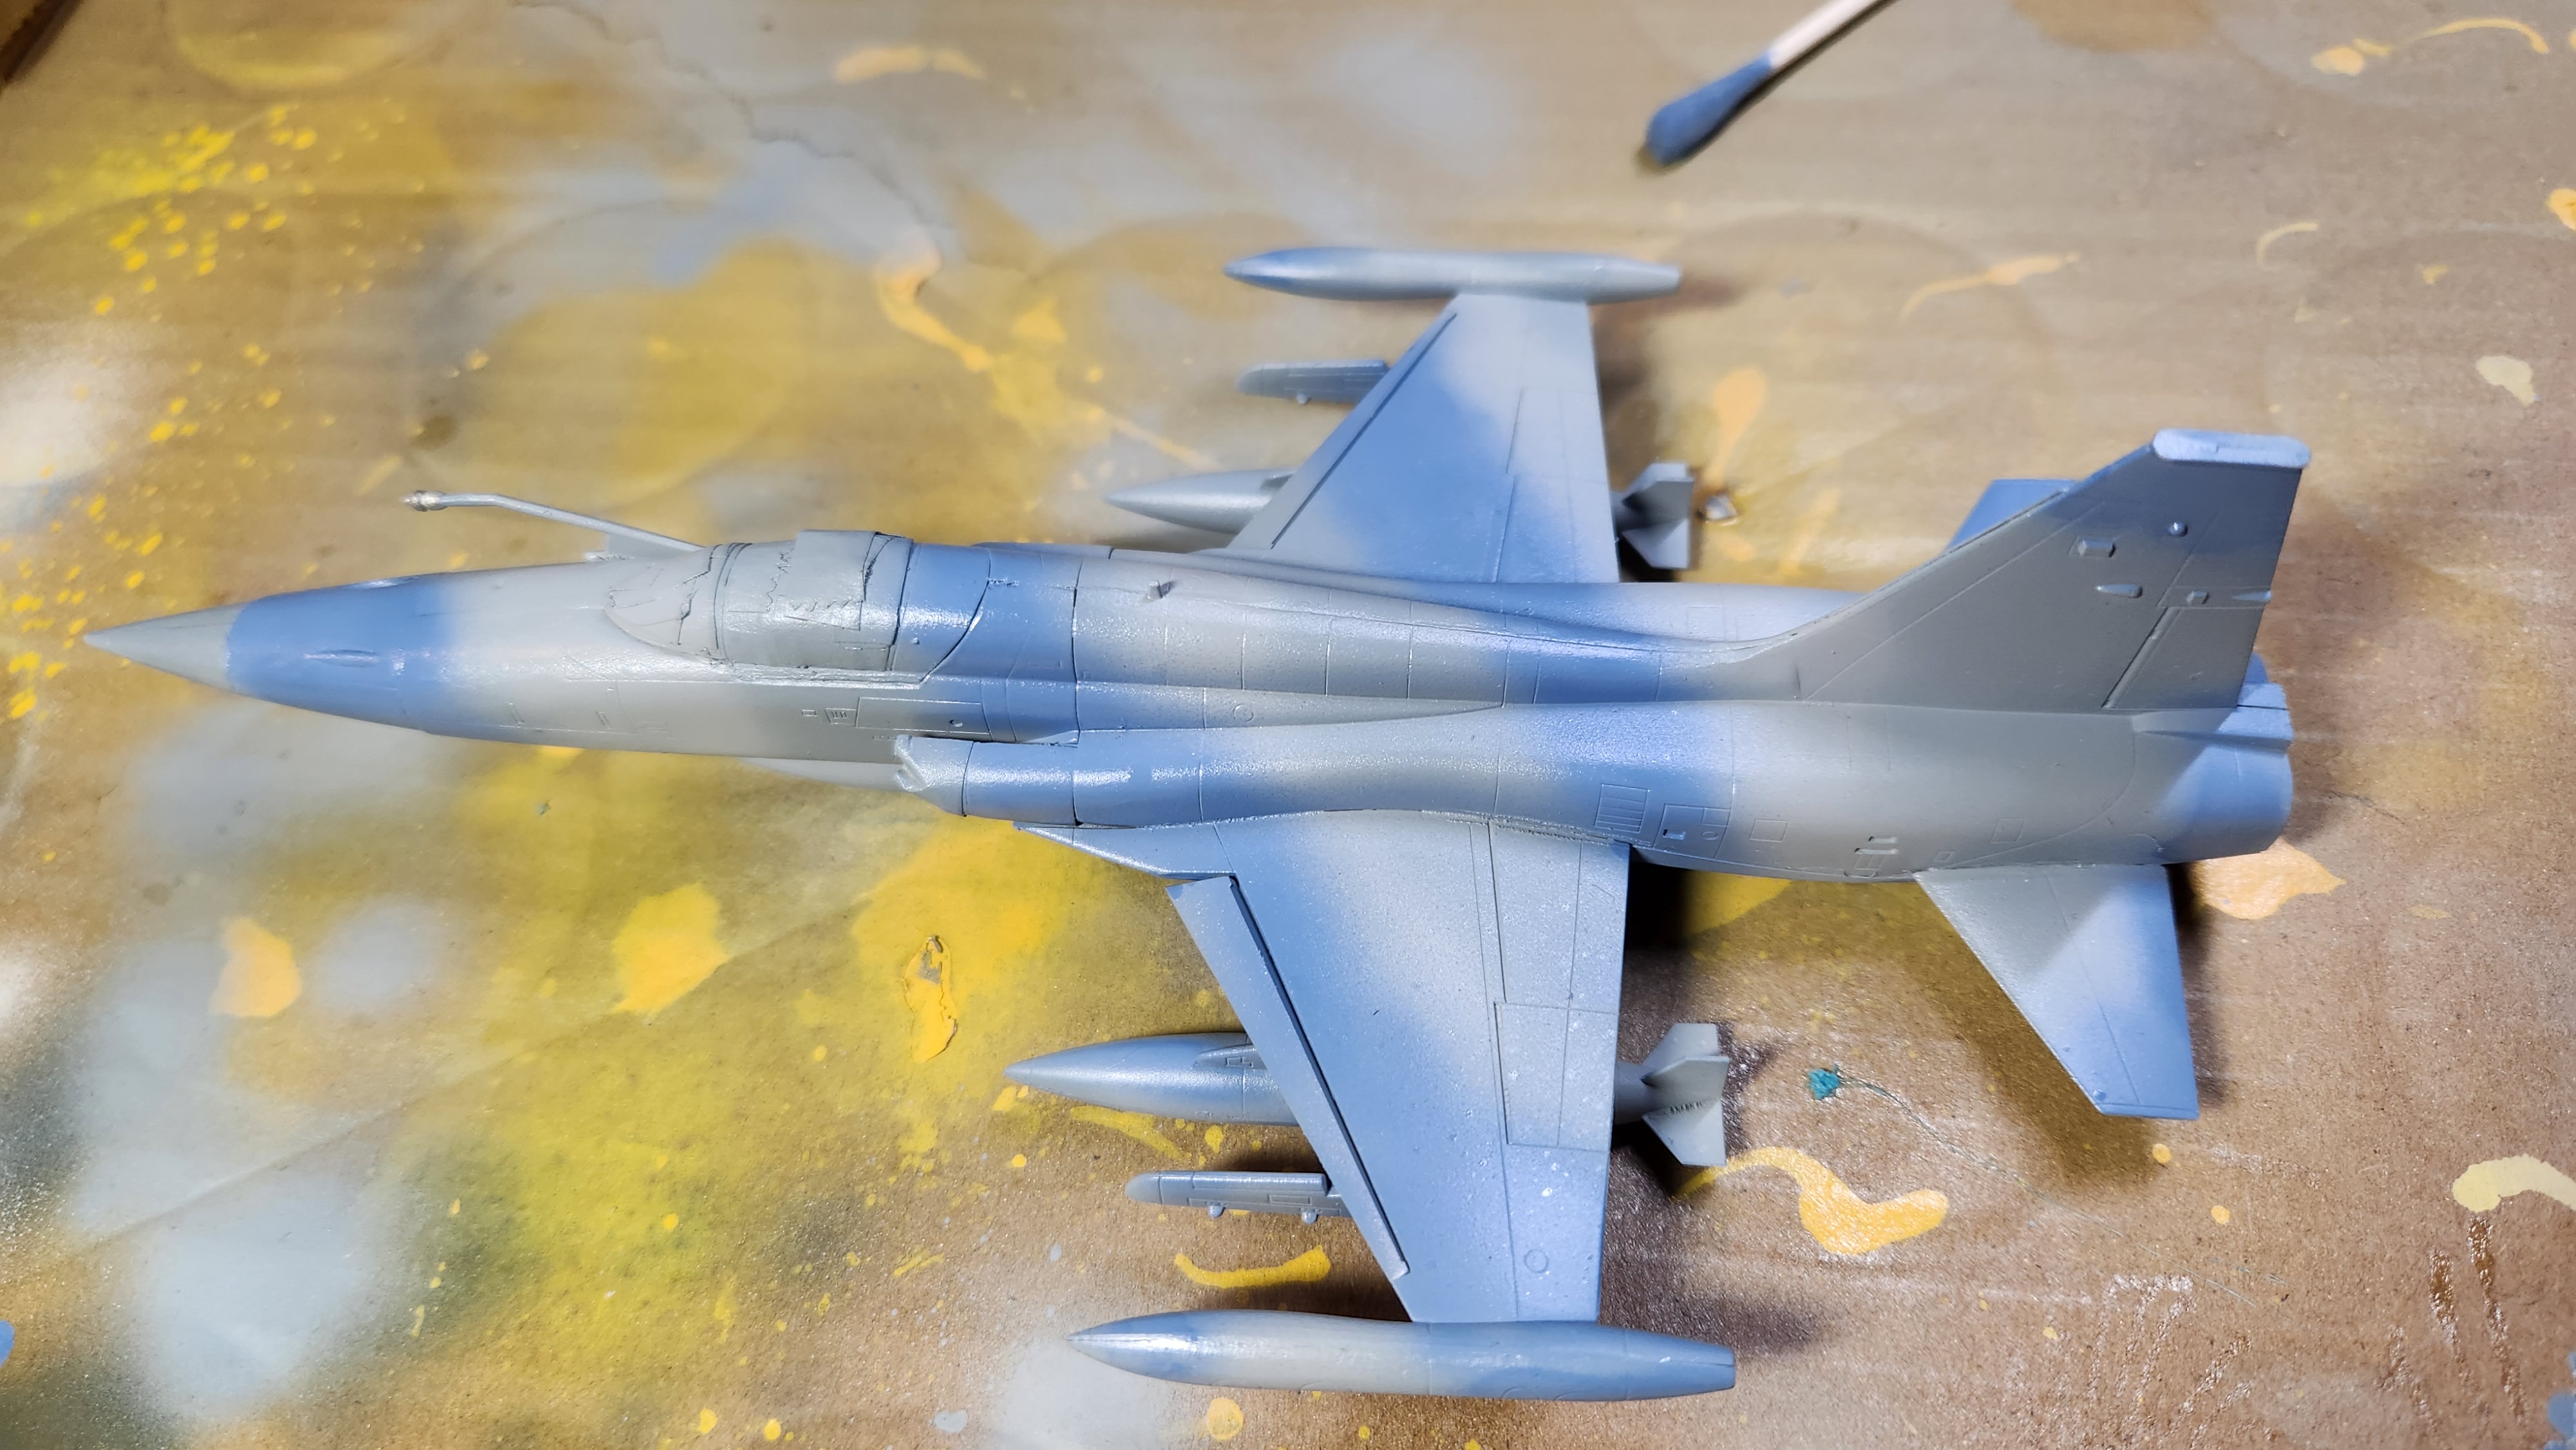
The greys look a little more pronounced after the coat of Future. The bluish grey looks great.
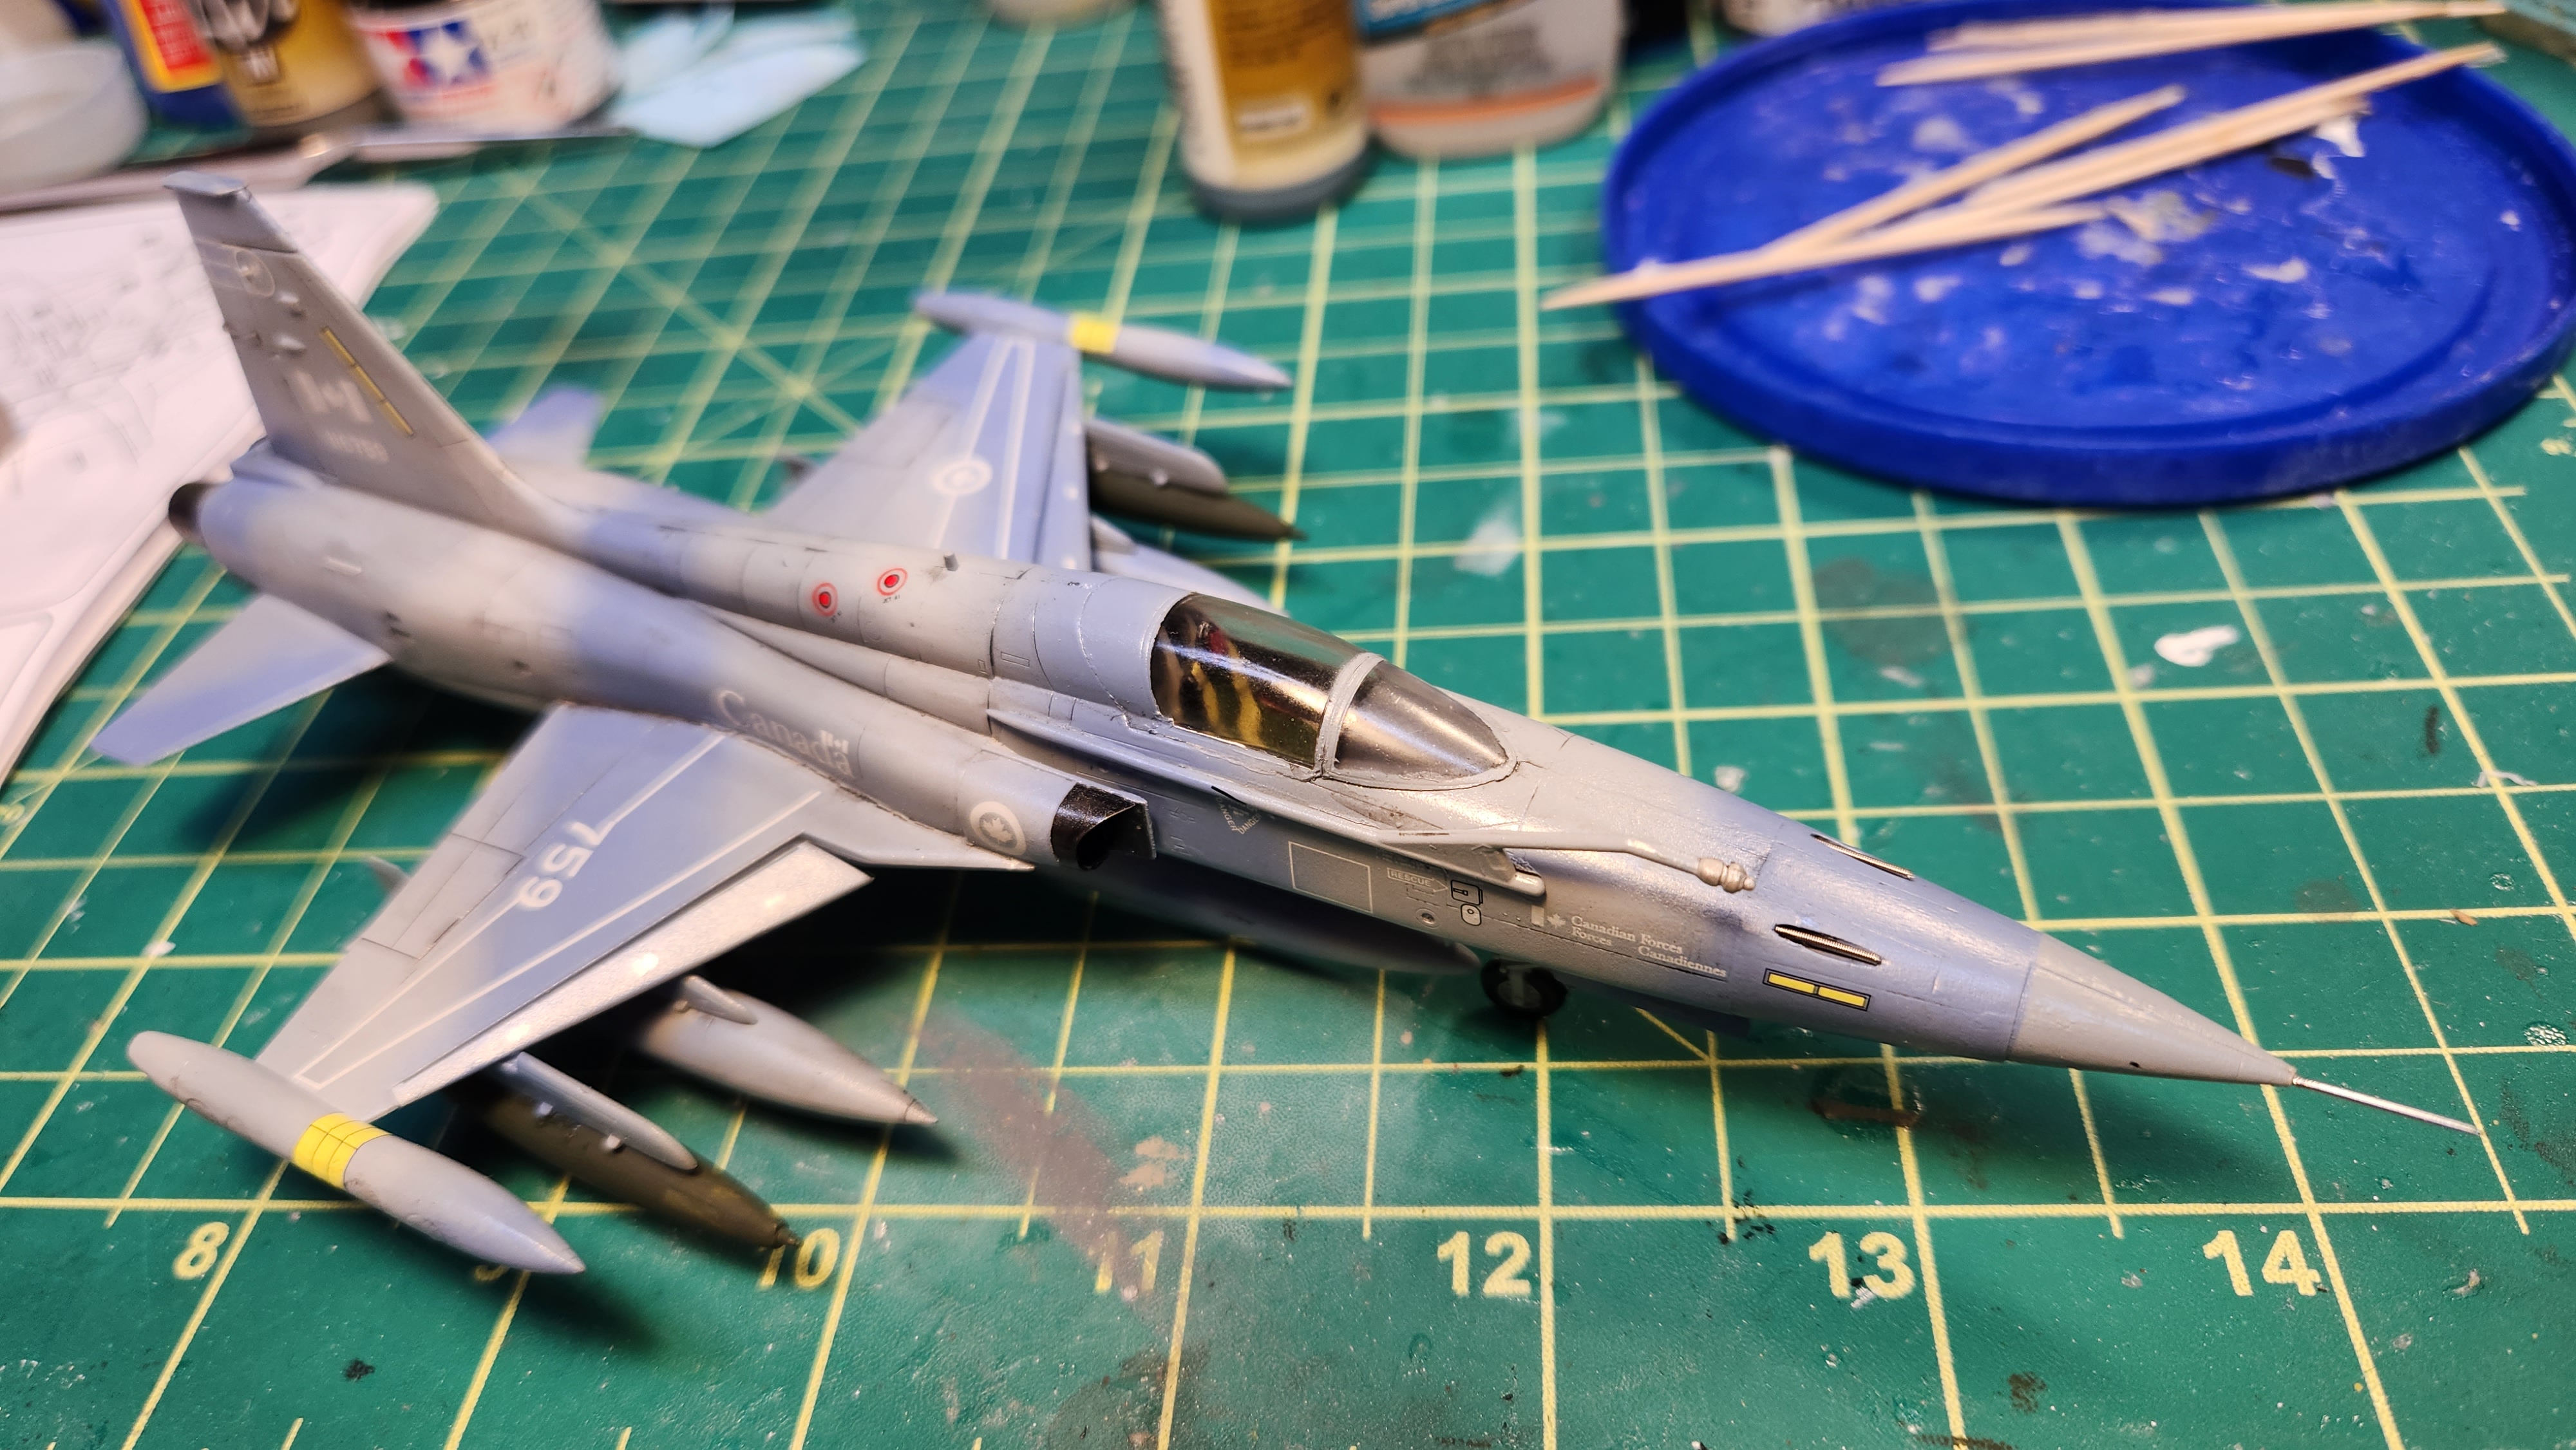
The decals were surprisingly difficult. There were lots of them, many of them were tiny, and they needed to be carefully placed. It was a time consuming task. But the decal quality was good — I used MicroSol to have them adhere and mold to the aircraft contours.
Used Tamiya Panel Line Accent Black to weather the aircraft a bit. Used Tamiya X-20 thinner to remove the excess paint with a Q-Tip. I replaced the pitot tube with a metal needle.
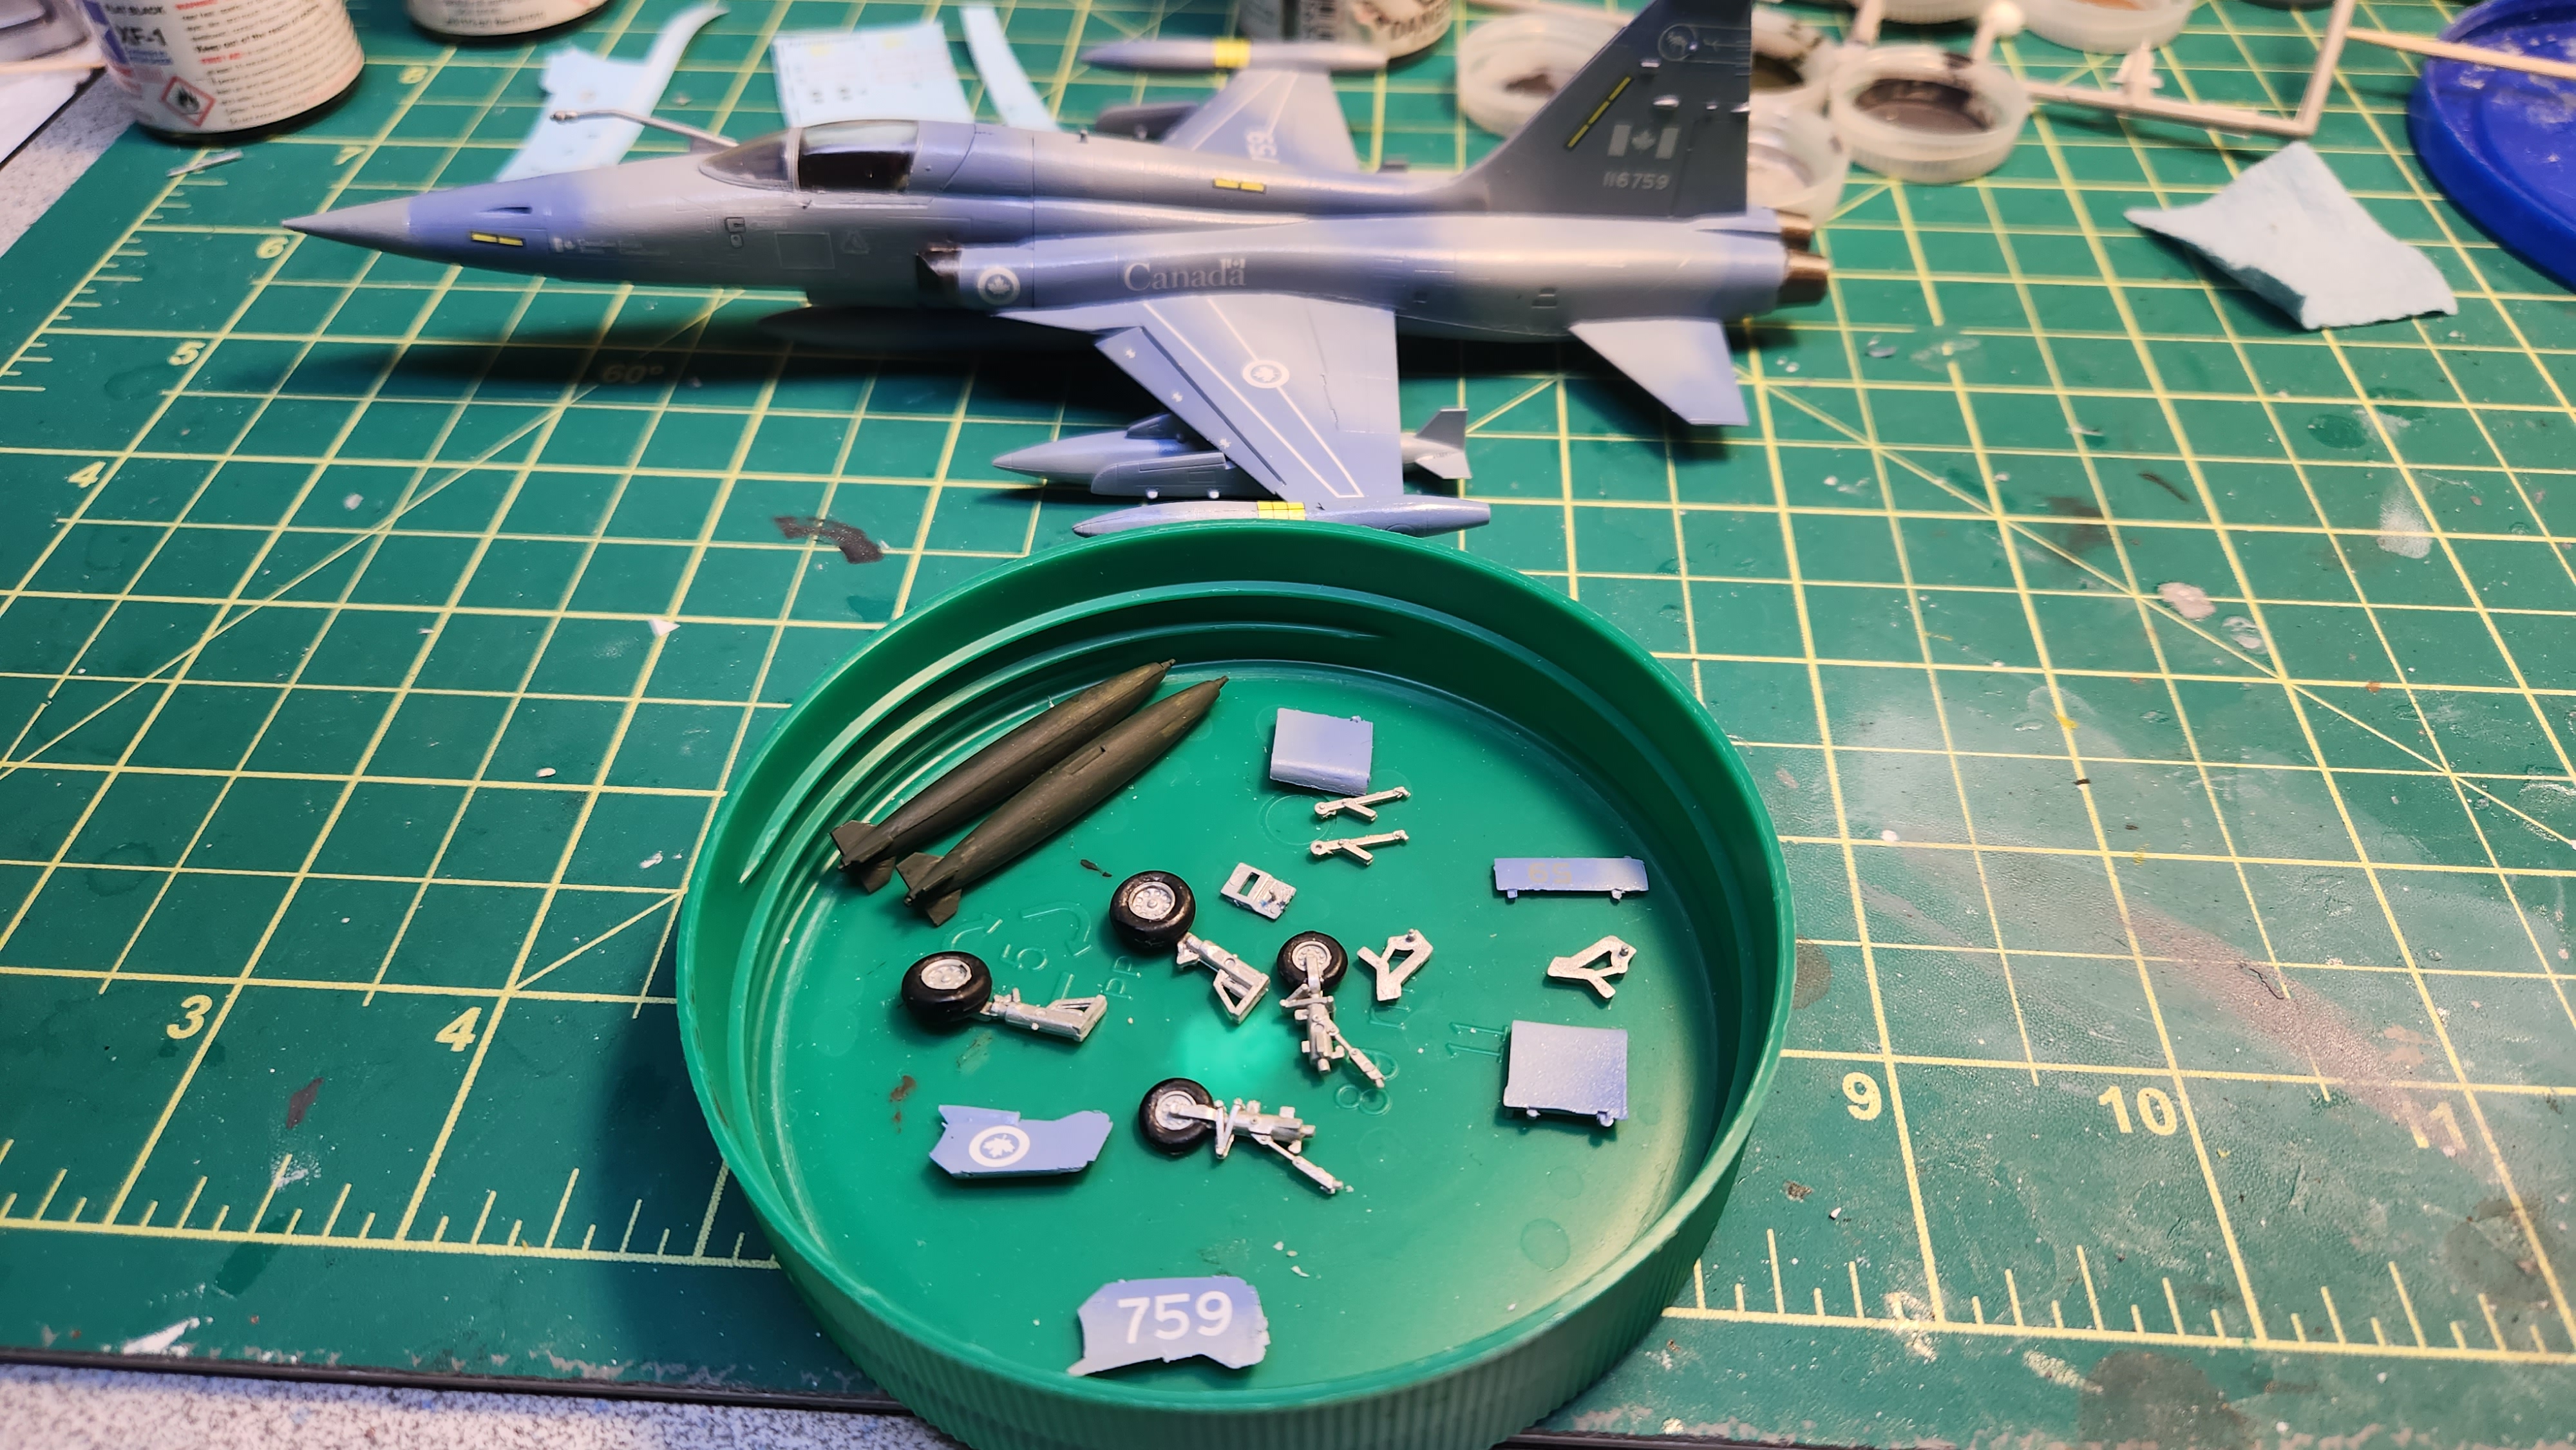
Time for the landing gear. Hoo boy. Looking at this, it might have been easier to attach the external tanks afterward, but they needed to get painted when the camo pattern was done. Maybe I should have temporarily attached them and removed them afterward.

Perhaps not the best landing gear installation in history, but it doesn’t look too bad if you don’t look too hard! One of the fins on the wing tanks broke off and disappeared, so I replaced it with one made from a Coke Zero can, snipped into the shape and glued on with super glue.
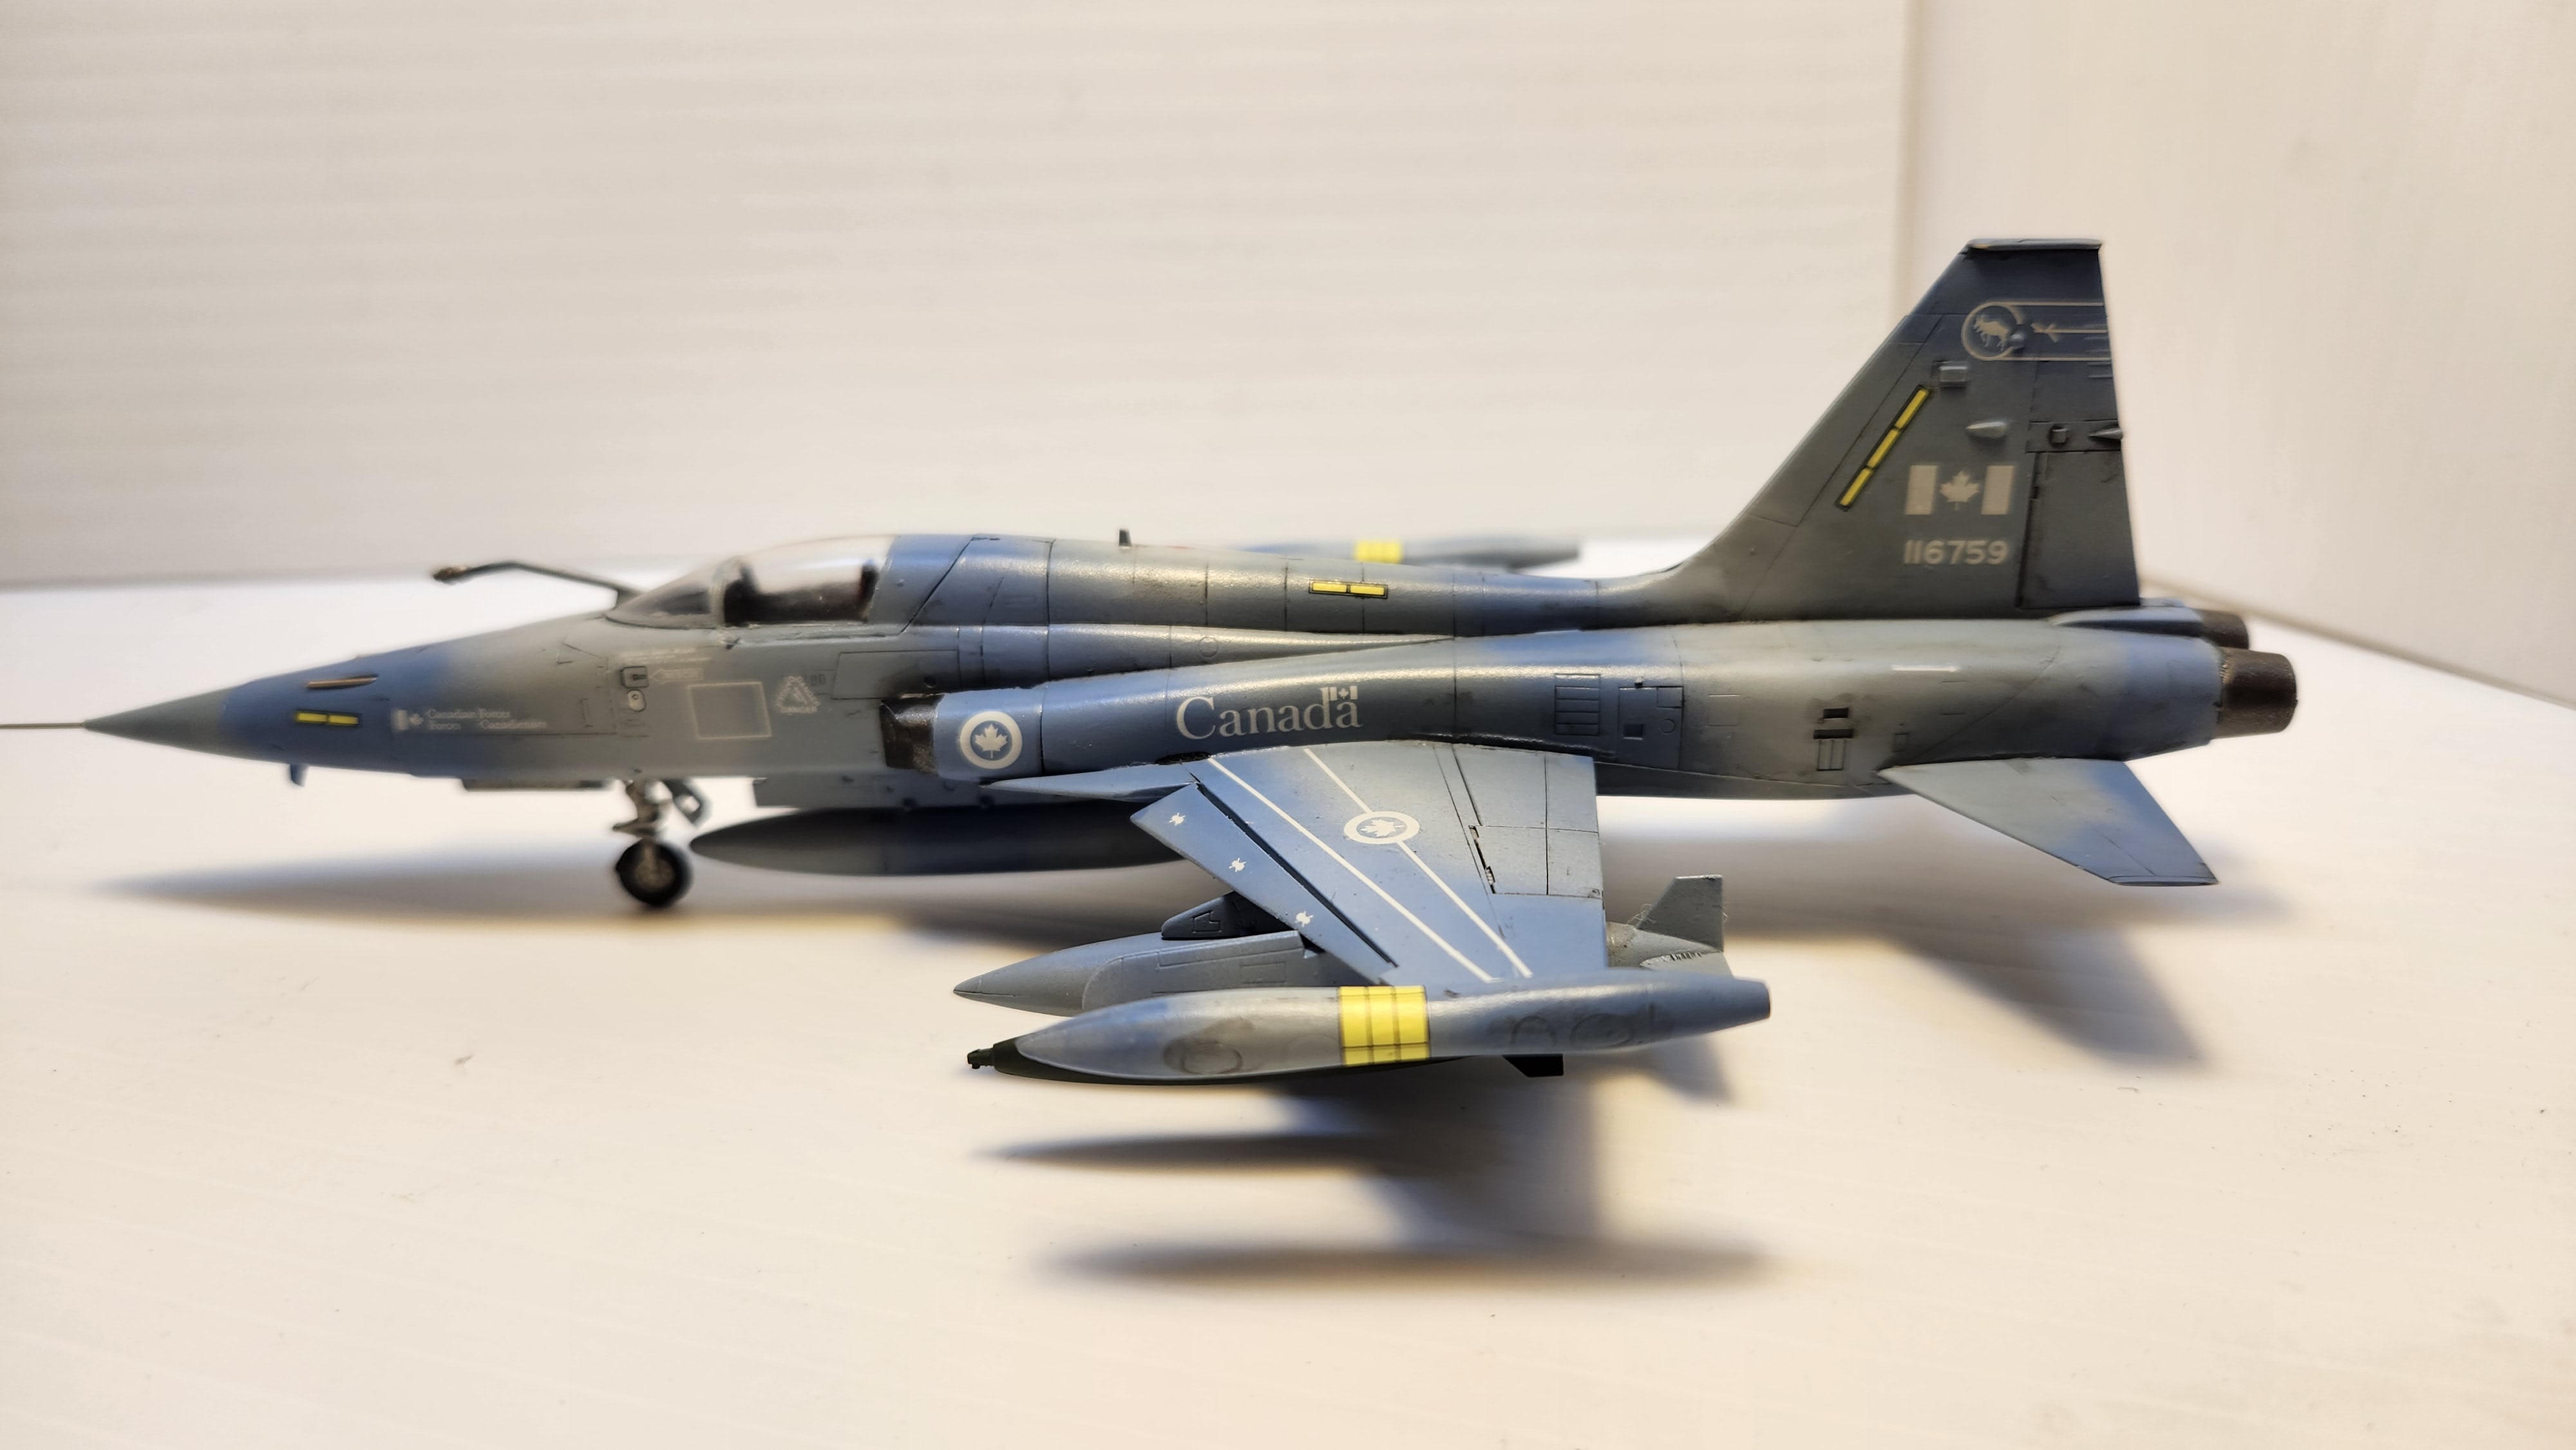
All that remains is a final matt clear coat. I used a short section of used guitar string (round wound G) for the cannons (two hobbies, working together!). The part in the kit had some flashing and was going to be difficult to get to look like a perfect cylinder and the guitar string was simple to cut into the right shape and diameter.

Paints
Tamiya Acrylic

X-7   Red
X-10  Gunmetal
XF-1  Flat Black
XF-16 Flat Aluminum
XF-24 Dark Grey
XF-26 Deep Green
XF-58 Olive Green

Tamiya Enamel

Panel Line Accent Color Black
X-20 Thinner
Vallejo
70.615 USN Light Ghost Grey
71.108 UK Azure Blue
71.120 Dark Ghost Grey