Italeri 1/72 Lockheed F-35B Lightning II
The Lockheed F-35 Lightning II is a 5th generation stealth aircraft designed to perform the tactical roles in concert with the air superiority fighter, the Lockheed F-22 Raptor. The F-35 is build in three variants, the F-35A, intended for the US Air Force, the F-35B which has VSTOL (Vertical Short Take Off and Landing) capability for the US Marine Corps and the F-35C, with a larger wing area and stronger landing gear for the US Navy. Unlike the F-22, the F-35 is also sold to foreign countries and first saw combat in the service of the Israeli Air Force.
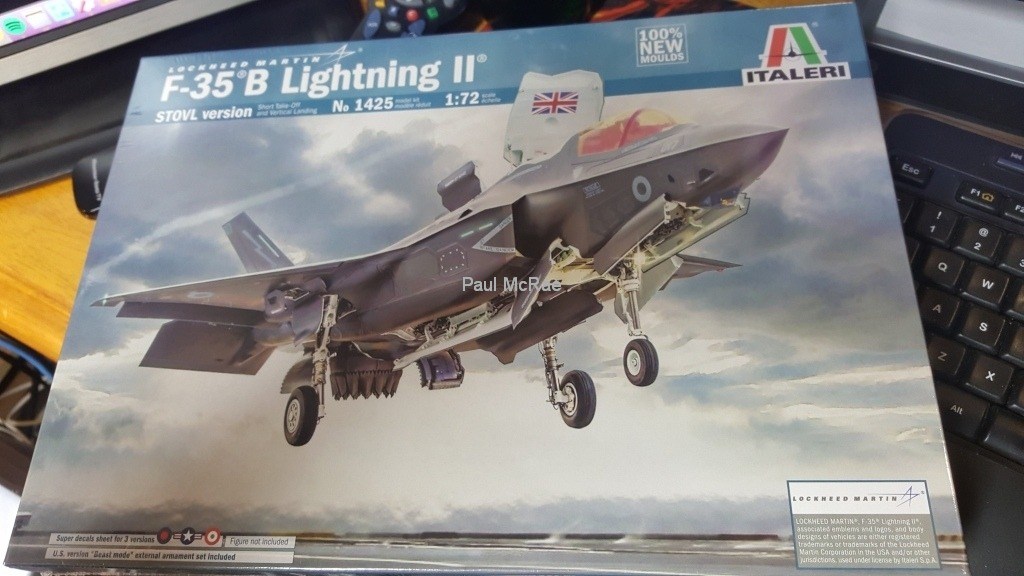
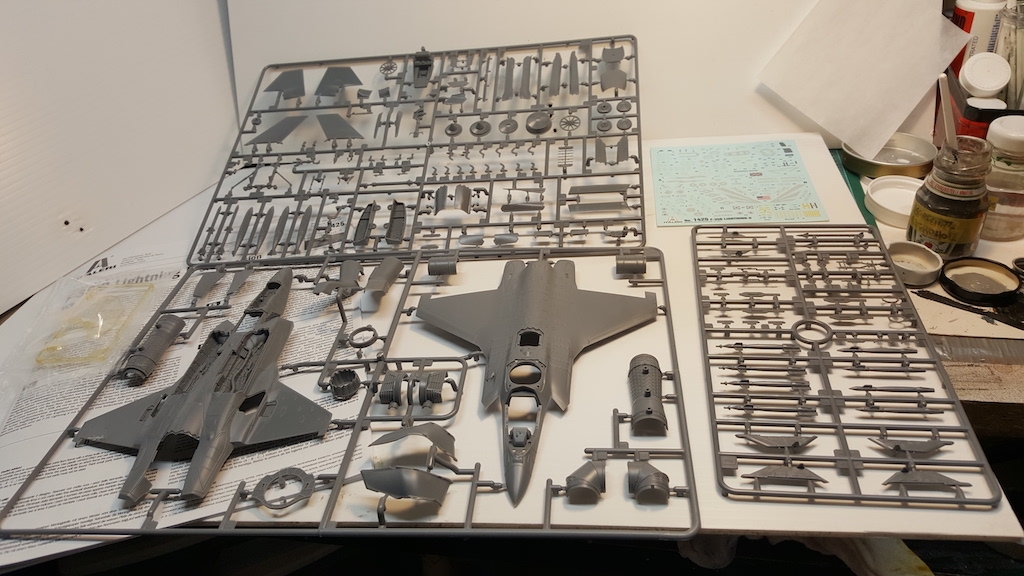
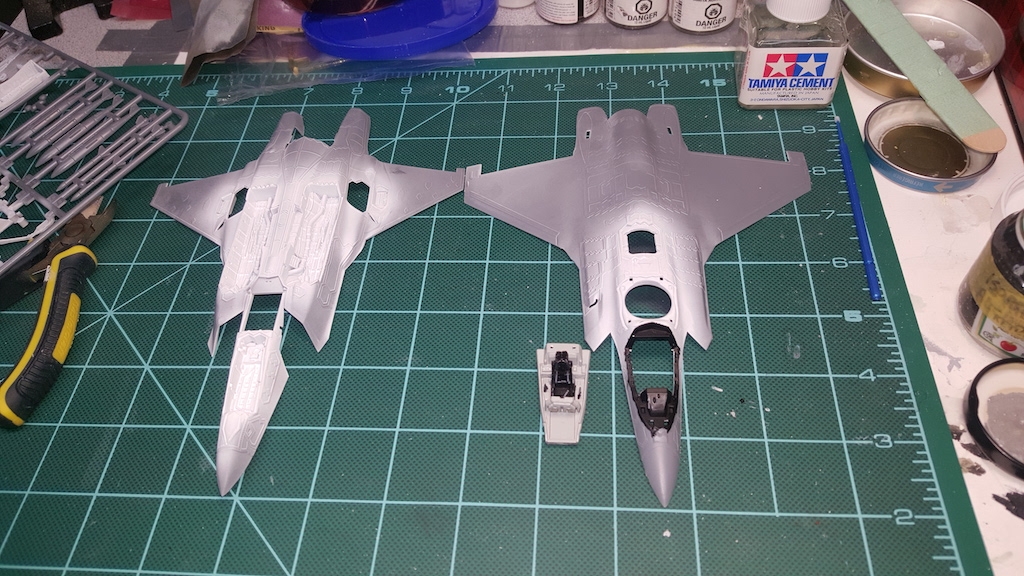
Unboxing the Italeri 1/72 scale F-35B, there are three main sprues, one of which is largely dedicated to the detailed ordinance and an armament trolley. The F-35B can carry armament either entirely internally, thus preserving its stealth characteristics, or on external wing mount points, eschewing stealth in favour of a larger bomb load. The canopy is molded in a smoky color plastic to emulate the actual canopy color. The biggest issue with this kit is the fact there are no decals for the complex patterns that represent the Radar Absorbing Materials (RAM) tape. Looking at the box, it looks like the decals contained these regions, but in fact, there are only a few decals covering a very small number of the patterns. So, looks like there is lots of masking in my future!
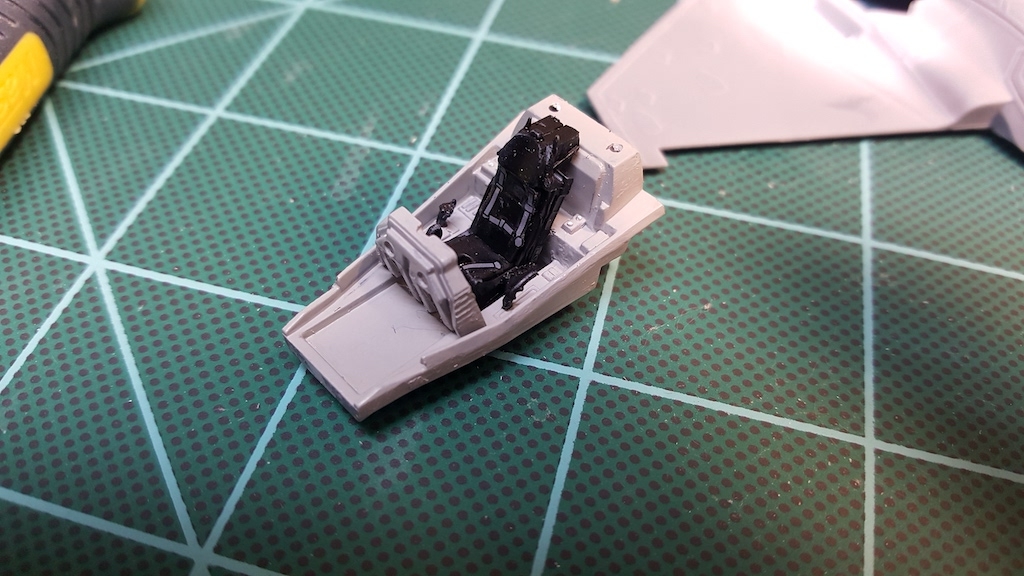
Here is the cockpit — nice detail and a couple of decals for the seatbelts. The F-35 doesn’t have a traditional control stick, but two handheld controllers on either side of the pilot. There is also a decal for the visual instrument display.
Airbrushing Tamyia XF-2 Flat White into the various landing gear, weapons, and exhaust bays. Painted the cockpit area Tamyia X-1 Gloss Black.
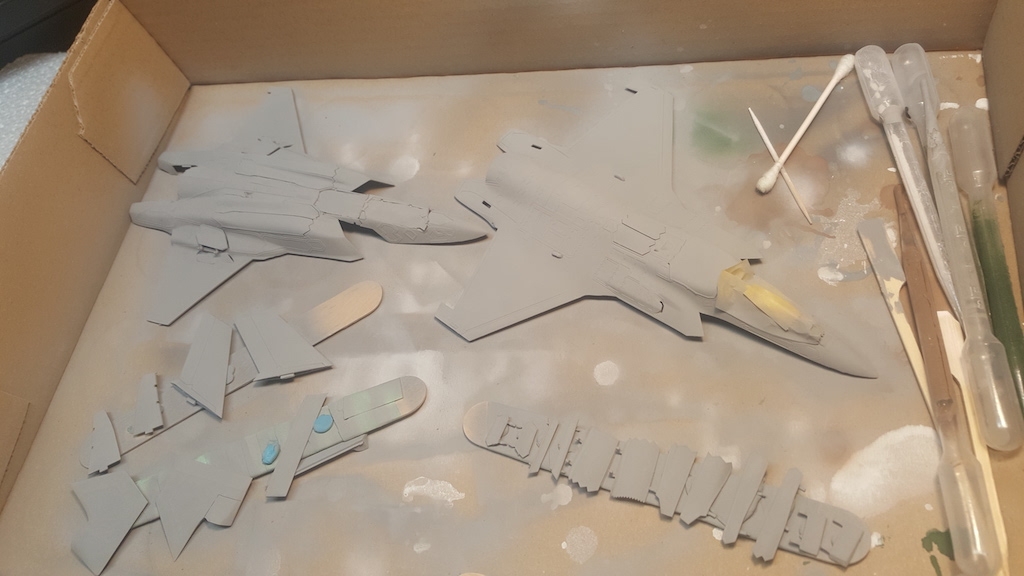
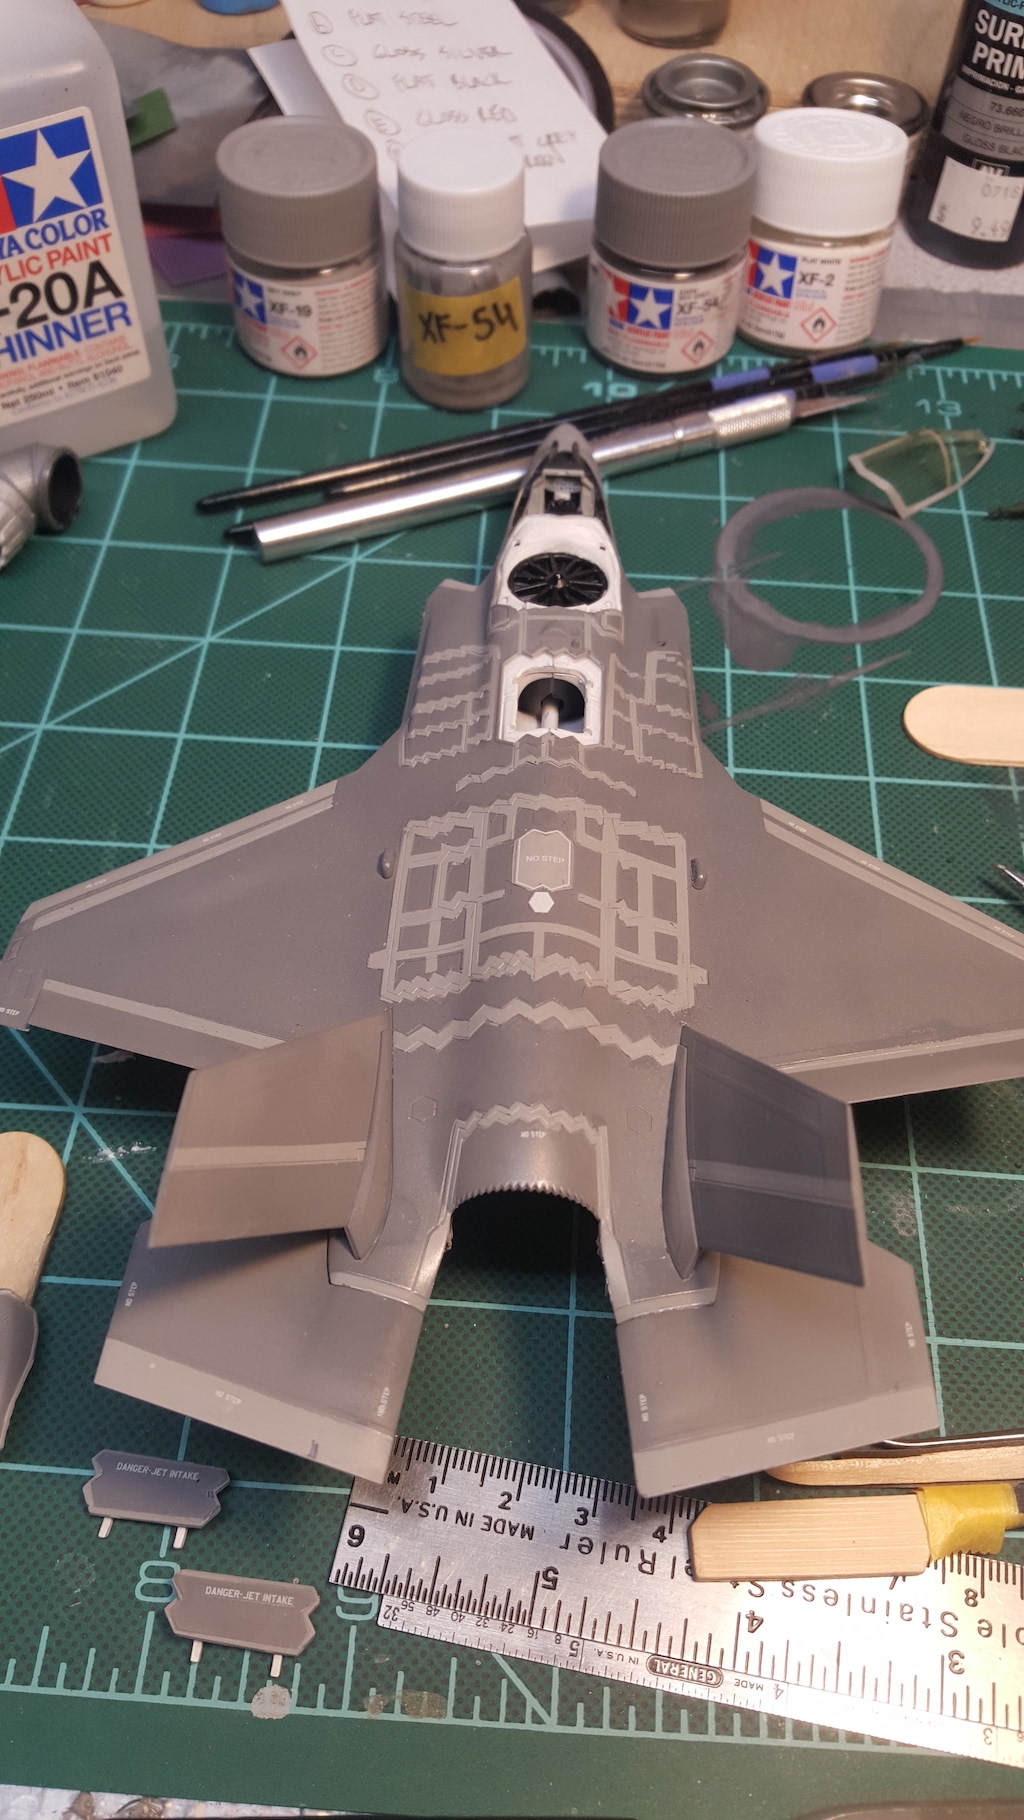
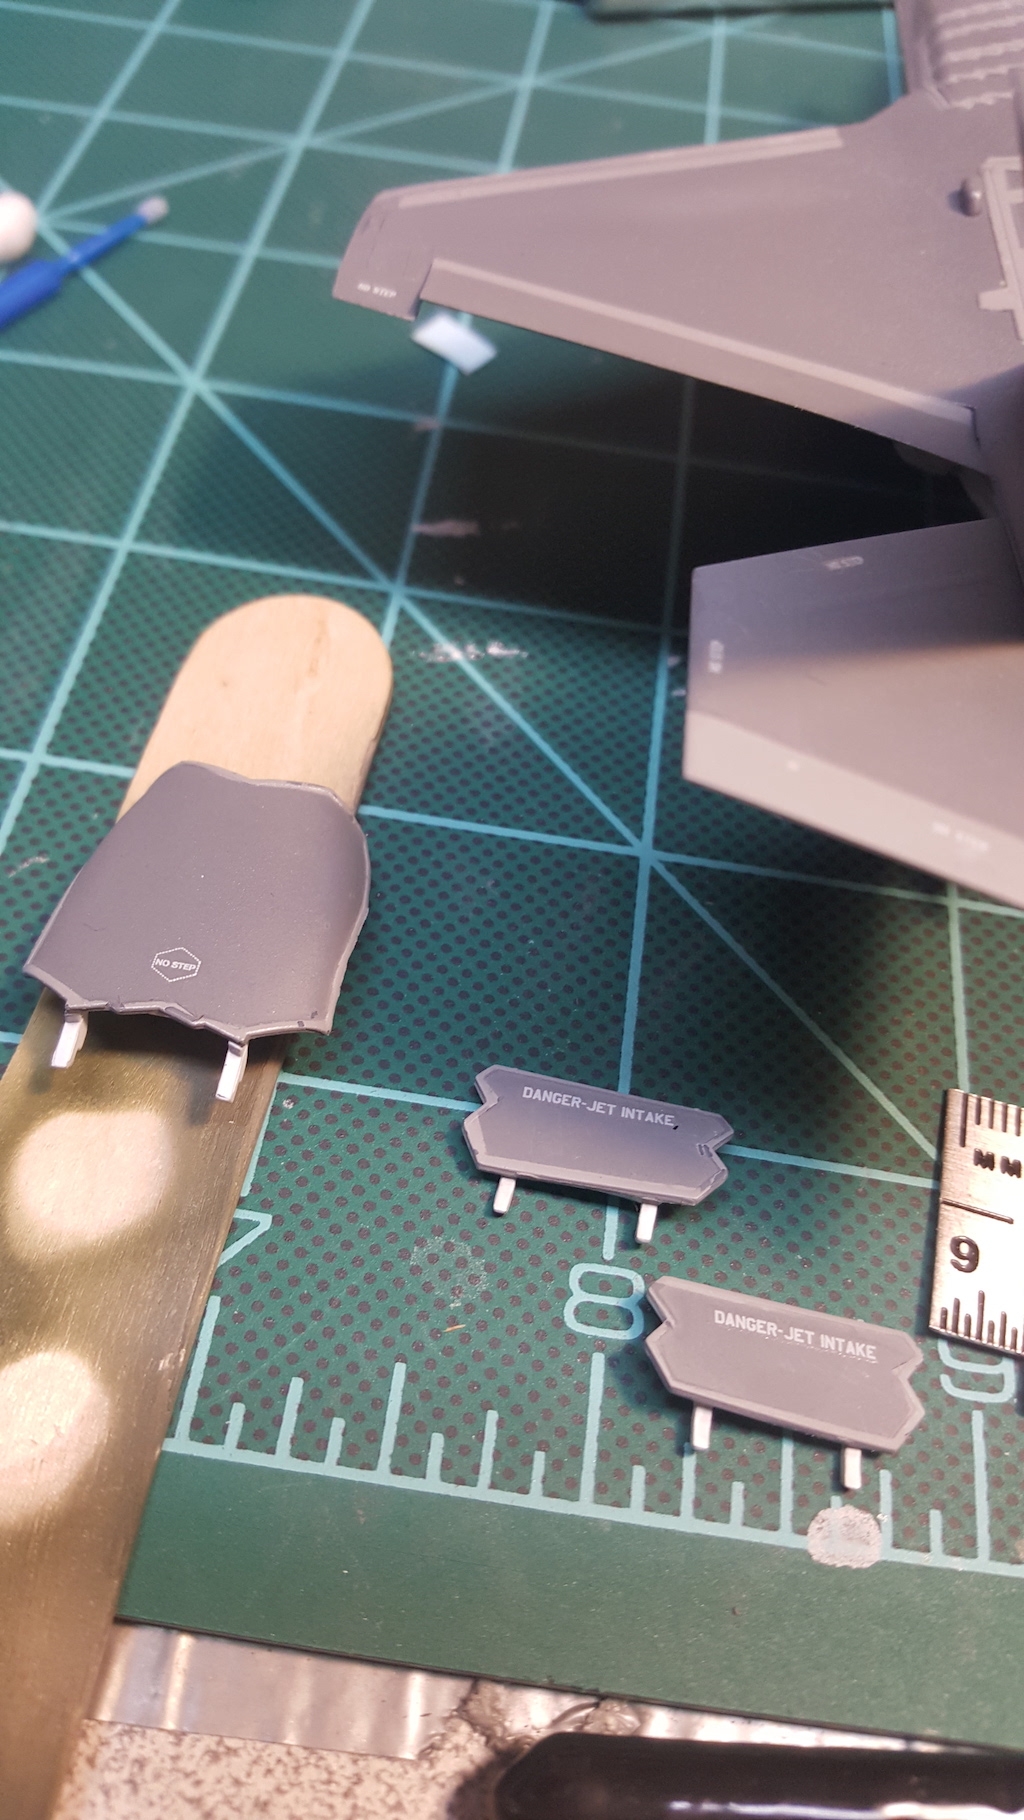
Airbrushed the light grey color, Tamiya XF-19 Sky Grey, on the fuselage pieces, control surfaces and bay doors. The plan is the mask off the RAM panels and then spray the darker grey color on. The light grey also acts as a primer.
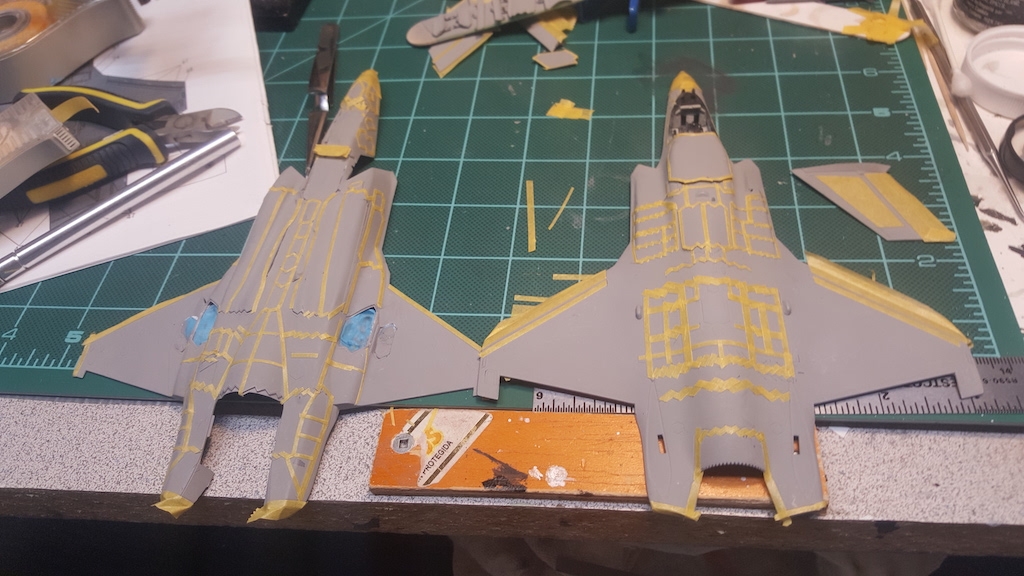
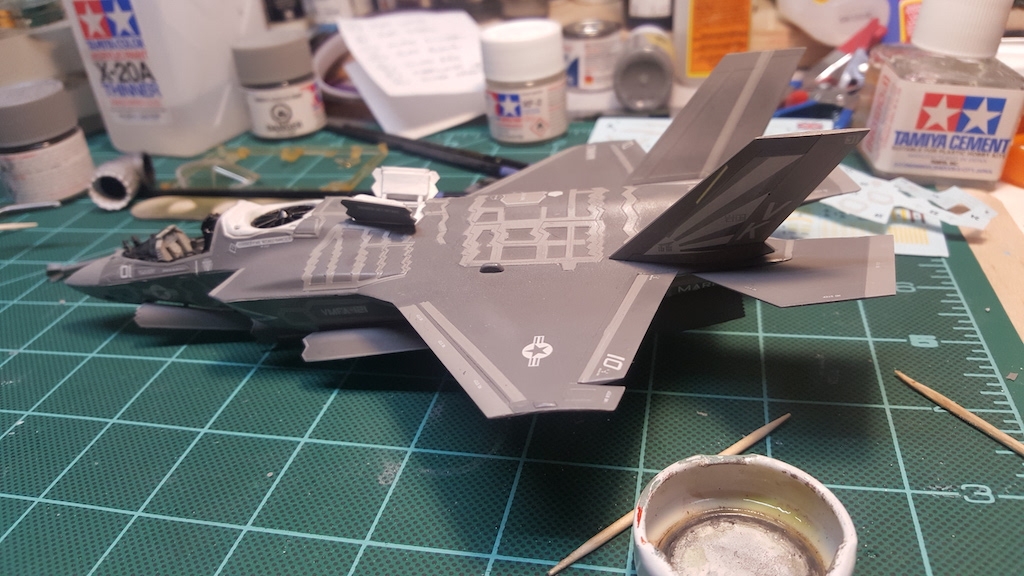
Here we go — about a week of masking all the RAM areas. I used small rectangles of Tamiya masking tape. All future F-35 builds better have decals for this! I put blue tac putty in the bay areas to mask them off. Ready to airbrush on the darker grey color Tamiya XF-54 Dark Sea Grey on to all the surfaces.
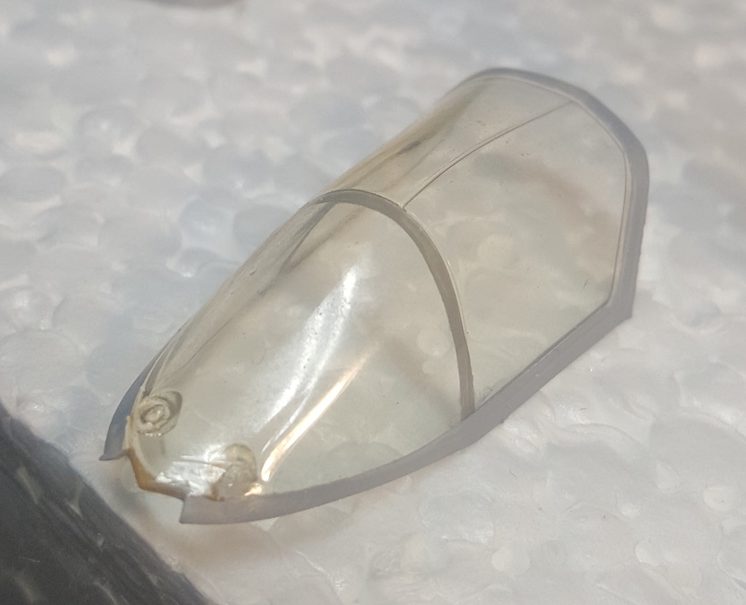
The canopy is critical — coated it with Future acrylic floor polish then painted the external frame while also masking and painting the crossbar on the inside of the canopy as well.
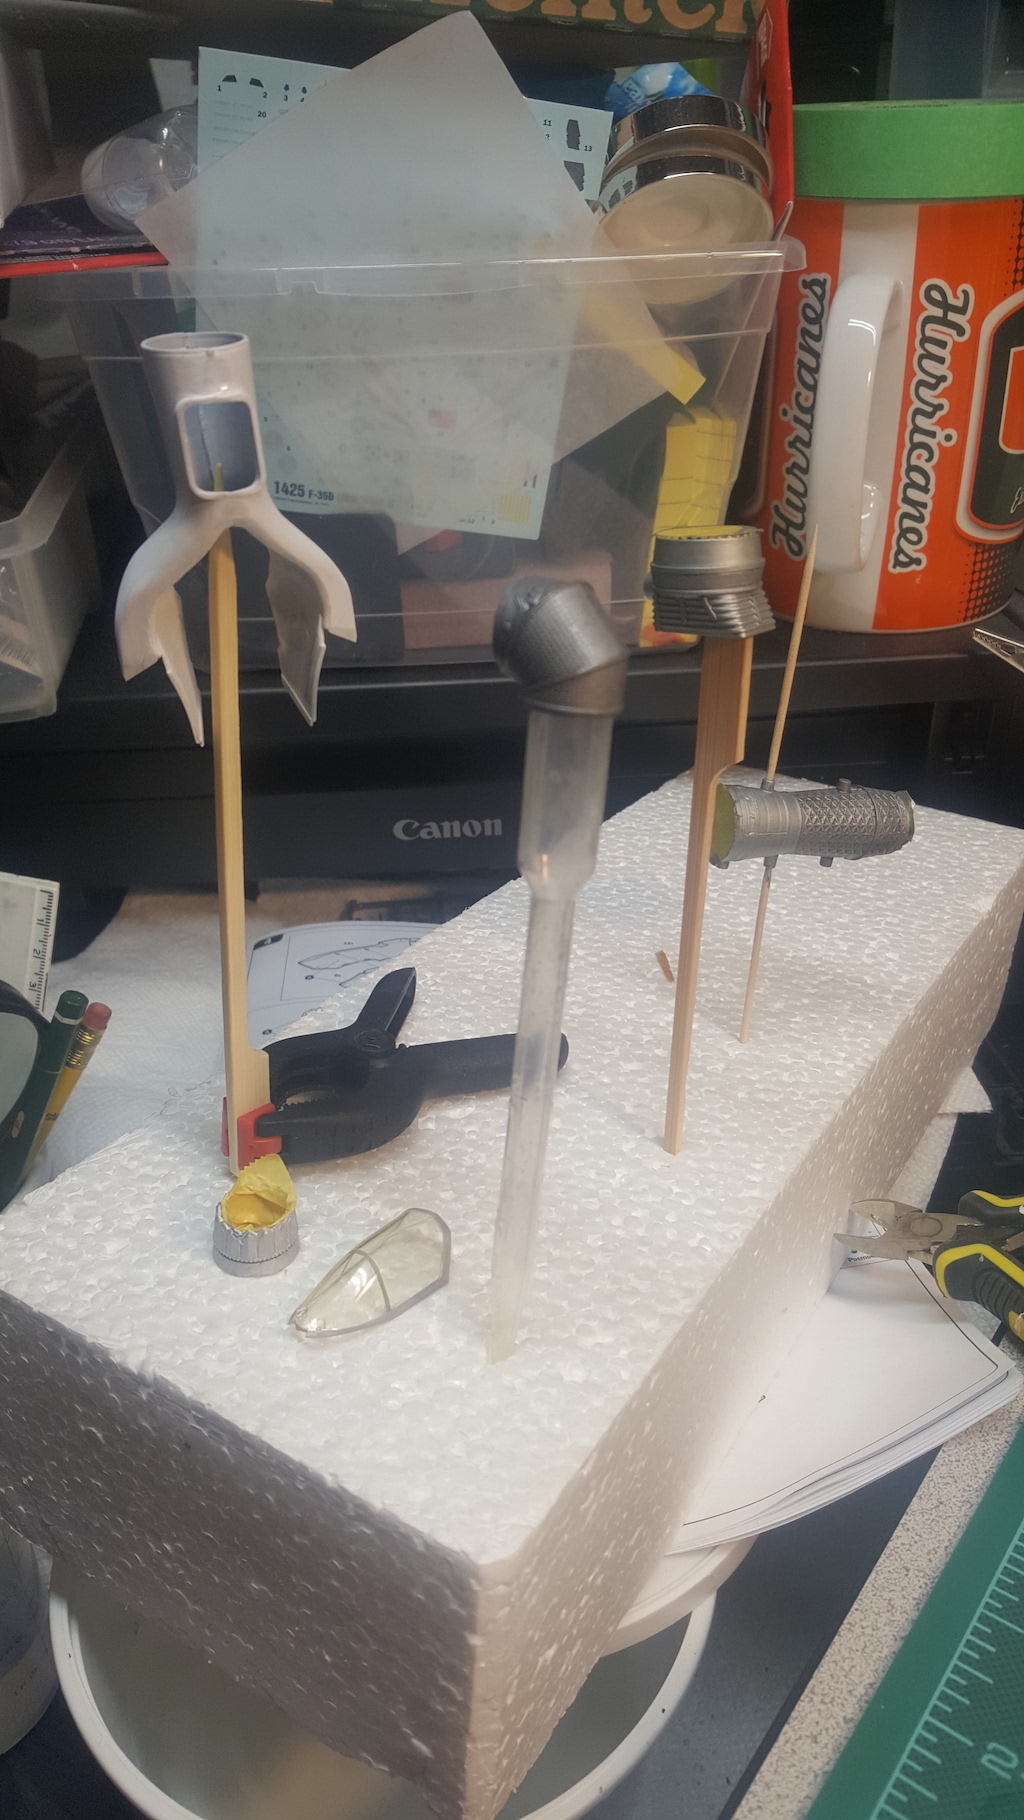
A few other odds and ends — internal engine and exhaust parts.

Removing the masking tape (which also took a night or two), painted some of the ordinance and glued the fuselage halves together.
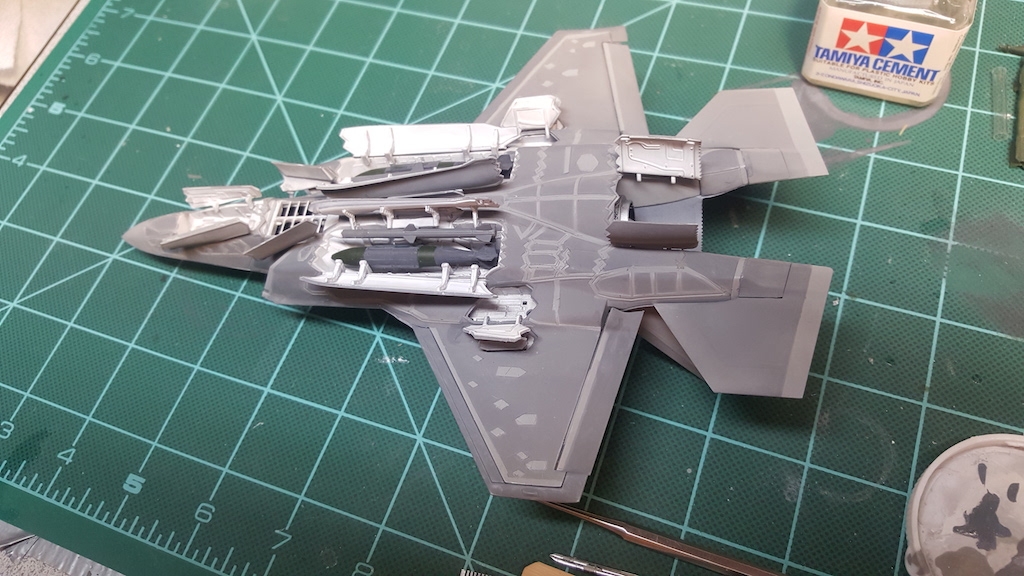
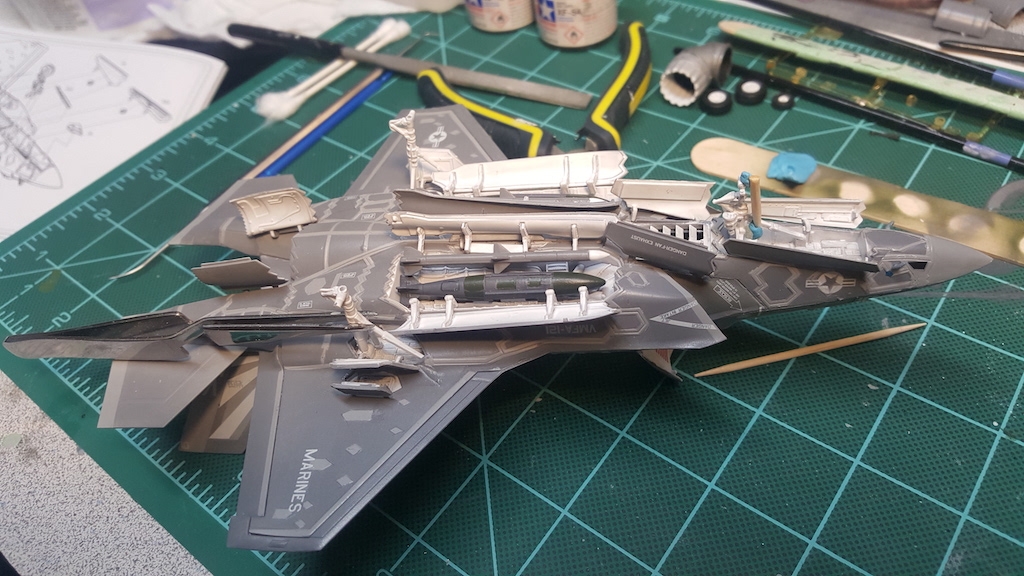
Added the landing gear and weapons bay doors, the horizontal and vertical stabilizers. Glued the GBU-32 JDAM guided bombs and AIM-120C AMRAAM air-to-air missiles into the weapons bay. The attachment points for the bay doors were very small, so I used a lot of super glue instead of plastic cement.
Here we can see the beginning of the application of the decals after airbrushing Future on the entire model to create a good surface for decal adhesion. Lots of small decals provided for detail. Used Micro Sol to soften and help the decals adhere to the uneven surfaces.
Here she is with all the decals applied and another coat of Future to seal them in. I then took Tamiya XF-86 matt clear to finish it off.
Putting on the landing gear struts — had to make a little jig to glue the landing light on the front gear strut.

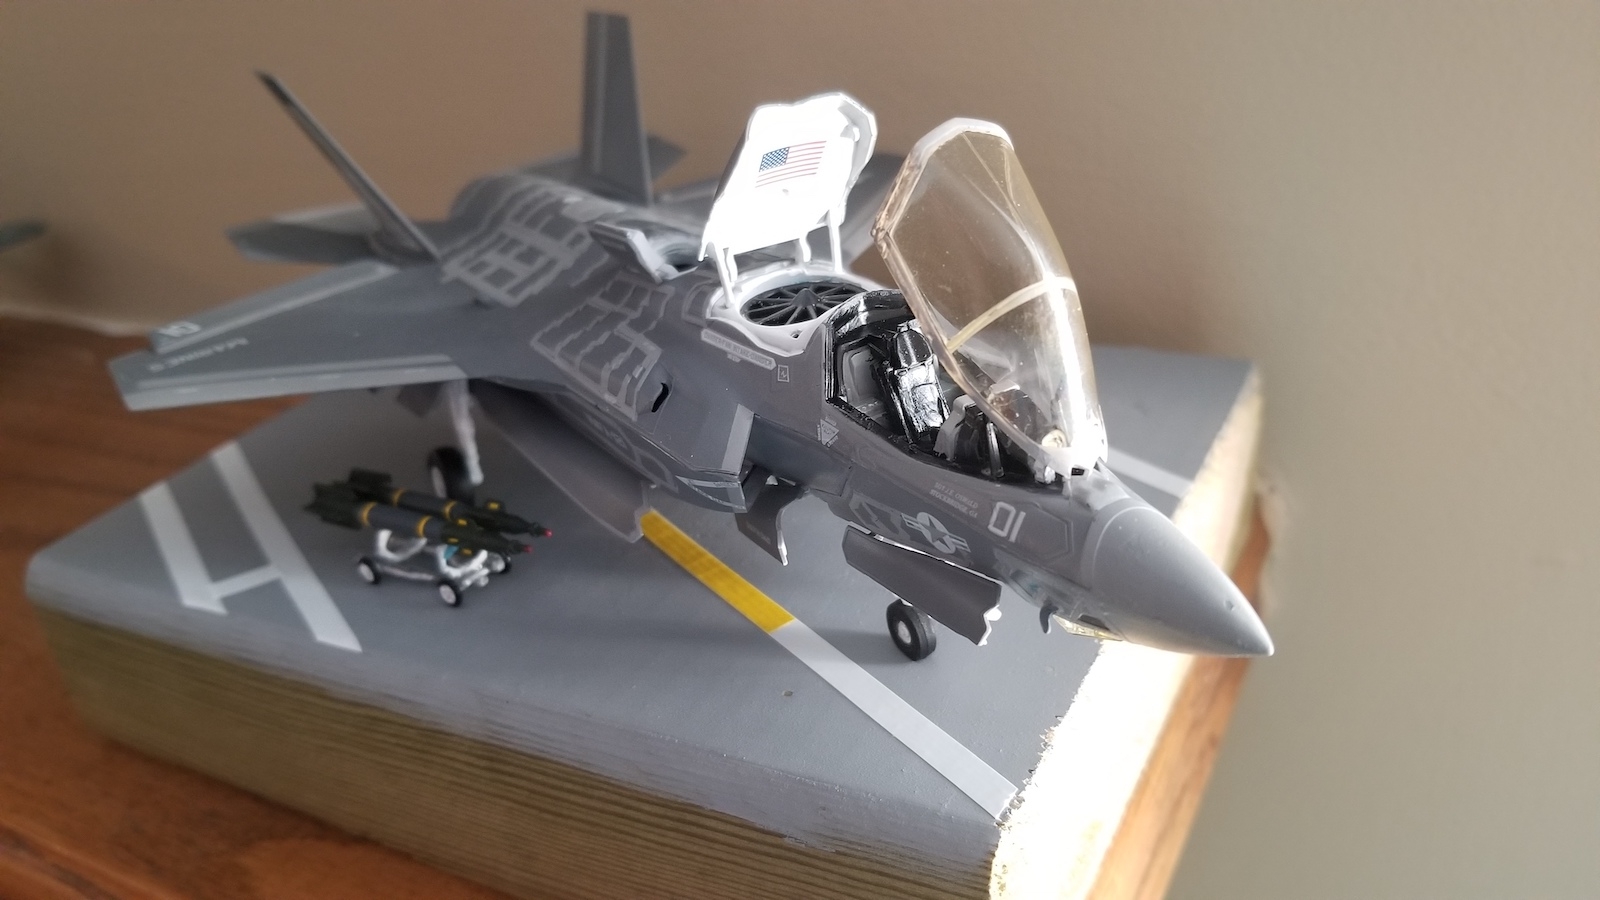
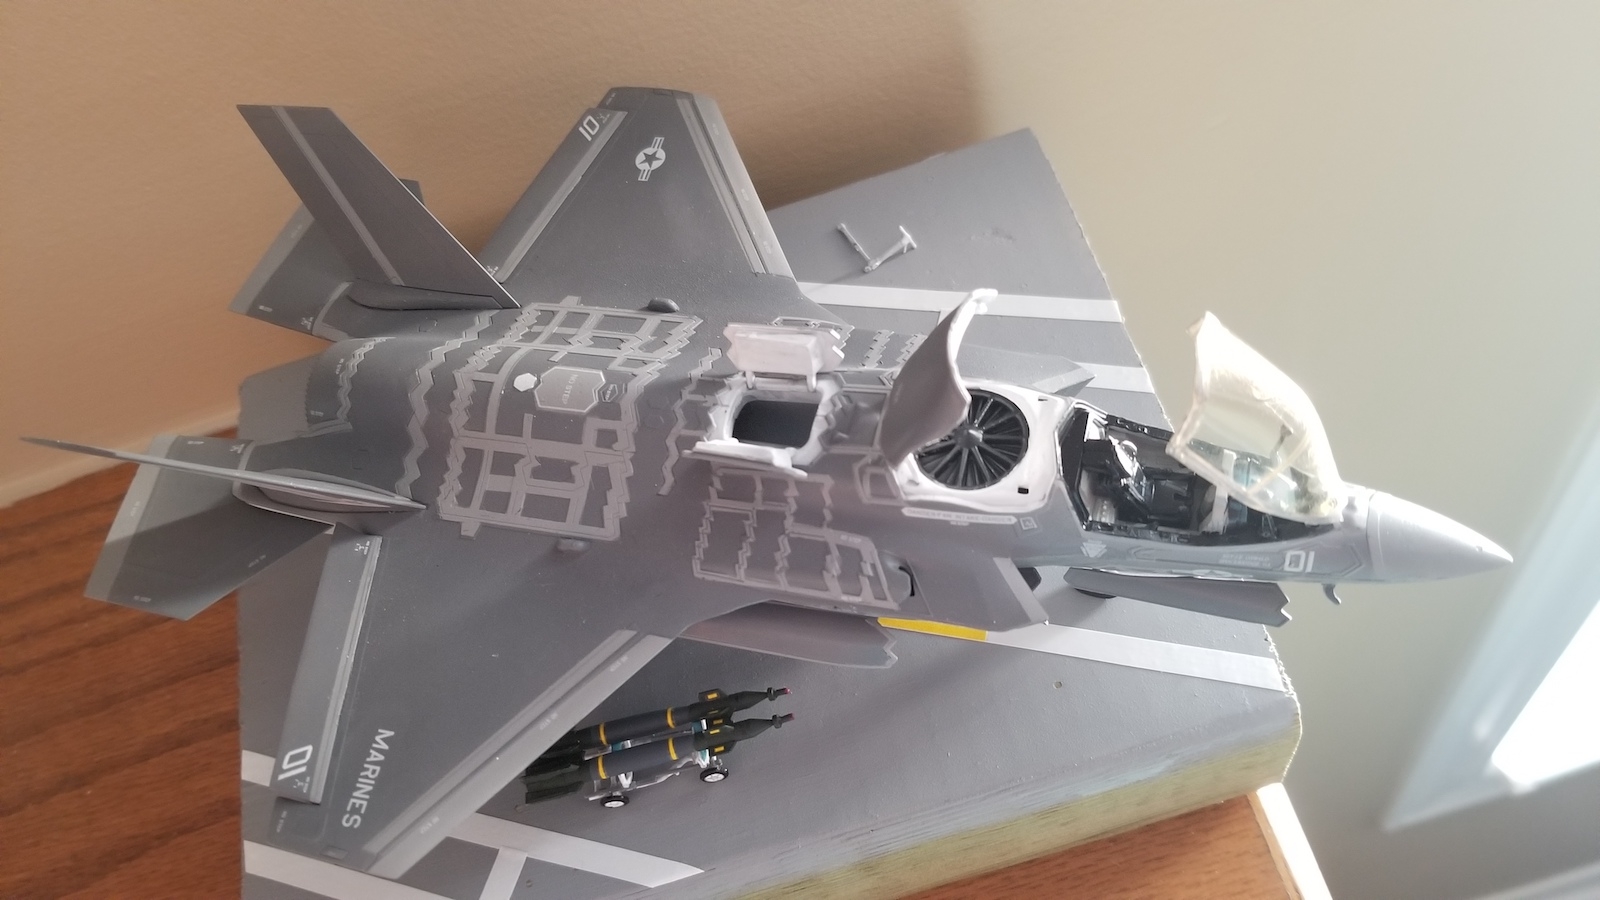
Assembled the little ordinance cart and put on a couple of GBU Pathway bombs.
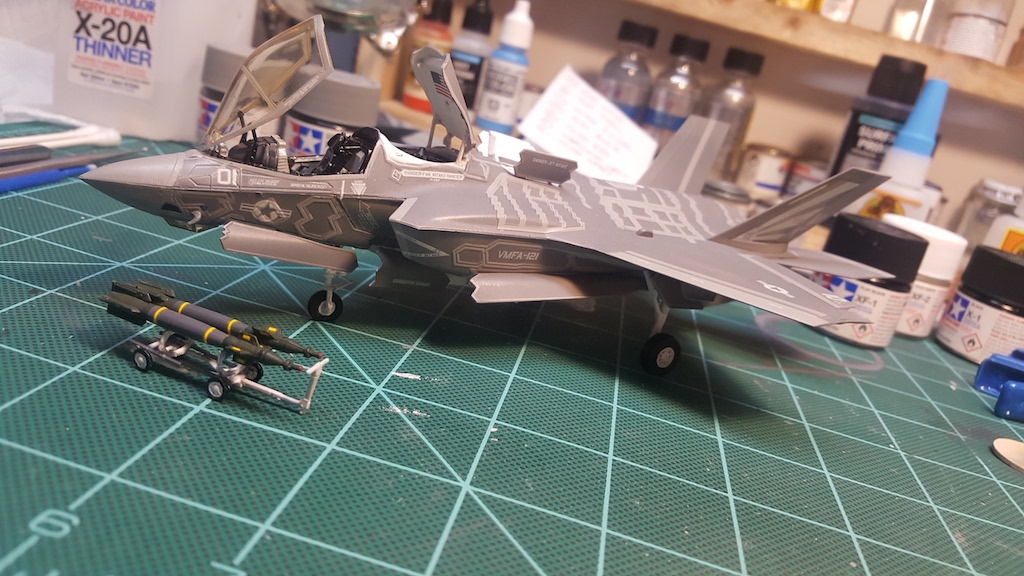
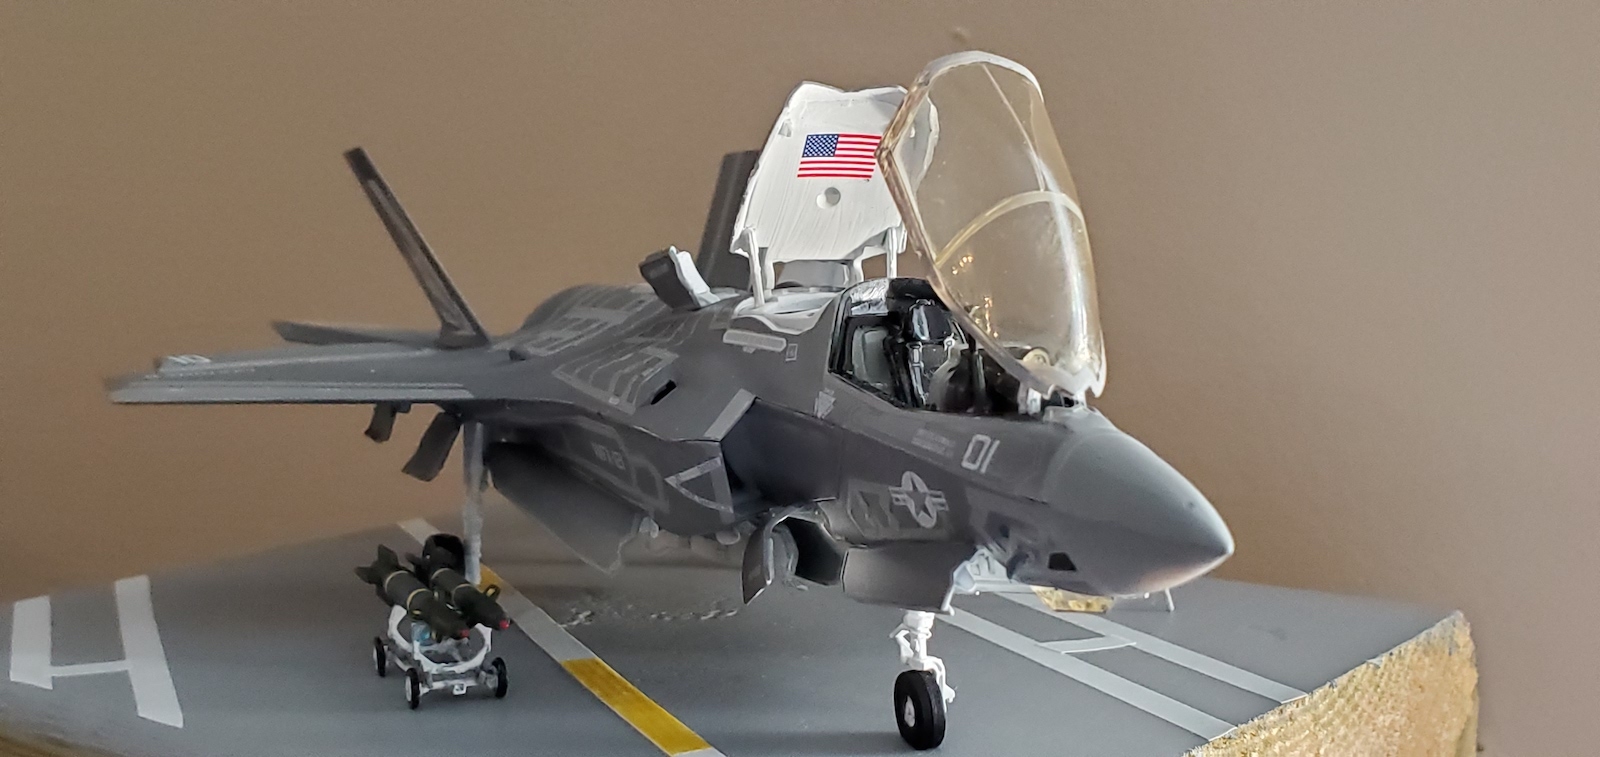
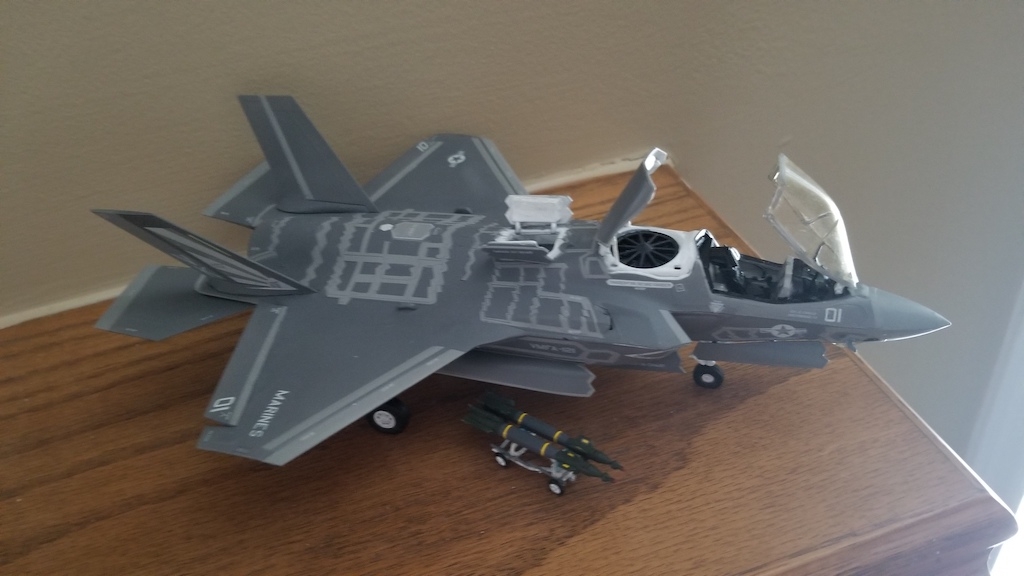
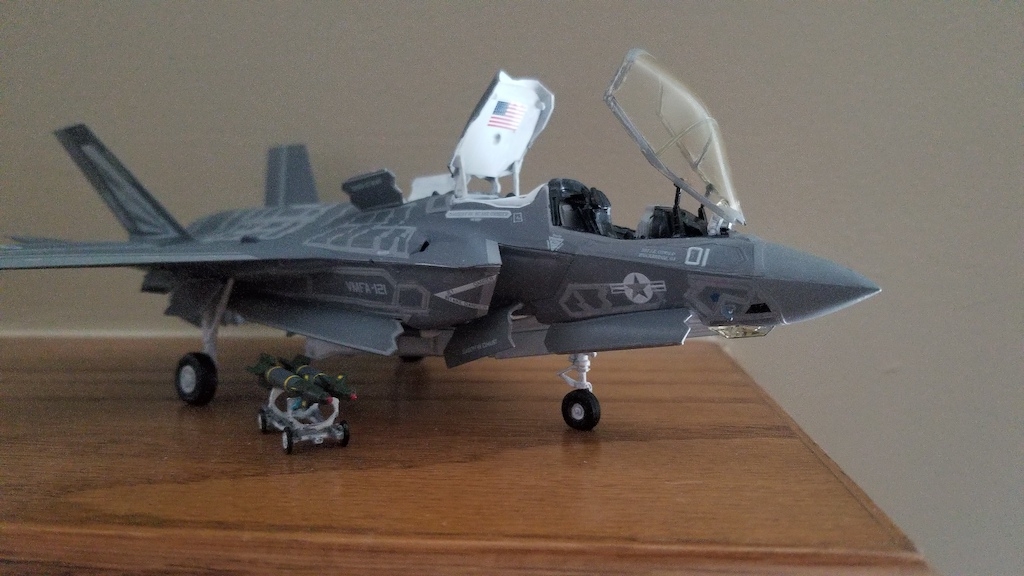
And here it is! Gluing the canopy on in the open position was a little tricky.
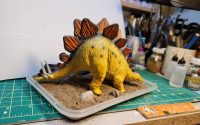
[1/35] Tamiya Stegosaurus
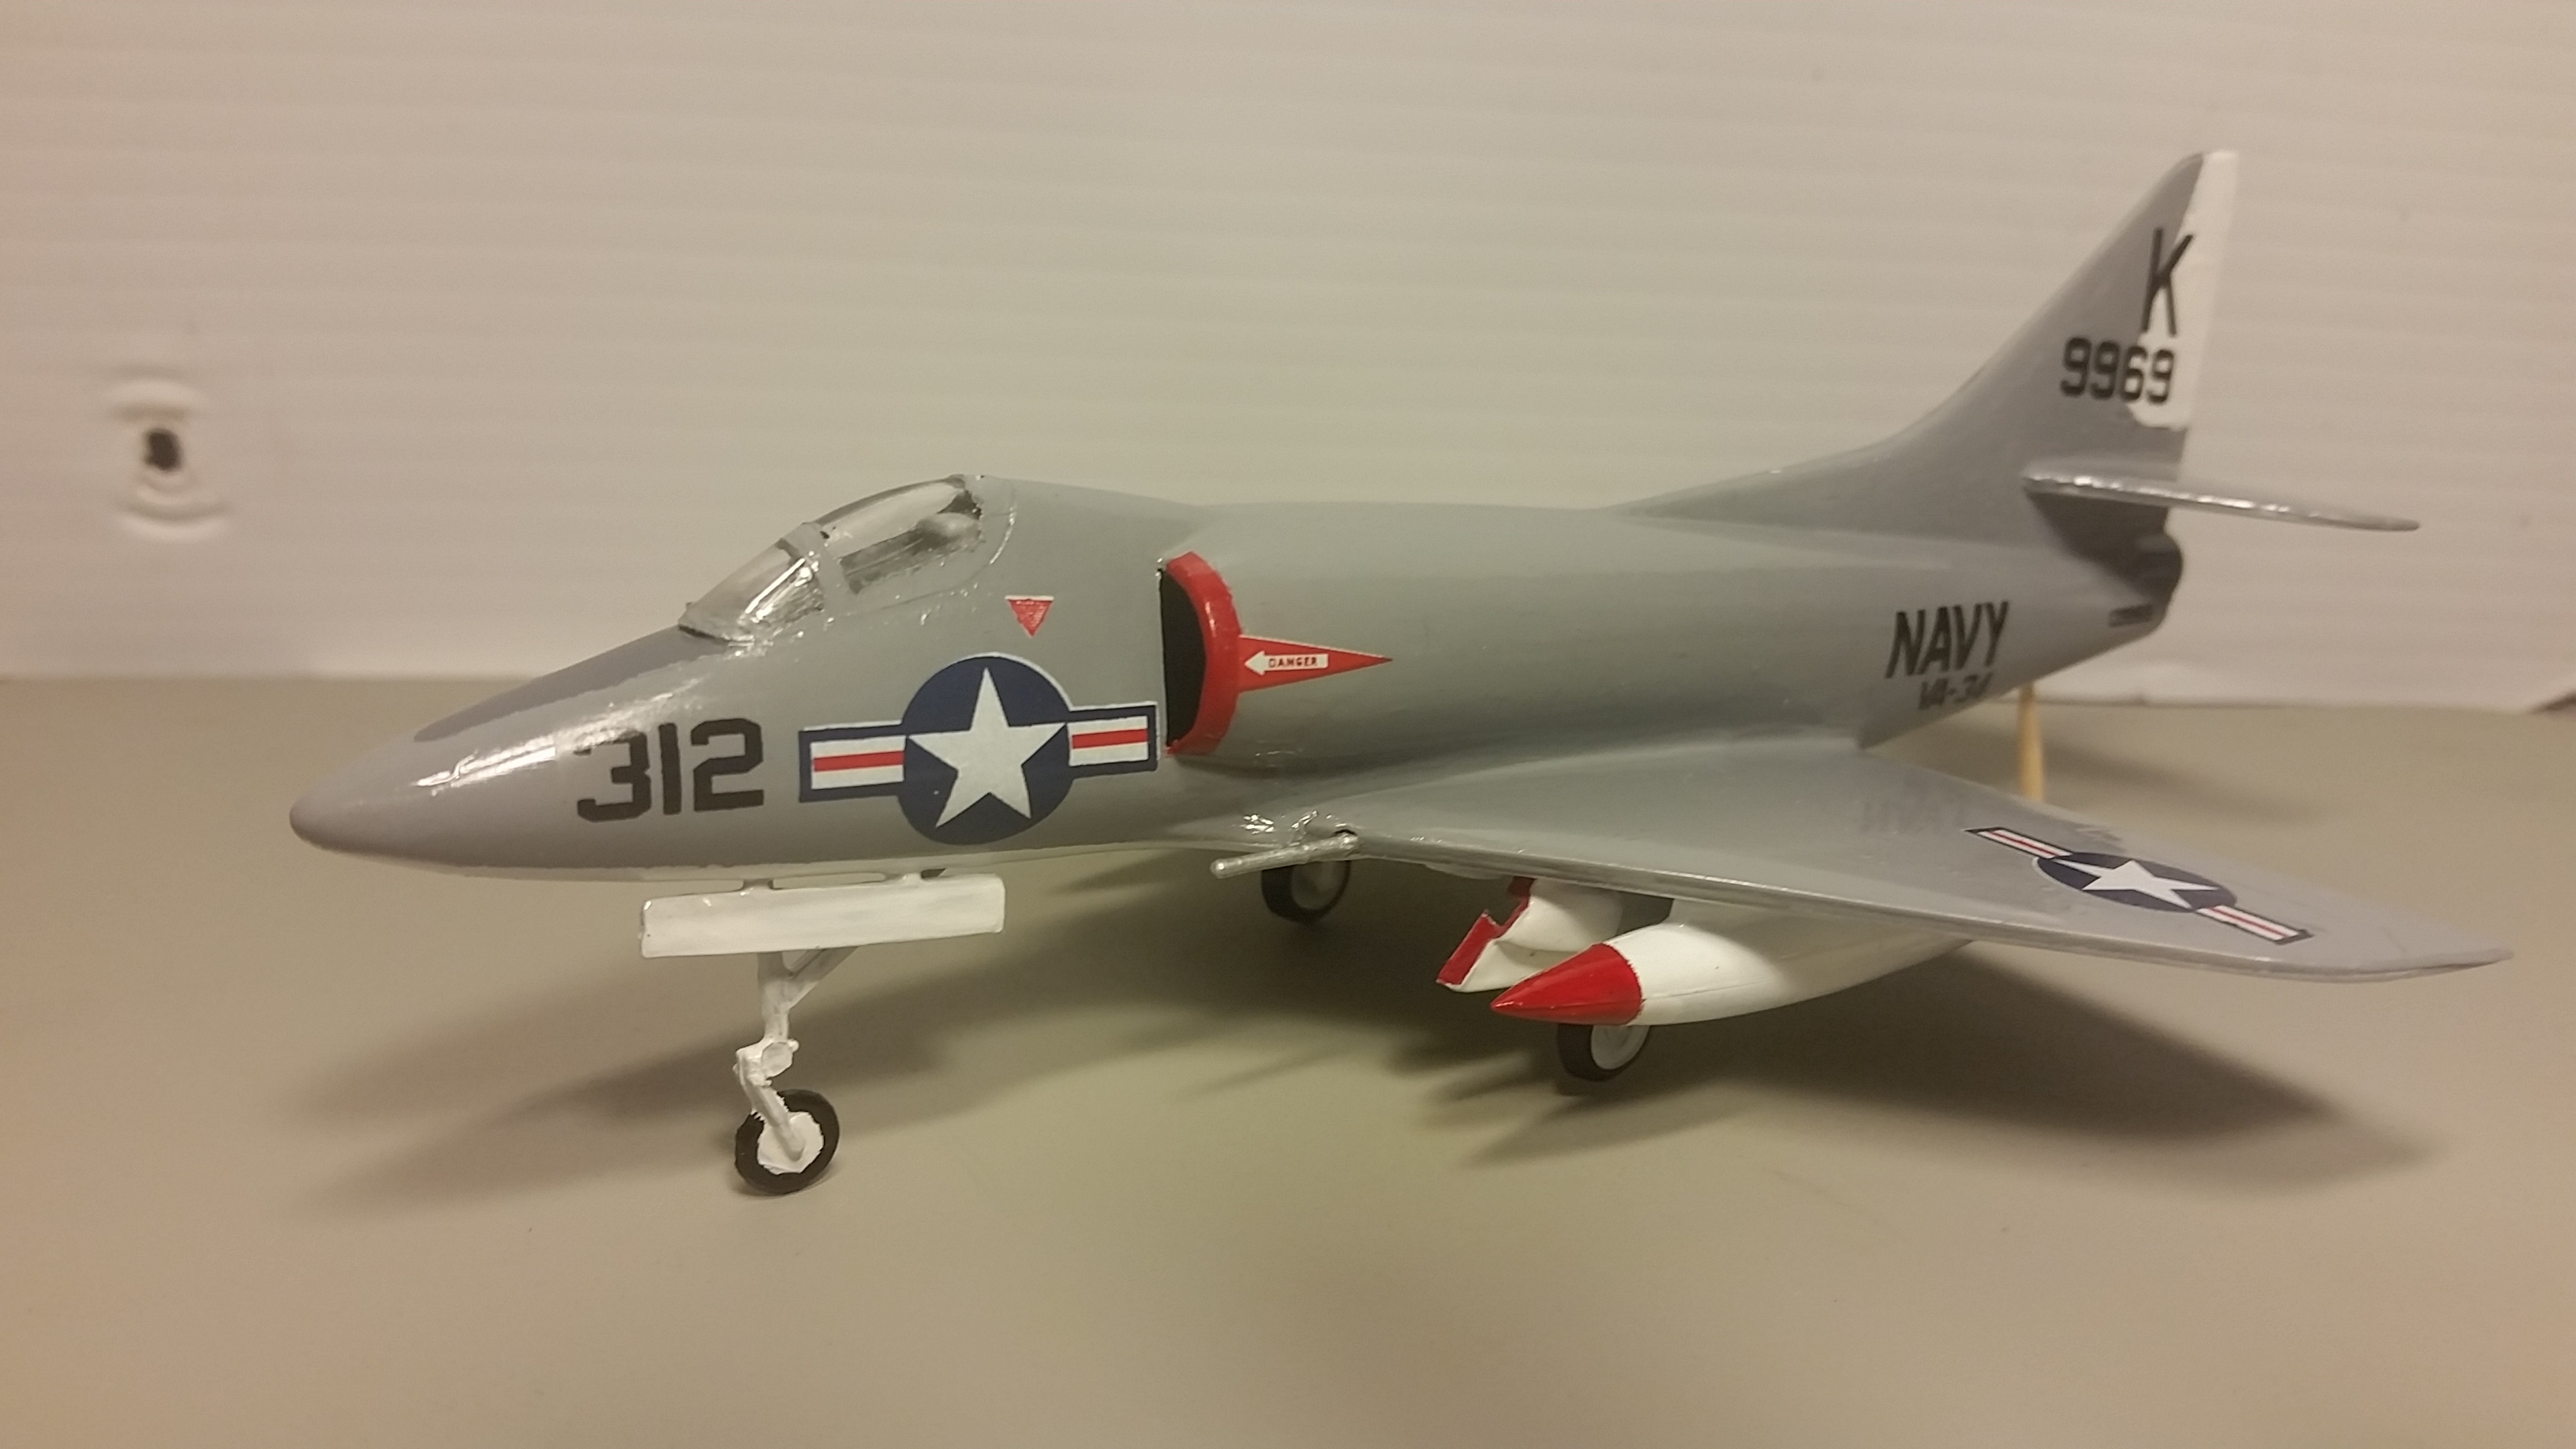
Airfix 1/72 Douglas A4D-1 Skyhawk
